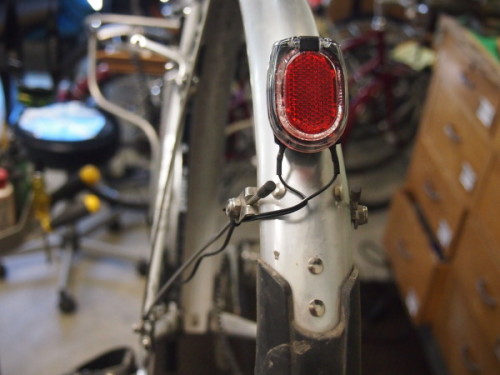
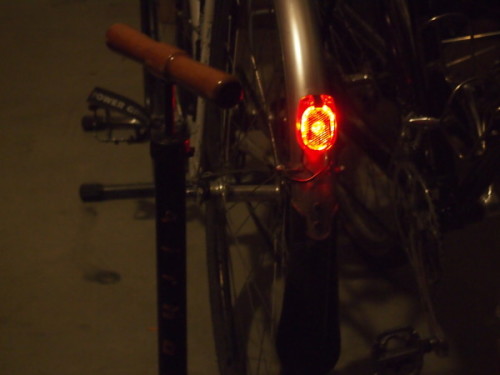
Lately we have been selling and installing more dynamo powered headlights and tail lights from Busch & Muller and Schmidt as well as a few from Supernova. This post will cover some mounting options and some tail light wiring details.
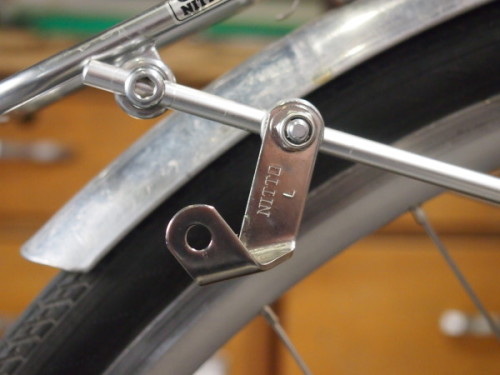
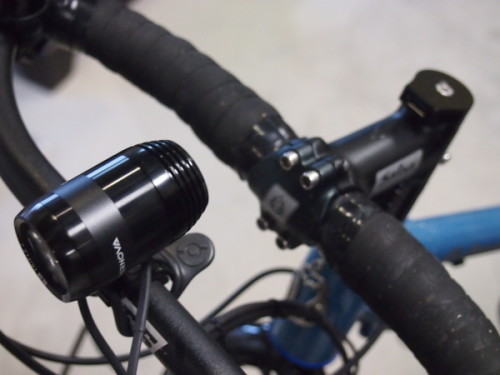
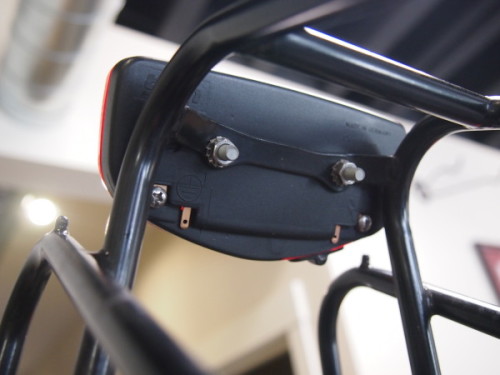
We have the Nitto Lamp Holder for Nitto M-18 and M-1 racks. There is a left and a right side version depending, obviously, on which side you want to mount the light. I set up the left side mount on my bike and bolted on a couple of lights to see how it works. The mount can be bolted on anywhere along the stay but I think I would put it at the highest point that will still keep the top of the light below the rack platform. The bracket can also be clamped either on the outside of the stay or on the inside depending on the light being used.
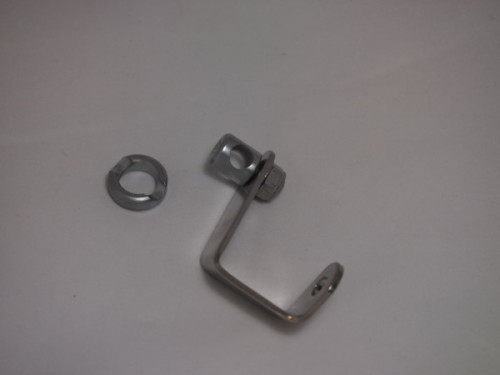
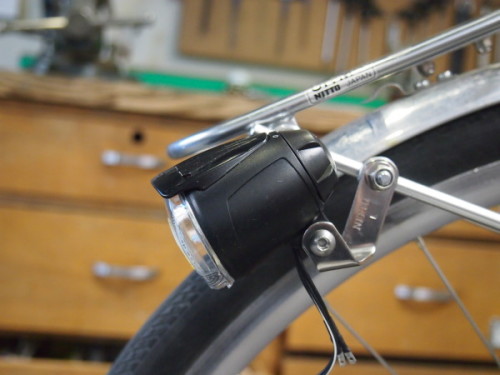
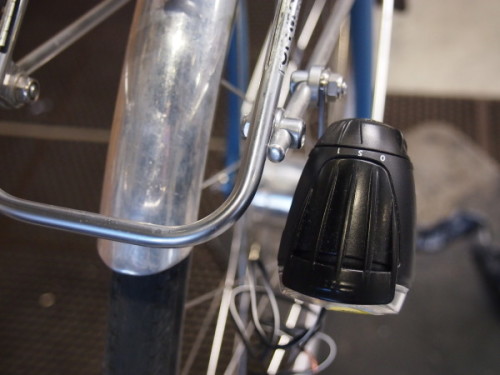
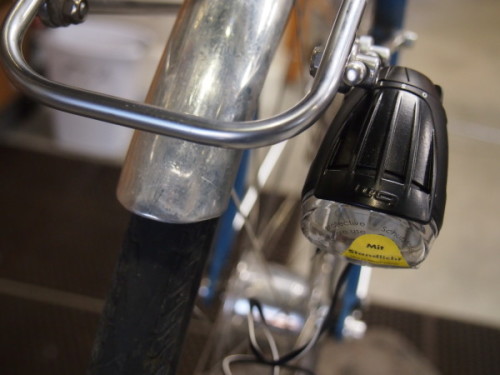
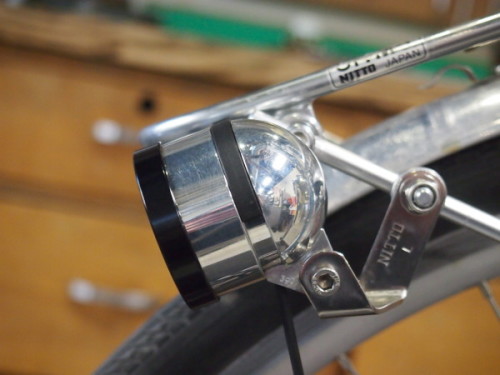
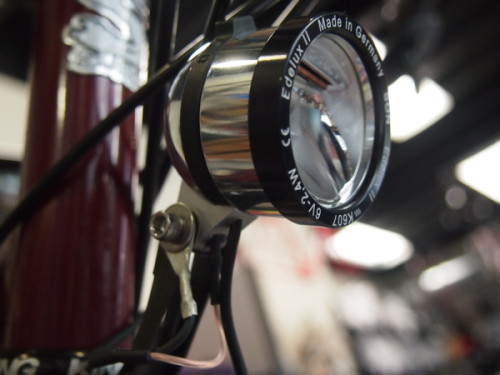
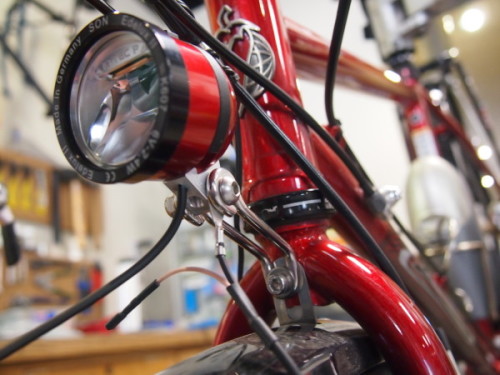
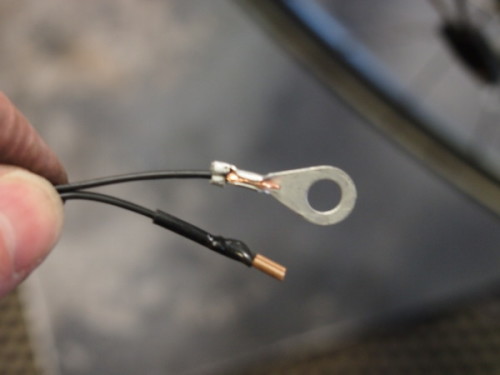
In the two above photos above can be seen the tail light wire, the ground leg terminated with a Schmidt ground connector which is sandwiched between the light body and the mounting bracket when the mounting bolt is run through. The other end is terminated with a 2.8mm connector and plugged into the mating connector in the base of the light. The Schmidt headlights use this configuration but the Busch & Muller lights have connections for two 2.8 mm fittings so one doesn’t have to mess with a separate ground connection when using a wired tail light. The hard-wired wire in the base of the light goes to the dynamo hub. All wired tail lights are wired into and operated by the headlight, not the hub.
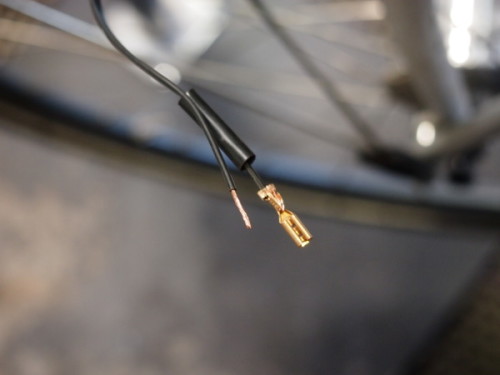
Here I am making up the connectors for the tail light wire;
ch
I finally got tired of having a battery tail light because it was just too undependable, partly because I often forgot to switch it off and the batteries died. I mounted the Busch & Muller Secula Plus fender mount light and it has been fantastic. There is no switch, the light is on whenever the headlight is on. And there is a built in capacitor so when I stop at an intersection the light stays lit for a few minutes. Simple, idiotproof, reliable and super bright!
