Categories
Baja Divide Our Trips Surly Bikes

Looking Back at Riding the Baja Divide

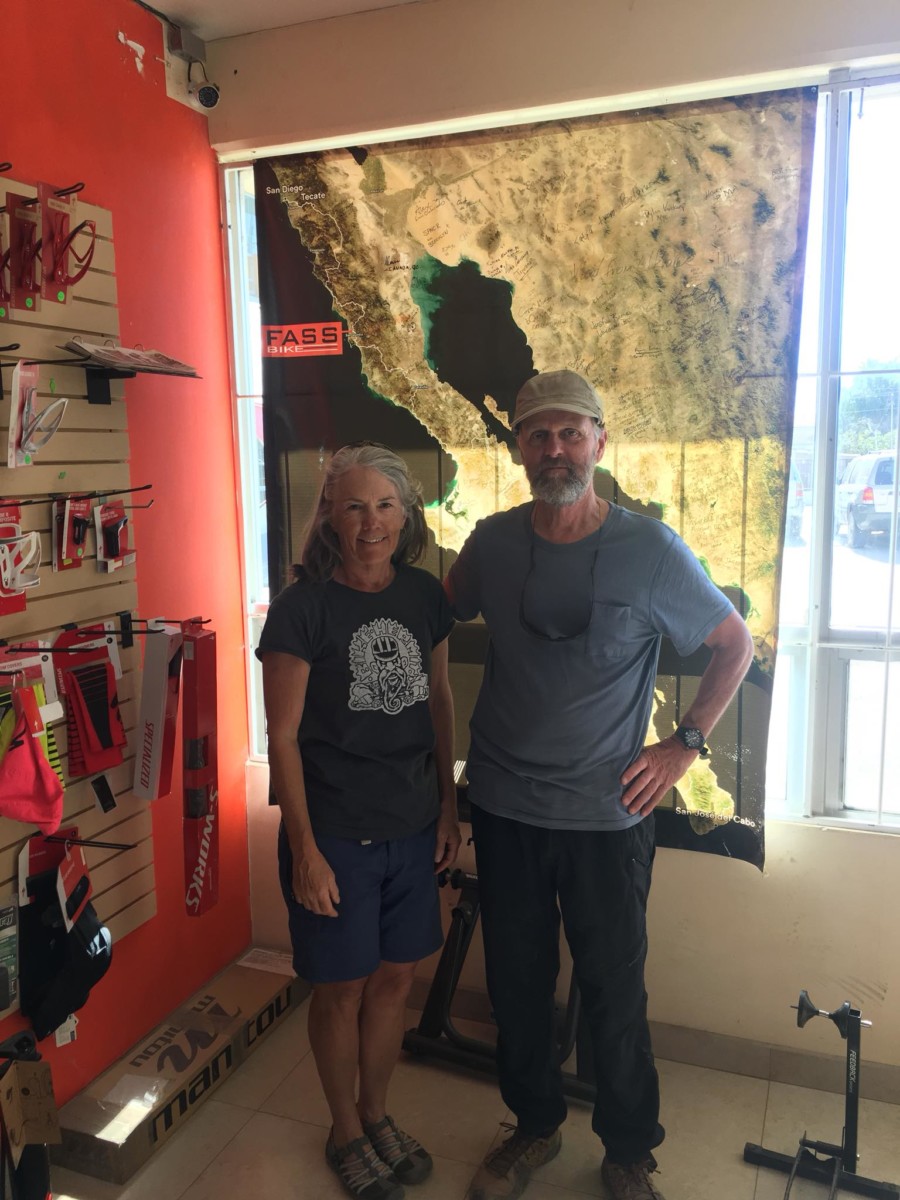
Traditional visit to Fass Bike in Vicente Guerrero

It’s difficult to put into words the emotions, the experience and reality of our adventure in Baja California, Mexico.  The Baja Divide Bike Route was established in the winter of 2015-2016 by Lael Wilcox and Nicolas Carman.  Read in detail on bajadivide.com.  Make note that these two are professional endurance athletes and many years younger than the Bike Hermit and Sky King.  We started pondering our own trip not long after the Baja Divide website was published.  Everything fell into place over the summer of 2017. 

We sold Bike Touring News to Ryan King – a perfect fit to carry on the blog, online store and retail store front.  We had nothing holding us back nor did we need to adhere to a tight time frame.  Granted, selling the business along with 98 percent of our worldly possessions and moving into our 1968 Boles Aero trailer left us little time to put miles on the bikes.  Overall, I don’t think our adventure would have changed much if we’d started with stronger legs.  Our Baja Divide experience included biking, bike hiking (lots of bike hiking) and bus riding.  Prior to rolling out of San Diego we’d agreed on a few major points that were vital as the trip moved forward.

  • We agreed to be safe and prudent.  We realized the need to error on the side of caution.  Falling and breaking something when you are in the middle of nowhere, in a country where you don’t speak the language, on roads that are very difficult to navigate was not something we wanted to risk.
  • We agreed that we would not be in a hurry.   We had no time constraints so if we only covered 20 miles or if we decided to explore an area we would do just that.  Stop and enjoy the Baja, its people and the country – what a concept.
  • We agreed that we wanted this to be fun.  We weren’t so naive as to know it wouldn’t be hard at times but “being able to” and “wanting to” are not the same thing.
  • We agreed to make smart decisions, as a team.  Taking breaks, stopping for the day, never letting the distance between us get so great that we couldn’t easily wait for who ever was in the back.  Eating even when we didn’t feel hungry.

Looking back, knowing these parameters from the beginning made for very few moments of frustration with each other.  Frustrations with the route are an entirely different story.
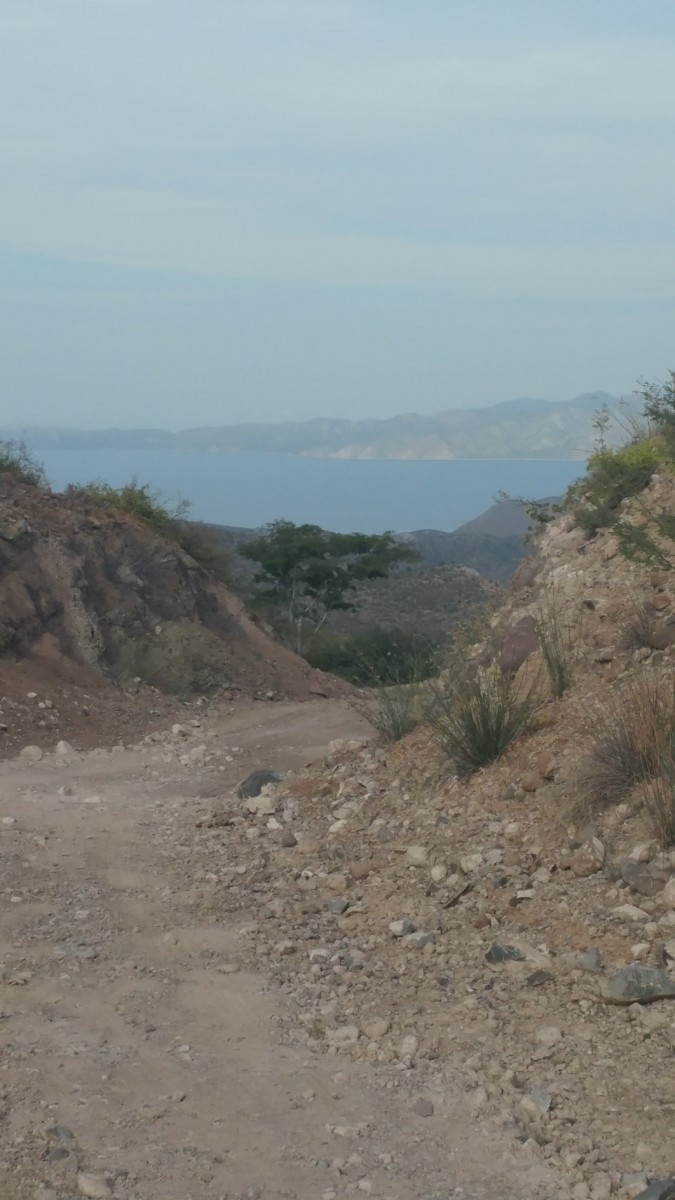
Welcome sight – Sea of Cortez

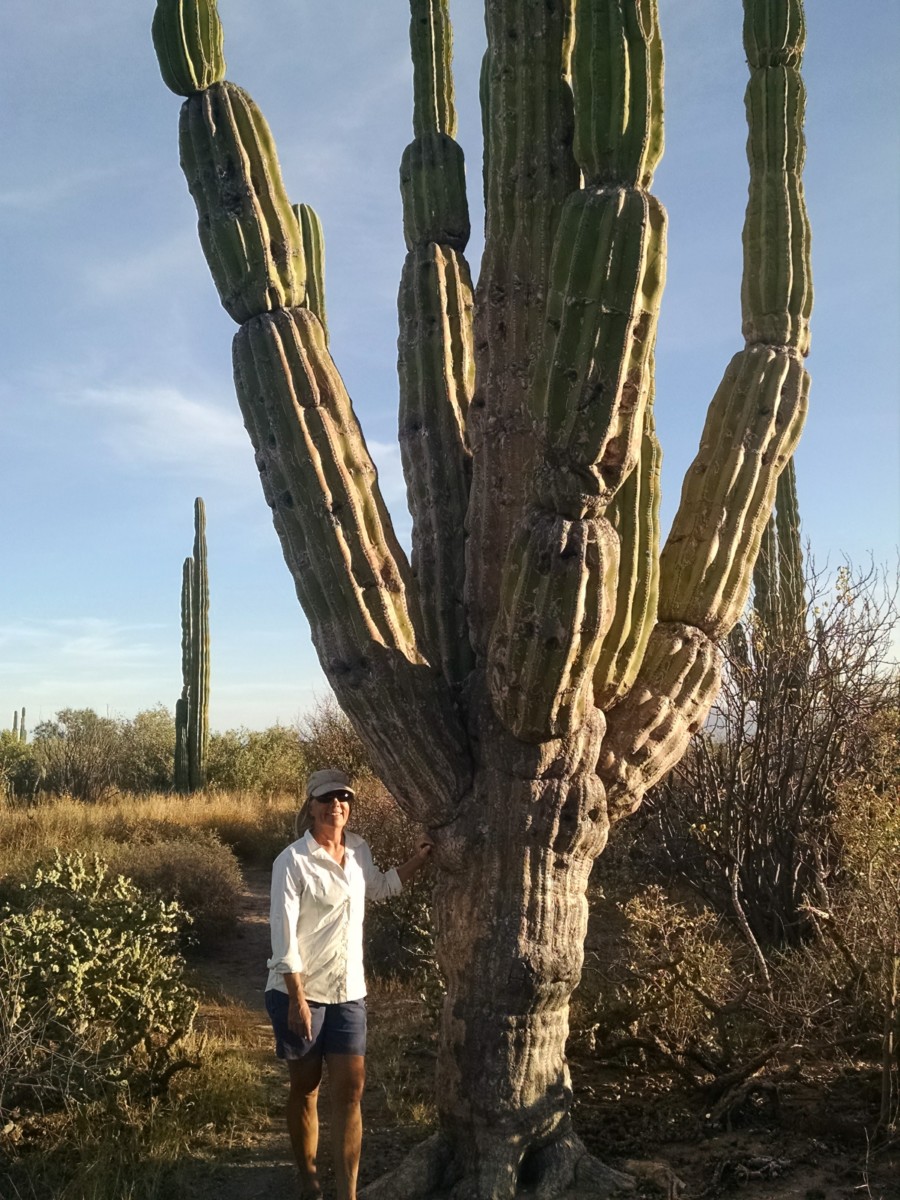
To date, this was the longest bike trip I have done.  I’ve ridden numerous 3, 4, 5 day trips both on pavement and on dirt roads.  I am not afraid of long days and I’m typically a strong climber so I wasn’t overly concerned about this trip.  We ride some extremely rough roads in the Owyhee Desert carrying the same loads we carried in the Baja.  What I wasn’t prepared for was the magnitude of the poor conditions of the so-called roads.  It’s one thing to have a tough stretch for a mile or two, it’s a whole different experience to have the tough stretch of road turn into miles and miles of difficulty, day after day after day.  I started the trip thinking that we’d still pedal the entire 1700 miles – though it would take us longer than some of the younger, stronger people who rave about the ride.  I kept that thought through the 305 miles of the first section, despite sitting under a scrub brush literally in tears after 4 hours of death grip descents or downhill walking alternating with climbs so steep you would have to push the bike forward, grip the brake, take a step and repeat.
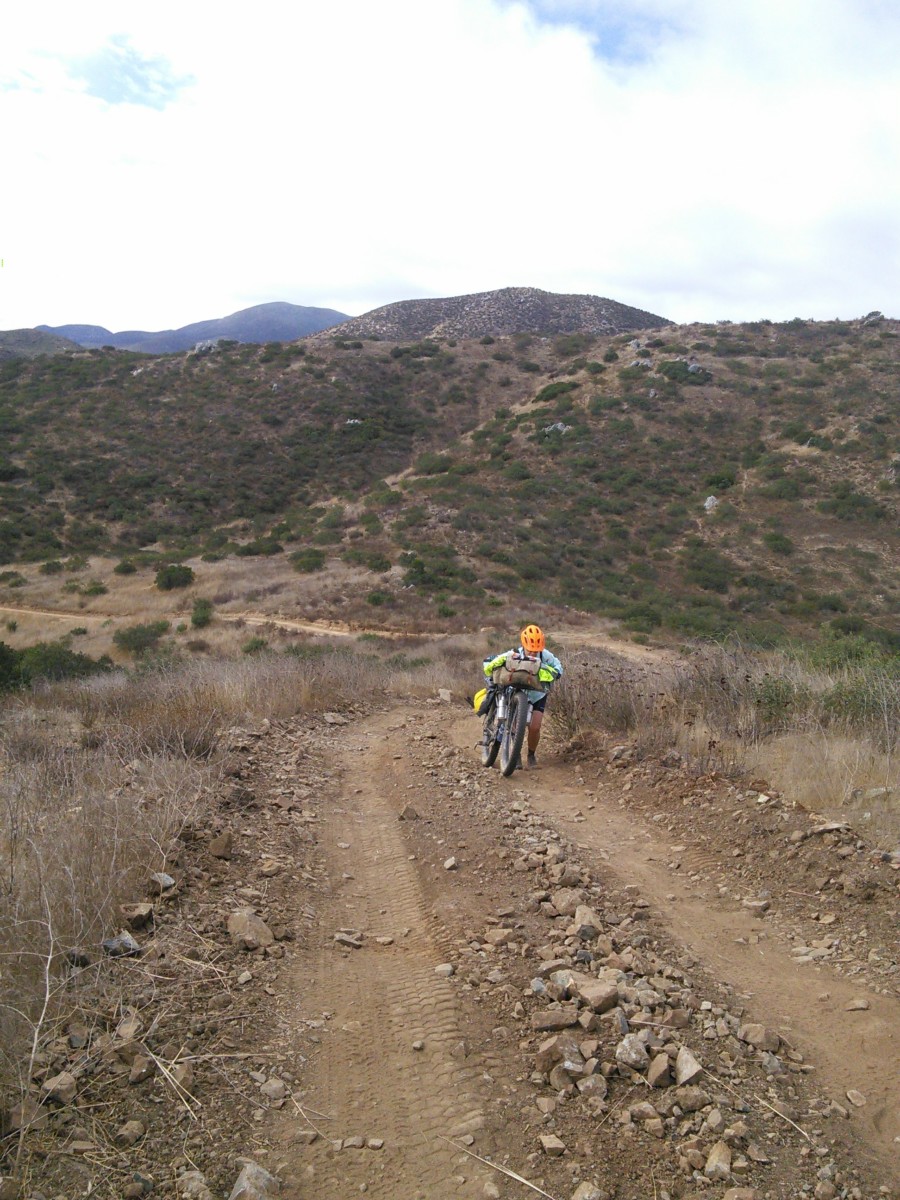
Champion Bike Hikers!

A turn of events in Vicente Guerrero and a review our initial agreement helped us make the next smart choice.  We rolled into Vicente Guerrero in the dark, right at rush hour.  Mexico Hwy 1 runs right through the center of town, carrying the bulk of the motorized traffic in the Baja but also the end of the work day traffic for Vicente Guerrero.  We do a web search for hotels and note they are all on the other side of a deep arroyo spanned by a two lane bridge with no shoulder.  We manage to get across hwy 1 with the intent of finding a back road to the hotel.  A young man on a BMX bike rides past us, stops and asks (in perfect English) if he can help.  (This is not the first friendly local we encounter, nor the last. Read the Bike Hermits Crazy Guy on Bike Journal for more).  Manuel leads us across the bridge – turns out there is a sidewalk we couldn’t see in the dark.  He takes us to the hotel and speaks to the desk clerk to arrange quite a large room for us on the ground floor.  We gratefully tip him 100 pesos – about $5.  Being very tired from an extremely challenging day we head out in search of food and enter the first open restaurant we see.  The next day we realized we’d broken one of the rules our good friend Paul has told us about eating – never eat where you can’t see them prepare the food.  We ordered chicken sandwiches which came with lettuce and tomato and a lettuce salad.  We inhaled everything. 

At 3am I wake up with my stomach rolling.  I jokingly refer to my stomach as the princess stomach because I am sensitive to many foods so at first I just wrote it off as being dehydrated, yada, yada.  Jim wakes up at about 6am with his stomach rolling.  That’s when I knew we were in trouble.  In talking to others we expect the lettuce was washed in unclean water and that’s what took us out.  We took three days of unexpected downtime to read and research the route ahead, known as Section 2, Valle de los Cirios – 559 miles of the most remote part of the ride.  Water availability at one point is 120 miles apart.  In addition to being wiped out from being sick we knew that riding 120 miles in 3 days on this route was not realistic as we wouldn’t be able to carry sufficient water to be safe.  Back to the agreement above – make smart decisions and we want this to be fun.  Once we made the decision to take the bus to Mulege – thus skipping section two entirely – I let go of my old belief that it isn’t a bike trip if you don’t ride every mile.  Riding every mile sometimes misses the point.  Our Baja Divide became a multi-modal adventure that involved bikes.
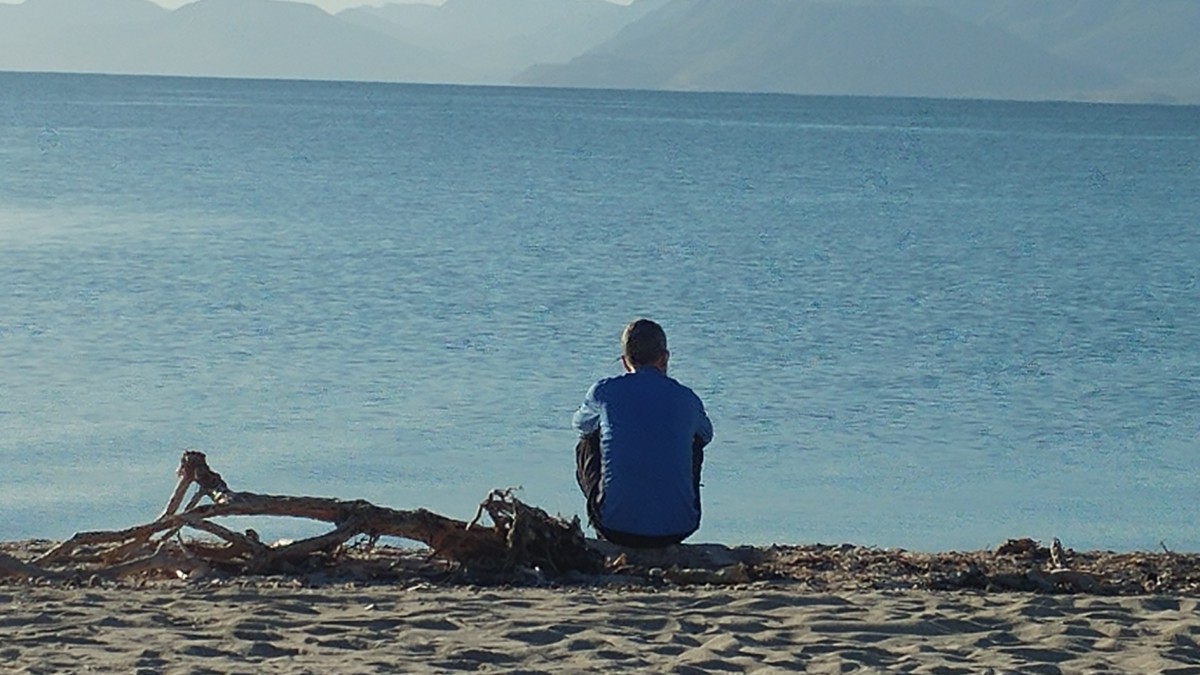
Overall, the bike riding sections didn’t get any easier.  In fact some of our hardest biking days occurred after Mulege.  I would love to say that I learned to appreciate the difficult sections but I would be lying.  Riding the tough sections was physically and mentally exhausting.  We found it frustrating to read descriptions on the cue sheets or comments about the ride that (IMO) brush off the conditions of some of the backroads and brush off the distance to the next water stop.  To me, those are life threatening and I worry that someone is going to get seriously injured or even lose their life because they haven’t realized the depth of the undertaking.

When did I know I was done with the bike portion of our adventure?  This is actually a two part recognition.  We’d just completed our third day of the section from Ciudad Constitution to La Paz.  We arrived at the San Everisto, a small fishing village on the sea of Cortez.  The store and restaurant were both closed, we had to ask for water from a house.  We camped on the beach with the tiny fishing village to our backs and large sailboats and power boats anchored in the bay.  The economic difference was striking.  I thought to myself, “who is having more fun – that person paddling to their beautiful boat in the kayak or me sitting on the beach, covered in sweat eating lentils and spaghetti?”  I commented to Jim that it might be time to rethink the rest of the trip. 

Next day, we stop at another house to ask for water.  We don’t fill everything as we don’t want to make them go without and we expect to get to the next available water that day.  About 8 miles into the day the road starts to climb with such a steep grade it is hard to believe vehicles could drive it.  The next 5 miles or so vacillated from extremely steep and rocky climbing (which meant pushing the bike) to extremely steep and rocky descending (which meant more walking).  We push over two huge climbs and encounter a man walking with his two dogs.  He is pushing a cart and we laugh that he is probably traveling faster than we are.  He tells us the supposed water refill site further along doesn’t exist and he had to knock on doors for water.  It’s hot, we are mentally and physically exhausted and now we know we’ll probably run out of water.  What we were hoping would be a day-and-a-half ride to La Paz is probably more likely at a full two days at least.  Jim looks at me and says “once we get to La Paz I am done with the Baja Divide.”  I said, “sounds good to me.” 

If you’ve read the Crazy Guy Journal you know that shortly after this two wonderful brothers stopped with their tiny truck and gave us a lift to La Paz and we officially left the route. We didn’t quit biking, nor did we quit adventuring.  We just reviewed our agreement and adapted. 

Was it fun?  Overall the Baja was amazing.  We saw areas that most visitors probably have no idea exist.  We met people who have so little I was actually racking my brain about what I had on my bike that I could give them.
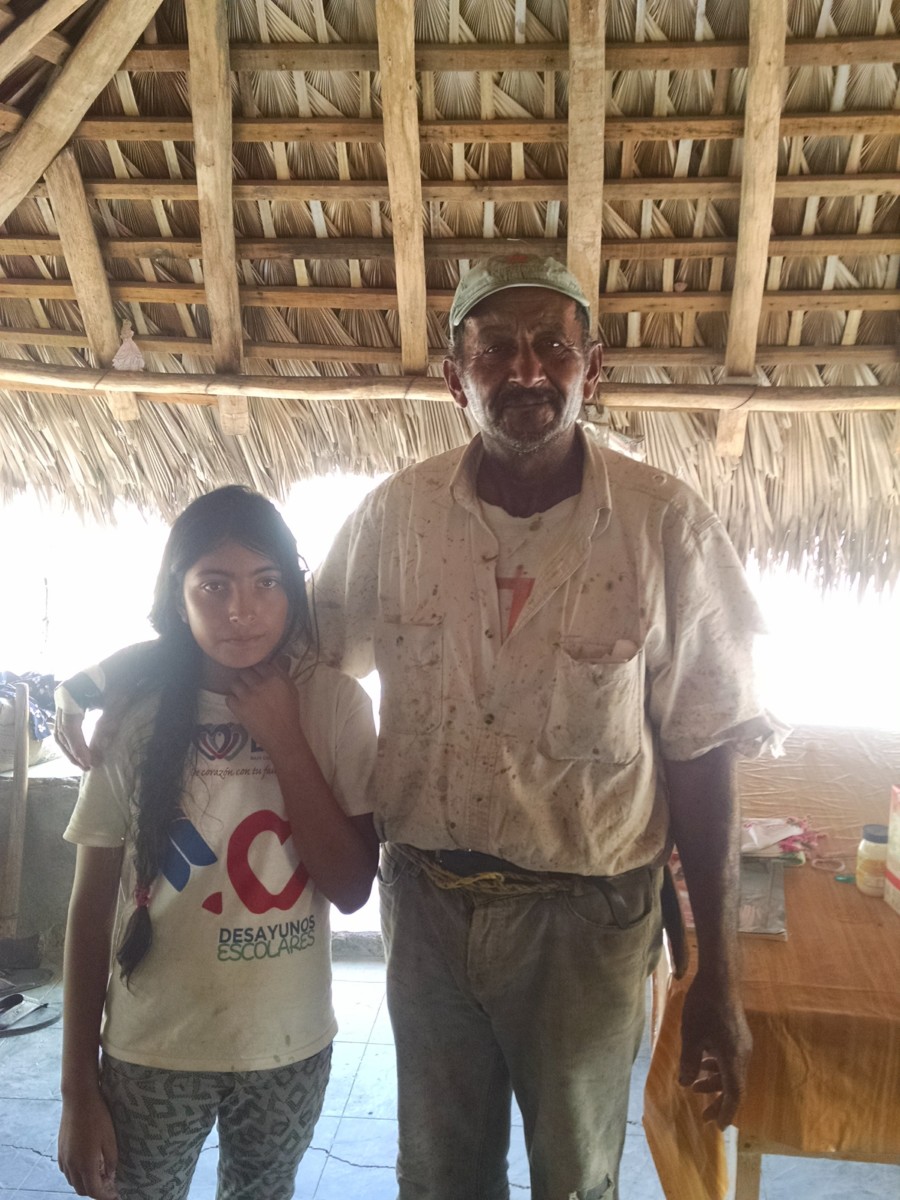
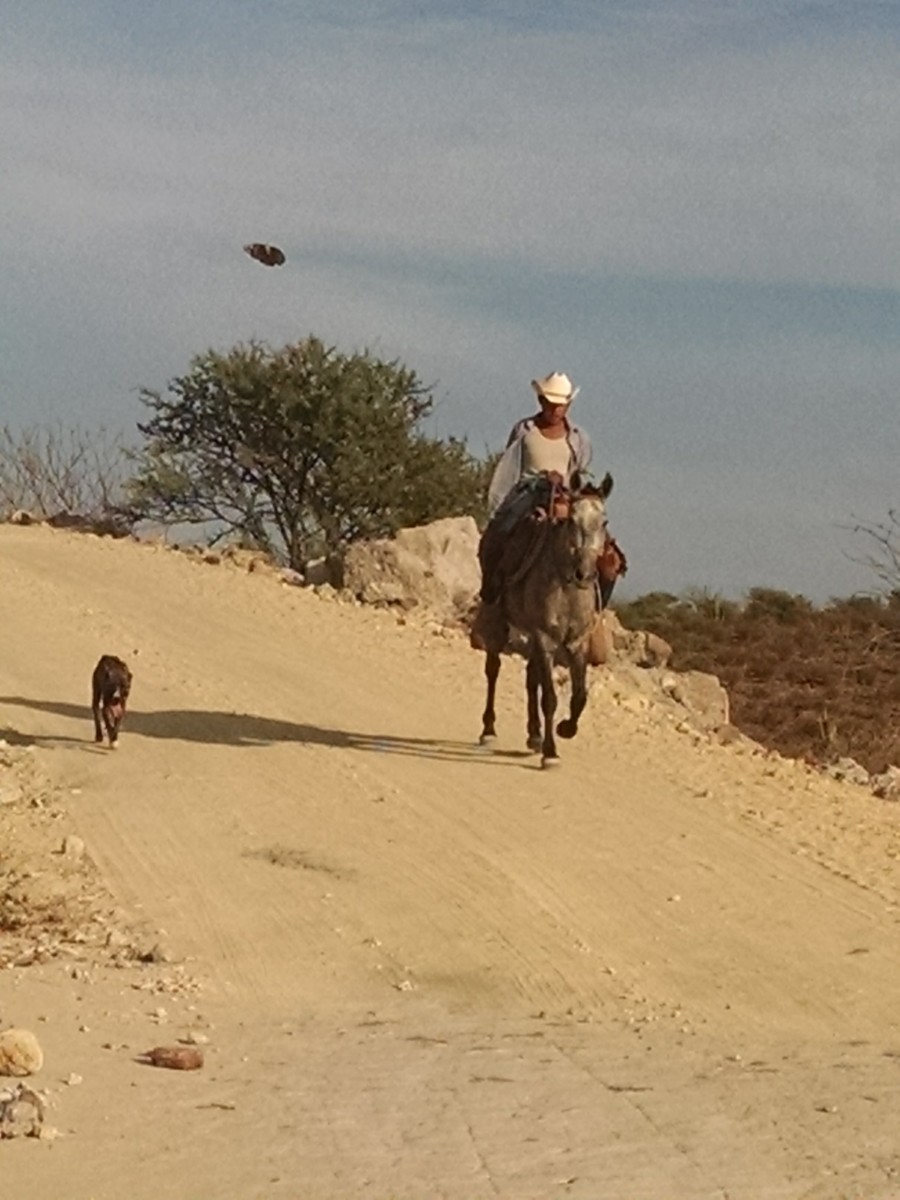
Stopping and exploring, camping on some beautiful beaches, absorbing the sights, sounds and food was fantastic.
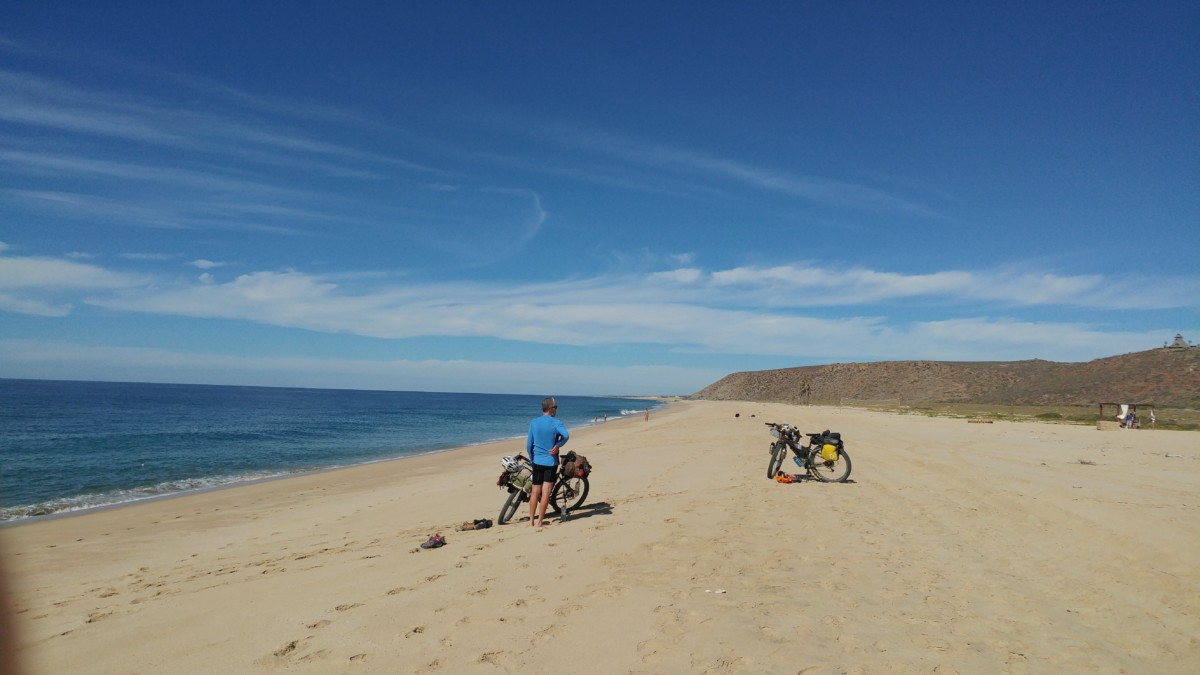
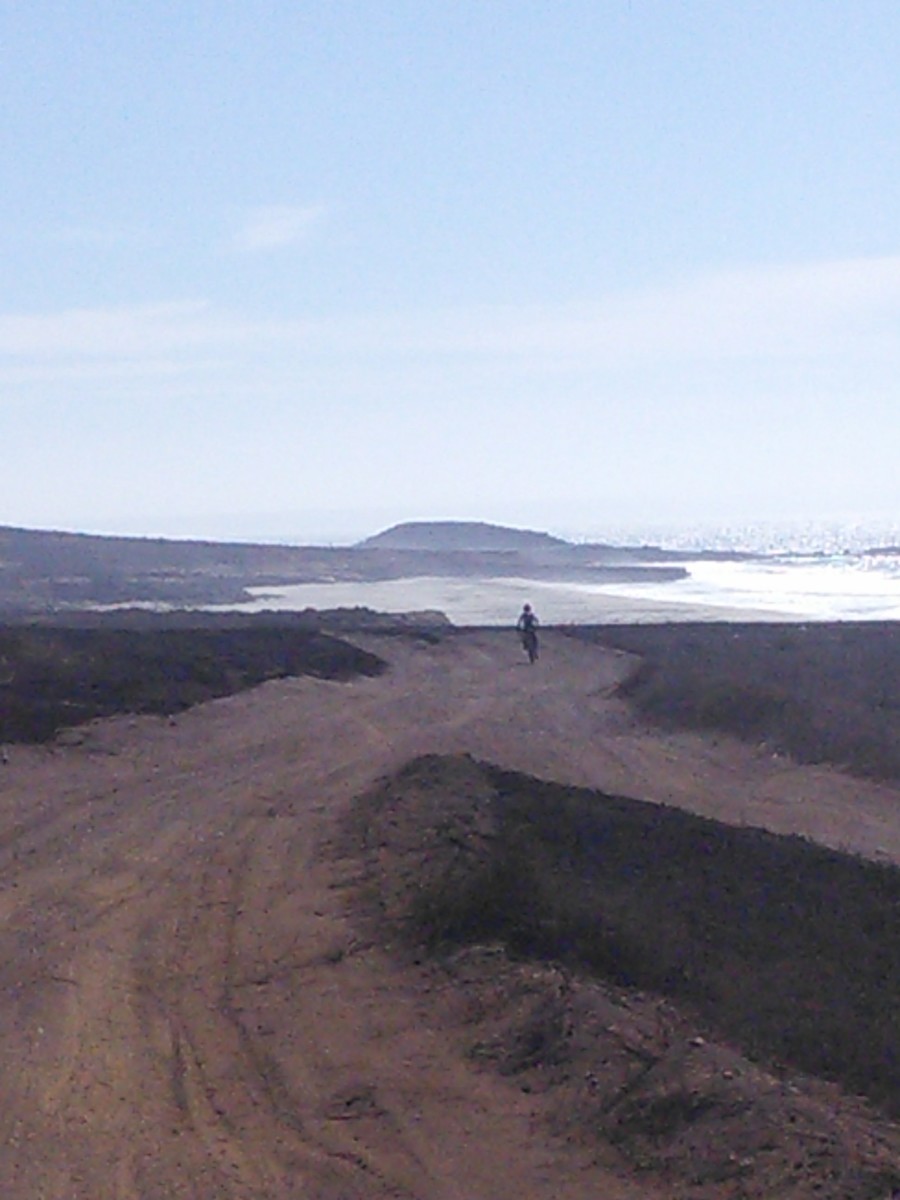
I’m sad to say that the biking parts were often not fun.  This was difficult for both of us to accept as we really do like to bike pack and enjoy a challenge.
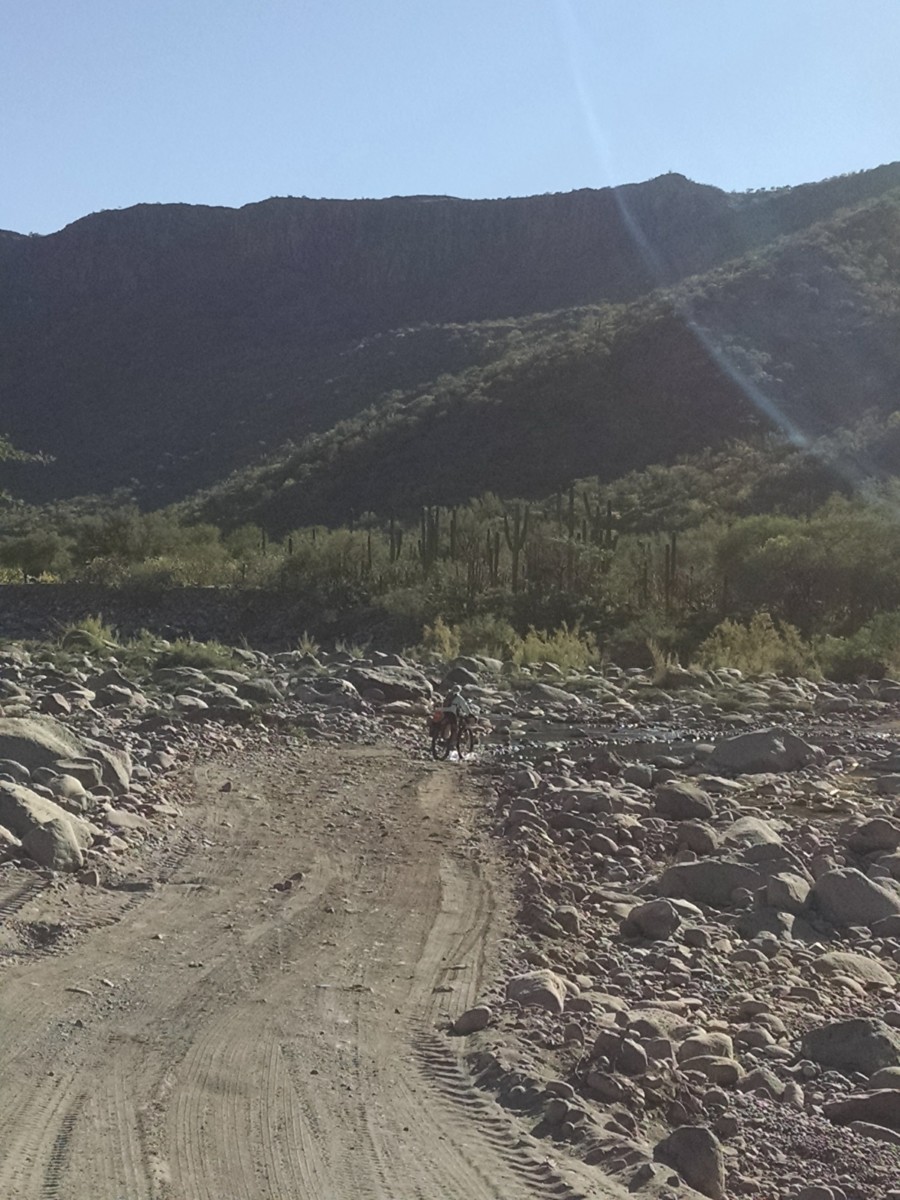
Would I recommend the route?  I don’t think so.  I continue to read the comments on the Baja Divide Facebook page and wonder how many people start the route and then make a change of plans or readjust their trip like we did.  Again, this route is very rugged and remote and we’ll probably never hear about those who have been seriously injured or ill and in trouble.  Occasionally someone will post about bike issues but we were fortunate to not have any problems.  We had dinner in La Paz, with Jenny and Matt Aker – also professional endurance bike racers.  At first they gushed about the route and the ride and it was only after we started asking them hard questions and sharing our experience did they admit that yes, even for them, the route had some extremely challenging moments.  It’s interesting that bike riders only seem to post about the good times.  We don’t want to come across as sour grapes type people and we aren’t.  We are realistic people and want to communicate that it isn’t always “fun” and this route should never be taken lightly.

Was it scary?  We got this question on our Facebook pages often. The Baja was not scary at all, ever. Out in the middle of nowhere if we came across people they were always friendly.
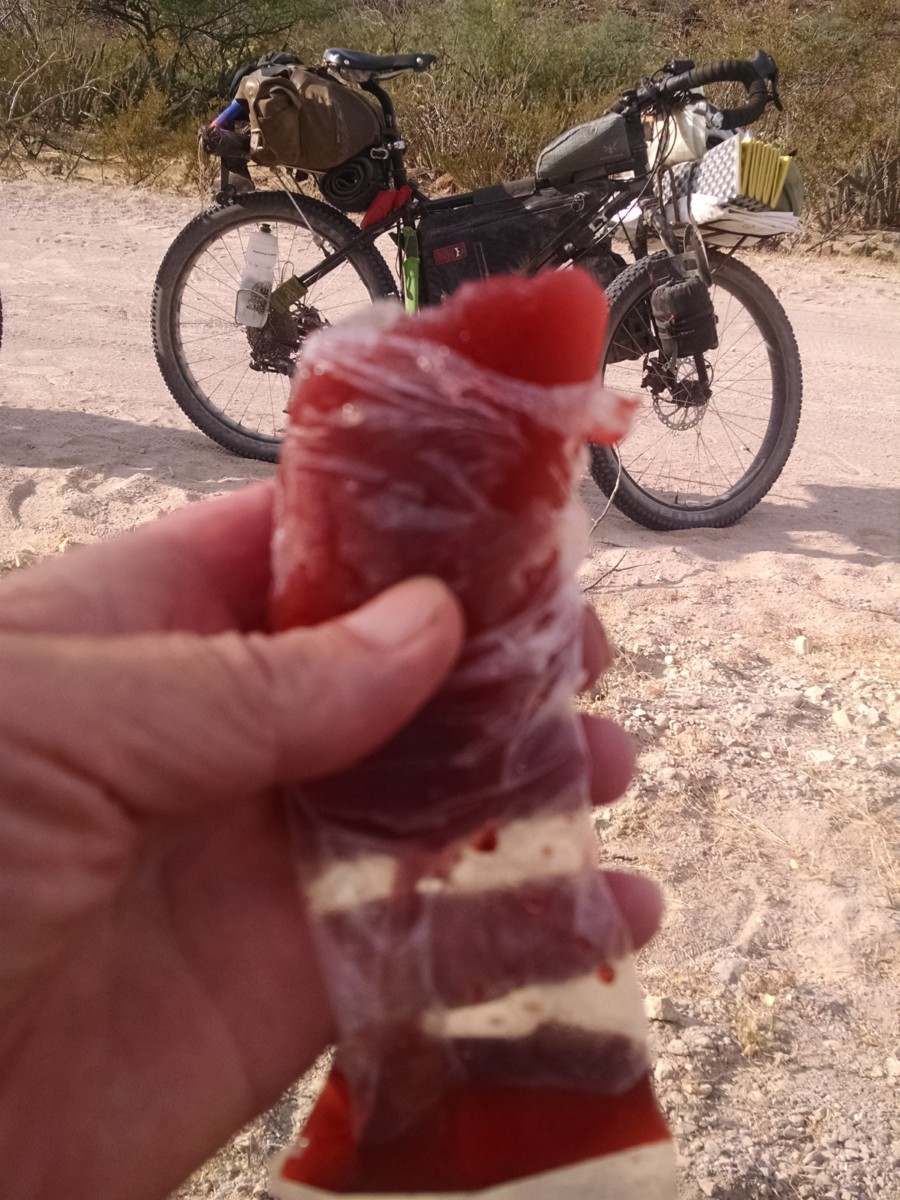
The Amazing Kool-Aid Popsicle – Gift from a Trail Angel

We wished we knew the language.  Total strangers would offer us beer, cold drinks, food.  Shop keepers would smile and laugh as we bumbled through attempted communication and they repeated words over and over for Jim so he could work on the correct pronunciation.  We walked the streets of La Paz well after dark and never felt uncomfortable.
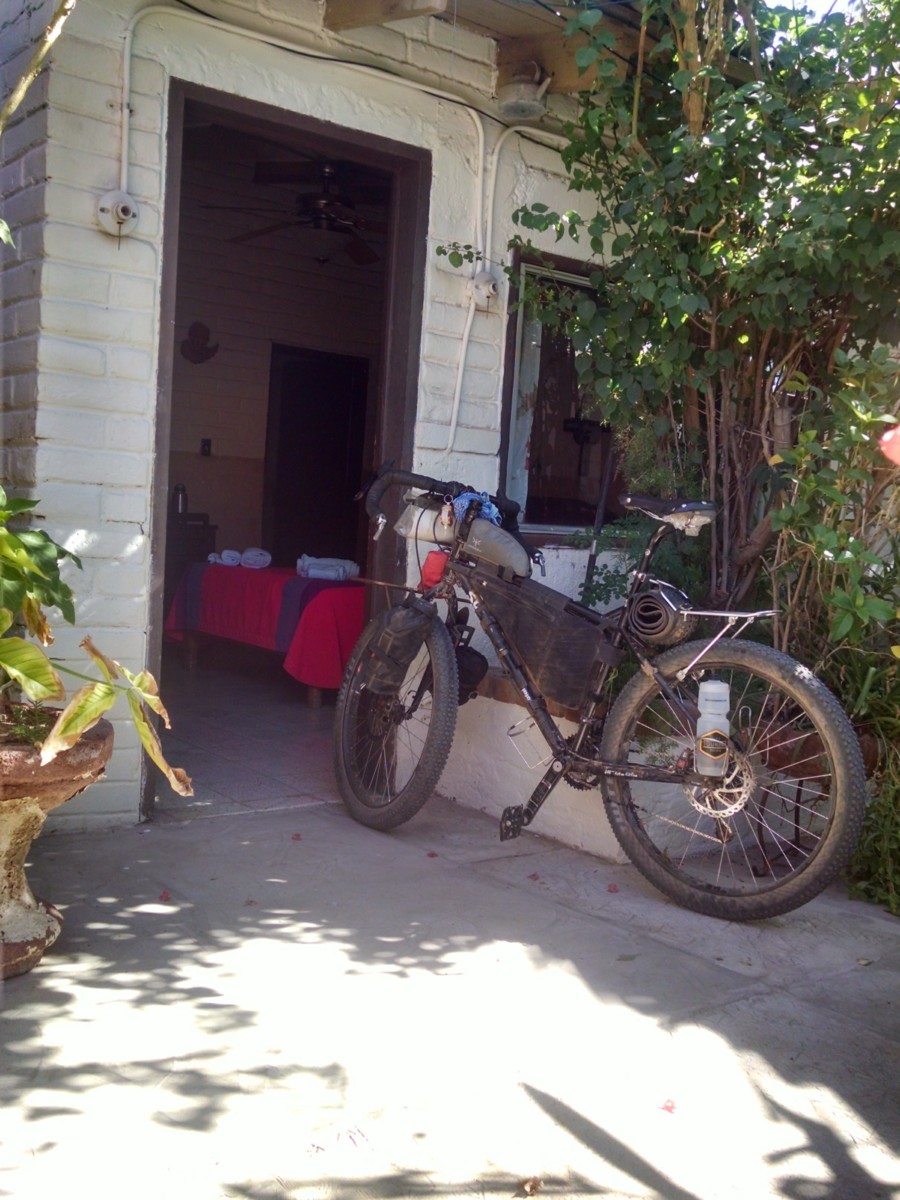
Will we go back?   I hope so, but it won’t be on bicycles.  The Bay of Conception worked its way into my heart, it would be intriguing to return for an extended stay.
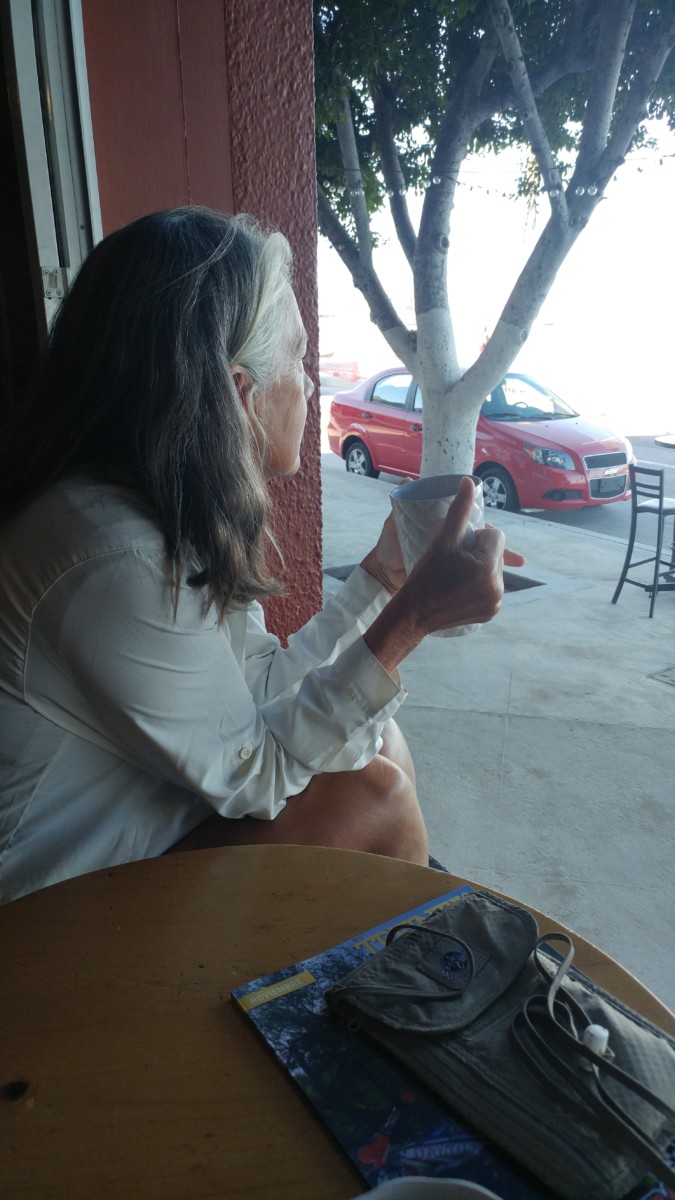
What’s next?  I type this sitting outside in Yuma, Arizona.  Our next obligation isn’t until May 1st when we report to work at a dude ranch in Victor, Idaho.  We are still adapting to the slow life but getting better.  We may or may not get to Alpine Texas this winter.  We may just get lost in the Arizona desert too.  Regardless, we know there is plenty of biking in our future.

Categories
Surly Bikes Touring Bicycles

2017 Surly ECR and Krampus

With the creation of the Krampus and the ECR Surly Bikes introduced a new wheel/tire standard; 29+.

In 2017 they revamped both bikes in order to take advantage of some new technologies and hub standards.

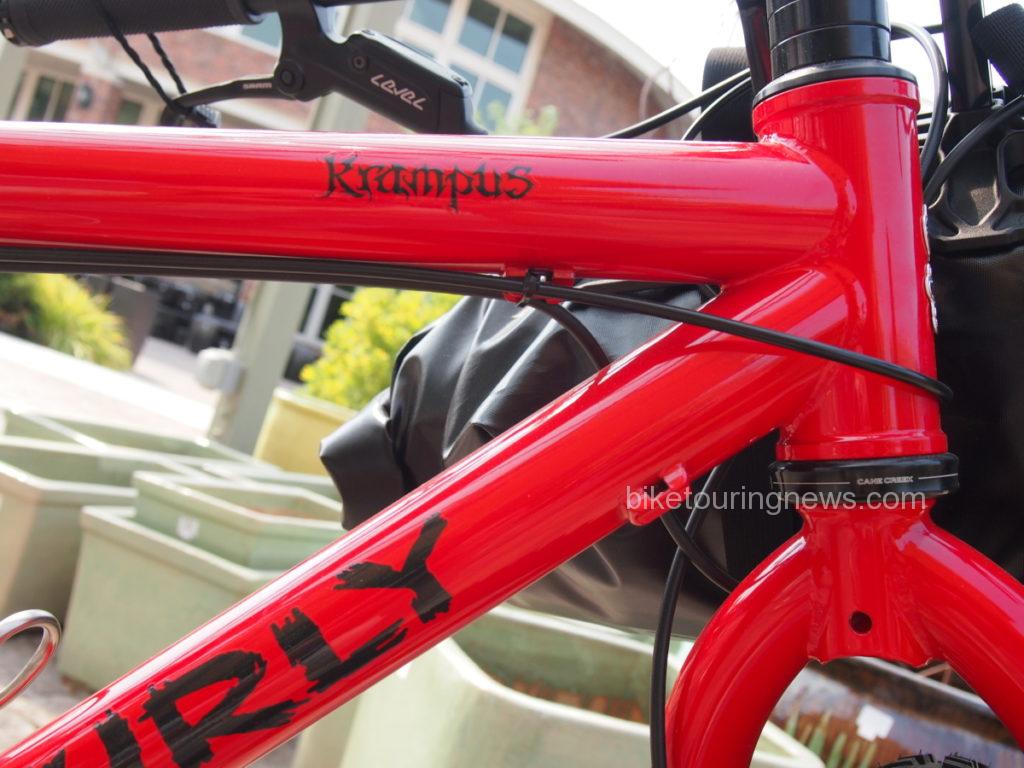
Krampus
In regards to handling, the Krampus has always been the more playful sibling to the ECR due to a slightly different, more trail oriented geometry. In fact it is listed on the Surly Bikes website in the trail category while the ECR is listed in the touring category..

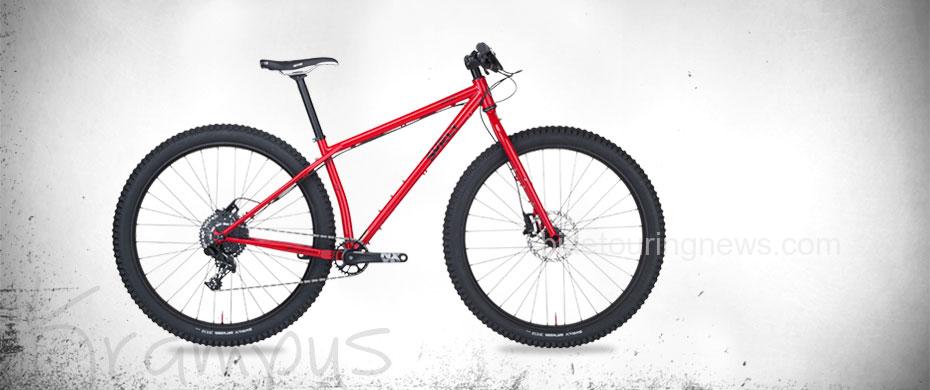
Image of Surly Krampus

Here’s a quick rundown of changes to the complete Krampus bikes for 2017:

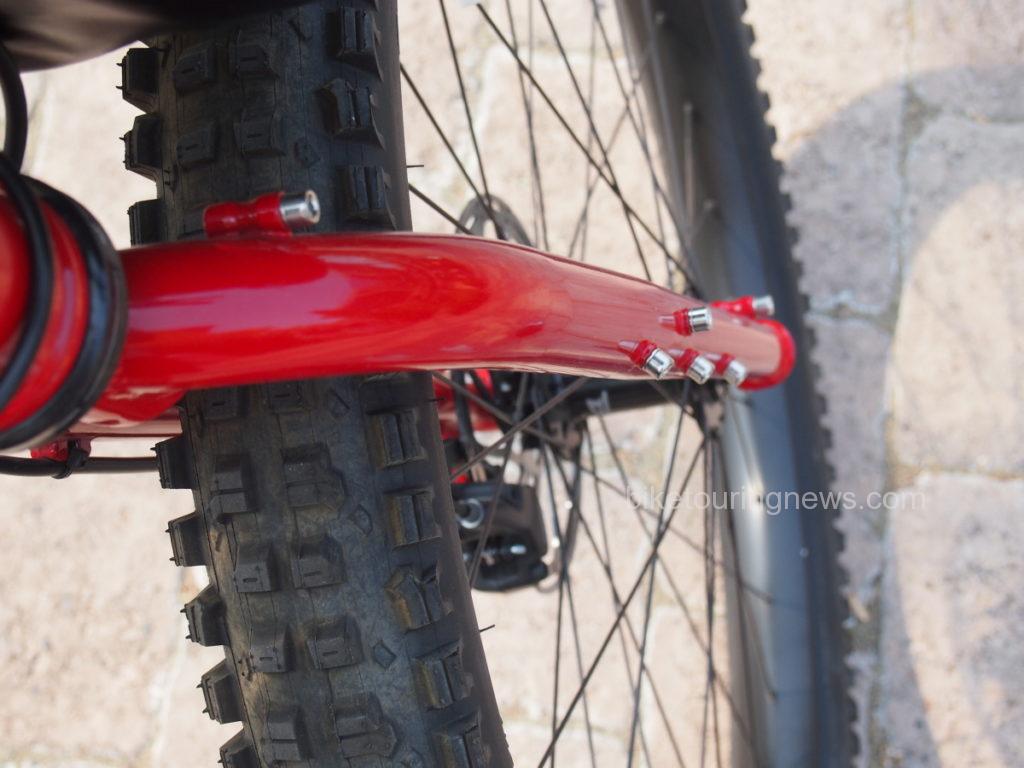
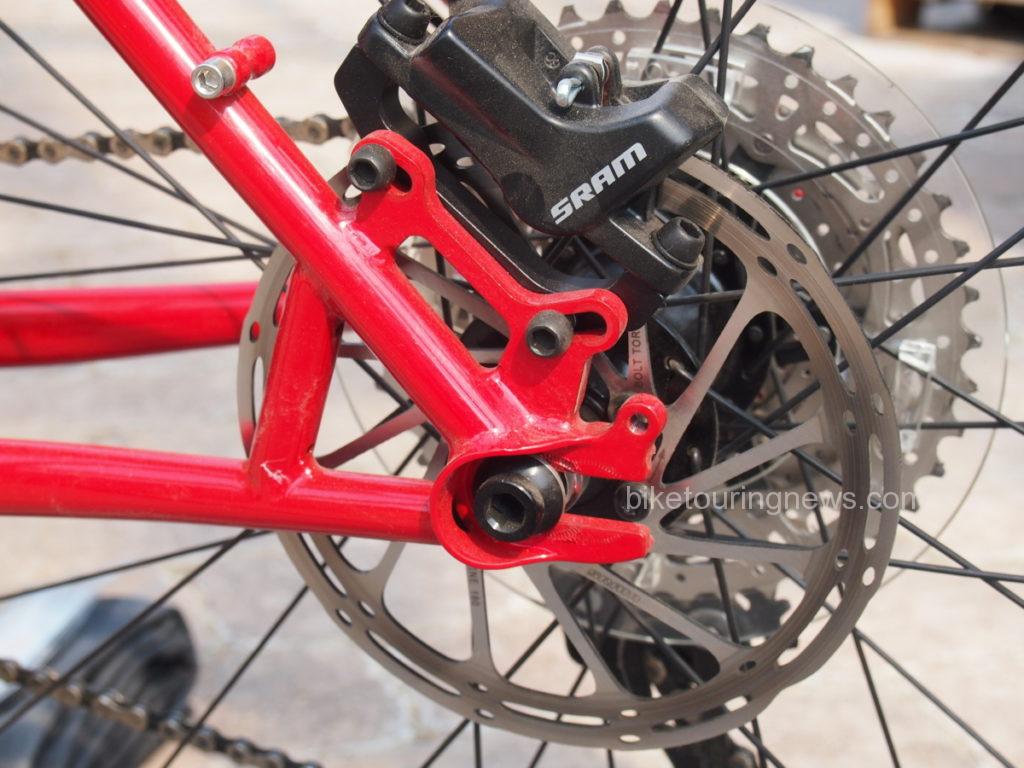
  • The frame (still 4130 chrome-moly steel) is internally butted and externally shaped for added strength. The head tube diameter is 44mm to accommodate forks with tapered steer tubes. The seat tube now takes a seat post with 30.9mm diameter so most dropper posts will fit. And there is a port for an internally routed dropper post cable. Rear dropouts are another Surly innovation, one they call “Gnot Boost”. The short description for Gnot Boost is that it will accept 3 of the most common current rear hub standards. The long description can be found in this earlier post on the 2017 Surly Karate Monkey bikes. The fork only accepts a 15x110mm thru axle hub.
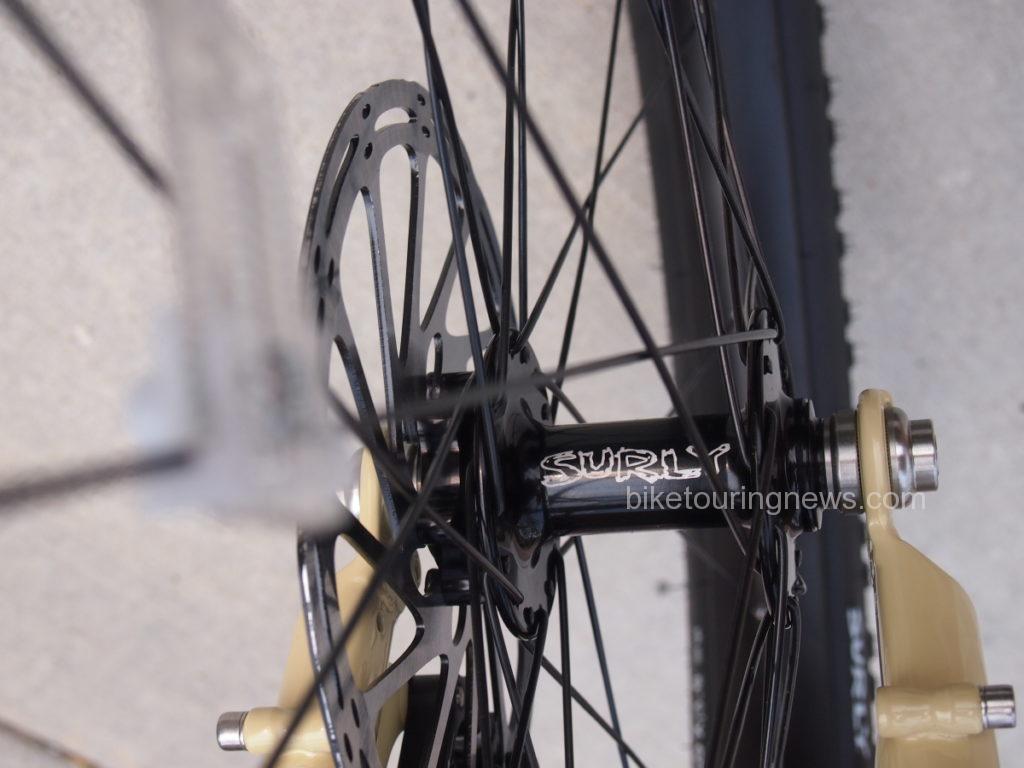
  • Surly supplies complete bikes with a Salsa 12×148 mm thru axle rear hub and Salsa 15×110 mm through axle front hub laced to Alex MD40 rims. The Surly Dirt Wizard tires and the rims are tubeless ready but the bikes are delivered with tubes installed. Rim tape, valve stems and sealant are all that’s needed to make them tubeless.
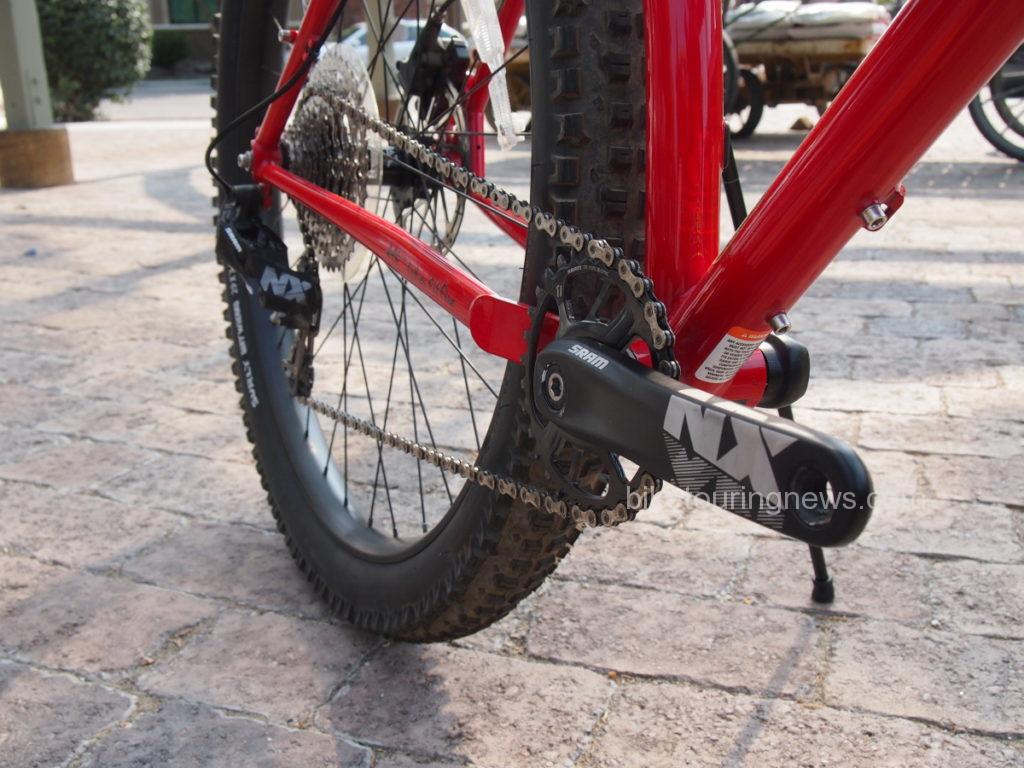
  • The gearing is now 1×11 with a SRAM NX drive train. 30 tooth chain ring and 11-42 tooth cassette.
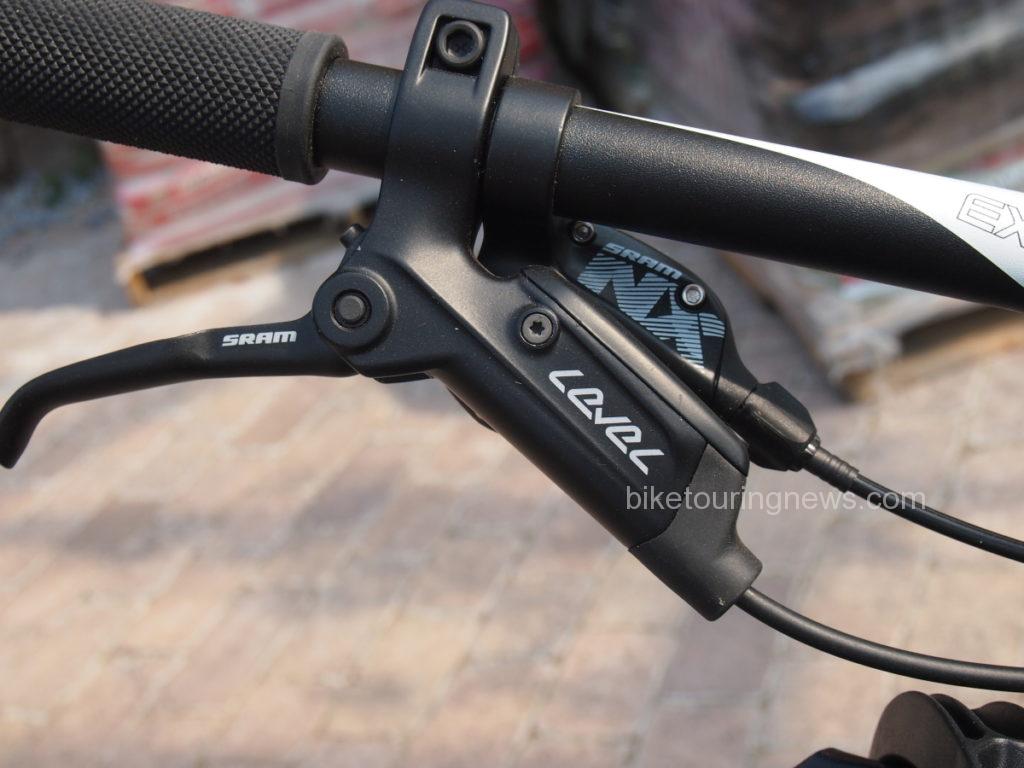
  • SRAM Level hydraulic brakes provide most excellent stopping.

image of dropout

image of Krampus tubes

1x11 drive train image
image of brake and shift lever

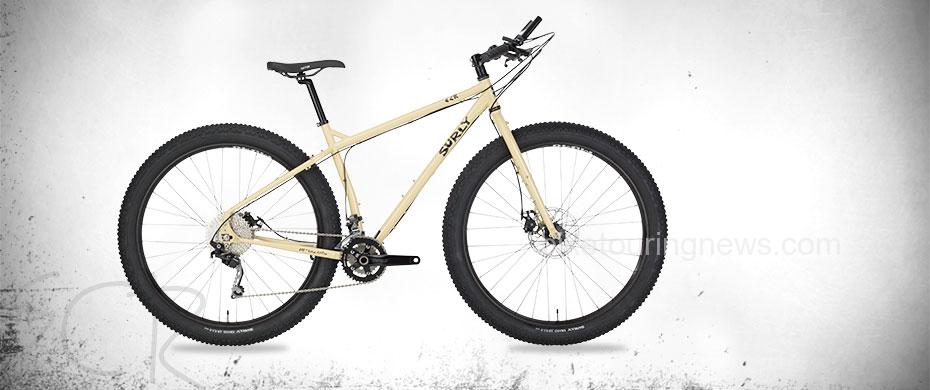
ECR -(No, I don’t know what ECR stands for) – Sky King would say Extremely Cool & Rad

image of Surly ECR bike

The changes to the ECR for 2017 are not as dramatic:

  • Probably the biggest change in 2017 is that the x-small and small ECR bikes are designed to use 27.5″ wheels. The medium bikes can be had with either 27.5″ or 29″ wheels. The large and x-large bikes are only available for 29″ wheels.
  • The updated Troll dropouts get the Gnot Boost treatment but still have Rohloff hub torque arm slot and they still have holes to mount one of the Surly trailers- Ted and/or Bill. That’s pretty neat!  The fork takes a standard 100 mm quick release hub and is not suspension corrected. The seat post is still 27.2 and the head tube still takes a standard 1 1/8″ non-tapered headset.

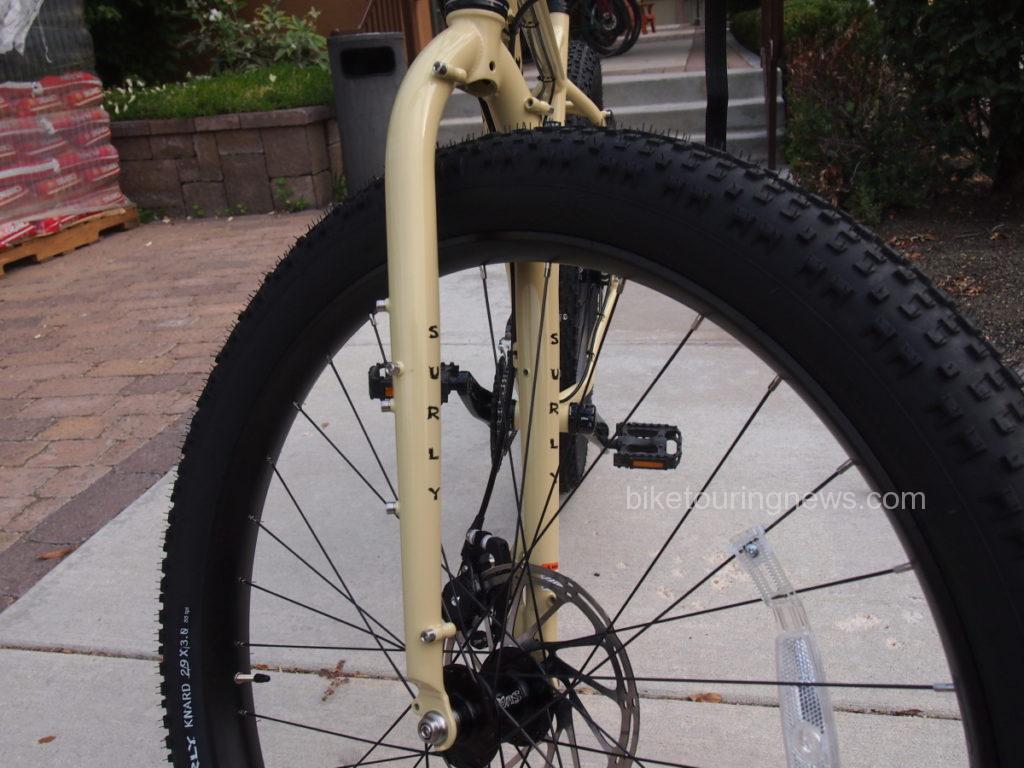
image of front fork Surly ECR
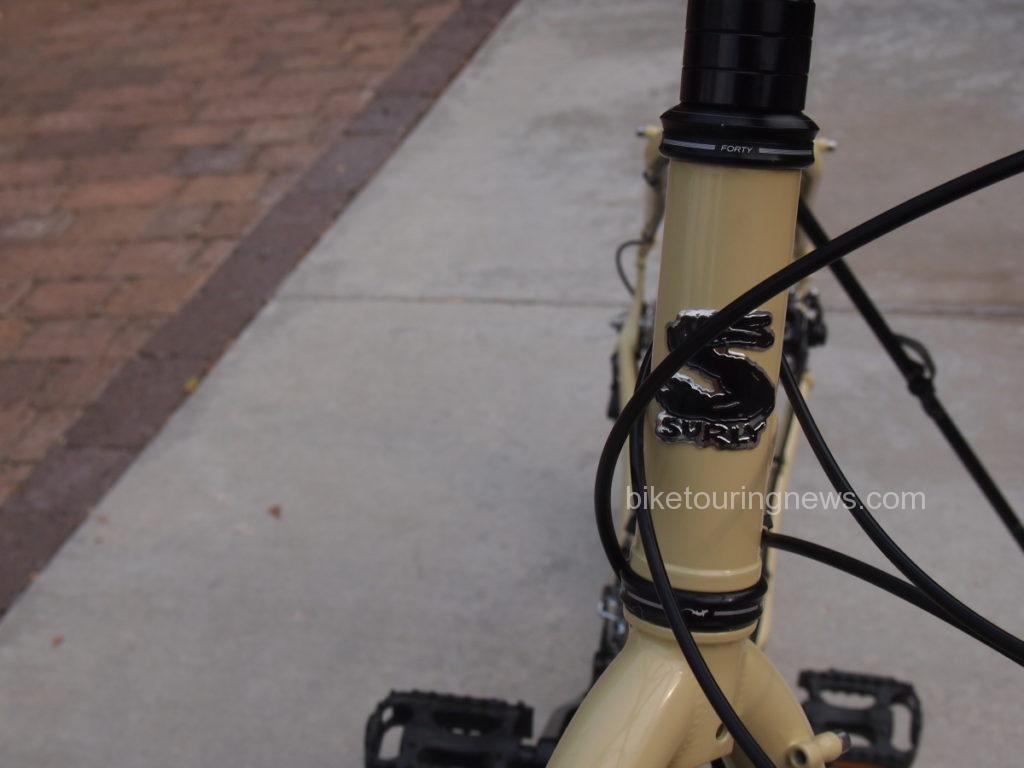
image of Surly head tube and badge

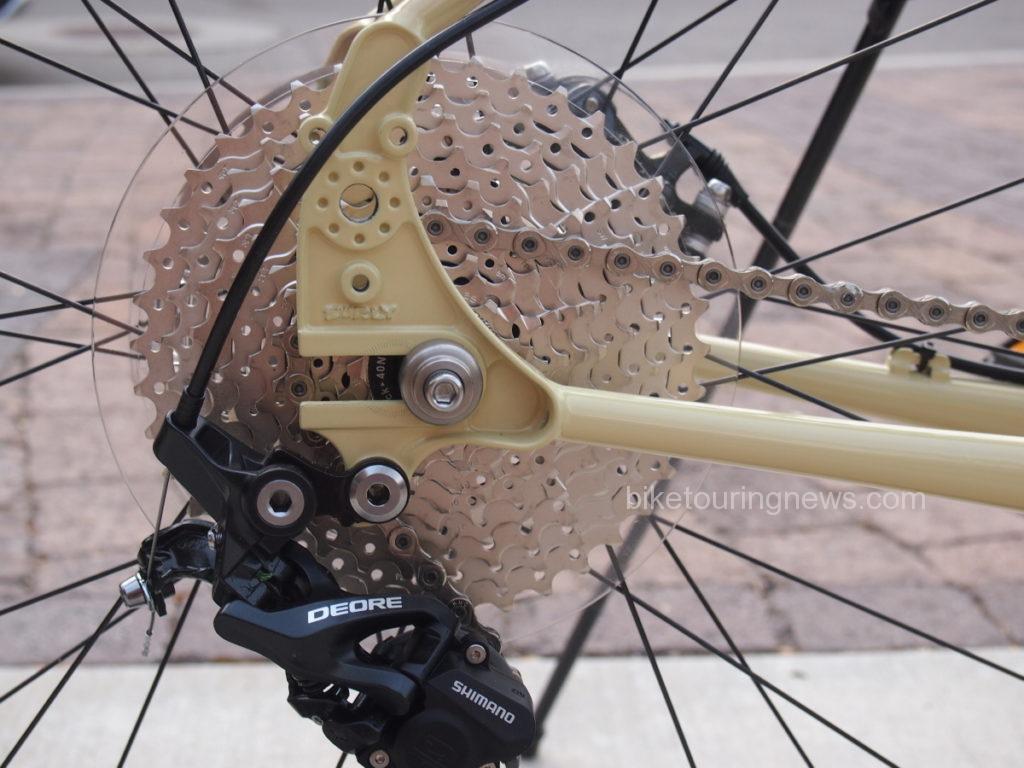
  • Gearing is still 2×10 but the rear cassette has a 40 tooth large cog vs. 36 on the legacy ECR.

image of ECR rear dropout
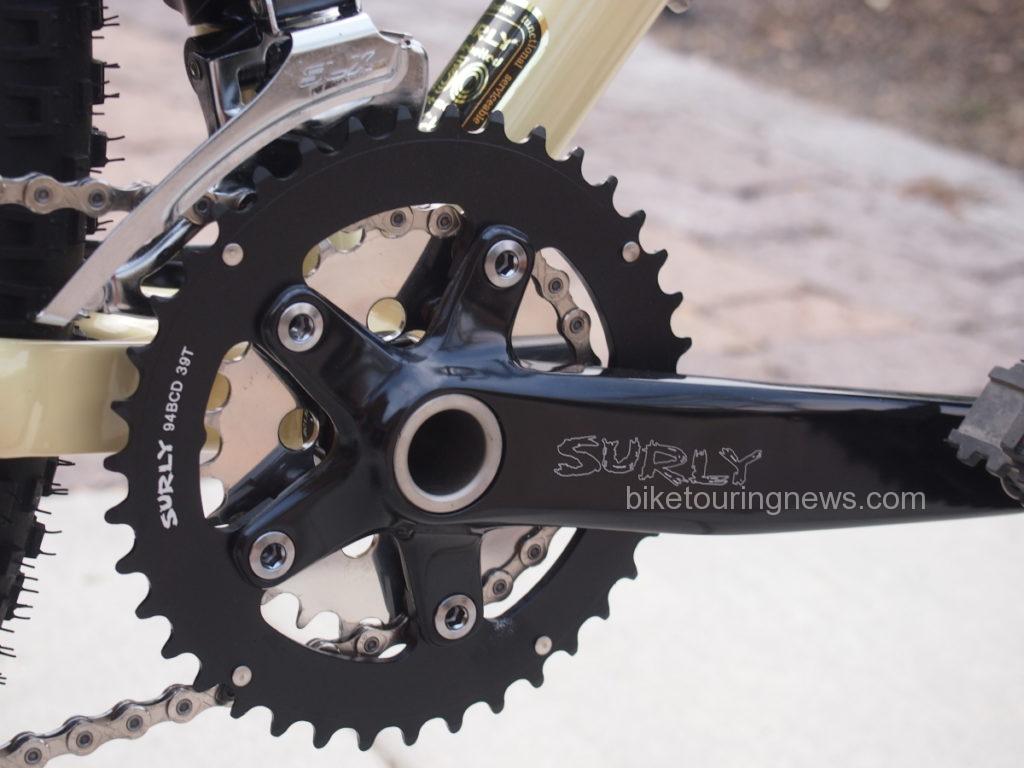
image of Surly O/D crank

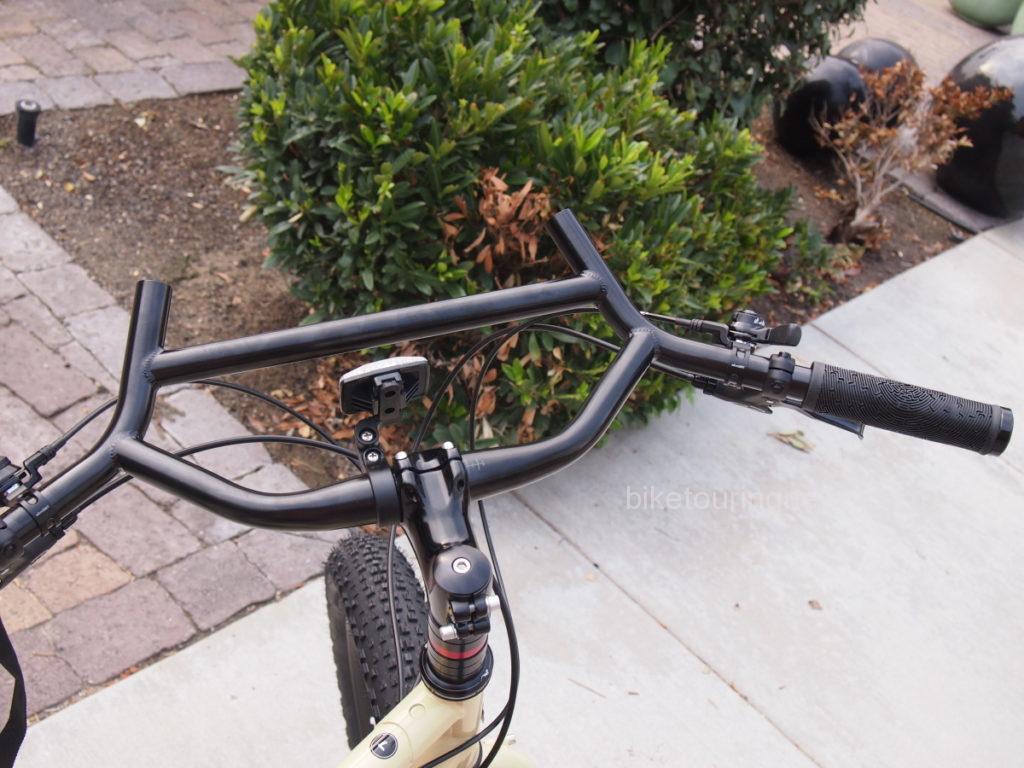
      • Surly’s own Moloko handlebars handle steering and controls.

Image of Surly Moloko handlebar

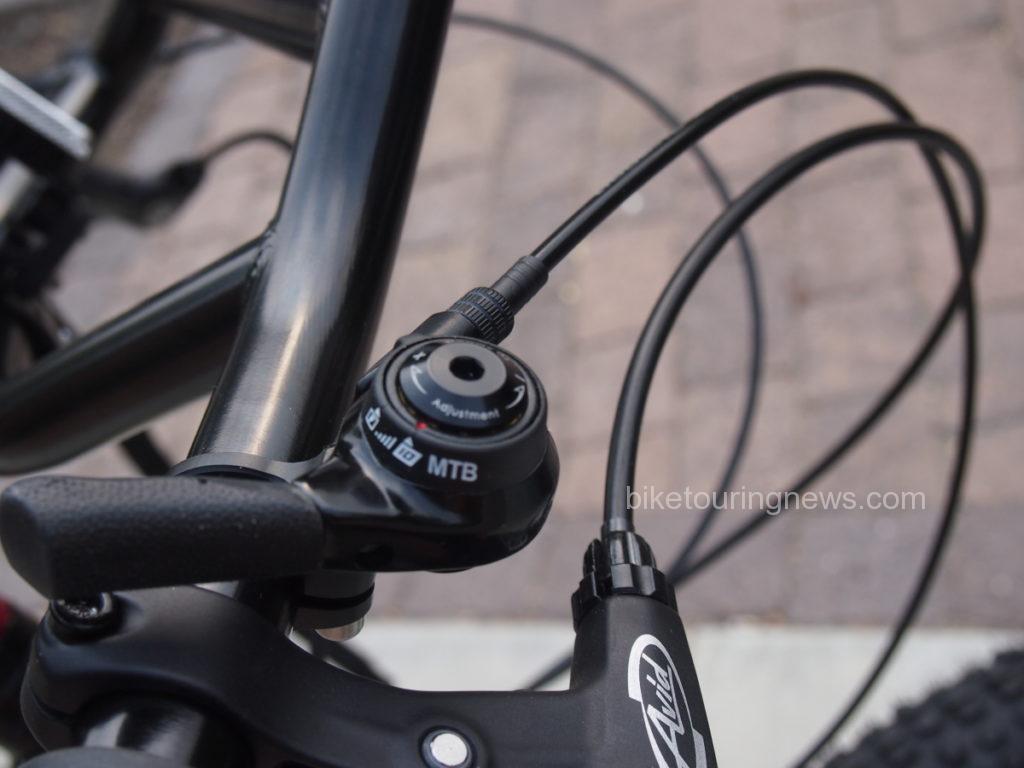
image of shift lever

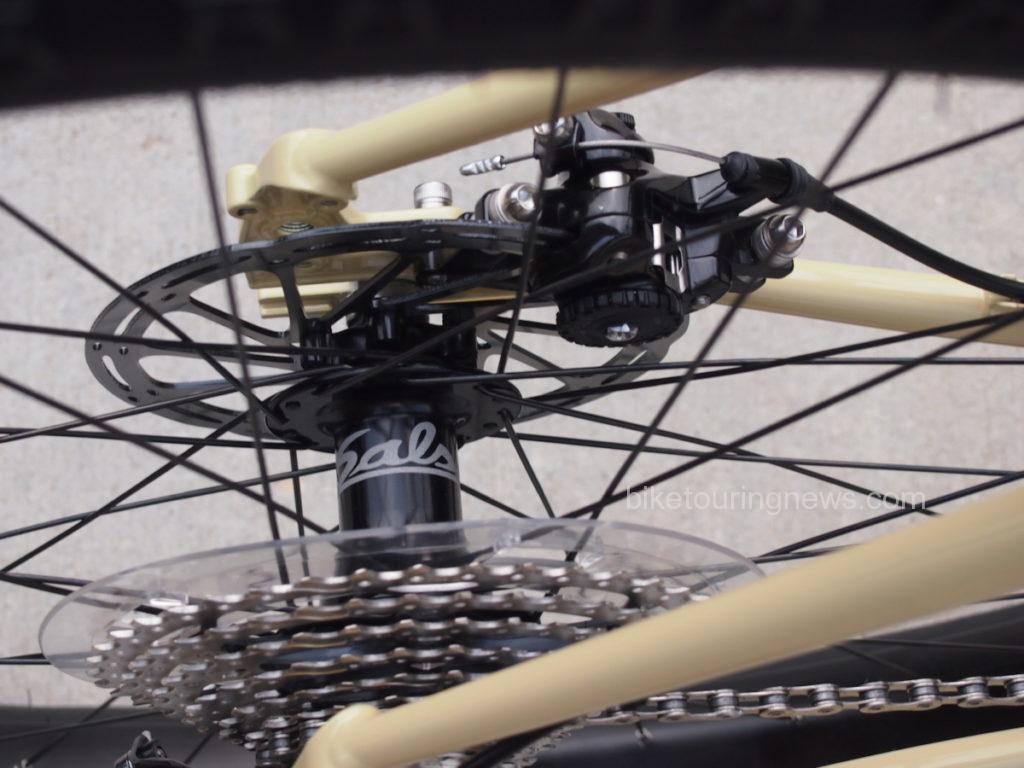
  • Rear hubs on complete bikes are Salsa 12×148 through axle and the front hubs are Surly Ultra New 100mm quick release. Alex MD40 rims.

image of Salsa Boost rear hub

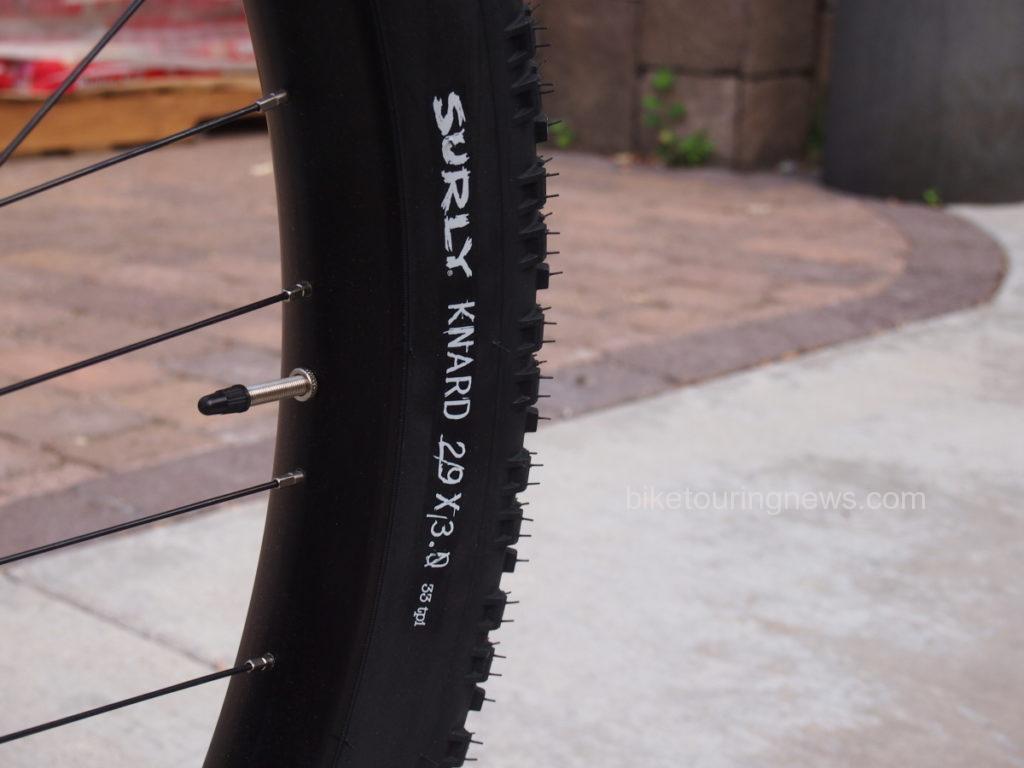
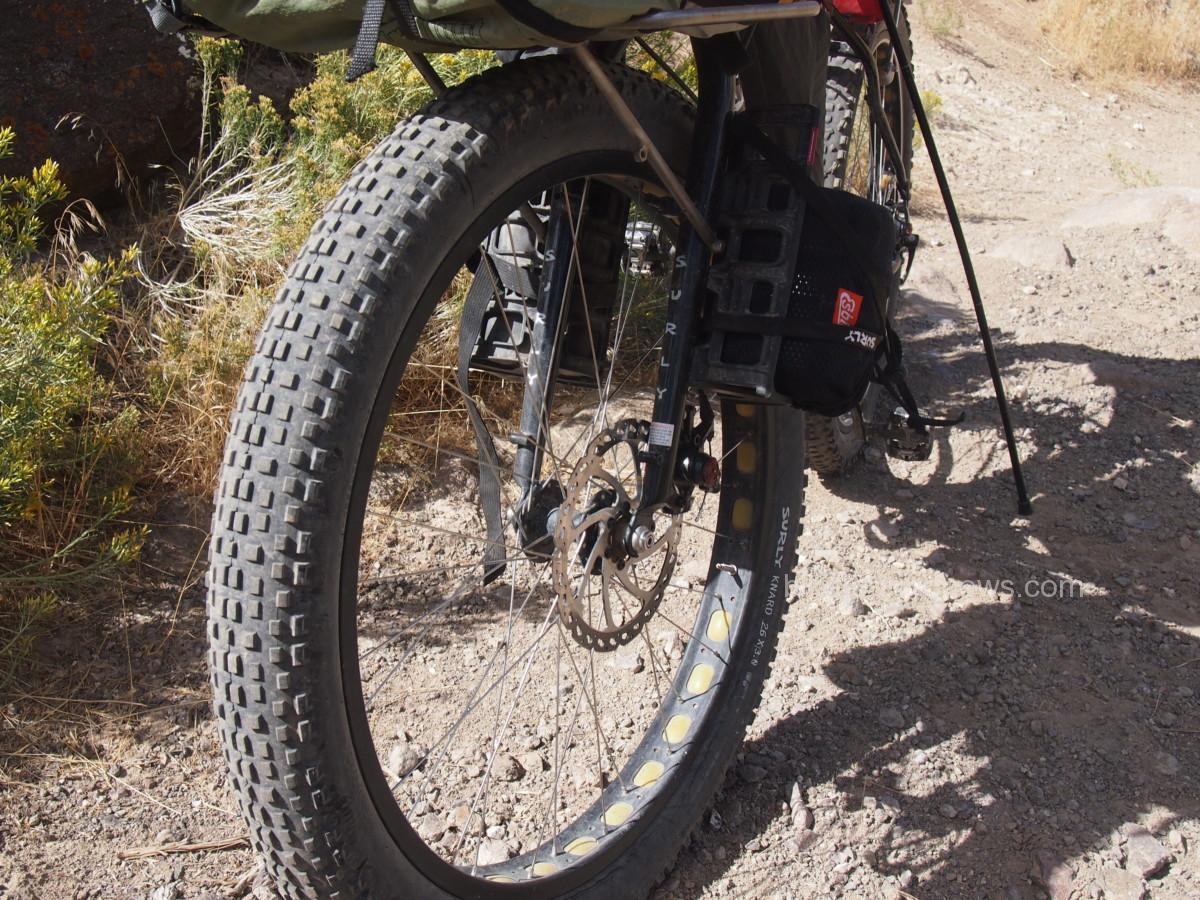
image of Surly Knard tires

image of Surly Ultra-New hub

In Summary
For bikepacking either bike will work, especially since the Krampus fork now sports more braze-ons for racks and cages. A couple of things make the ECR better for a dedicated camping machine though. For one, the BB7 mechanical disc brakes on the ECR are more easily serviced in the field. The ECR has a wider gear range with the 2×10 drive train. The lowest (easiest) gear for climbing is only nominally lower but the top end for fast cruising on smoother roads is significantly higher with the ECR. For the person who wants one bike suitable as a bikepacking machine and a fun, nimble all mountain trail bike the Krampus would be a great solution.

Categories
Crossroads Music

Fleetwood Mac

Peter Green’s Fleetwood Mac. Circa 1969 I bought this double album called Fleetwood Mac in Chicago at Super Saver Drug in Bozeman, MT. I think I paid $6.95 or so which was a lot of money for a fifteen year old kid. I bought it because the people in the pictures on the cover were cool. Otis Span, Willie Dixon, Big Walter “Shakey” Horton and some skinny, long-haired white kids who looked as if they could scarcely give a shit.

I wore that record out. I bought another copy and wore that one out too. The fame and noteriety ( Peter Green’s Fleetwood Mac sold more records than The Rolling Stones and The Beatles combined, I’m pretty sure) wore the band members out too. The stories are tragic. But the music is transcendent.


Not only one, but three brilliant guitar players. Peter Green, Danny Kirwan and Jeremy Spencer.

Categories
Surly Bikes Touring Bicycles

Karate Monkey 27.5 Plus

Surly Bikes as a company cultivates an image of being comprised of hooligans who, between visits to the tattoo/piercing/beard parlor, drink beer and ride bikes through campfires and sleep under bridges. While this describes the surly lot I know, they are also smart business people and engineers who happen to love bikes and bike riding. I think that is why, even if it takes longer than anyone predicted, when new products are rolled out all the bugs have been identified, all the details are considered and finalized, and everything works. Turns out, drinking beer and riding bikes through campfires is a good way to test bikes.

Consider the new Karate Monkey:
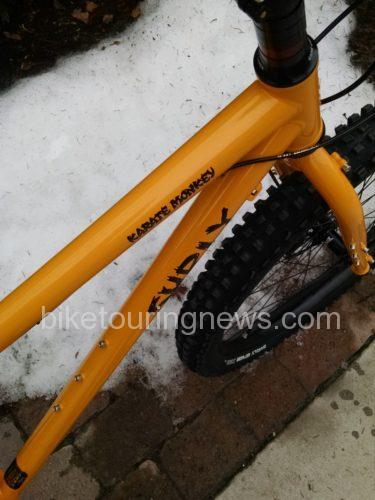
Surly Bikes’ Karate Monkey has been around almost as long as the company and in Surly tradition hasn’t changed too much over the years except for a few tweaks here and there. However, the 2017 bikes are hardly recognizable as Karate Monkeys of yore.
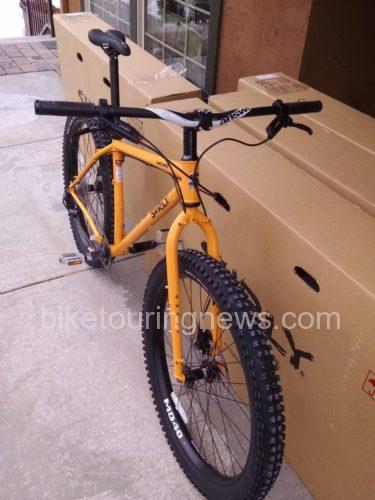
surly karate monkey bicycle
The Surly Karate Monkey 27.5+ Complete

The 2017 Karate Monkey has a new geometry:
– The only numbers that stay the same- geometry wise- between the old bike and the new one are the length of the head tubes and the seat tube angle. The new bikes have shorter chain stays, longer top tubes, less bottom bracket drop and slacker head tube angles. Effectively the rider is planted more over the rear wheel with the front wheel relatively far out in front. The wheelbase in the new version for the large bike is 50mm or 2 inches longer. The slack head tube and short stem have the effect of bringing the bars closer to the rider to help make up for the length of the top tube. This is a “modern trail geometry” which is meant to give the rider a combination of confident handling and agile steering.
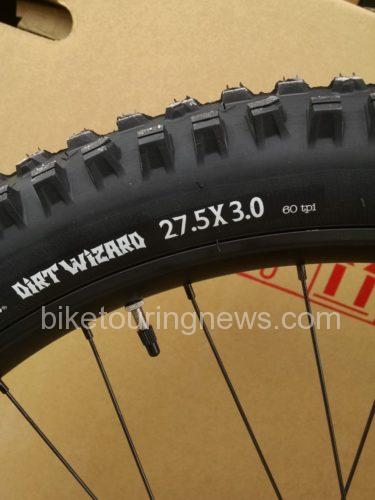
Surly Dirt Wizard 27.5x3

The complete bikes are offered with two wheel sizes:
– The 1×11 geared version is spec’ed with 27.5+ wheels and tires. The stock tires are 27.5 x 3″ Surly Dirt Wizard with a 60 TPI rating. The bead is folding and the tires have a nylon insert in the sidewall and a new, more durable rubber compound. Surly says the tire is tubeless ready, but the bikes arrive stock with tubes in the tires. The Alex MD40 rims are tubeless compatible too, so to run the tires without tubes, all that’s needed is some tubeless rim tape, a valve stem and some sealant.
Here at Bike Touring News, we think 27.5+ tires (27.5 is the same thing as 650b but sounds more rad, and the +, or plus, means the tires are around 3 inches wide) are the sweet spot for traction and comfort for bikepacking and trail riding.

-The complete, single speed bike uses the identical frame, available in different colors, and 29 inch (700c) rims and tires. Surly also sells frame sets which are compatible with either wheel size.

Dropouts
-Rear Hub
Below we have two videos; one from Hermit’s Workshop and one from Surly Bikes which explain and illustrate Surly’s Gnot Boost rear frame spacing and dropouts. Basically all you need to know is that a standard 142mm thru-axle hub will work as will a 148mm spaced boost hub. With the spacers Surly provides with the frame, a 135mm quick release hub will work too. So for those with some parts on hand or who are taking parts off an existing bike to put on a Karate Monkey frame, chances are good the rear hub will fit.


-Front Hub
The stock fork on the complete bikes and frame sets is designed for a hub with a 15mm thru-axle and 110mm OLD spacing. The fork is also suspension corrected so a suspension fork with 120 or 130mm of travel won’t change the handling/geometry of the bike.

Drive Train
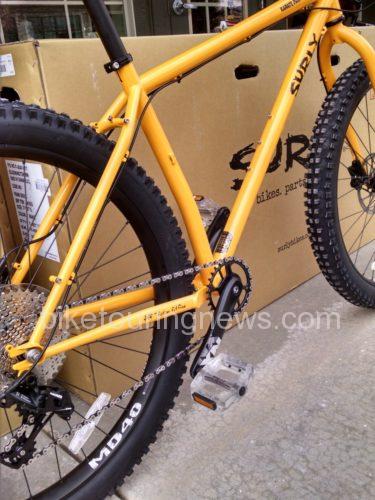
The geared bike uses a 1×11 drive train with a 30 tooth chain ring and 11-42 tooth cassette which should provide a gear low enough to climb all but the steepest grades that will be tackled on most bikepacking trips or single-track riding. The top end will suffer a little bit however compared to 2×10 bike, for example, equipped with a larger, outer chain ring.

1x11
1×11 drive train. Very simple. Fantastic.

Ride and Overall Impression
We have the complete bikes with 27.5+ wheels and these are the bikes reviewed here.
The Answer Expert handlebars are WIDE; 790mm on the larger bikes and 730 on the small. Lots of leverage for the technical bits I guess, but they are a little wider than anything I am used to and I’m afraid I would be hooking them on trees on narrow trails. If that was the case they could always be cut shorter.

The Cane Creek headset on the stock bike is pretty generic and seems to require careful alignment and installation of the fork crown race and the headset cups. The headsets on the bikes we received were almost impossible to adjust tight enough to eliminate play without creating a bind when turning the handlebars. We ended up taking the fork crown races off and cleaning the paint and ED coating off the seat area on the fork so the races would press back on flat. That took care of the binding issues.

Karate Monkey tubes
So-called trumpet shaped tubing for extra strength at the head tube.

rear stays Karate Monkey
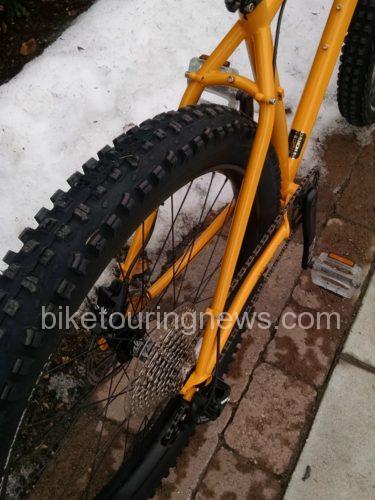
The rear stays have an elegant, powerful look to them

There is so much ice on the streets right now that I have not been able to ride one very far but weaving around the paths shoveled through the snow here at BTNWHQ I definitely sense that the steering is very quick and responsive. And I can appreciate the simplicity of having one chain ring and only one shifter and rear derailleur.

Visually the bike has an aggressive, powerful, dare I say- surly appearance. The “Rhymes With Orange” color is a home run IMHO- very striking. The frame tubes are sized and manipulated in order to provide the best strength to weight to performance ratios and the complete frame sort of flows together. These bikes just make me want to take a break and go for a ride, and I think that is one good metric by which to judge any bike.

Complete component list and geometries can be found at the Surly website.

Categories
Hermit's Workshop

Tune-Up For Touring the Southern Tier

photo of two bikes in the shop

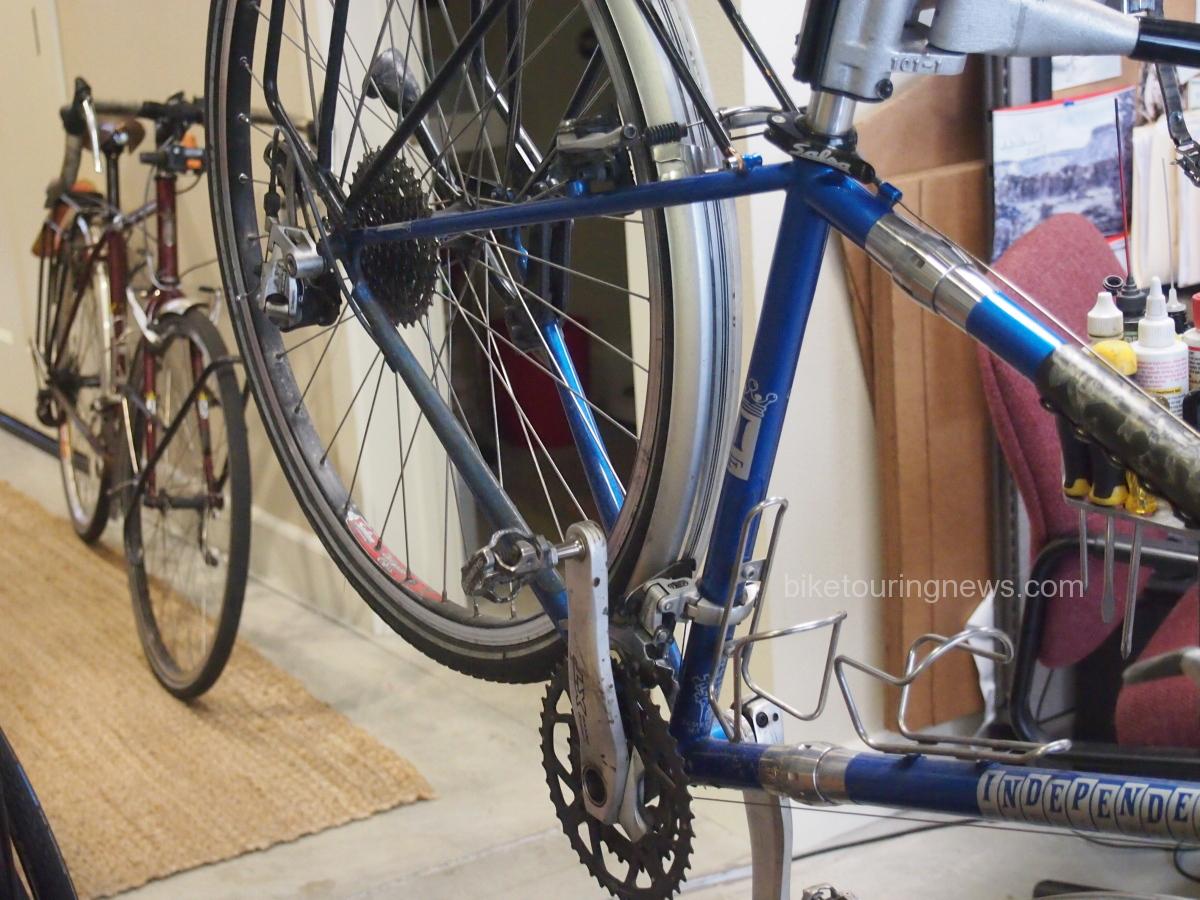
What should the cyclo-tourist do to make sure the bike is ready for a several week long bike tour? A brace of custom Independent Fabrications touring bikes were recently brought in to the shop to be prepared for a ride from Florida to New Mexico along the ACA Southern Tier route. These bikes have been well used over the years and provide a good example of what happens to components with many miles and little maintenance.

Drive Train
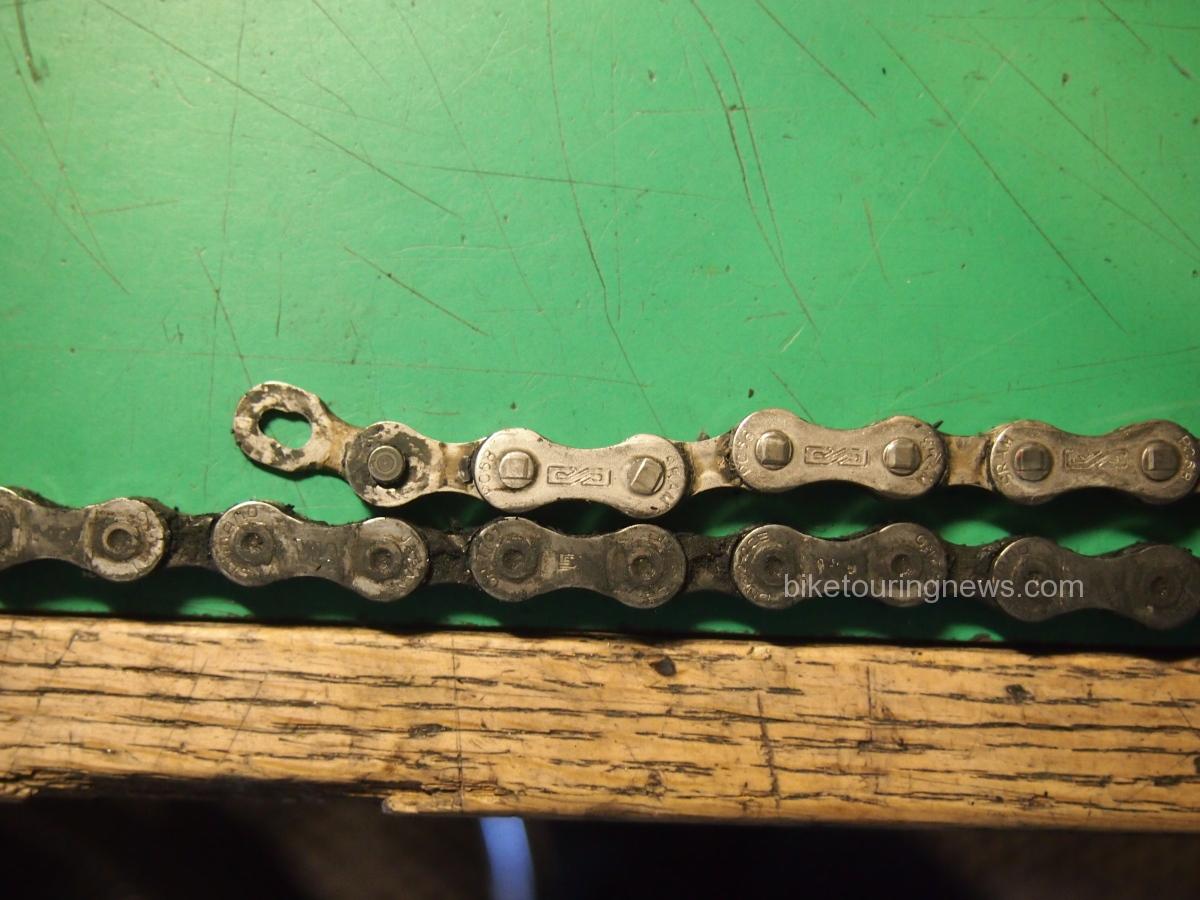
The rotating parts in the drive train will wear out first because- friction. And the weakest link in the drive train chain is- the chain. Chain links will not “stretch” but the pins which hold the links together, using a tight interference fit, will wear down as the links pivot around them. A chain with 116 links can elongate significantly when the pins connecting each link wear even a little bit. 800 miles of riding in sandy, wet conditions can cause enough wear to warrant replacing the chain. Even in dry conditions it’s a good idea to check the chain regularly after 1,000 miles or so. A new chain will have 1/2″ between the center of one pin and the center of the next and this can be measured with a tape measure or a specific chain wear checking tool. If there is 1/16″ or more elongation over 48 or so pins, which would be 24″, then it’s time to replace the chain before it starts to wear the teeth on the chain ring(s) and cassette cogs to the point that a new chain won’t match the new tooth profile.

In this case the chains on both bikes were worn to the point that there was no question that the chain rings and cassettes would all need to be replaced.

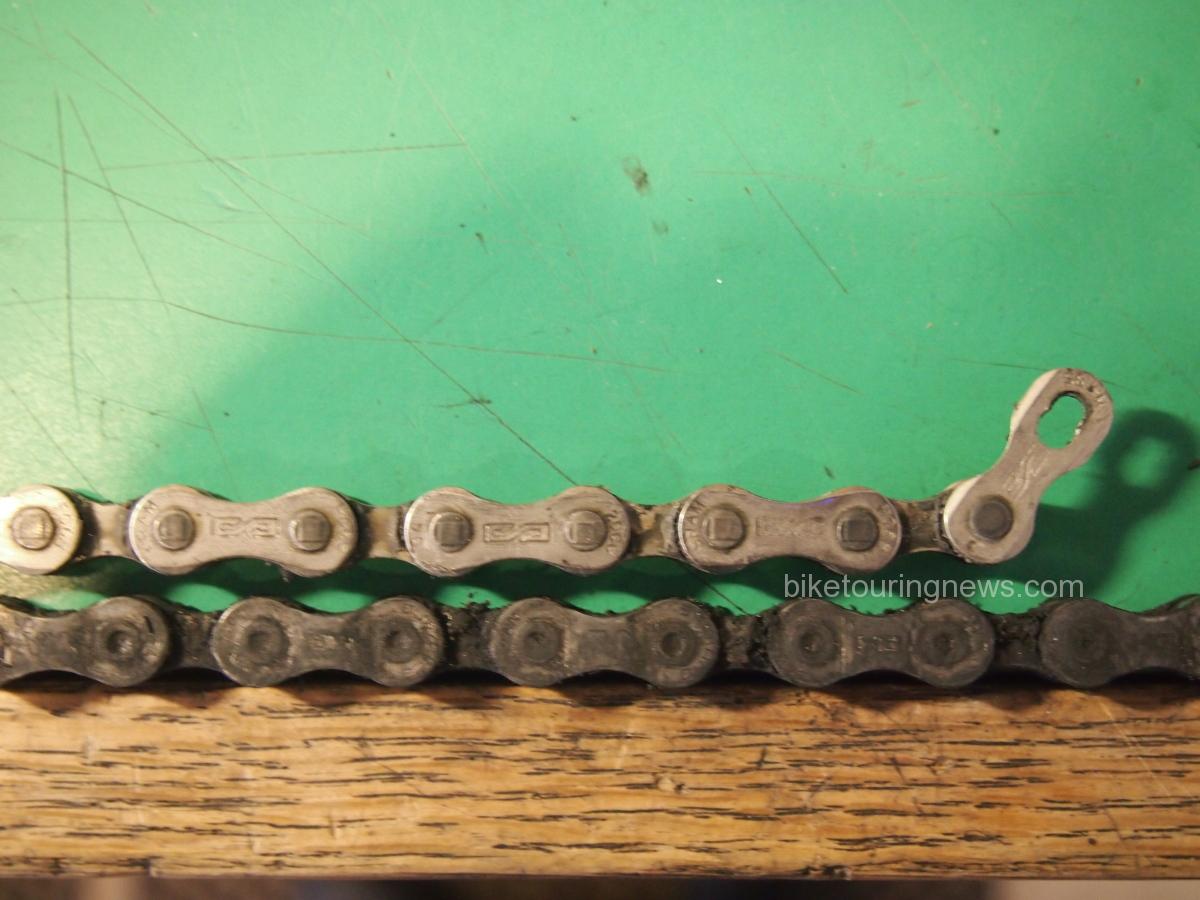
photo of two bike chains side by side
I lined up the pins on the old chain (bottom) with the pins on a newer chain, then checked the opposite end……….

photo of two bike chains
The older chain on the bottom has elongated in overall length by over half the length of one link

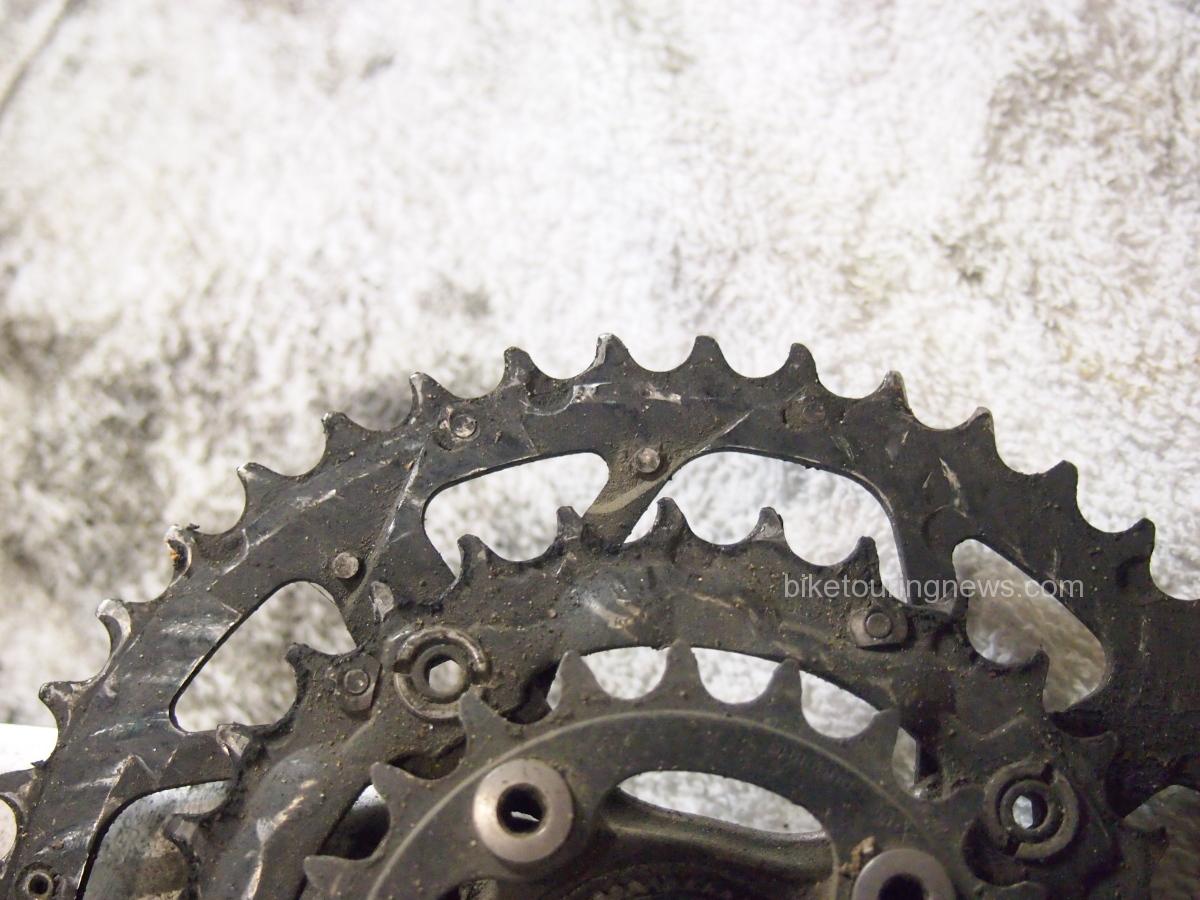
picture of bicycle chain rings
Notice the shark fin shape on most of the teeth on the old, worn rings. These now have a profile, or pitch, which will not match the pitch of a new chain

Replacing Chain Rings
To replace chain rings the crank set needs to come off the bike. There are several different standards for crank interfaces and each one of them requires a specific tool to remove the crank set. There are also varying chain ring bolt patterns across crank makes/models. Replacement chain rings need to be sourced which have the corresponding number of bolts and the same “bolt center diameter” (BCD) dimension. Most chainrings can normally be used on other manufacturers cranks as long as the number of bolts and the BCD is the same, but some manufacturers make that more difficult- in some cases making some of their own chainrings incompatible with even their own cranks of the same model which might be of a different vintage (looking at you Shimano). So it is best to get the rings from the same maker as the crank and with the same model designation.

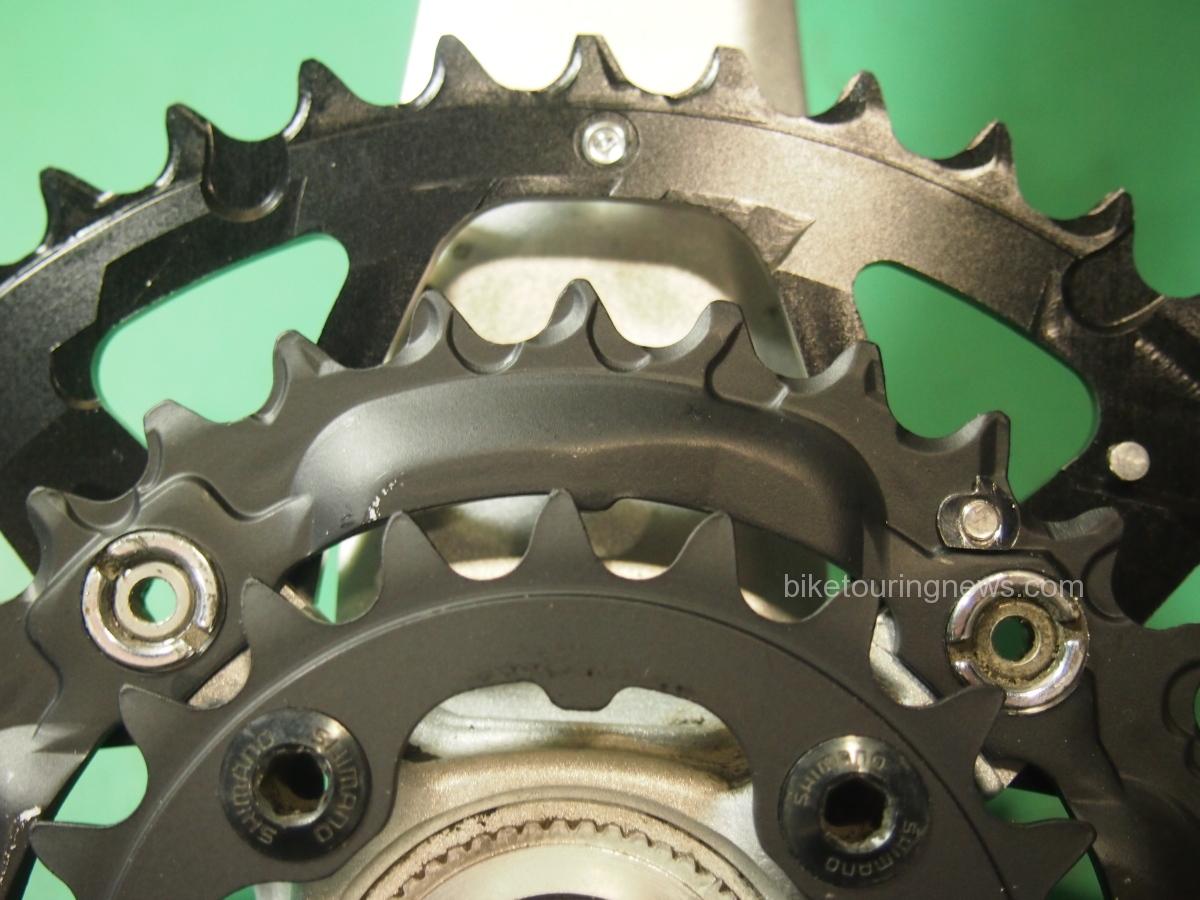
Image showing alignment of chain rings.
Make sure the new rings are aligned using the little tabs or pins between one pair of bolt holes

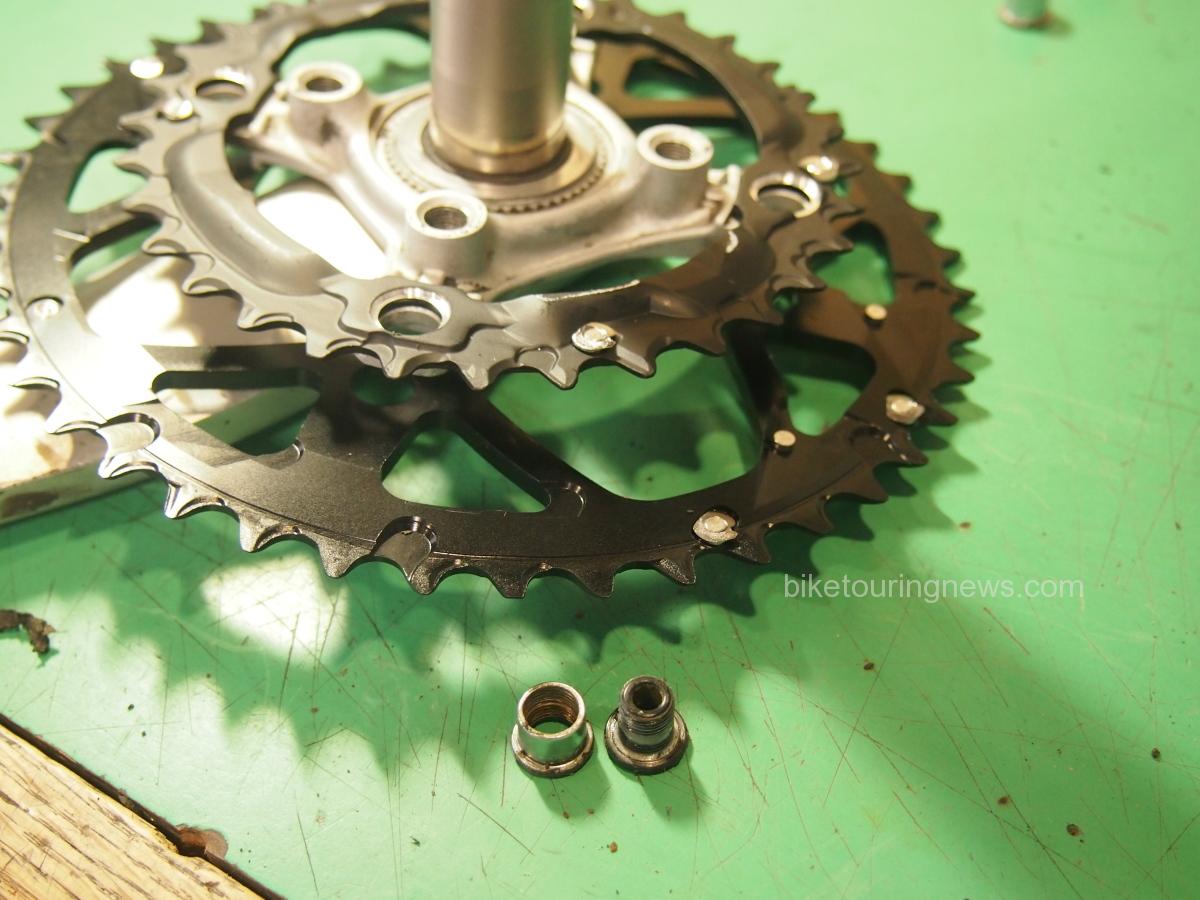
Image of new chain rings being attached
Pay attention to the bolts when removing the old rings. Put the new rings on the same way.

Bottom Bracket
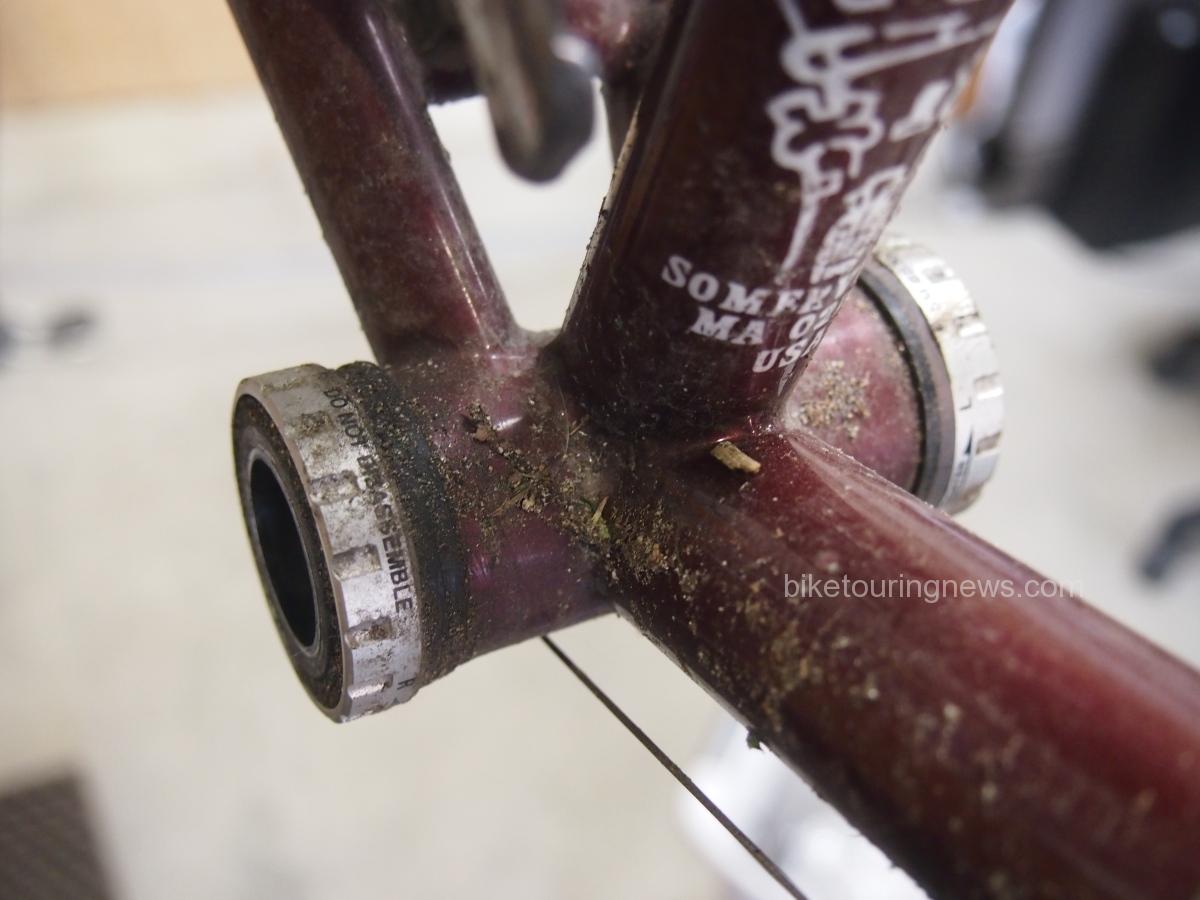
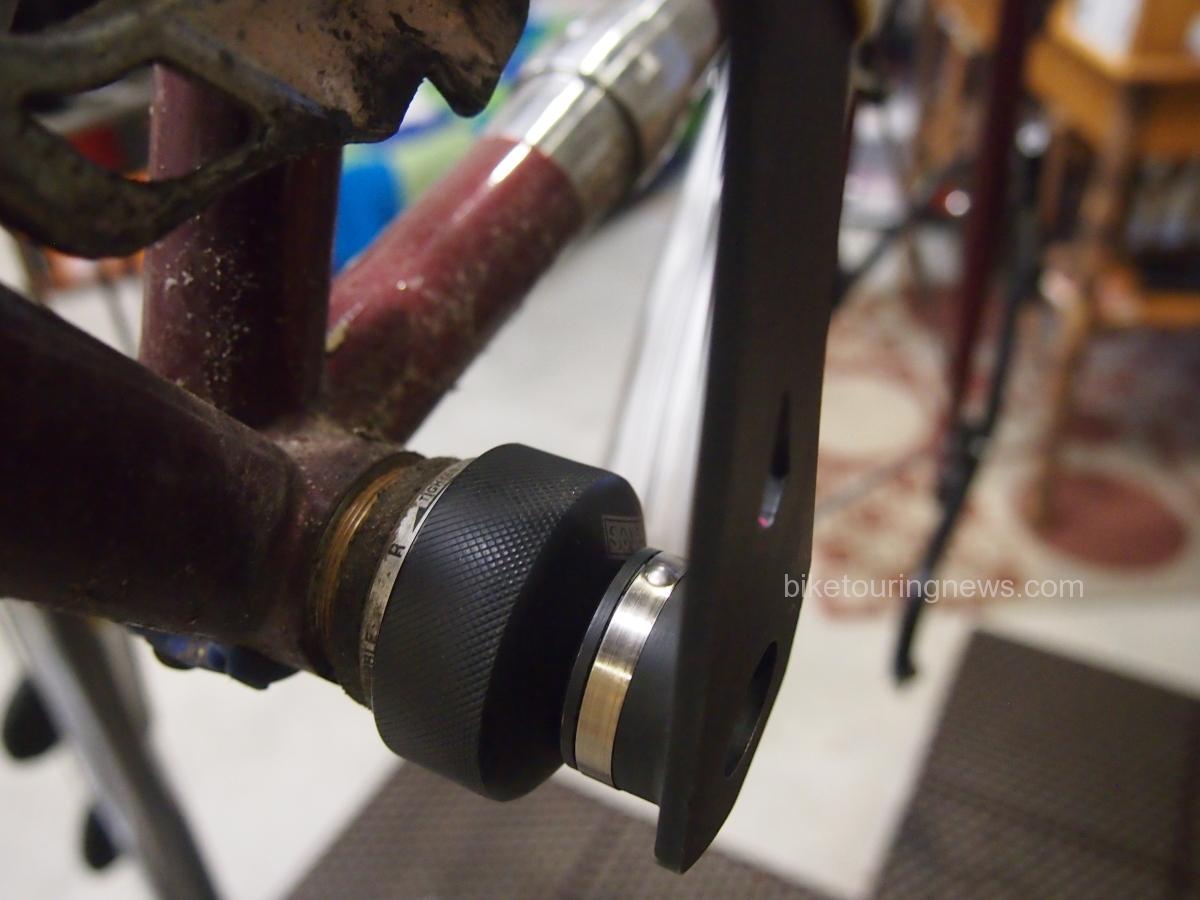
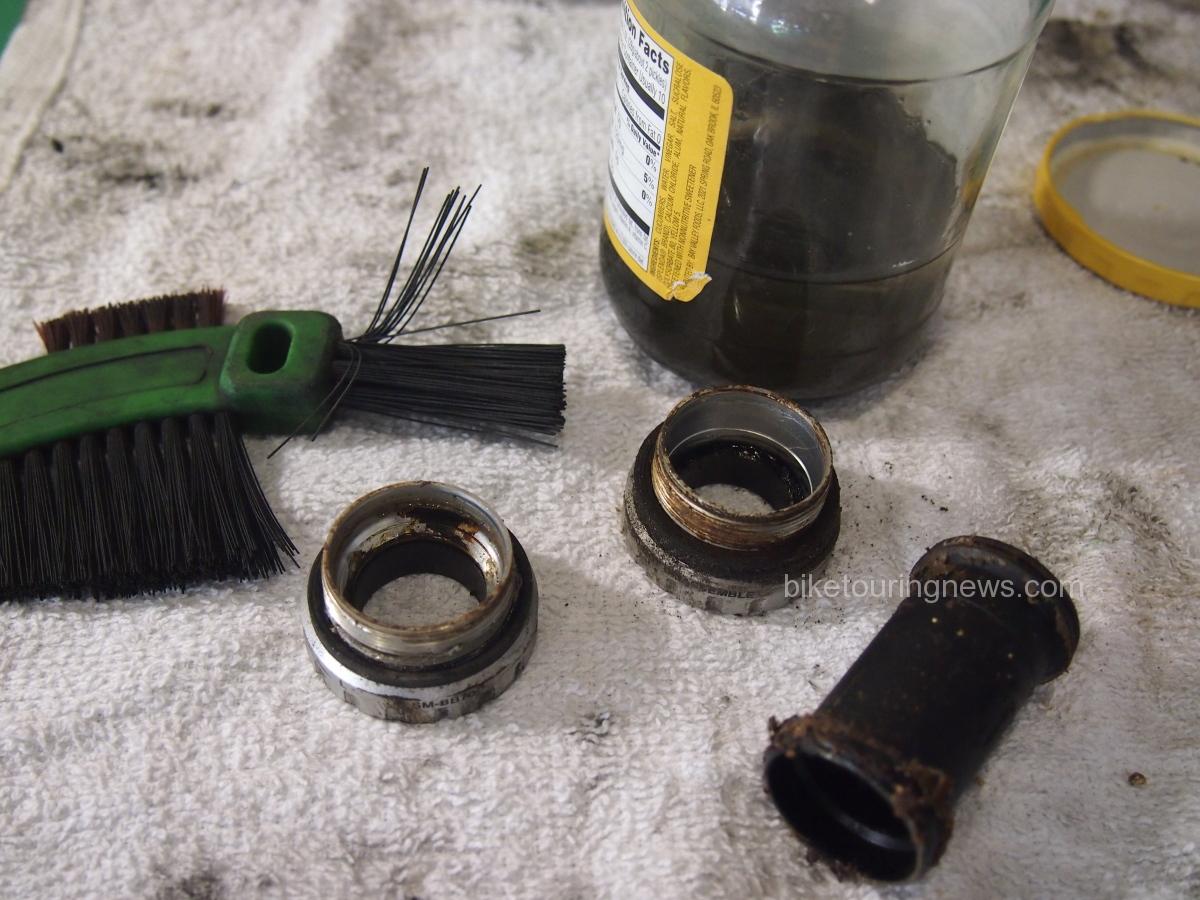
Usually if the bearings in the bottom bracket (in this case, the external bearings in bottom bracket cups) spin freely by hand with the crank removed, the bottom bracket won’t need any attention. Sometimes it’s a good idea to take it out anyway to check the inside of the bottom bracket shell for corrosion or water. These were pretty grungy and I quickly cleaned them with a stiff brush dipped in kerosene and then wiped them down.

image of dirty bike
Eeeeyewww….

image of bottom bracket removal tool
External bottom bracket cup tool

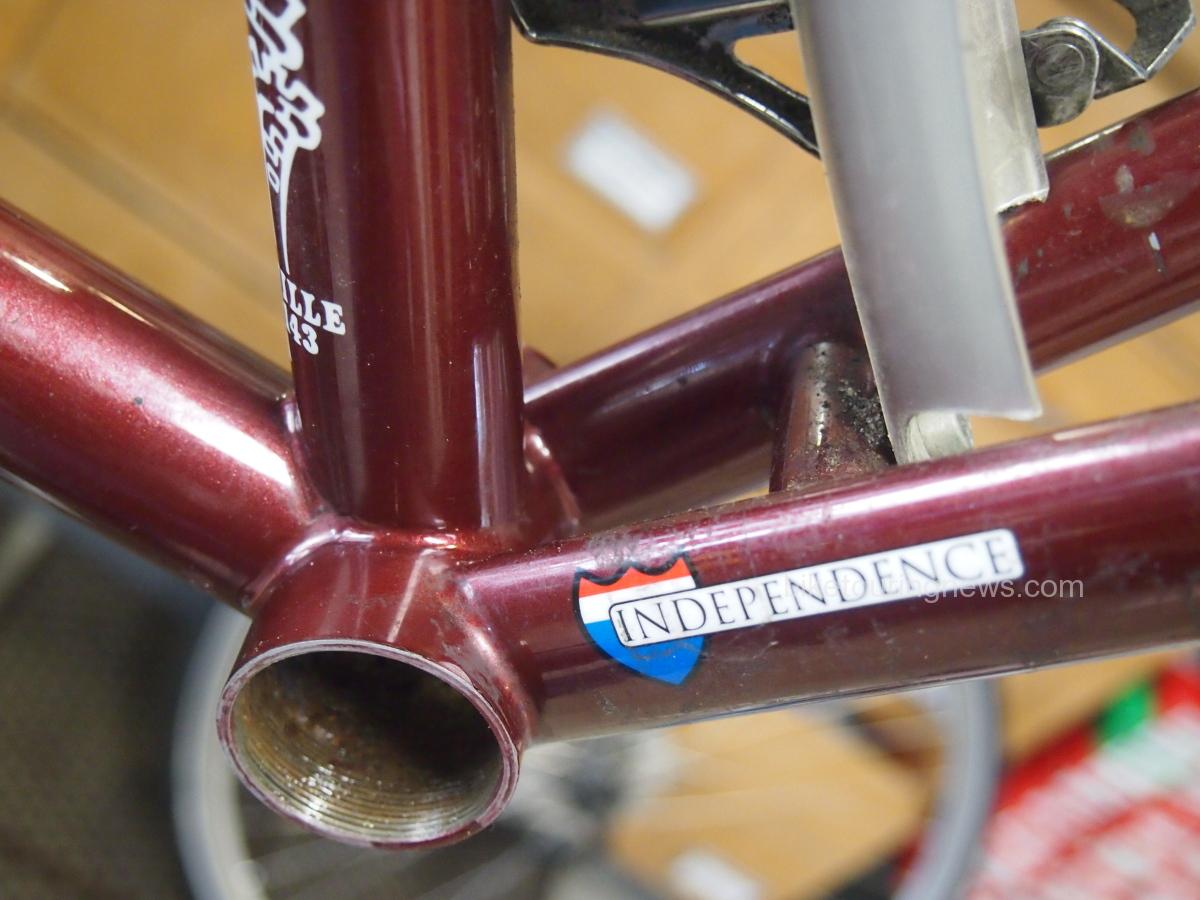
image of bottom bracket shell
All Clean! I will clean up the internal threads as well. Now is a good time to look over this high stress area for any hairline cracks in the bike’s frame.

image of bottom bracket cups and cleaning tools
Cleaning the bottom bracket cups with kerosene, while being careful to not contaminate the sealed bearings.

Cassette
Judging by how worn the chains were on these bikes it was assumed the teeth on the cogs of the cassette were worn beyond salvage, and so the cassettes were replaced. Details for that procedure are outlined in this post.

Wheels
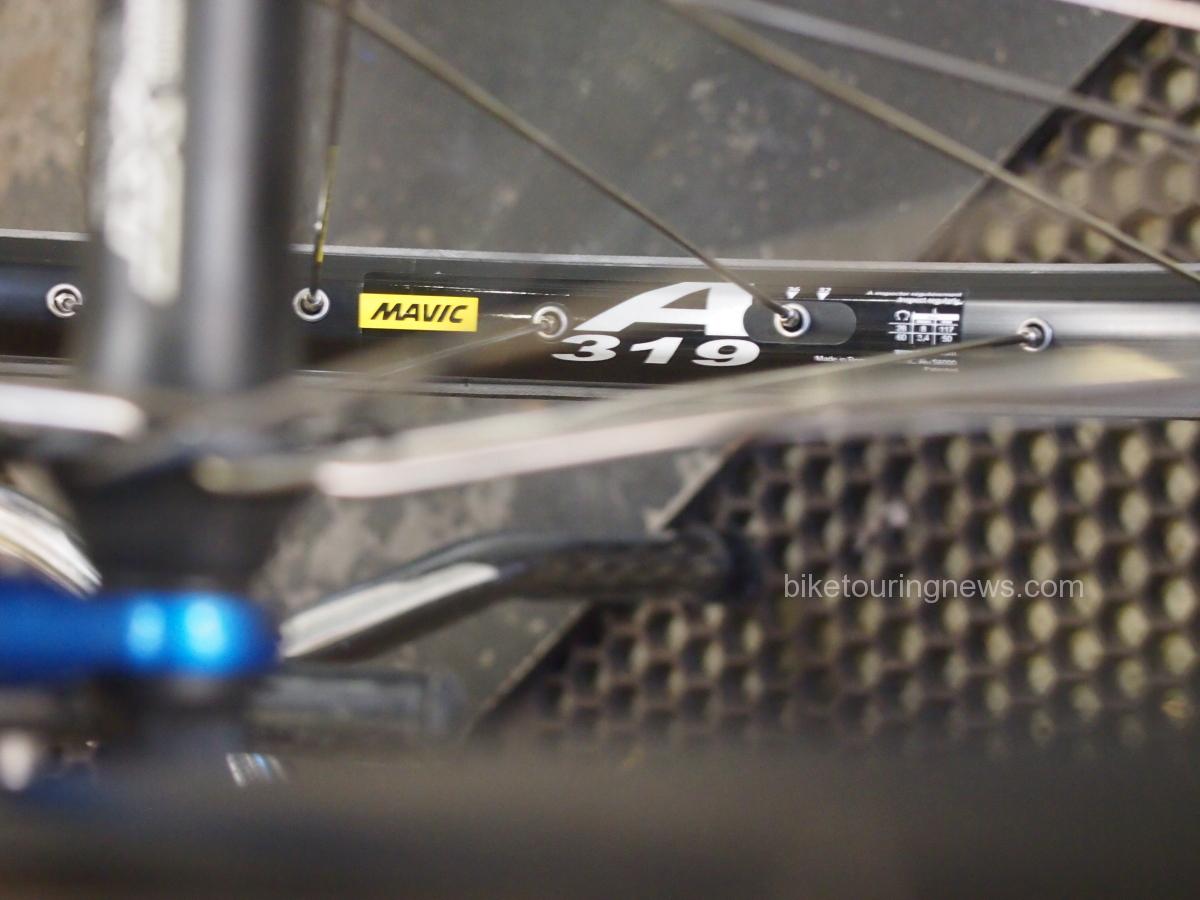
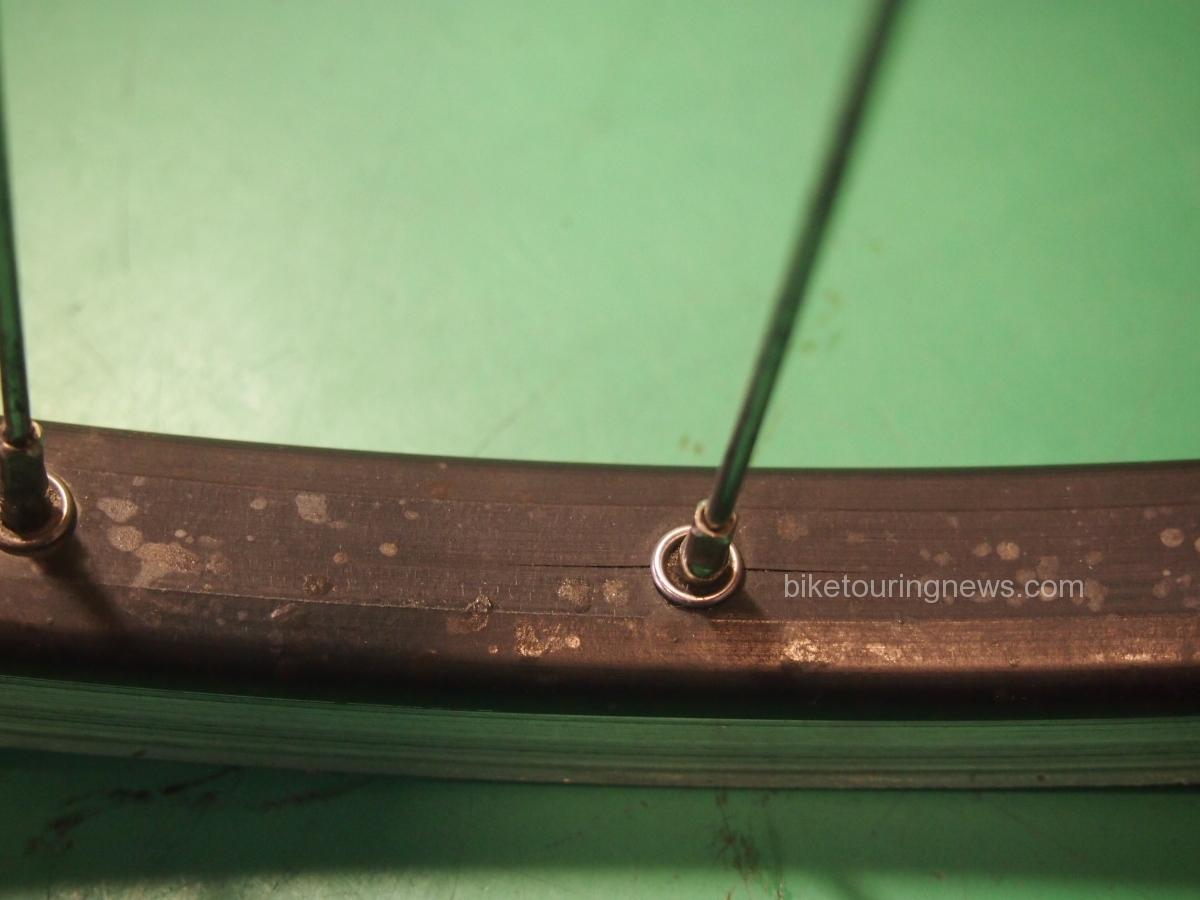
As outlined in this post, brake pads grinding the side of a rim can, over time, wear the walls of the rim so thin that the wheel fails. The wheels on these bikes showed significant rim wear and, upon further inspection, the rims were actually cracked at the spoke holes. Needless to say, new wheels were laced in the Hermit’s Workshop using the same hubs. The go to, economy, bullet-proof rim of choice in this case was the Mavic A319.

image of bike rim
Mavic’s A319 rim. Double wall, double eyelet, tight manufacturing tolerances.

image of cracked rim
The spoke holes are a high stress area on the rim.

Shifting and Brakes
Derailleurs
As long as the springs are still stiff and there is not excessive play at the hinged points and no pieces are broken off or bent, derailleurs can be cleaned, lubed and adjusted and will be almost good as new. I use the same stiff brush dipped in kerosene to get the big chunks off, then wipe everything off before blowing the grit out of the nooks and crannies with compressed air. Dri-Slide Bike Aid lubricant is a very thin petroleum based lube that will penetrate the tiniest voids and leave a dry film lubricant. This works great on the pivot points of derailleurs and brakes.

Cables and Housing
Fresh brake and shift cable and new housing will almost always improve the shifting and braking on the bike. Kits are sold which include everything needed except for a good set of cable cutters. Standard side cutters won’t work with these stranded cables and will just create a frayed, unusable mess and they will crush the ends of the housing.

Brakes
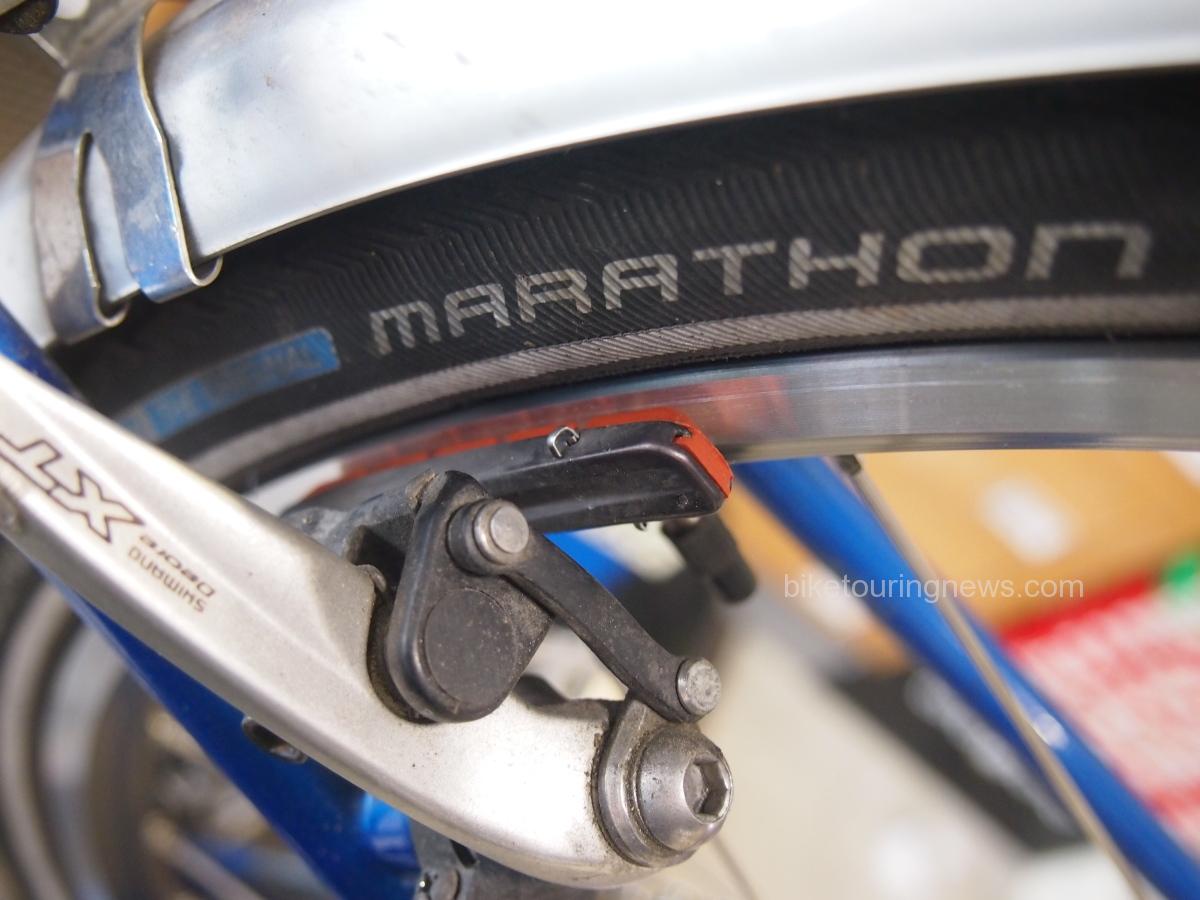
The pads on these rim brakes were old and brittle which reduces the efficiency and is hard on the rims. These particular shoes incorporate replaceable pad inserts which are held in place with a small cotter pin. If the shoe does not have replaceable inserts then the shoe itself can be replaced. Our selection of shoes, pads and cables should cover most situations.

image of brake shoe
Once the little pin is pulled out from the top of the holder, the old pad slides out towards the rear. A new pad slides in and a new pin presses in to hold the pad in place.

It’s almost time to take the bike out for a test spin to run it through all the gears and make sure the brakes work correctly. But first, checking to make sure all the bolts and connectors for all the components and accessories are tightened and that everything is adjusted properly will prevent any embarrassing (or painful) mishaps on the test ride. The last step, typically, is to install new handlebar tape. Now one can enjoy the satisfaction of a job well done and the confidence that the bike will perform well on tour.
image handlebar tape

Categories
Hermit's Workshop

Disc Brake Pads, When to Replace Them

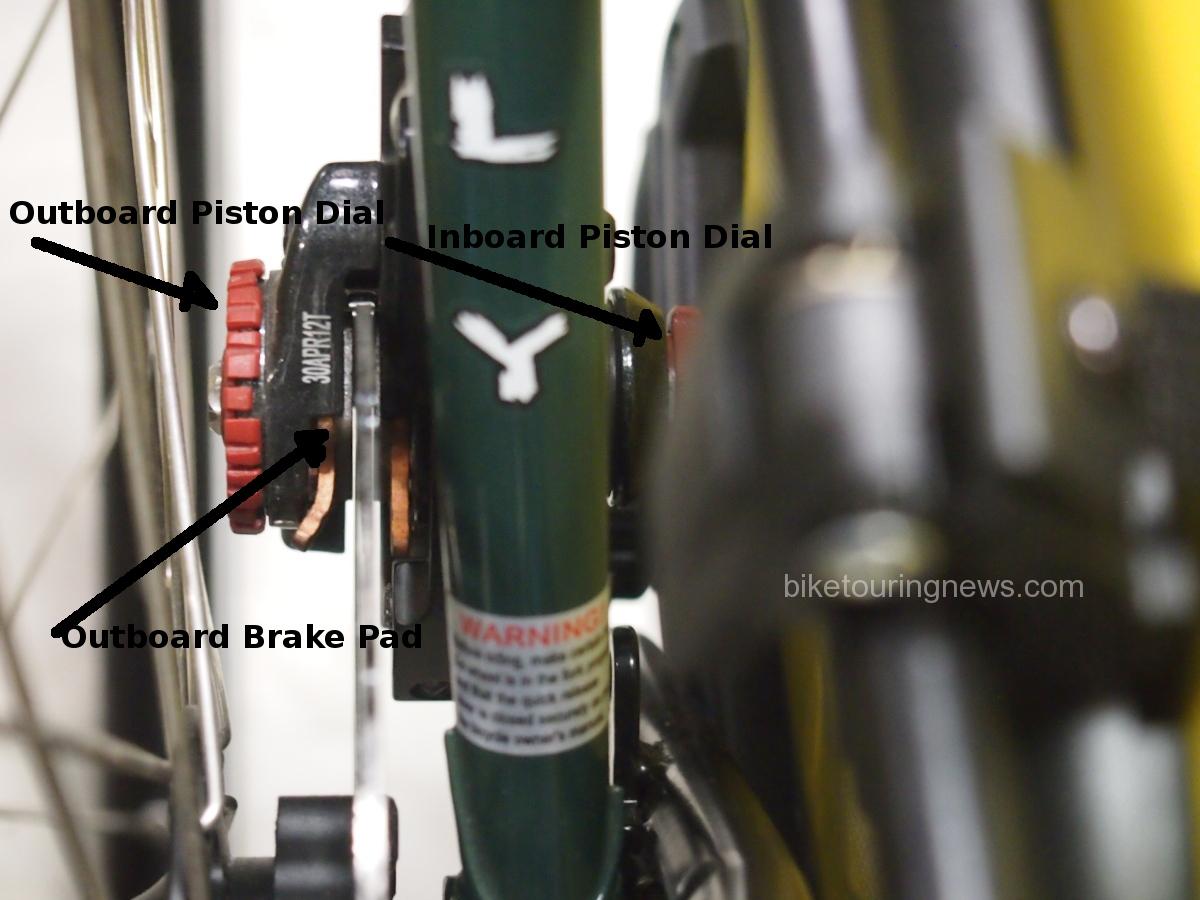
Disc brake pads, like rim brake pads, wear out. But unlike rim brake pads which are out in the open and easy to see, disc brake pads are hidden inside the brake caliper housing and are a part of the mysterious (to some) inner workings of disc brakes. Out of sight, out of mind. It’s not rare that a customer brings in their disc brake equipped bike and complains that the brakes are not working right. Sometimes all it needs is a cable and piston adjustment or, in the case of hydraulic disc brakes, a line bleed, but most often the pads are just worn down.  With cable actuated brakes there are dials on either the outboard side of the caliper or on both the outboard and inboard sides. As the pads wear the piston(s) need to be dialed in so the pad(s) move closer to the rotor. Close enough that when the brake lever is pulled the pads will clamp the rotor with enough force to stop the bike, but not so close that the pads rub on the rotor when the brake lever is released. Hydraulic disc brake have no such adjustment and rely on the hydraulic fluid to keep the correct pad to rotor spacing.

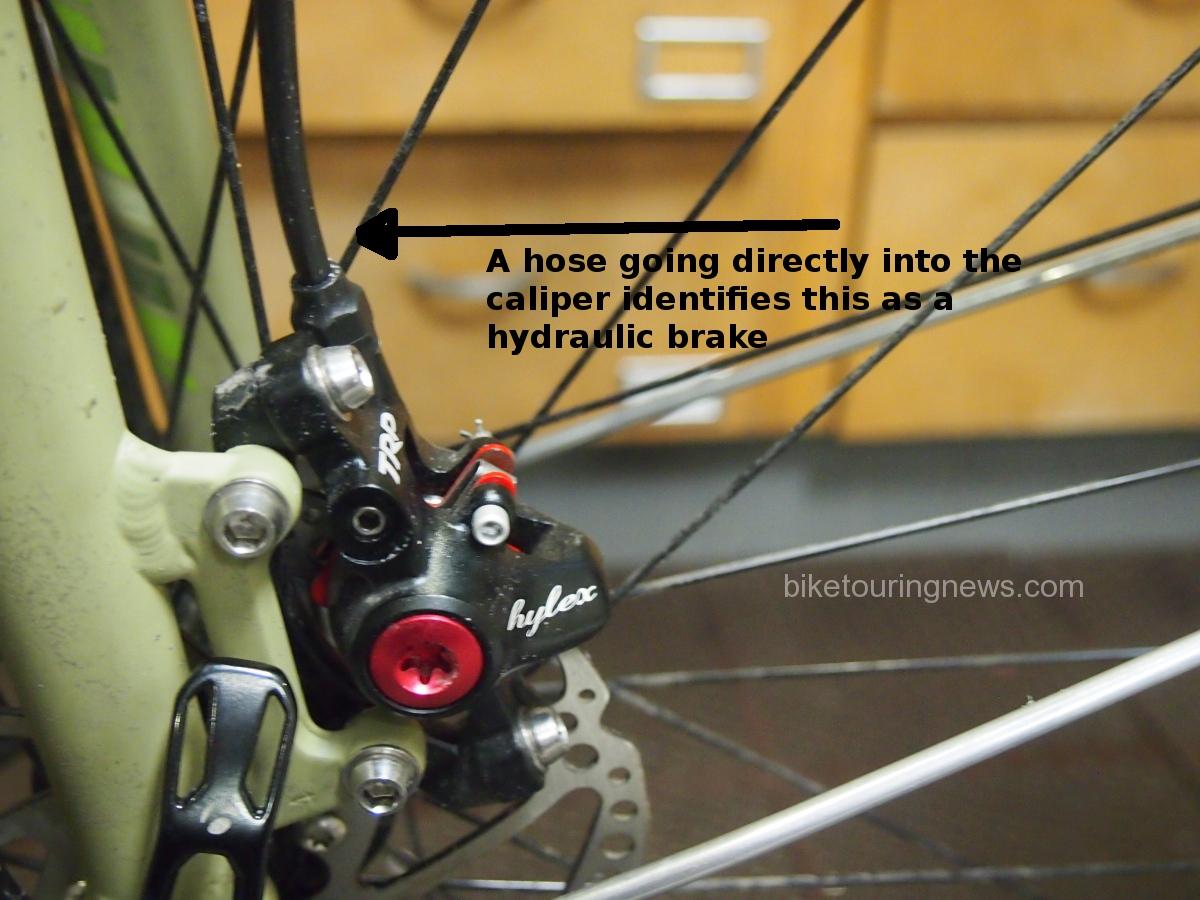
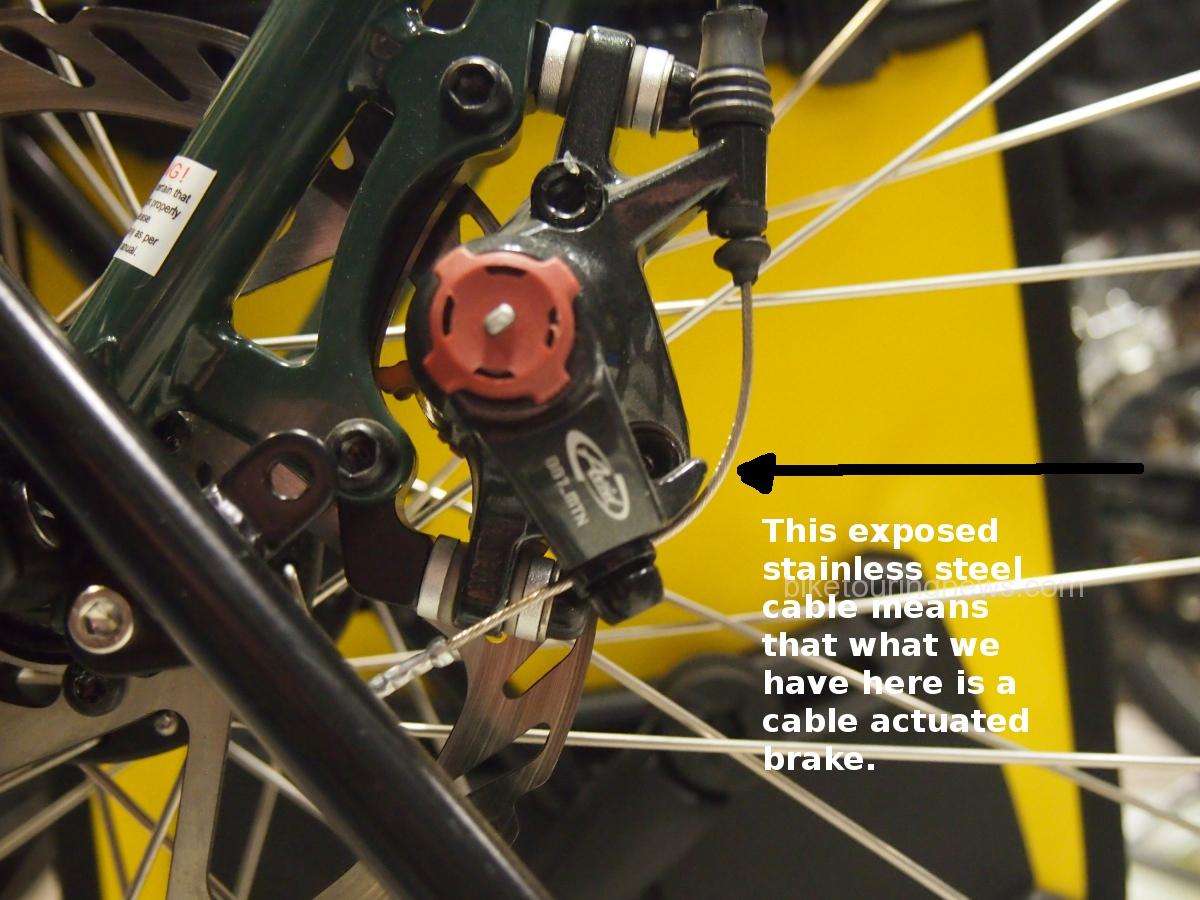
Hydraulic disc brakes will have a hydraulic line attached directly to the brake while a cable actuate brake will have a short section of braided steel cable attached to the brake.

p1015539

p1015538

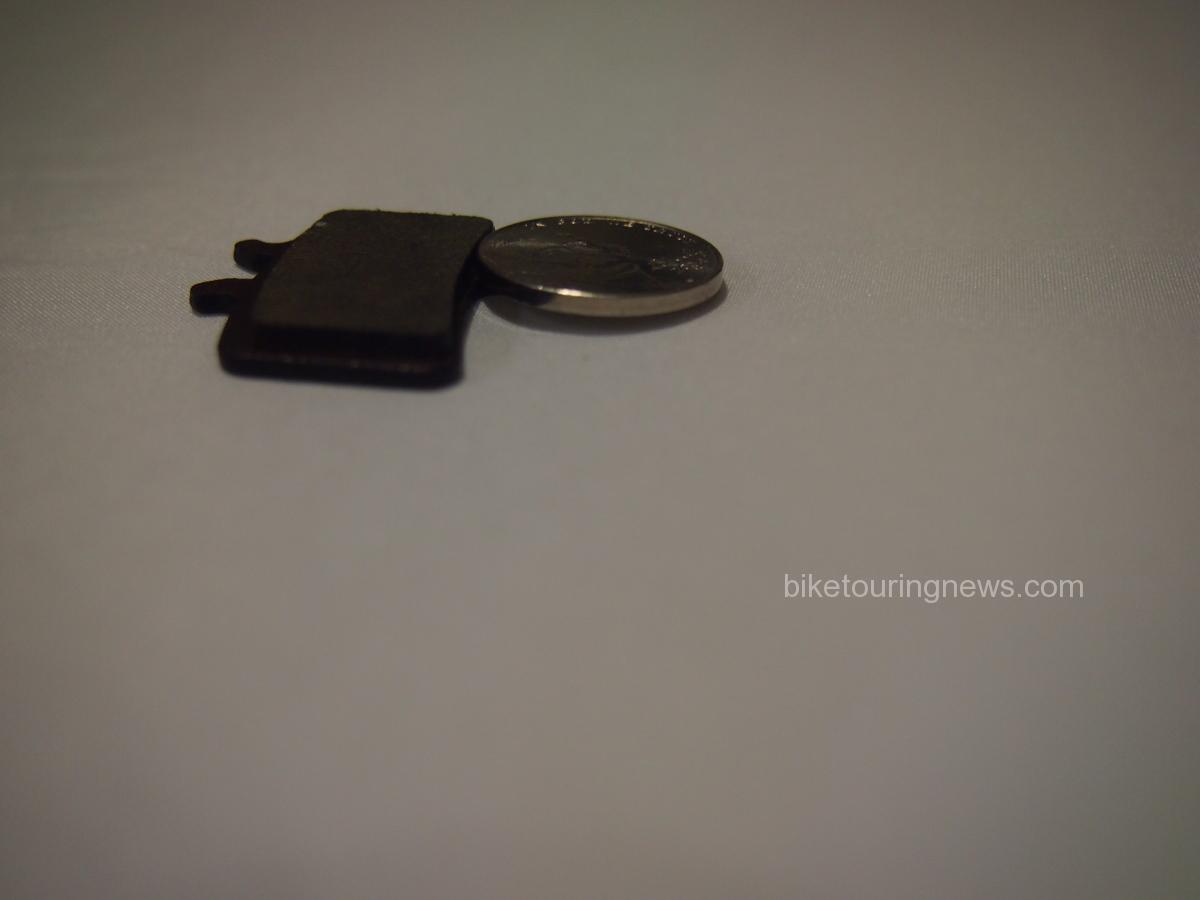
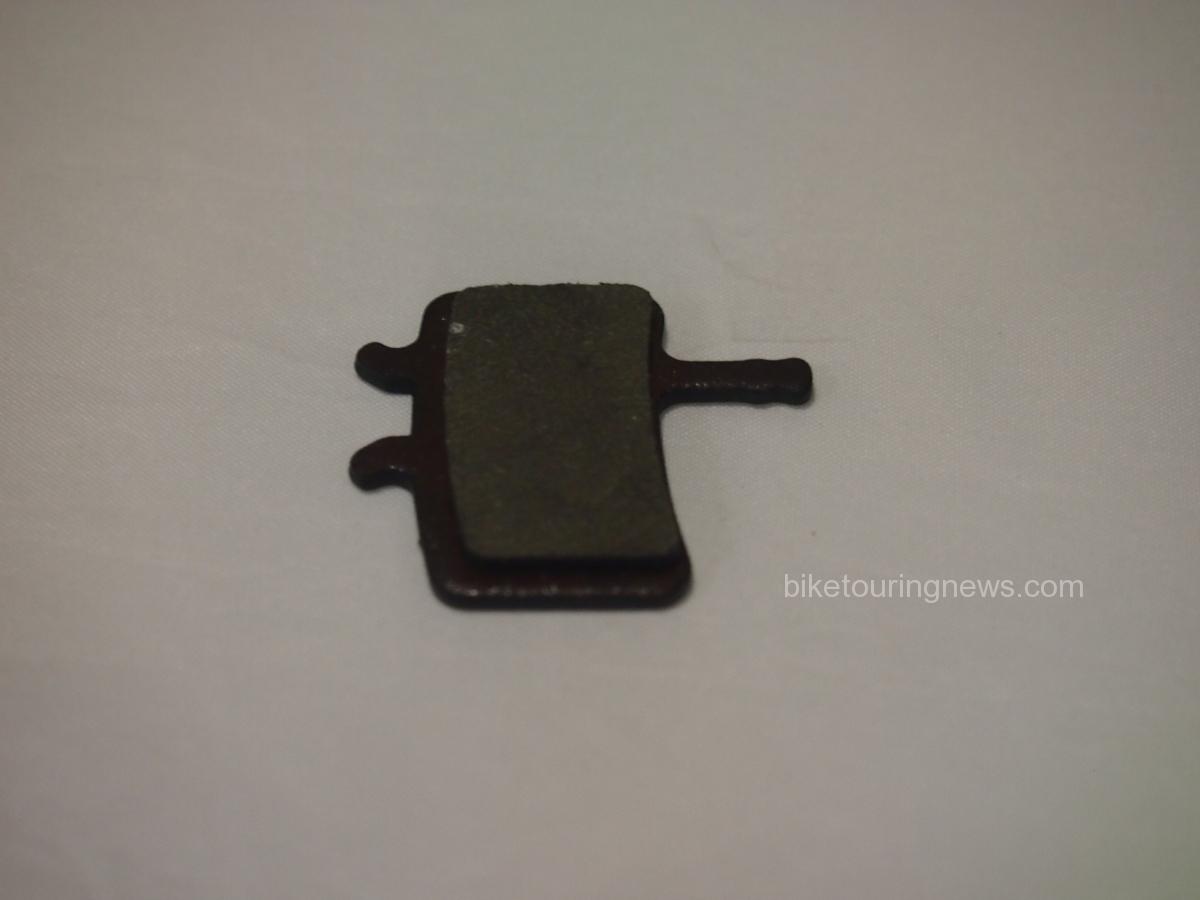
A thin block of braking compound is bonded to a steel or aluminum backing plate to form the brake pad. A pair of brake pads with a spring sandwiched between them are inserted into the brake caliper and held in place by the spring’s tension and/or with a bolt or a cotter pin. The spring also works to keep the pads separated and away from the rotor when not braking. The compound on a new brake pad is about as thick as a nickel. When, by visual inspection, the compound is as thick as a dime or less it is time to replace the pads.

BB7
An Avid BB7 brake pad

nickel thick
The braking compound on a new pad is about the thickness of a nickel.

By standing in front of the bike and sighting along the plane of the brake rotor where the rotor passes through the brake pads the thickness of the remaining brake compound can be seen, usually without removing the wheel. The rear pads can be checked the same way by sighting from the back of the bike. If it’s difficult to see, the wheel may need to be removed for easier access. Replacing disc brake pads is not difficult but it can be a little fiddly getting everything in the right place and adjusted. Every model or make of brake will have a slightly different process for changing the pads but instructions can be easily found on the manufacturer’s website.

view of disc brake rotor
This is the caliper of an Avid BB7 cable disc brake

Brakes are sort of important on a touring bike; being able to stop or slow down is good. This is one of those things we recommend people know how to deal with. Maybe not so much on an inn to inn tour or a cross country, credit card tour, but definitely for someone who will be out for weeks or months without the luxury of a decent bike shop or mechanic. Disc brake pads are small and light too so it’s easy to carry spares.

Categories
Bike Touring Equipment Touring Bike Accessories

Holiday Gift Giving – Here’s some ideas

Looking for Gift Ideas - We've got some suggestions

We’ve added a Gift Category to the website, allowing you to shop by price point for great biking gear.  Here are some items that should bring a smile to many a bike traveler.

Custom BTN waterbottleBike Touring News Custom Water Bottle

Who doesn’t need a fresh water bottle?  These are Specialized’s Purist bottles, BPA free. Dishwasher safe – in fact Specialized instructs you to never scrub the inside of your bottle, just rinse with soapy water. The tops clean up the best in a hot dishwasher. Our BTN logo on one side and the classic Bike Hermit character on the other.

$8


beer sling

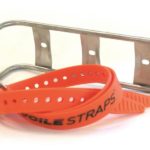
Surly Junk Straps

Yes, we love Surly Junk Straps.  In case you missed it here’s our “Eight Ways to Use your Junk Strap” post.

We always have Junk Straps with us and they’ve come in handy more than once.

$5.99


cranesuzubar

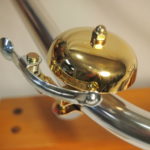
Crane Suzu Brass Bell

Nothing like the clear, crisp ring tones of a brass bell. Perfect for greeting the neighbors, calling attention to your presence on both the MUP or when climbing that steep hill and using your words just ain’t an option.

$12.99


20161202_144644_resizedHats, T’s & Socks

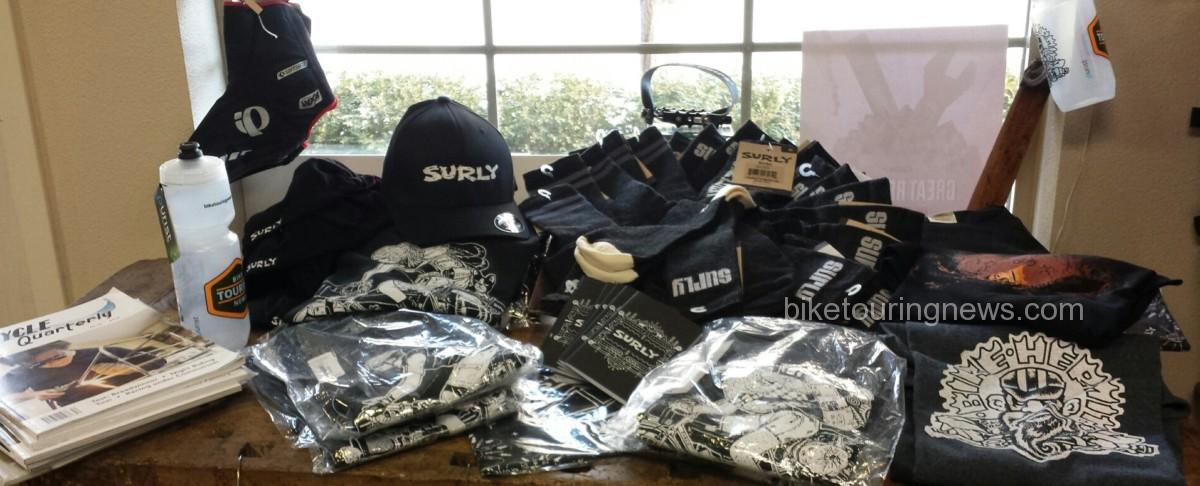
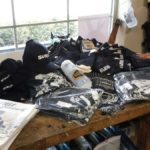
Surly Hats, Surly Socks, Great t-shirts, both long sleeve and short sleeve.  A fun “Racing Sucks” hat or just announce your surliness with anything Surly.  Check out our selection and we can always order more.

$10 – $30


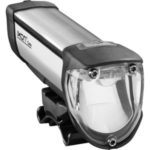
bm_ixon_coreBusch & Muller Ixon Core

Bike Touring News sell lights that help not only with being seen but ones that help you see – what a concept. This is a terrific, USB-rechargeable headlight that easily attaches to the handlebar.  The beam projects onto the road (hey another great idea) and not into the eyes of oncoming traffic.  With 50 LUX it is a great option for those who don’t use a dynamo hub.

$88


many-things

The Many Thing Cage

Have a weight conscious rider in the group? King Cage’s Many Thing Cage is a great option. Extremely light weight and durable cage that will bolt to any braze on. Stainless Steel to boot.  Need attachment options? We have those too.

$55.00


gillesberthoudgb25

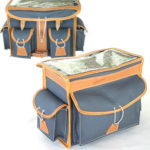
Gilles Berthoud GB25

Now here’s a gift for life, in fact a gift that can be passed down for generations.  A front bag from Gilles Berthoud is not just a pretty face, it is a work horse that will earn its keep every ride.  Beautiful canvas and leather construction.  Our personal bags have 1,000’s of miles on them and stand up to rain, snow, dirt and heat.

$259


tenkararodcosawtoothflyfishingpackage

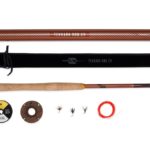
The Sawtooth – Tenkara Fly Rod

We bike tour, we bike pack and we like to fly fish.  Bet there is someone in your life that has the same passion.  Tenkara Rod Co. fly rod packages go hand in hand with bike touring and bike packing – kinda like peanut butter and jelly.  This kit is complete with rod, line, flies and a solid case that straps to your bike or slides into your frame bag.

$159


esbit

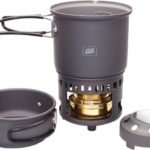
Esbit Alcohol Burner w/ Cookset

This compact alcohol burner proves to be a great kit when cooking for 1 to 2 bike travelers. Burns denatured alcohol or cubed fuel. Packs up nice and tight and fits on the Salsa Anything Cage quite well. We’ve been using for about 8 months now and are sold!

$49.99


Obviously we could go on and on with ideas.  Bike Touring News is more that just a store.  While selling bike gear keeps the lights on we also are happy to guide you on finding the best products and gear to keep the bike travelers in your world pedaling.  Call, email or come see us and we’ll lend a hand.

Categories
Bike Touring Equipment Bikepacking

Esbit Alcohol Stove and Trekking Cook Set- Product Review.

NOTE: The Bike Touring News store carries the Esbit Alcohol Stove and Trekking Cook Set. We don’t stock the other stoves mentioned in this post. If you have been thinking about buying a stove for bike touring, and one of the mentioned stoves appeals to you, clicking on one of the links will take you to the Campmor website to complete the purchase. We are an affiliate for Campmor and will earn a small percentage of your purchase. Campmor curates great products, have competitive pricing and their customer service is first rate: almost as good as Bike Touring News!

Several years ago, when I decided I wanted to go bike touring again, one of the things I needed was a new camp stove. I went to the long time local outdoor store, listened to the sales pitch, and selected this stove. It features a piezo-electric ignition and burns a blend of propane and butane- the fuel that comes in those little sealed canisters. The burner snaps onto a wide base piece which also acts as a wind screen and supports the sauce pan. The thing has worked flawlessly; it lights easily and the flame is like a torch that boils a pan full of water in a few minutes. By turning the knob on the valve connected to the canister the flame can be regulated down to a simmer. The fuel canisters are sealed and impossible to spill. I don’t think this model is made anymore, but there are similar stoves that use the propane-butane blended fuel canisters. The canisters are available in most outdoor stores as well as in Walmart.

On the downside, propane does not like cold temperatures. In below freezing temperatures the flow of the fuel mixture becomes weaker and weaker as the temperature drops. The canisters are a little bulky and might be hard to find in some locations and you never really know how much fuel is left in the canister. Disposing of the canisters can be problematic, but there is a tool made for punching holes in a completely empty canister allowing it to be recycled like any steel or aluminum can.

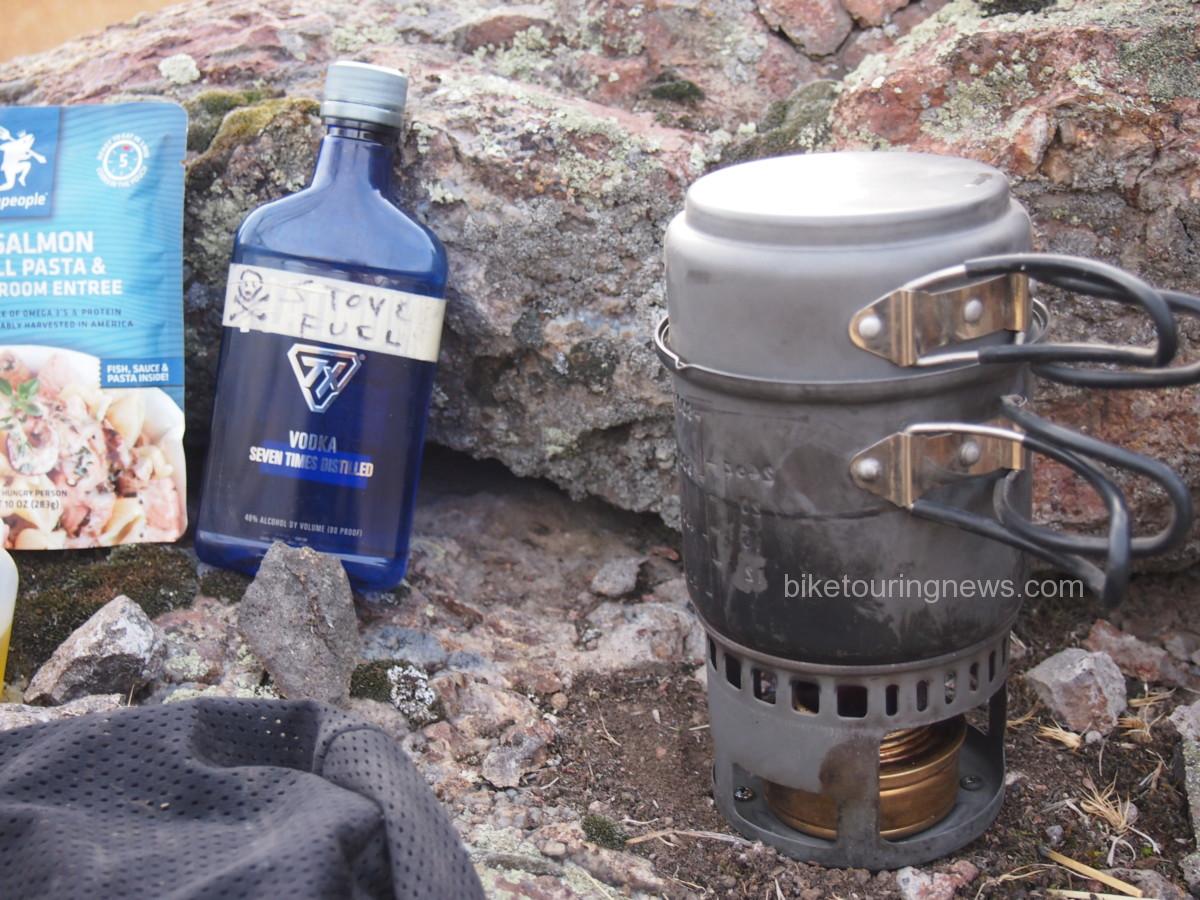
Lately I’ve been using the Esbit Alcohol Stove and Trekking Cookset on bike trips and it has become my go-to stove. It’s lighter and more compact and fuel is easier to find (denatured alcohol is the preferred fuel). In fact, at a convenience store one time I bought a small bottle of HEET gas treatment which burned suitably well in the stove but also left quite a bit of black residue on the pan. The stove itself is made of brass and has a simmer ring to adjust the flame or extinguish it completely. The included screw on lid can then be used to contain the remaining fuel in the stove until the next use. Since this is an Esbit stove there is a separate solid fuel platform which fits inside the base when the alcohol stove is not in use. This way extra solid fuel tablets can be carried along and used instead of alcohol or as a backup when the alcohol runs out.
alcohol stove

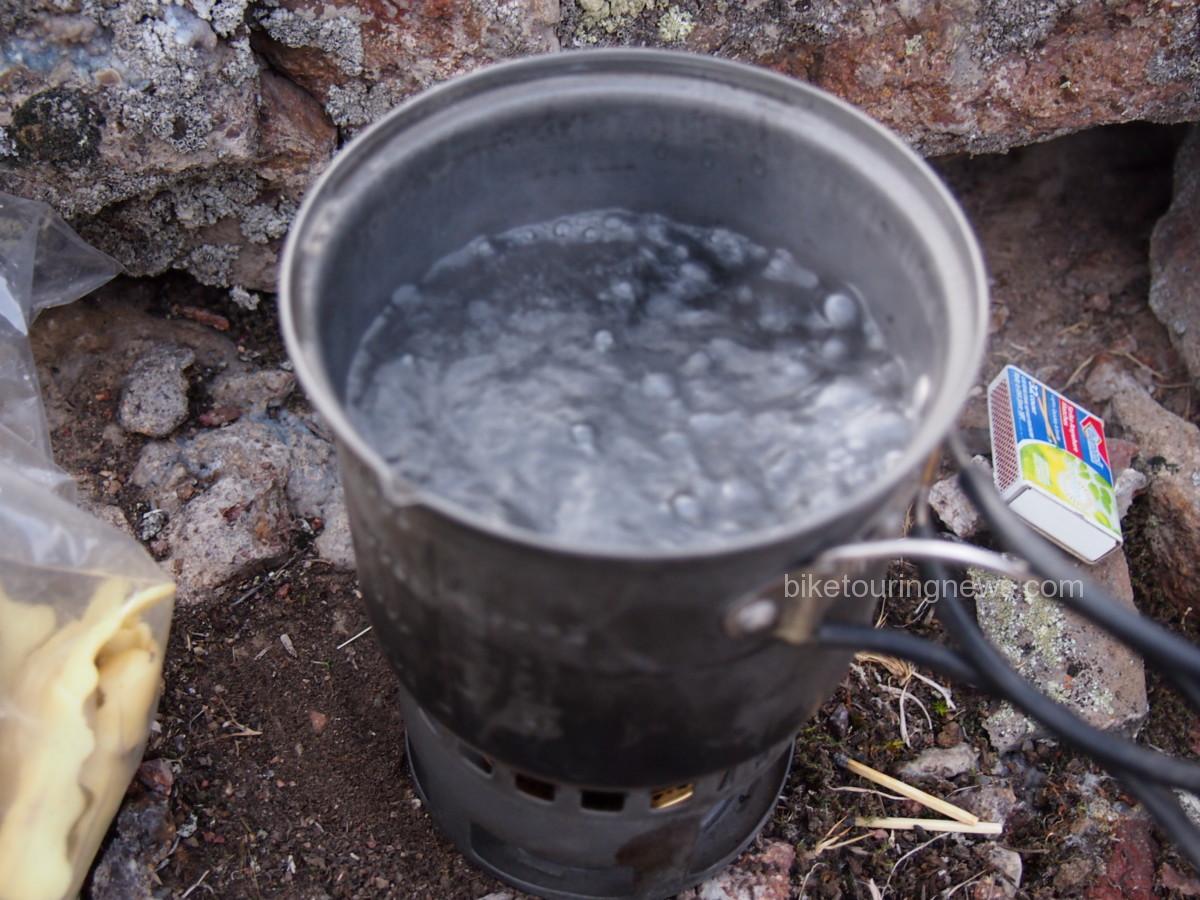
Small pot boiling with alcohol stove
The kit I use has a small pot which holds about 470 ml and also serves as a lid for the larger pot, which has a capacity of around 985 ml. Both pots have folding handles made of stainless steel with an insulating coating. Everything fits inside the large pot for transport. The whole thing weighs less than a pound and is 5″ in diameter and about 6″ tall. It fits perfectly in a Salsa Anything Cage.

front of bikepacking setup
The Esbit Stove and Cook Set straps to the Salsa Anything Cage on the front fork

This size is fine for the single Bike Hermit, or for two people when the cooking will consist of boil-in-the-pouch meals, instant oatmeal and quick cooking pasta. For those with more rigorous culinary demands the Esbit Alcohol Stove and Camp Set might be a better way to go. It is about twice the weight but only a couple of inches taller when packed. The pots are larger, with built in heat exchangers, and a frying pan and two plates are included.

Esbit Alcohol Stove and Camp Set

There are downsides to alcohol stoves too. The container the fuel is being carried in can be spilled and it can leak. The lighted stove can accidentally be knocked over with the result that flaming alcohol will then cover every nearby surface. A match or lighter or fire steel needs to be used to light the stove which is not as convenient as pushing a button for a piezo-electric starter. Cold temperatures make the alcohol more recalcitrant to light and wind plays a bigger factor in the efficiency of the flame; a separate, homemade tinfoil wind screen is an easy thing to take along though. It’s usually a good idea to place the stove in some sort of natural windbreak like between some rocks. Even though the design of this stove allows it to “bloom” quickly, it will never be as efficient at boiling water as quickly as a propane/butane stove will be.

A light, simple alcohol stove provides a certain amount of comfort in that, as long as there is fuel available, it will always work; there are no moving parts or valves or seals to fail. There are trade-offs however and there is no one perfect solution for each situation or person. On an extended expedition a multi fuel stove such as the MSR Dragonfly might be the best option.

MSR Dragonfly Stove

A multi-fuel expedition stove with a fully adjustable flame, from a slow simmer to a ro… [More]

Price: $109.96
Categories
Advocacy/Awareness Bike Touring Tips

Braving the Elements – biking in wet conditions

Don't forget to smile!
Don’t forget to smile!

Much laughter was exchanged on a recent S24O as we watched the clouds roll in and the rain begin to fall and one of our friends said “but the forecast said no rain until late tomorrow”.  The smug ones in the group put on our jackets, the others just rode faster :).  We’ve all been guilty of thinking off thinking; “nah, I don’t need (your missing item here)”.

In all seriousness, I write this as the days grow shorter and the weather starts to turn so I thought I’d create a check list of a few tips, must haves and some quick substitutes.

It’s raining – SLOW DOWN – BE AWARE – PAY ATTENTION

  1. Brake early and slowly. If the temperature is dropping, chances are small particle of ice are forming – ever slipped on black ice? It isn’t fun. Rim brakes will be contacting with wet rims, taking longer to stop.  Disc brakes might not be as affected but be prepared just the same.
  2. Turn on your lights – if you don’t have lights on your bike, you shouldn’t be riding a bike (we don’t claim to be neutral on this one)  Be visible. It’s grey and you will be less visible to motorists. The brighter you are the better.
  3. Pay attention to the road – puddles can hide metal grates and submerged plant debris plus you can’t always tell how deep they are or if a pothole lurks beneath.  Piles of wet leaves can be like hitting a patch of ice.  Sliding off a wet man hole cover or a slick railroad track makes for a hard landing. Don’t hug the curb, take the lane and go around the debris collecting in the gutter.
  4. Be extra alert.  Even if you are in Idaho, with it’s unique “Idaho stop” laws, stop at the stop sign and the red light, make eye contact with drivers.  As much as you want to, don’t tuck you chin down into the big hood you just pulled over your helmet – keep looking around.
  5. Again, slow down so if something unexpected pops up you can react.

Gear Up

  1.  Fenders – We are year round fender people and think touring bikes and commuting bikes without fenders just look naked.  Fenders not only keep your rear end and feet dry, they protect your bike from grit and grime. Investing in a solid pair makes a huge difference.  Plus it gives you another place for a tail light – sweet!
  • Not much comes to mind as a substitute for fenders. If you have racks, placing a piece of card board on the top of the rack will help and then put some plastic bags on your feet before you put them in your shoes.

2.  A decent rain jacket – buy once, cry once.  Invest in a breathable jacket that covers your tush. Zippered vents or zip off arms are awesome too.  Then take it with you, even if the weather forecast doesn’t call for rain.

  • Rain jacket still in the closet? Stop somewhere and beg for a plastic garbage bag, punch some holes for your arms and head and while you at it, get two small bags for your feet. If you are lucky stop at the dollar store and get a cheap poncho – you’ll be flapping but hopefully will stave off hypothermia.

3.  Waterproof Pants – There are fancy and not so fancy rain pants.  Some folks use the same pant they have for backpacking and carry a pant leg strap to keep them from catching the chain rings.  Make sure they fit well over your bike shorts or street clothes and fit under your rain jacket.  A pair with zippers and hook and loop closures on the bottom are great, making it easier to take on and off without having to remove your shoes.

  • Years ago we didn’t own rain pants but instead took some rain chaps we must of had from backpacking.  We did a week long trip and it poured every single day… Let’s say the chaps went into the trash before we even packed the bikes for home.  I haven’t seen it done but am sure one could get creative with garbage sacks.

4.  Booties or shoe covers – just make sure you get the size that fits over your shoe.  Road shoe covers don’t like MTB shoes.  Some shoe covers are just for rain, others are heavier for more warmth.

  • Okay, I have been known to slide my feet into plastic sacks on more than one occasion.  I also know someone who fashioned paper cups over the toes on a particularly cold and windy ride.

5.  Something on your head – Personally I (Sky King) like a helmet cover but the Bike Hermit likes a skull cap under his helmet.  We also know riders who have hoods on their riding rain jackets so the water doesn’t run down the neck. I still believe, a large chunk of heat loss is via your noggin so keep it covered when it’s cold and wet.

  • Something we never ride without is a bandanna, they can easily give light cover under a helmet in the rain.  As mentioned, a hood on the jacket – as long as you can still see.  The bike hermit actual owns a shower cap he uses as a saddle protection cover and a dollar store shower cap over your helmet or under you helmet would keep you head dry and be a good conversation starter.

6.  Full Fingered Gloves – Options galore here and  don’t rule out equestrian gloves – like bike gloves, they are meant to fit snug and tend to be less expensive than biking gloves.

  • Water proof gloves? We live in the high desert so ours tend to be insulated but not 100% water proof. Some of the “lobster” gloves which are sort of a cross between a glove and a mitten are extremely warm, the ones made of neoprene being almost too warm in many conditions.  Given all that, when it’s calling for wet and chilly, I pack two pairs of gloves.  Haven’t seen this yet but a dollar store pair of rubber gloves with a dollar store pair of one size fits all gloves would sure be toasty! (I may have to invest in that as my back up set).  In a real pinch take that trusty bandanna and split it in two and fashion some coverage – better than a poke in the eye with a sharp stick.

7.  Chemical foot and hand warmers – we buy these by the case.  Actually we just buy the foot ones as they also work for hands.  Come fall, a set lives in my front bag.

  • if it’s that cold a good flask of whiskey and a thermos of coffee seems like a plan to me.

8.  Reflective Bits –  anything to be more visible.  In today’s market there is reflective tape, reflective spoke covers, reflective vests – it’s cheap, just do it.

9. Something to wipe your glasses off with – now a defogging cloth is probably smart but again, having my bandanna I can dry my glasses, wipe my nose and cover my head.  I just have to remember which corner is for which purpose.

10.  Saddle covers – of course when you are riding your saddle is covered… We use ours for stops and for camping.  I love my Gilles Berthoud cover.  Brooks also makes one.

  • this is an easy thing to find a substitute for – we’ve all seen or used the plastic grocery bag.  The Bike Hermit’s shower cap is great and who hasn’t taken one of their panniers or dry bags and plopped it over their saddle at camp to keep off the rain, snow or dew.

So don’t let a little unsettled weather keep you from using the bike. Some of our most memorable rides have been riding home after dark in the rain on the multi-use-path. As someone who lives in Portland, OR might say when asked how they can ride in the rain ; “Just keep pedaling”

Categories
Bikepacking Idaho Idaho Hot Springs Mountain Bike Route Surly Bikes

A Great Little Idaho Hot Springs Route Ride

Beautiful S24O to Atlanta, Id.

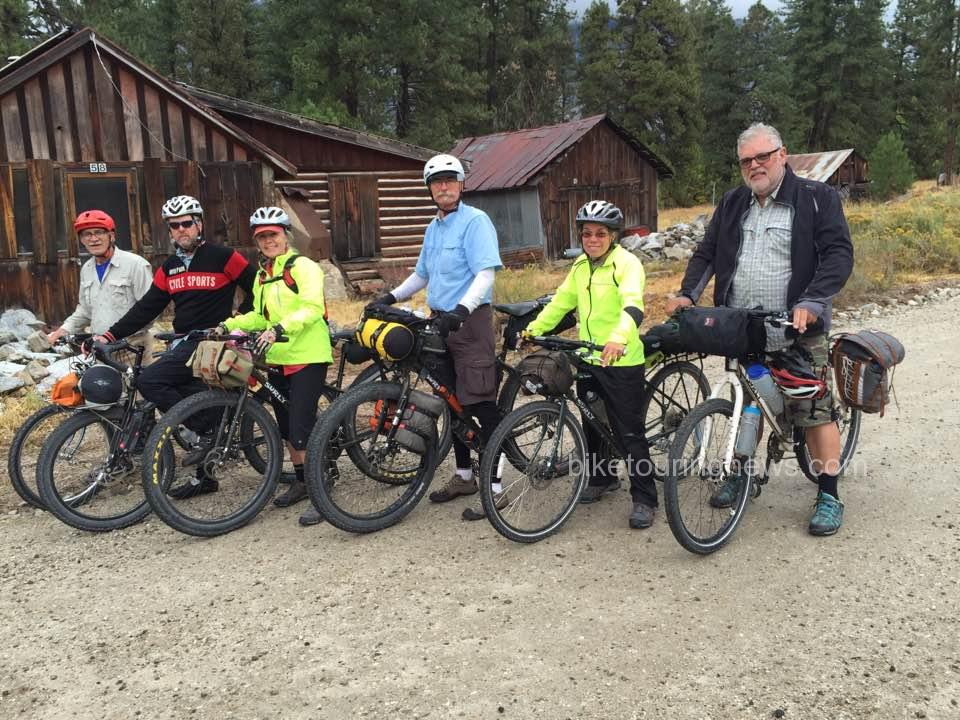
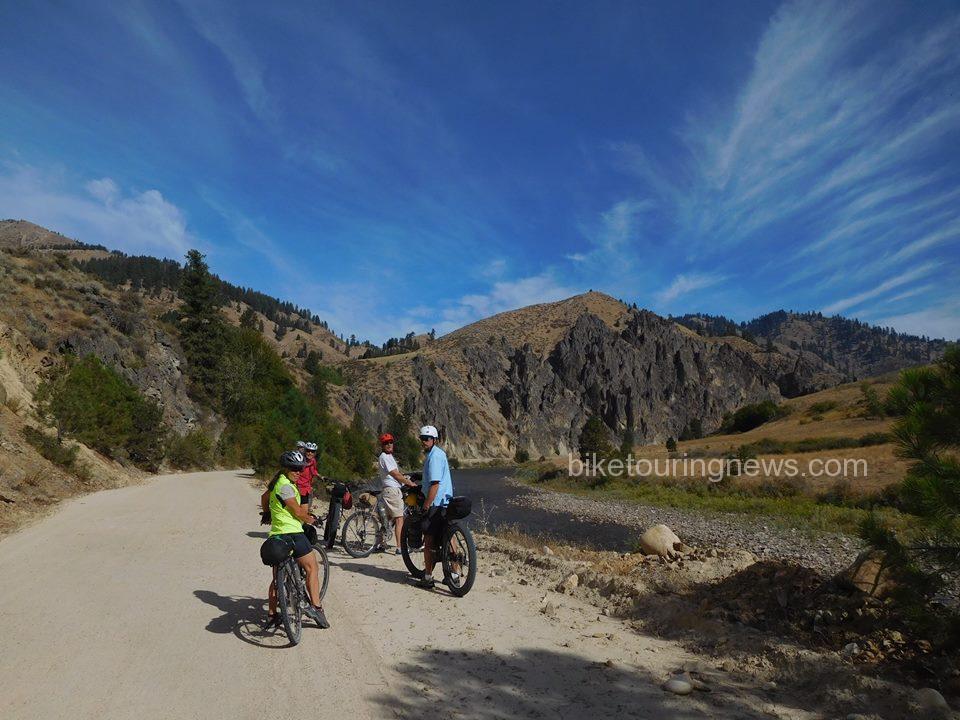
We are big on “just wander” styles of biking.  So far, the 2016 Idaho fall weather has been excellent for some nice weekend S24O rides.  The “start” of the Adventure Cycling Association’s Idaho Hot Springs MTB Route is right out our door, but finding the time to ride the entire route in one big trip isn’t feasible.  We’ve ridden sections of the trip – last year we accomplished 150 miles when it was 112 degrees in the shade so this year we opted to wait until after fire season and the summer heat and planned to ride two more sections.  We also opted to be flexible and let go of the purist idea of where one should start a ride.  Sometimes life gets in the way and while we did get one section ridden the other will now probably wait until spring.  In September, the stars & the full moon lined up and we ventured to Atlanta with some great biking friends.  While our entire ride isn’t described on the Hot Springs Map this is a great get away ride with some beautiful scenery. Another group decision was to not start in town and suffer the 12 to 14 miles of horrendous wash board on the Middle Fork Road.  Enough of us have biked that section to know once was enough.  Taking off after work on a Friday we drove to Willow Creek Campground,  knowing there was a full moon we were happy to see clear skies.  What we didn’t account for was the full moon attracting campers who had no intention of sleeping and having them set up camp right next door… A bit bleary eyed we took off for Atlanta Saturday am.  The road follows the river pretty much the entire 47 miles so, for the most part, it is a gradual climb.  The last few miles the road steepens but knowing the bar and cafe in Atlanta weren’t far off we all geared down and carried on.  The Bike Hermit wrote about his trip to Atlanta last year and did a great job of describing the bar.  Happy to say it hasn’t changed.  Good beer, a choice of cheeseburger or hamburger and life was good.  Not only that but they agreed to feed us breakfast the next morning, truly an easy decision for all of us.  The seven of us had the campground to ourselves and the hot springs to ourselves as well.  We all agreed this would make a great annual fall trip.

Things to know:

  • The road is dirt and gravel.  For the most part a bike with 38 mm tires will do fine – there are some sandy areas.  We had two Surly ECR’s, 2 Trolls and a Disc Trucker on our ride and all did awesome.
  • The washboard isn’t as bad if you start anywhere beyond Willow Creek Campground and it gets better once you leave Boise County.
  • The folks at Twin Springs are very friendly – one could also rent a cabin there and another cabin in Atlanta and be really spoiled (except the beer choice at Twin Springs is Coors or Bud so pack accordingly)
  • The Campground in Atlanta seems to be free after labor day
  • Hot Springs in Atlanta are nice.  We opted for the one by the river below the campground but the pool close to the campground is also great. We didn’t ride down and look, but there are more hot springs by the river as you pedal to the campground.
  • Fall vehicle traffic wasn’t bad and people were polite.
  • There are plenty of places to camp along the way.

Highly recommend! Photo Credits to Paul Lindquist and Ron Riley

Brisk start Sunday but it's all downhill from here!
Brisk start Sunday but it’s all downhill from here!

Middle Fork Road to Atlanta
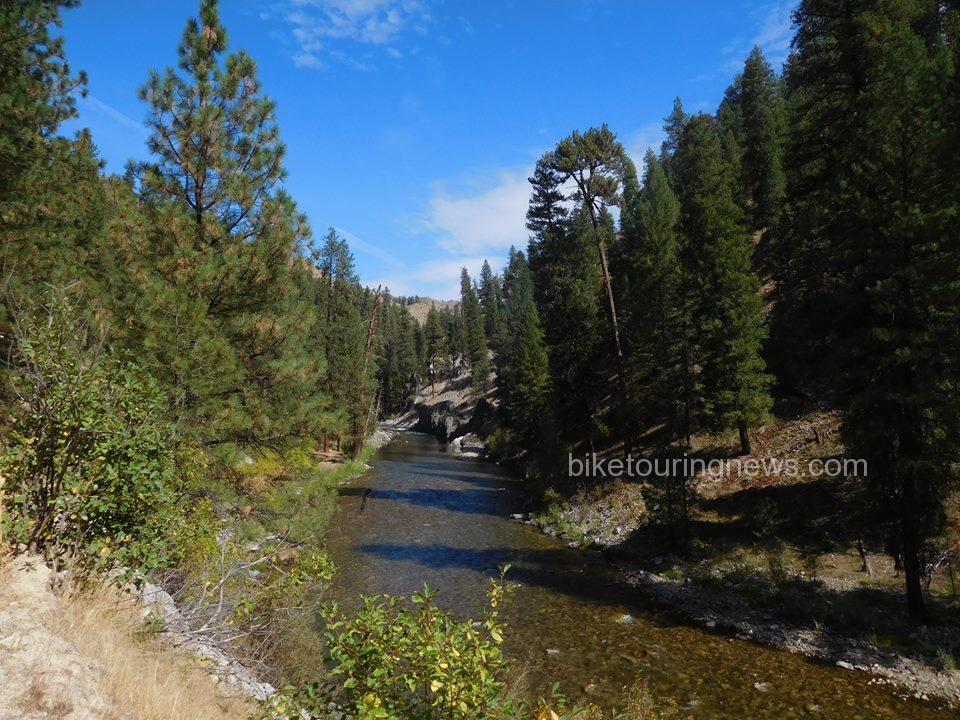
The road follows the middle fork of the boise river

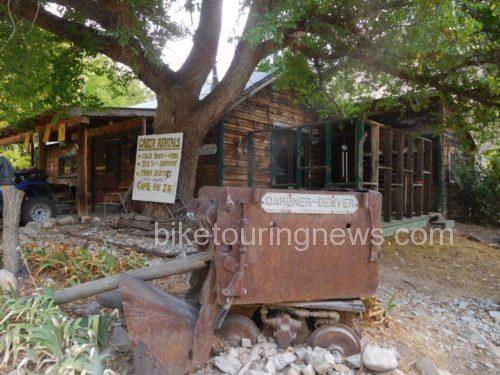
Twin Springs - Bar, Cafe & Cabins with private Hot Springs
Twin Springs – Bar, Cafe & Cabins with private Hot Springs

Tucked in for Beer and Burgers

Early Fall colors the entire ride