Categories
Bike Touring Equipment Handlebar Bag Other Touring Bike Pedals Touring Bike Tires

New Partnerships, New Products!

While the Bike Hermit and Sky King are gallavanting around Mexico drinking beer and camping under the stars, there has been a lot going on around Bike Touring News HQ!   We’re constantly on the lookout for components and accessories to enhance your experience, help you ride more and have more fun doing it.  To that end, we’ve brought in some new products that you’re going to want to check out.

Saddles, Tires, Rims from WTB

We’re super excited to announce our partnership with Wilderness Trail Bikes!  WTB has been at the cutting edge of mountain bike equipment since 1982 and that depth of experience shows through in their products.  Most recently, they’ve done a great job creating components that are ideal for bikepacking and dirt touring.  Bike Touring News will be stocking a hand-picked range of their tires, saddles, rims and other gear for adventures that take you to the end of the pavement and beyond.
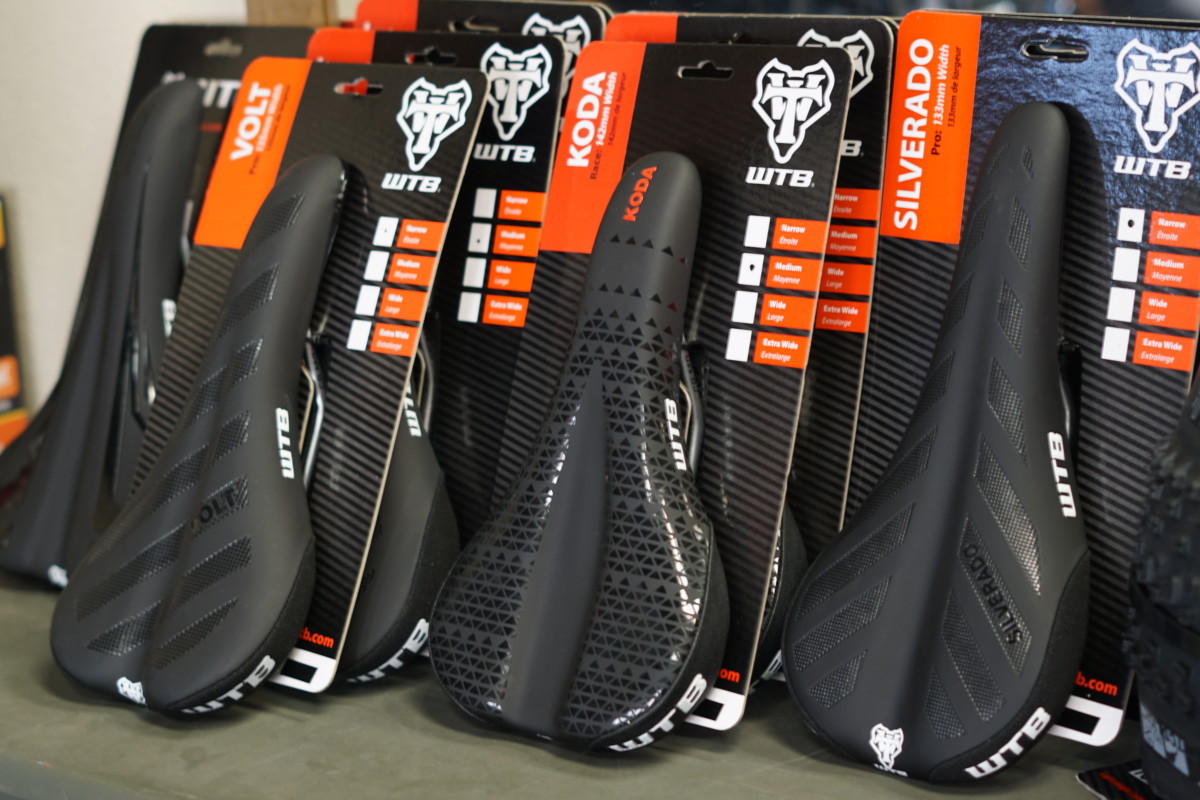
“What?  Bike Touring News is selling plastic saddles?”  I know, this is kind of a big deal as we have always been known for our devotion to leather saddles.  We’ll continue to stock top-quality leather saddles from Gilles Berthoud, Rivet, Brooks and others but there are certain applications where a high-quality plastic saddle just makes sense. WTB’s saddle designs have been refined over many years to provide a comfortable, supportive perch for all-day comfort on any bike.  Most of their saddles are also available in a range of widths, allowing you to choose a shape and level of padding that suits your riding style and a width that fits your anatomy.

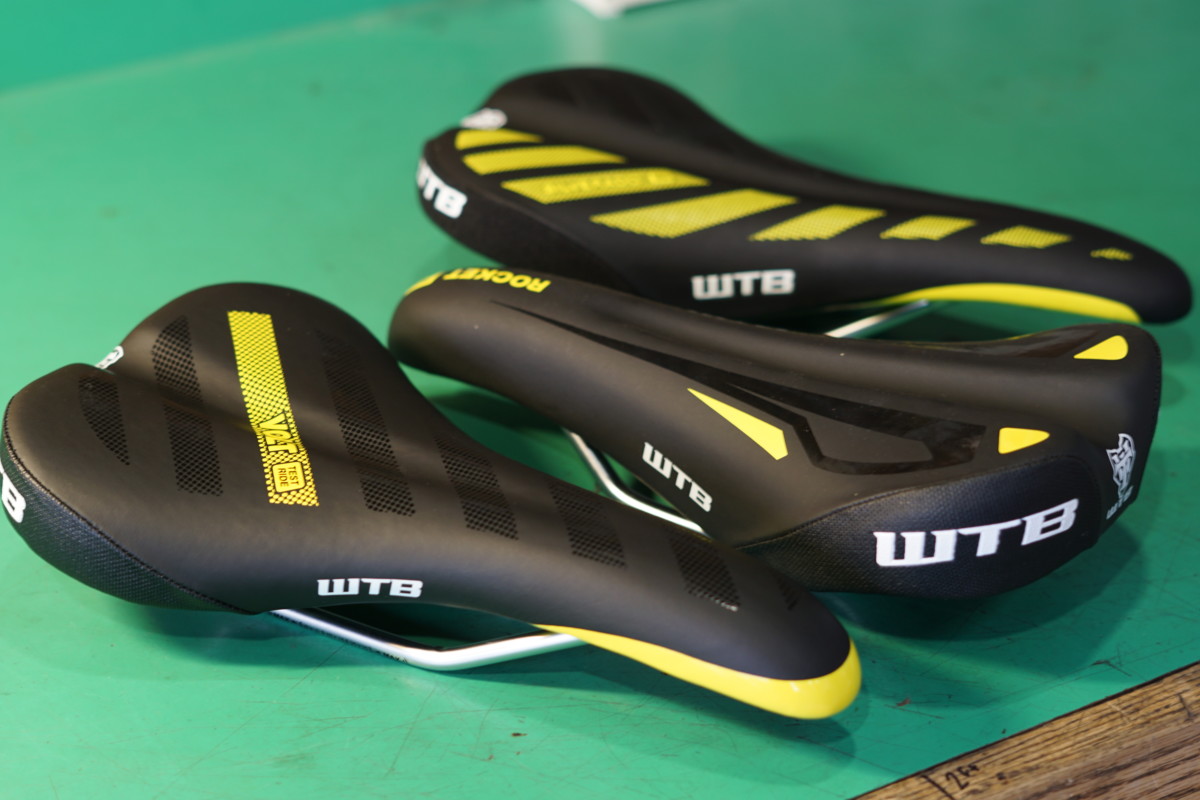
We’re particularly excited about the WTB Koda – a saddle WTB describes as being “female focused, rather than women’s specific” and designed with input from a multitude of female riders including Idaho resident and legendary endurance rider, Rebecca Rusch.  Check out the video on the product page for Rebecca’s take on the saddle.  In addition to the Koda, we’re stocking the Volt, Rocket and Silverado.  We also have the complete Test Ride Kit, making it even easier to try a saddle before you buy.  Like all the saddles we sell, we back these with our 90-day Saddle Comfort Guarantee.
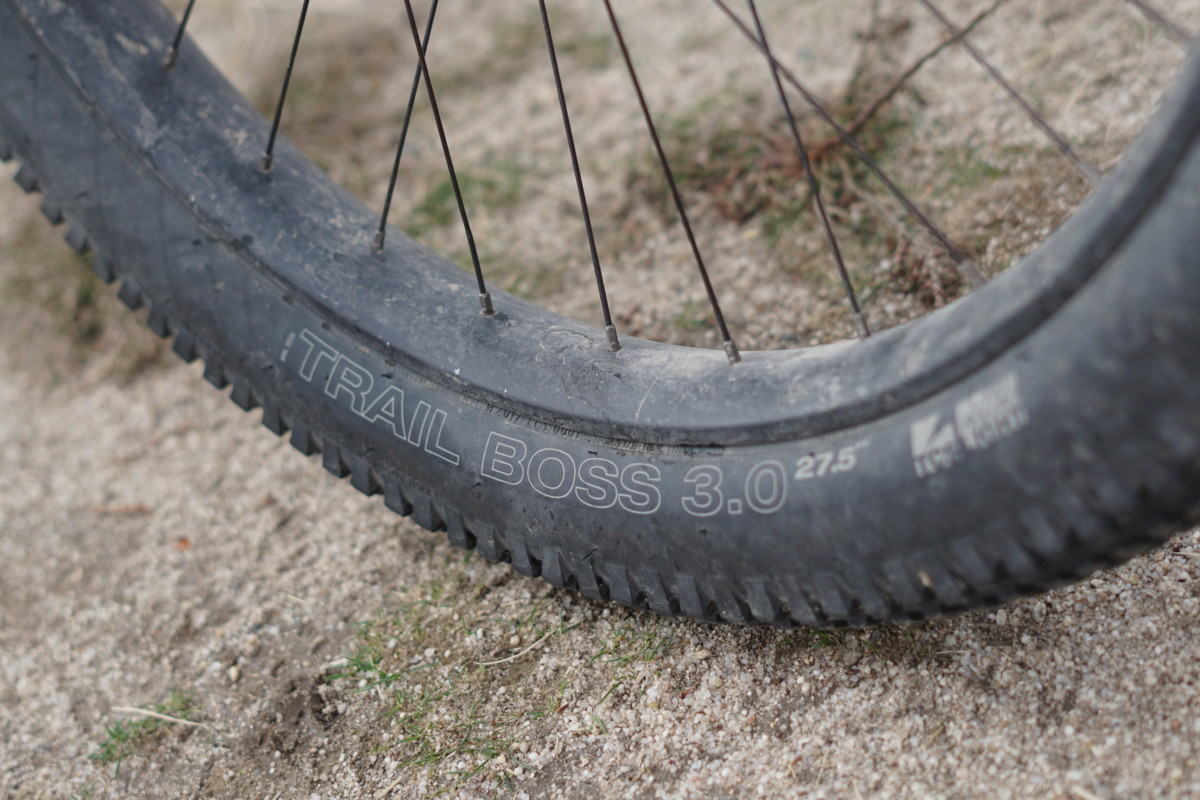
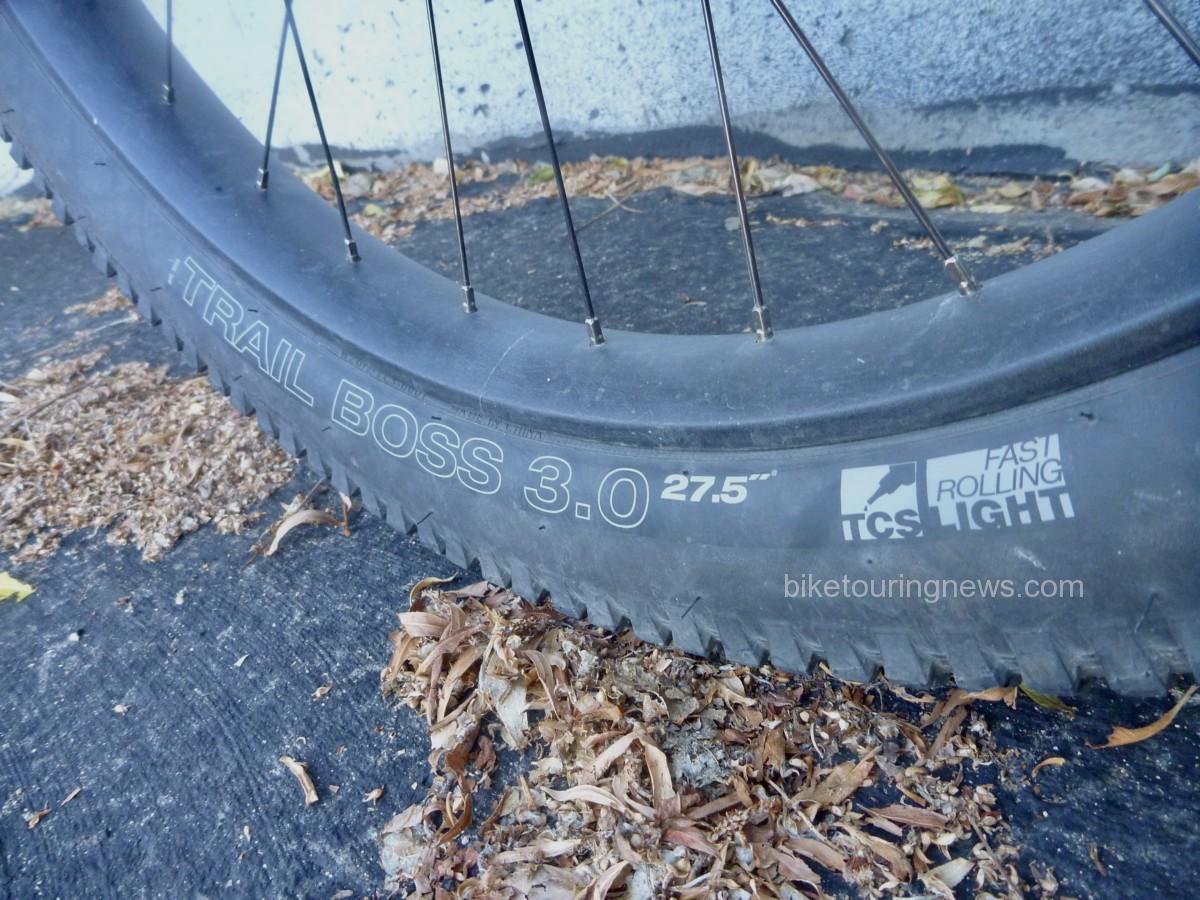
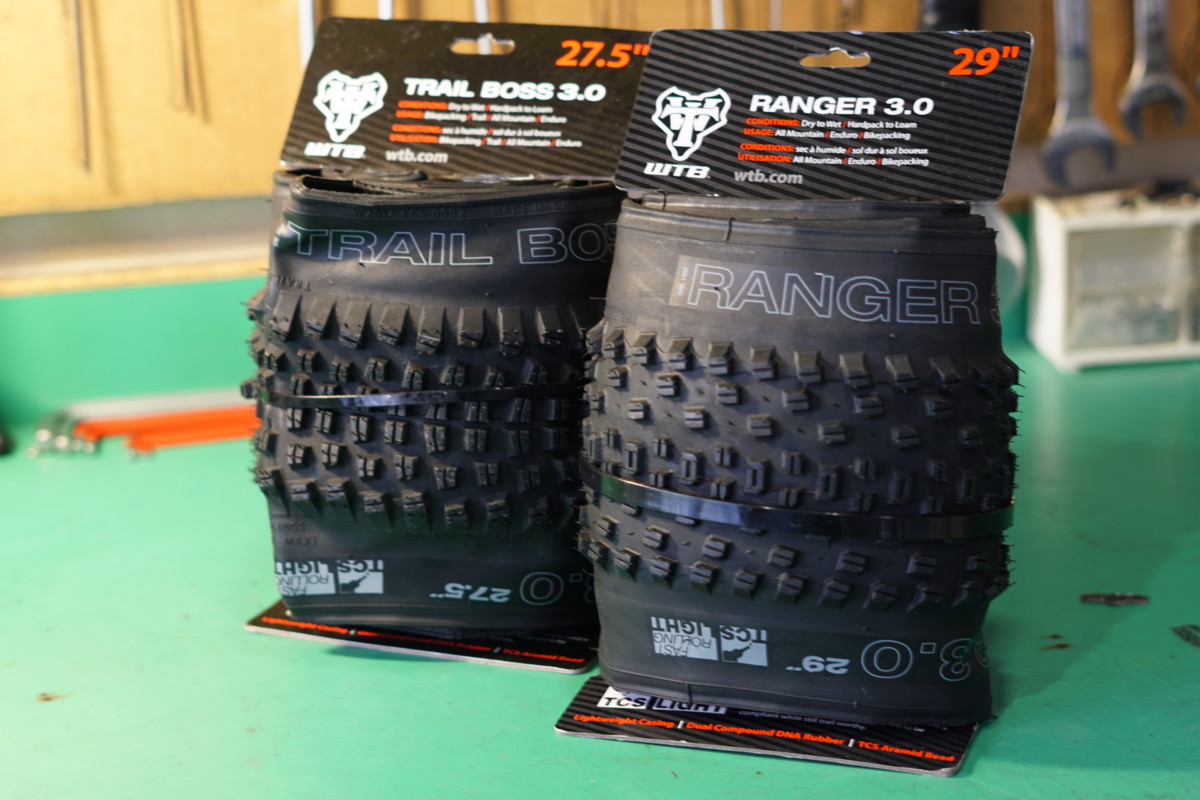
WTB’s focus on bikepacking, dirt touring and other more adventurous riding is especially evident in their tire lineup.  They have fully embraced the full 3-inch “plus-size” tire platform and offer a handful of tread and casing options for any plus bike, such as Surly’s Karate Monkey, Krampus or ECR.  The Trail Boss and Ranger are both solid, do-it-all tires for a broad range of conditions.  I (Ryan) rode a set of Trail Boss 27.5 x 3.0 tires on the Colorado Trail Race this past summer, in addition to all the preparatory rides before and plenty of miles since.  They’re showing some tread wear but have been completely trouble free.  Excellent tubeless setup and no flats, just smiles for miles!
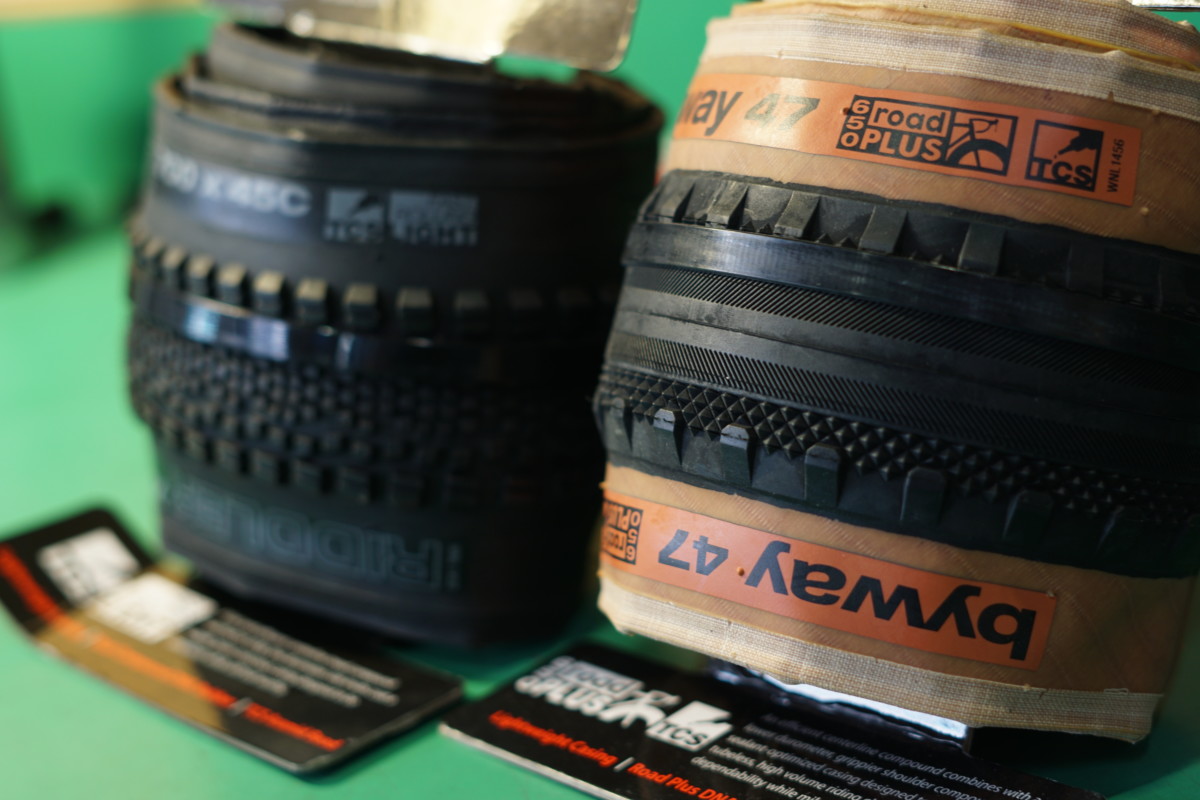
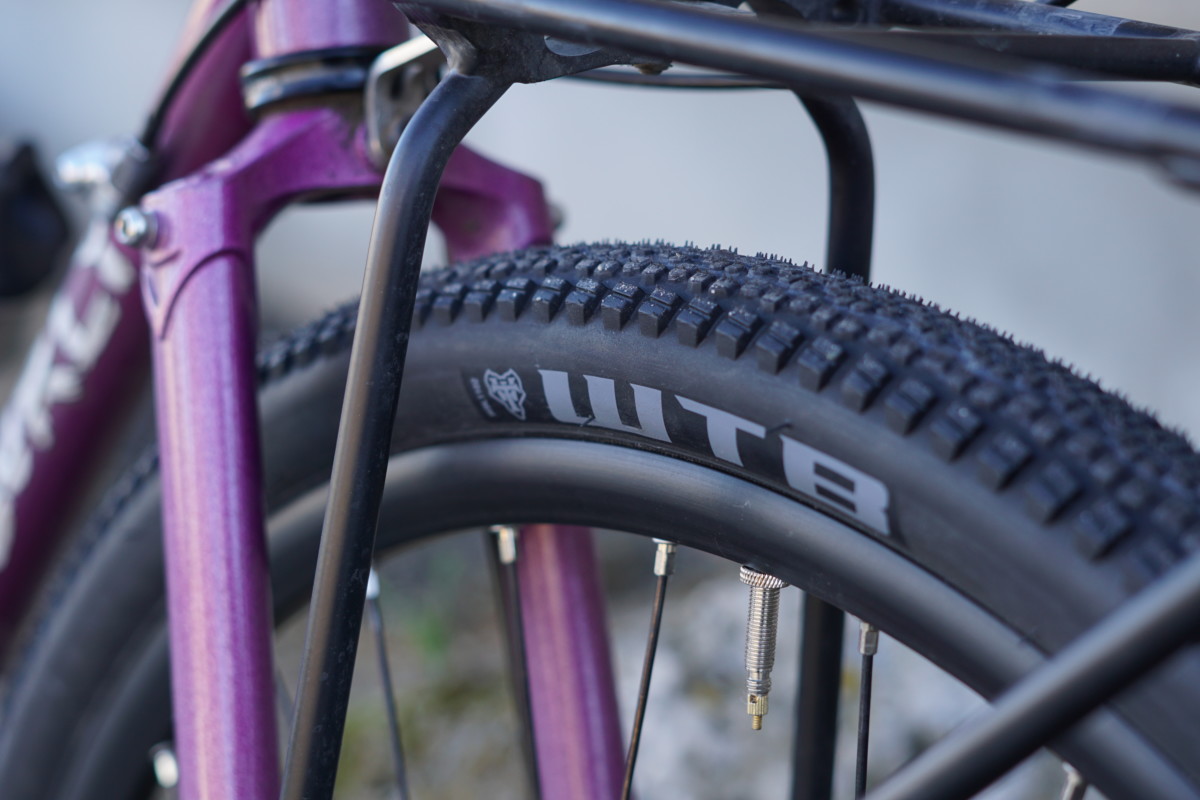
In addition, WTB offers a range of highly versatile, genre-bending tires for your cyclocross, gravel or dirt touring bike.  In widths up to 45mm for 700c and 47mm in 650b, these casings will provide a smooth, comfortable ride and plenty of traction.  For example, the 700×45 Riddler is a perfect fit for your Cross-Check, Straggler or Trucker and will show you what those bikes are capable of in the dirt without sacrificing pace on the pavement.  Many of these tires are also available with a classic tan sidewall, as shown on the 650×47 Byway below.
New Chainrings, Cold-Weather Clothing and Beverage Accessories from Surly

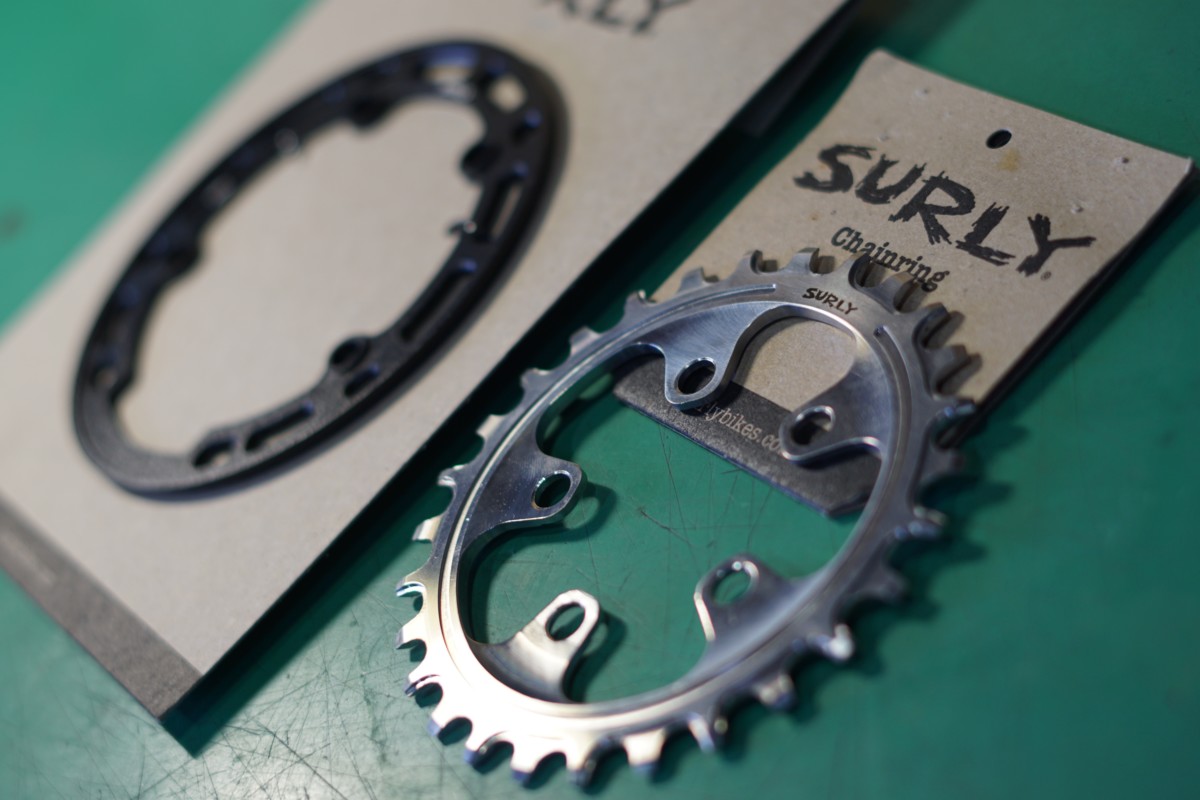
Ready to ditch the front derailleur on your ECR, Ice Cream Truck or any other bike with a Surly Offset Double crankset?  Here ya go, sweet cheeks!  The 28t chainring bolts on the inner chainring position and features SRAM’s X-Sync narrow-wide tooth profiles for rock-solid chain retention.  This thing is machined from durable and oh-so-shiny stainless steel for long life and corrosion resistance.  The matching alloy chainring guard fits the four spider arms (skips the threaded hole in back of the crank arm) on your crankset.  It protects your chain and chainring from trauma and gives those lonely spider arms a purpose in life.
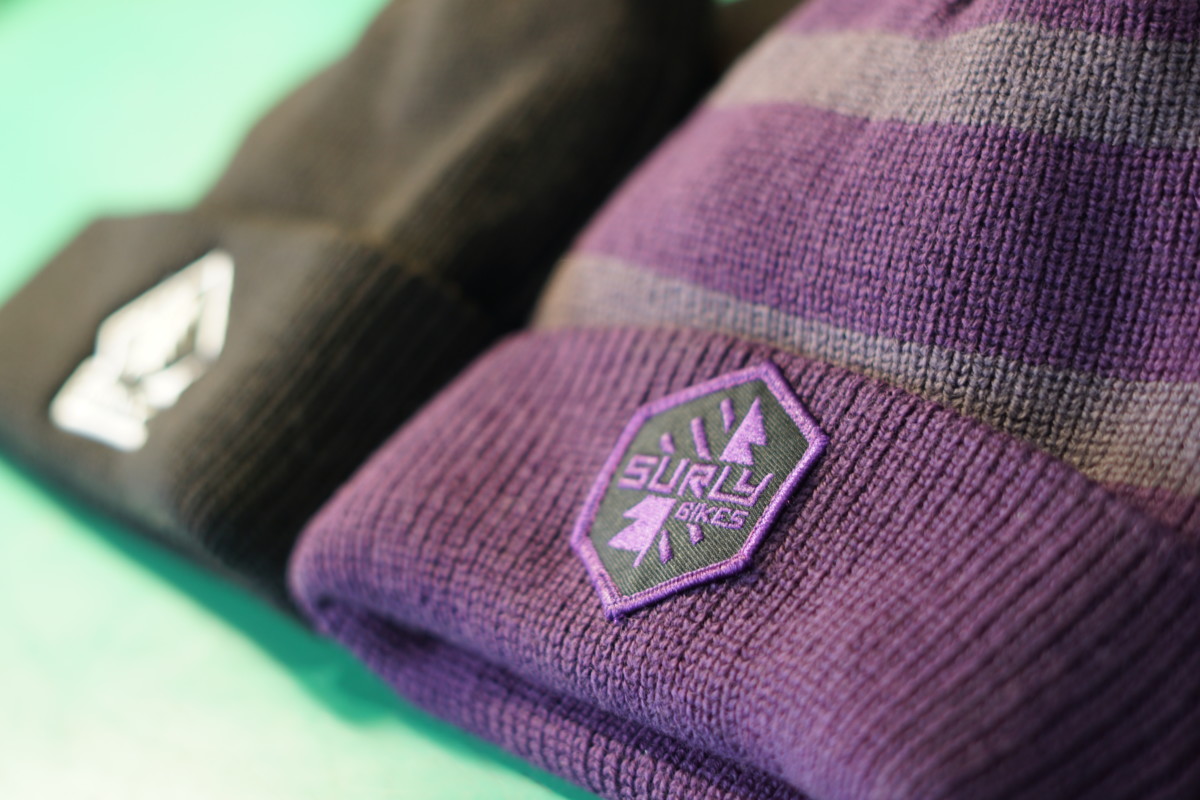
Surly has been quietly expanding their range of clothing recently.  Merino wool is the material of choice for much of the lineup, including the new wool beanies and neck gaiters.  The beanies are soft, snug and warm – perfect dome coverings on or off the bike – and come in basic black or a purple/gray stripe.  Get yours unadorned with only a small Surly label or with the “Omniterra” or “Split-Season” embroidered patch for extra style.
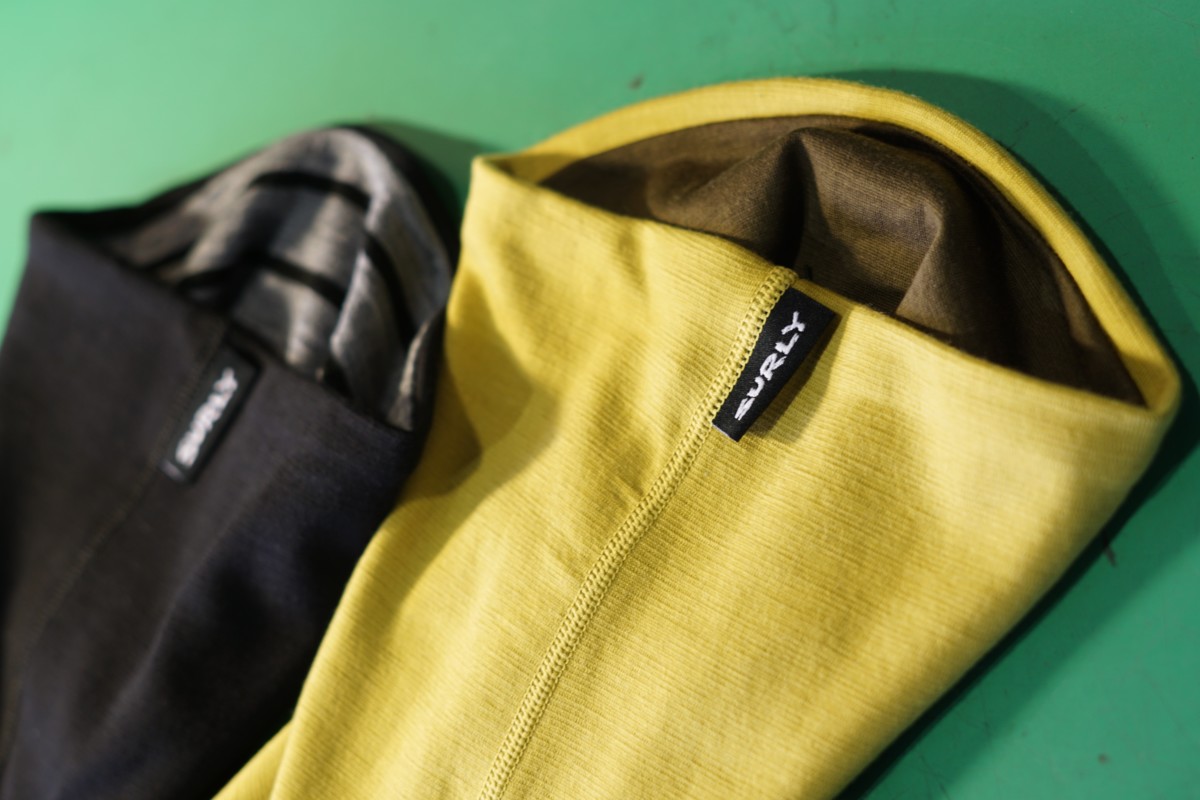
The neck gaiter is a multifunctional cold-weather essential and a perfect lightweight, packable layer to help fight the chill.  Surly’s are double-layered with finer, softer merino on the inside and thicker, coarser material on the outside to balance comfort, breathability and windproofing.  They’re quite nice, actually.  Choose black with a black/grey striped inside or the earthy yellow/brown combo.  Either one will make you warmer and more attractive than you were before.
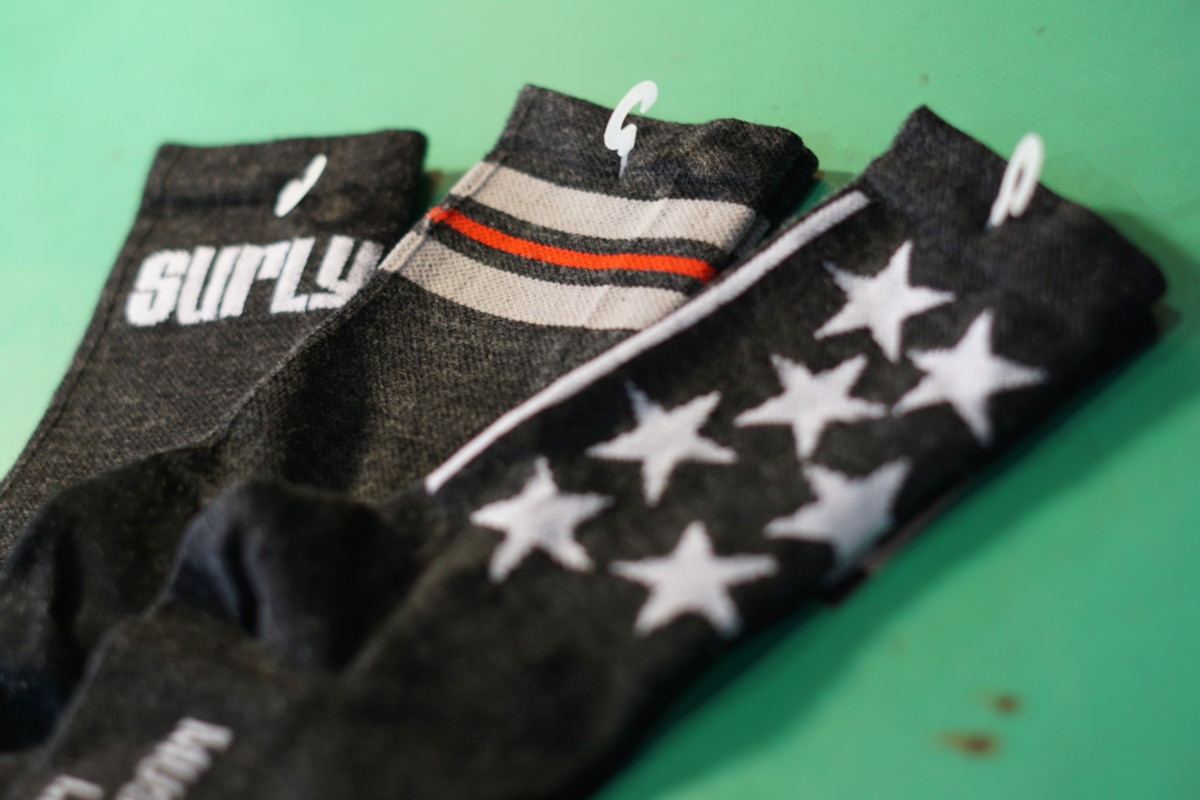
Surly’s wool blend socks are a perennial favorite.  They’re made in the USA by DeFeet with a proprietary wool blend for warmth, stink resistance and durability with just the right amount of stretch.  We have a couple of new patterns in addition to the old standbys.  Stars, Stripes, Surly.  Grab a pair for you and a pair for someone you like.
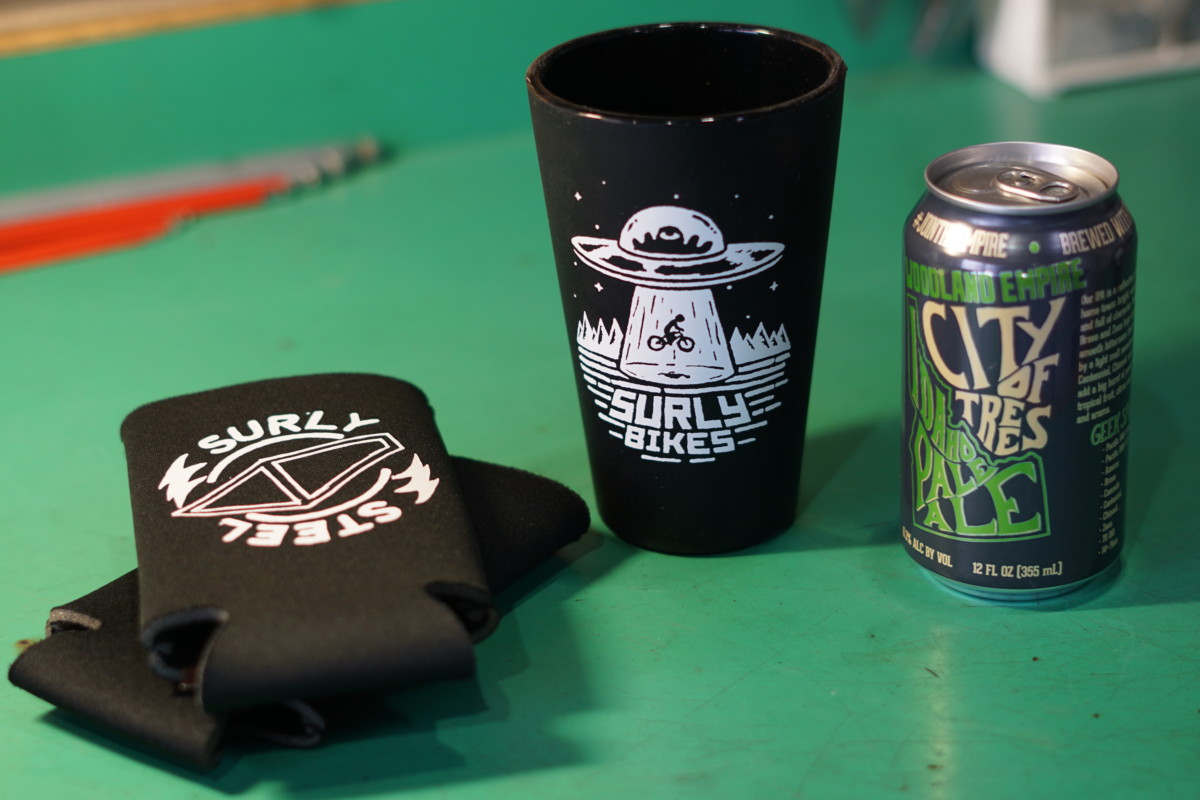
For the traveling imbiber of beverages, we offer Surly’s Silicone Pint Glasses.  We still call it a “glass” even though it is made of food grade silicone. They’re virtually indestructible, thick enough to provide some insulation for cold or hot liquids and dishwasher safe.  Ride your bike and transport yourself.  If you can’t be bothered to pour your beverage in a glass, pick up a handy Insulating Sheath.  They’re a perfect fit for tall cans but work with short cans or bottles also.  They’re also quite useful as packing aids, providing lightweight, stretchy, rattle-free padding for anything you stuff inside.  Use them for your tools and spares, camera lenses, camp stove, pieces of fruit or even cans of beer!
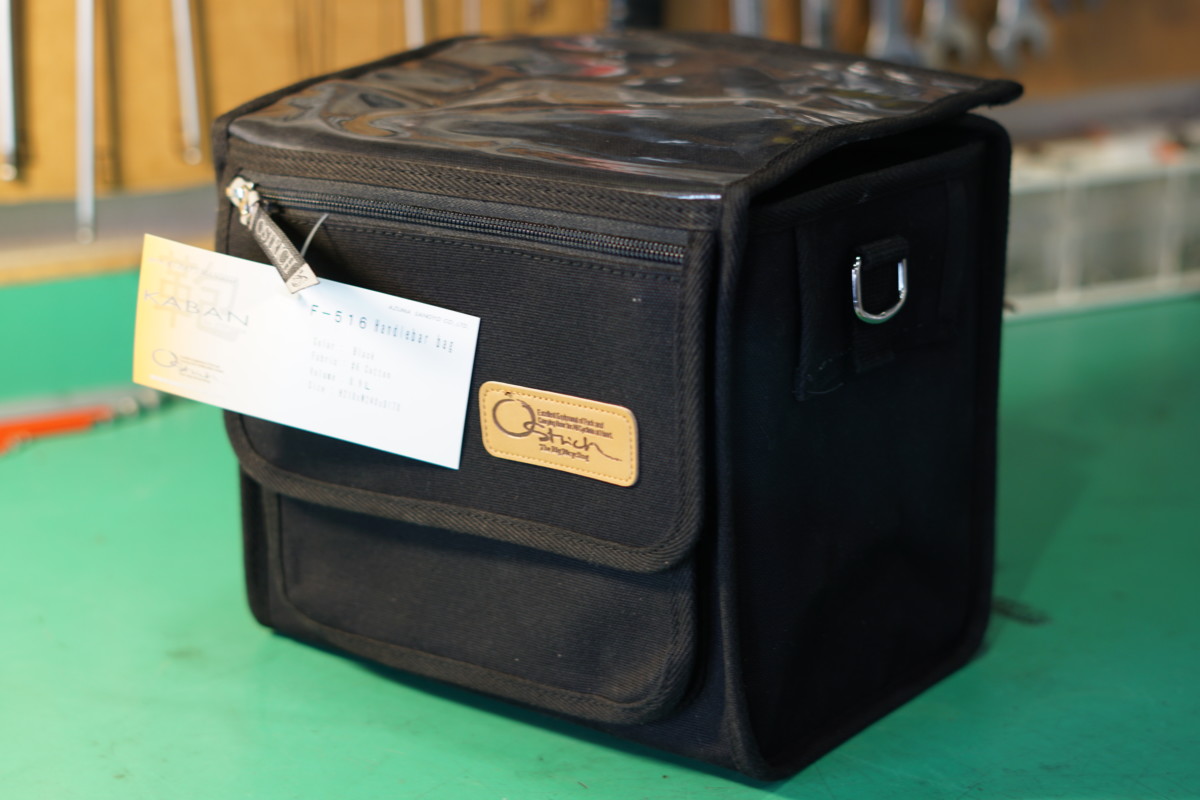
Ostrich F-516 Handlebar Bag

This fine handlebar bag incorporates a feature we’ve wanted to see from Ostrich for some time: a rider facing lid opening!  This simple difference makes accessing the bag’s contents while on the bike or in motion much easier and safer.  The lid flap is secured by velcro tape for easy, one-handed opening and closing.  The clear, integrated map case is also secured by a small velcro flap to prevent contents from escaping.  There is a flat front pocket with a velcro flap closure that is perfect for phone, wallet, compact camera or other flattish items.  There is also a zippered pocket in the flap for small items like keys.  Overall, this is a clean, minimal handlebar bag perfect for long day rides on its own or for easy-access items on your fully-loaded touring rig.
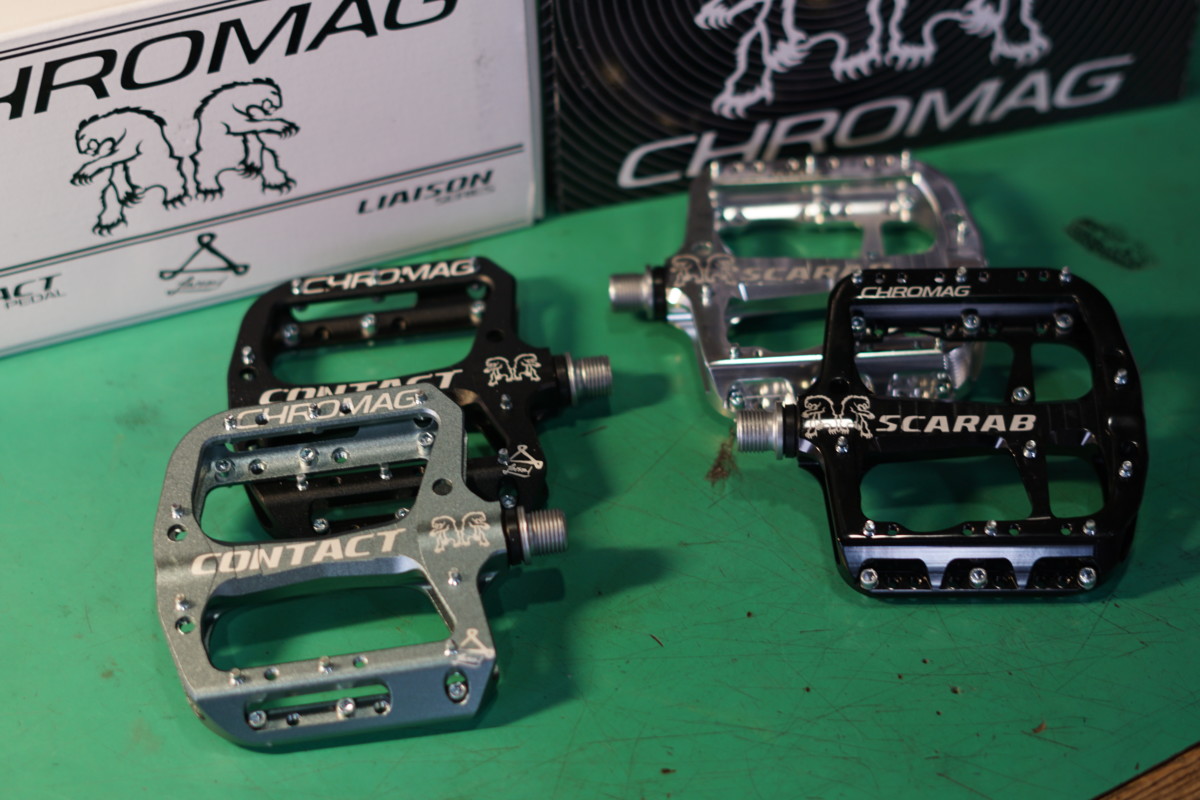
Chromag Pedals

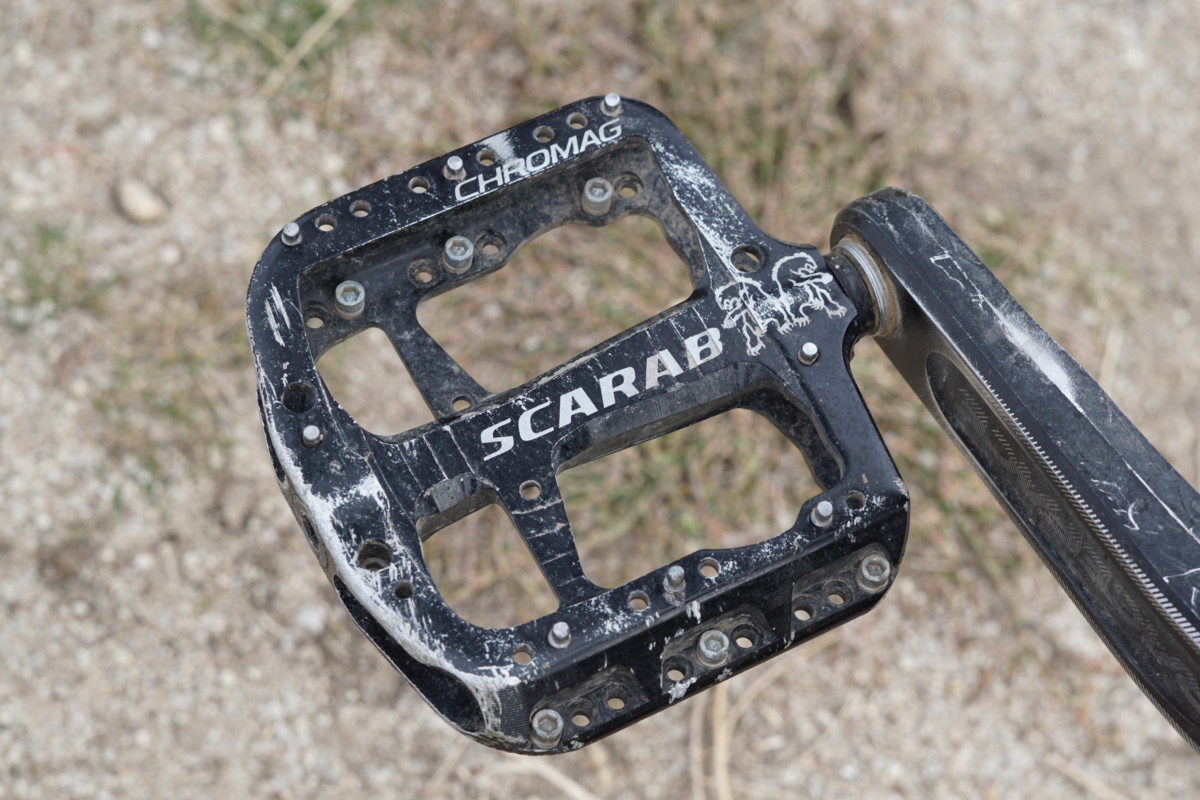
Flat pedals are a natural choice for bike travel over any terrain and the benefits are numerous.  I could fill an entire blog post extolling their virtues (come to think of it, maybe I will…) but let’s focus on these particular pedals.  Chromag’s Scarab and Contact pedals provide the best combination of comfort, tuneable traction, durability and serviceability we’ve found.  Both models have thin, wide, concave platforms with adjustable-height pins, multiple pin placement options and durable, ultra-smooth bearings.  The Scarab offers a few more pin placement options, more finely machined contours and a finely polished finish to justify the extra cost.  Either one is available in a variety of colors to complement any bike.
Wow, that’s a ton of cool stuff!  Get some for yourself, or someone else, or you and someone else!  What other products should Bike Touring News carry?  Sound off in the comments below and let us know what we’re missing!

Categories
Baja Divide Our Trips

News from the Bike Hermit and Sky King in Mexico!

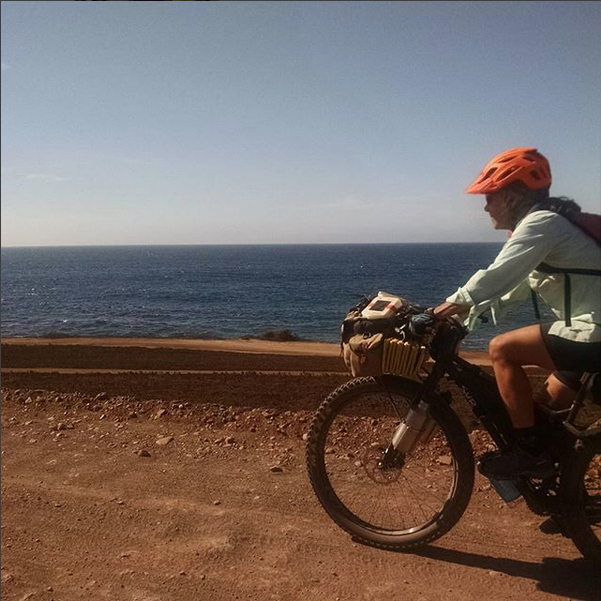
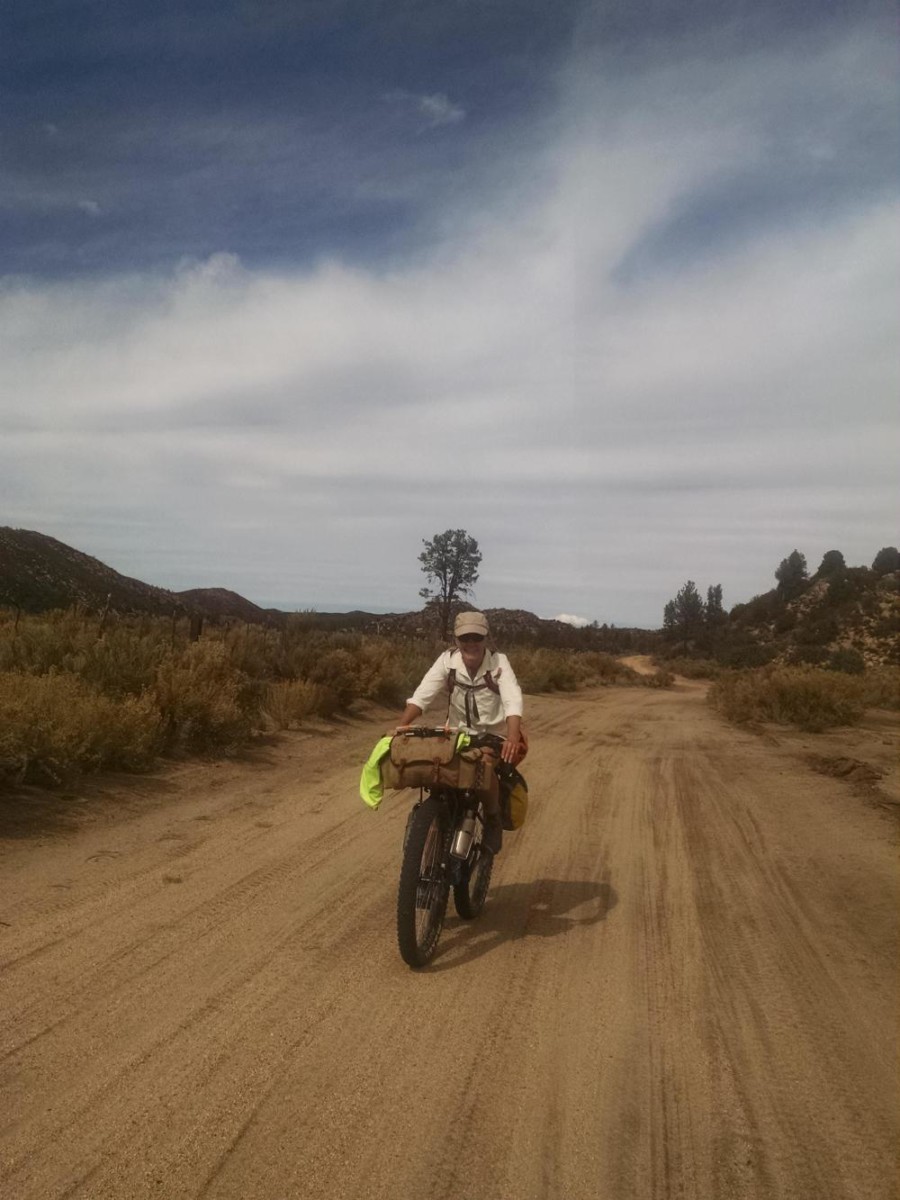
As you may already know, the Bike Hermit and Sky King have pedaled into retirement from bike shop life and are currently making their way south along the Baja Divide.  As of this writing, they’ve completed the first five segments of the route and are currently resting up in Vicente Guerrero in preparation for what lies ahead.  Here’s a link to the description of this first stretch of the route on the Baja Divide website.

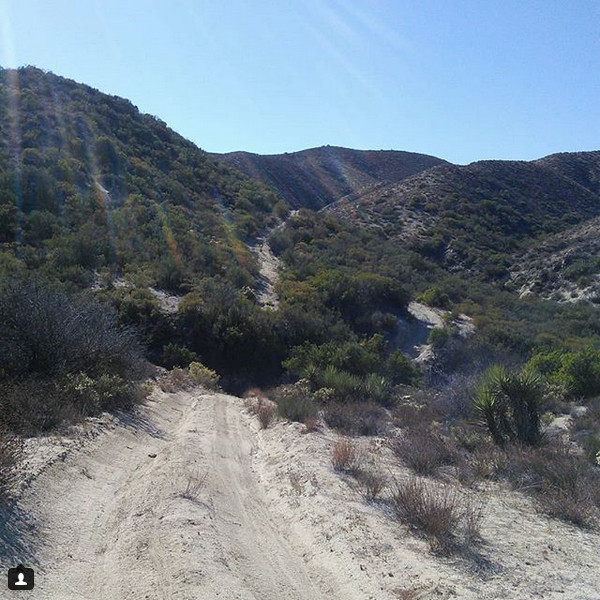
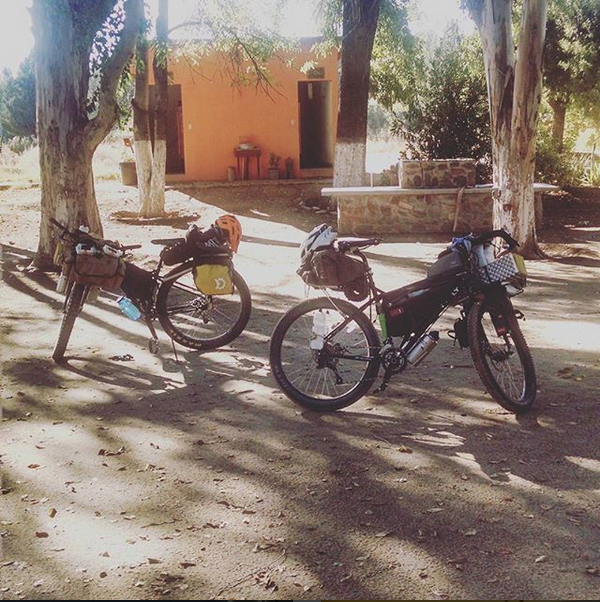
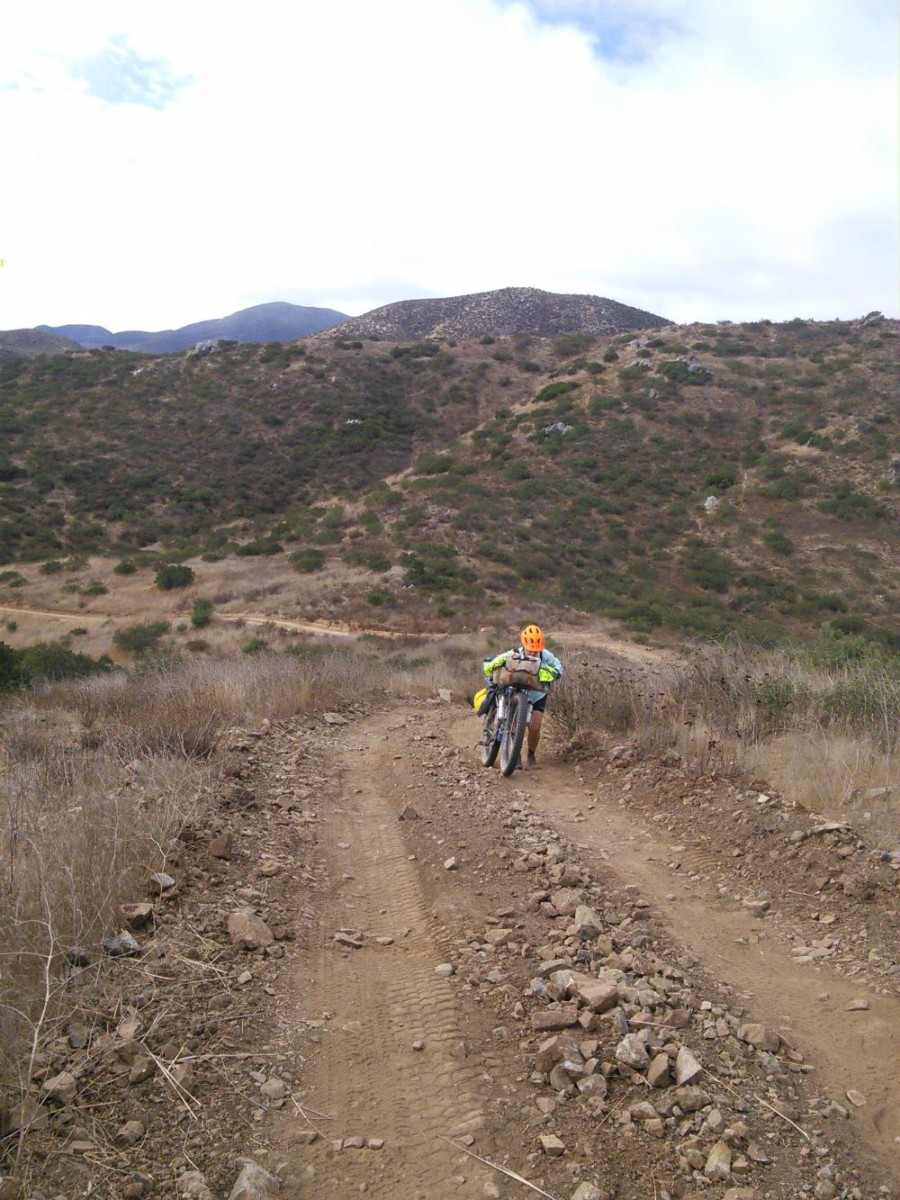
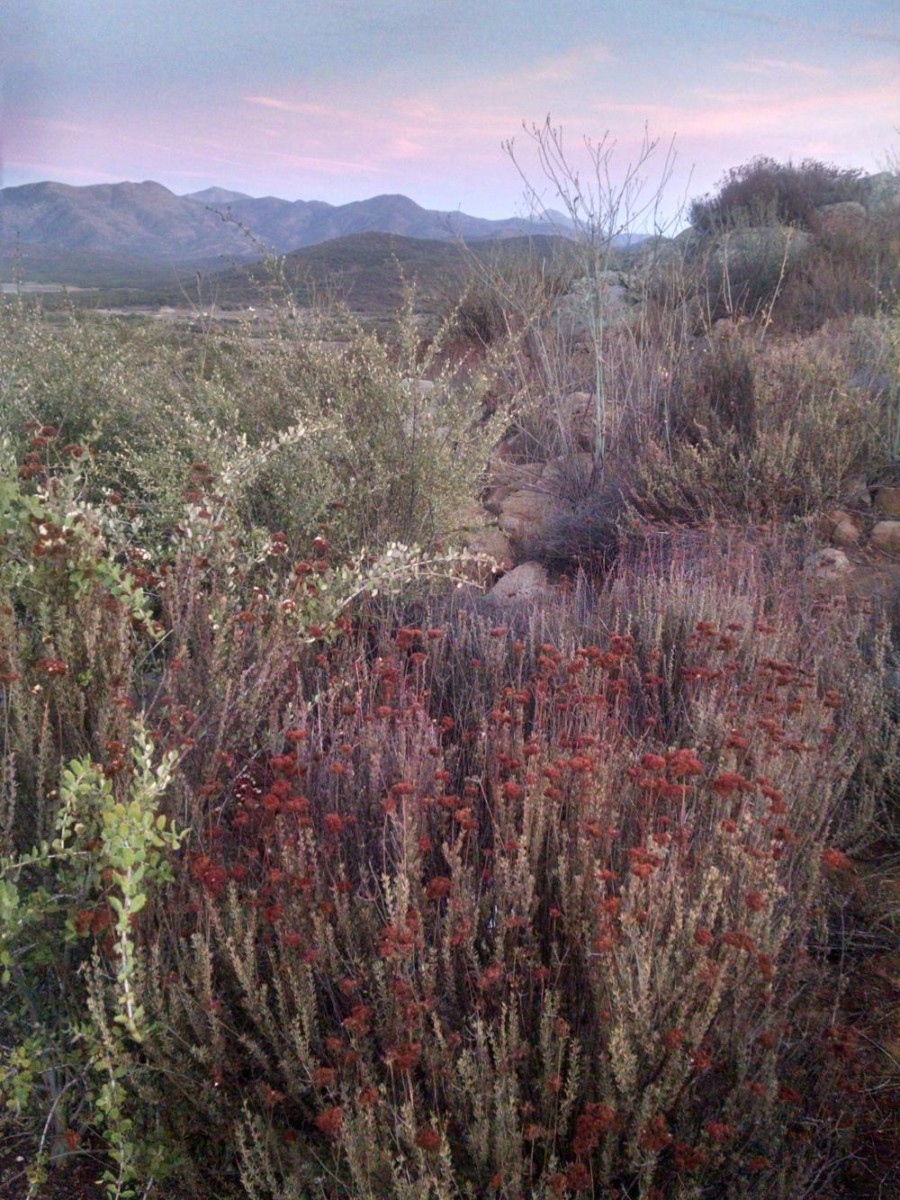
They have been posting photos to Instagram (@stacy_king_powers and @bikehermit) and updating their Crazy Guy on a Bike journal (http://www.crazyguyonabike.com/doc/Bajadivide).  It sounds like the going has been tougher than expected but that the pace of Mexican life seems to be agreeing with them!  Follow along, put your support and encouragement in the comments and enjoy their adventure vicariously.  Here are a few favorite photos from their journey so far:

We’ll continue to share occasional updates from Bike Touring News’ Owners Emeriti as they continue their adventure, so keep your eye on the blog.  Keep up the good work, have fun and stay safe out there, you two!  In the meantime, we have some updates from BTN Headquarters to share, so stay tuned…

Categories
Fenders Front Racks Surly Bikes

Photo Gallery: Micah’s Tricked-Out Surly Straggler

It is no secret that Surly builds versatile, durable bikes that are adaptable to a wide range of uses and conditions.  They also deliver bang for the buck that is pretty darn hard to beat.  When Micah started thinking about a new city bike, there were tons of options on the table.  After much deliberation, the Straggler rose to the top of the pile.

It is sometimes difficult to swallow the expense of a frame-up build, especially when talking about a city bike that is going to see tough conditions; this bike is going to be ridden hard, locked up, knocked around and put away wet.  The Straggler comes out of the box with a solid build that leaves plenty of room for add-ons but little need for upgrades.

Like most quality completes, Surly bikes don’t come with pedals.  Chromag’s Contact platforms provide all-condition traction, customizable grip, rock-solid durability and foot-cradling comfort.  Platforms are especially sensible for a city bike, allowing the rider to choose footwear based weather, comfort and style rather than being stuck in cycling shoes.

Proper, full-coverage fenders were a must.  However, the stock 700×41 Knards were just a little too wide to fit cleanly with the SKS Longboards.  Micah also wanted something a little faster rolling, with excellent tubeless performance.  Schwalbe G-Ones in 700×38 snapped onto the Alex rims securely and really make this bike fly on dirt or pavement.

Front and rear dynamo lighting were also a priority.  We’ve been really impressed with the Kasai dynamos and expect to build many more wheels around them.  There are less expensive headlight options out there (the B+M Eyc is a favorite for city bikes) but the bright beam and good looks of the B+M Lumotec IQ-X won out, despite the higher price.  The B+M Secula taillight is no more expensive than a battery taillight and the full-length brake housing along the top tube provided a clean path to route the wire.

Of course, what good is a dedicated city bike if you’re stuck carrying your cargo on your back?  Surly’s 8-Pack Rack mounts up cleanly to nearly any Surly fork and provides a solid platform for a wide variety of bags.  Micah’s Lone Peak Rack Pack Deluxe fits like a glove.  While we’ve sometimes been frustrated by the lack of light mounting options on the Surly racks, the crown mount included with the IQ-X bolted straight into one of the M5 barrels and provides a solid perch.  We prefer to mount headlights underneath or on the side of a front rack for better protection but the 8-Pack doesn’t make that easy.  Micah likes his headlight to stand up “loud and proud” anyway, so who are we to argue?

Scroll through the gallery and check out the build!  The “Blueberry Muffin Top” powdercoat really sparkles in the sun!  How would you build your Straggler?  Post your photos or ideas in the comments!

Categories
Other

Special Thanksgiving Hours: CLOSED 11/22 – 11/24

At Bike Touring News, we believe that holidays are times to spend with family and friends, sharing experiences and creating memories.  We’ve never really gone in for the whole “Black Friday” concept.  We’d much rather celebrate with a good bike ride, a home-cooked meal and a tasty beverage than a melee of consumerist excess.

In keeping with this belief, Bike Touring News HQ will be closed Wednesday, November 22 through Friday, November 24.  Of course, you can shop the web store 24/7 but the closure will impact shipping timetables.  All orders placed before 4pm on Tuesday, November 21st will be shipped as usual.  Orders placed after 4pm, Tuesday the 21st will ship the following Monday, November 27.

Please email [email protected] or call 866-936-3176 (toll free) / 208-806-2111 (local) if you have any questions or if there is anything we can do to help!  We appreciate your flexibility and hope you’ll be outside also, spending time on your bike and enjoying the company of those you love!

Thanksgiving Hours

CLOSED  Wednesday, 11/22 – Friday, 11/24

LAST CALL for same-day shipping:  4pm, Tuesday 11/21

Orders placed after Last Call will ship Monday, 11/27


Categories
Other Our Trips Tours and Rides

I Hate Goodbyes…

This day has been coming for a long time but that doesn’t make it any easier.  The Bike Hermit and Sky King gave a characteristically unceremonious final farewell and walked out the door of Bike Touring News HQ today.  We’re not likely to see them around these parts for many months at the very least.  As the Hermit said, “this might be the last time I ever see this place.”  Their exit has been a long, gradual process that has taken up much of the last six months but the finality of their departure weighs heavy as a swollen raincloud on this overcast fall day in Boise.  I’m going to miss the hell out of those two.

Many of you will already have heard that Bike Touring News is under new ownership, that Jim and Stacy are entering a period of semi-retirement to chart a more adventurous path.  Like most of you, I’m thrilled for them (if not a little jealous) and can’t wait to read stories and see photos of their journey.  I look forward to sharing dispatches in the form of blog posts as they journey south, eventually making their way down the length of the Baja Divide.  However, I’m struggling to wrap my mind around the reality of work at Bike Touring News and life in Boise without the Hermit’s good-hearted surliness and Stacy’s youthful joy and caring.  Their departure has already left a palpable void and Bike Touring News HQ suddenly feels quite lonely, like a winding desert road with an uncertain destination.

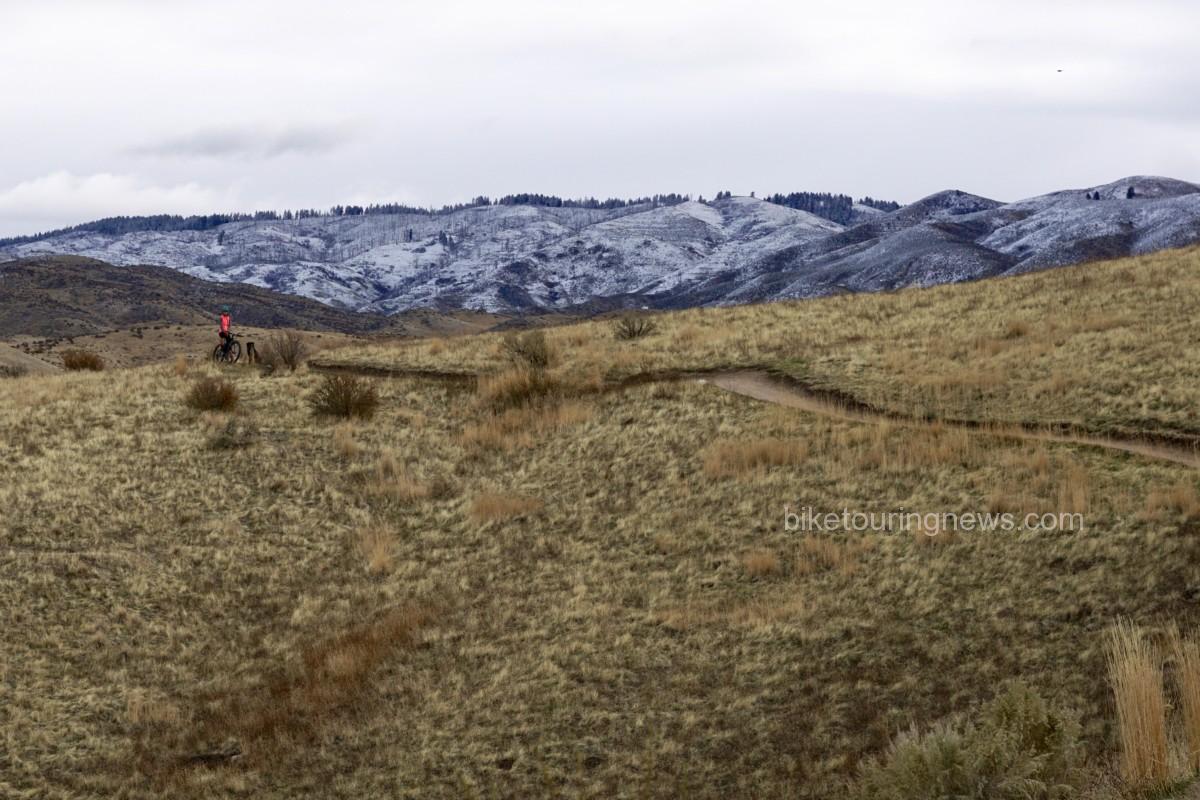
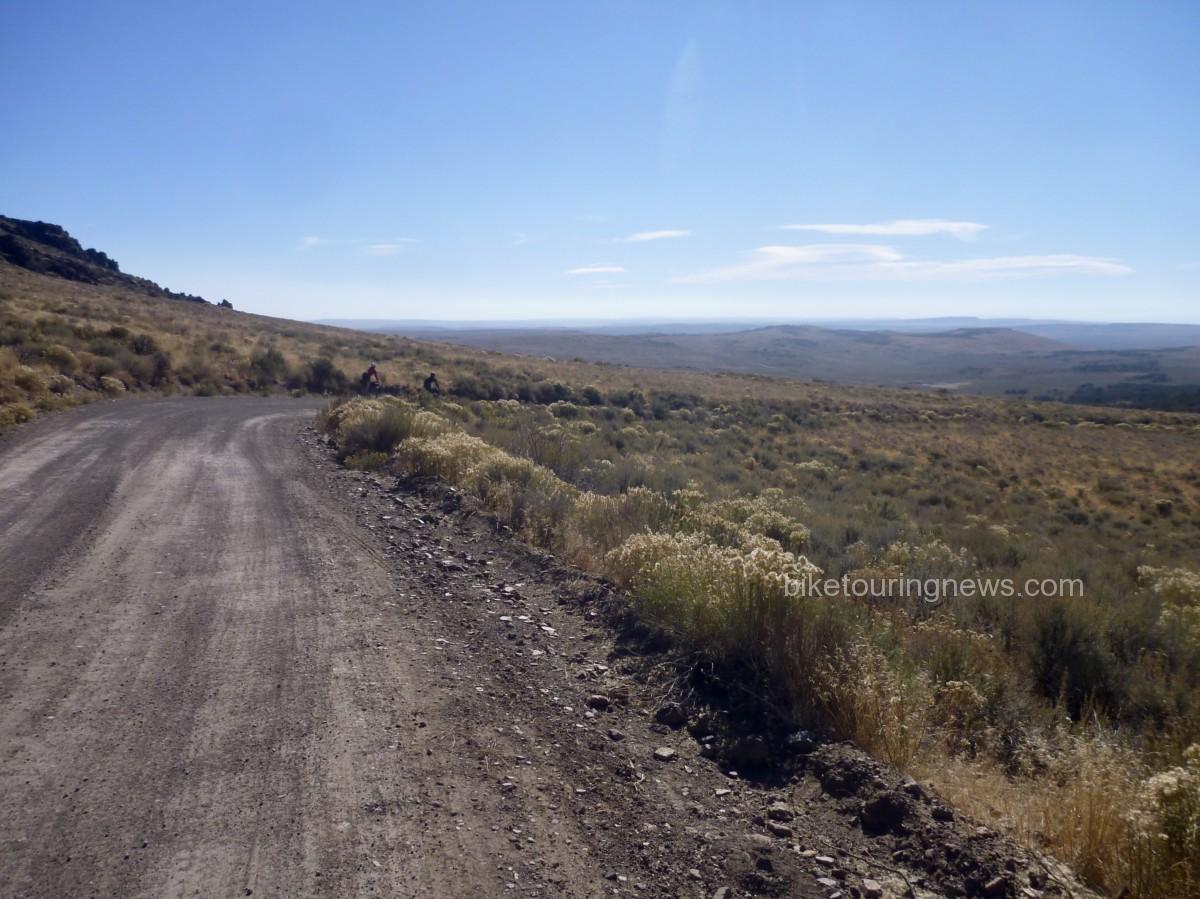
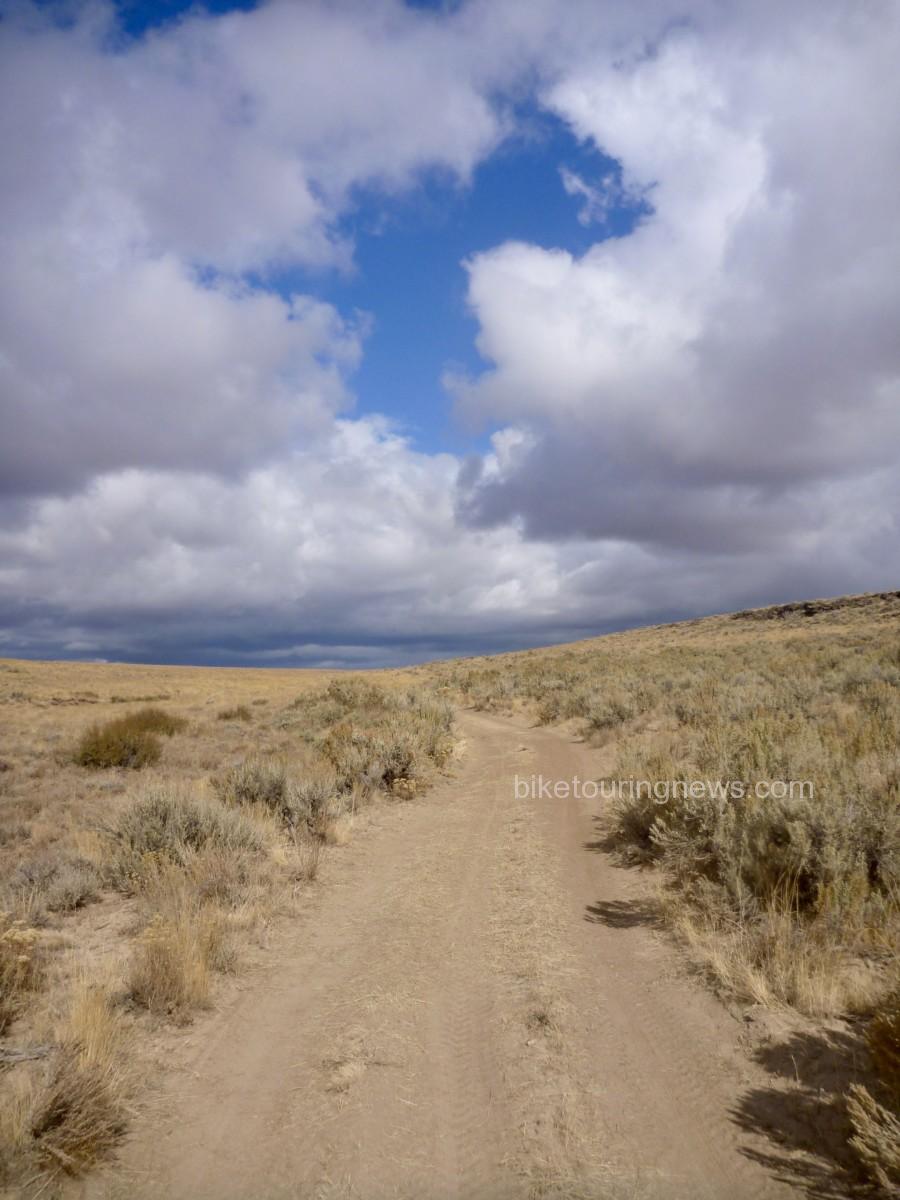
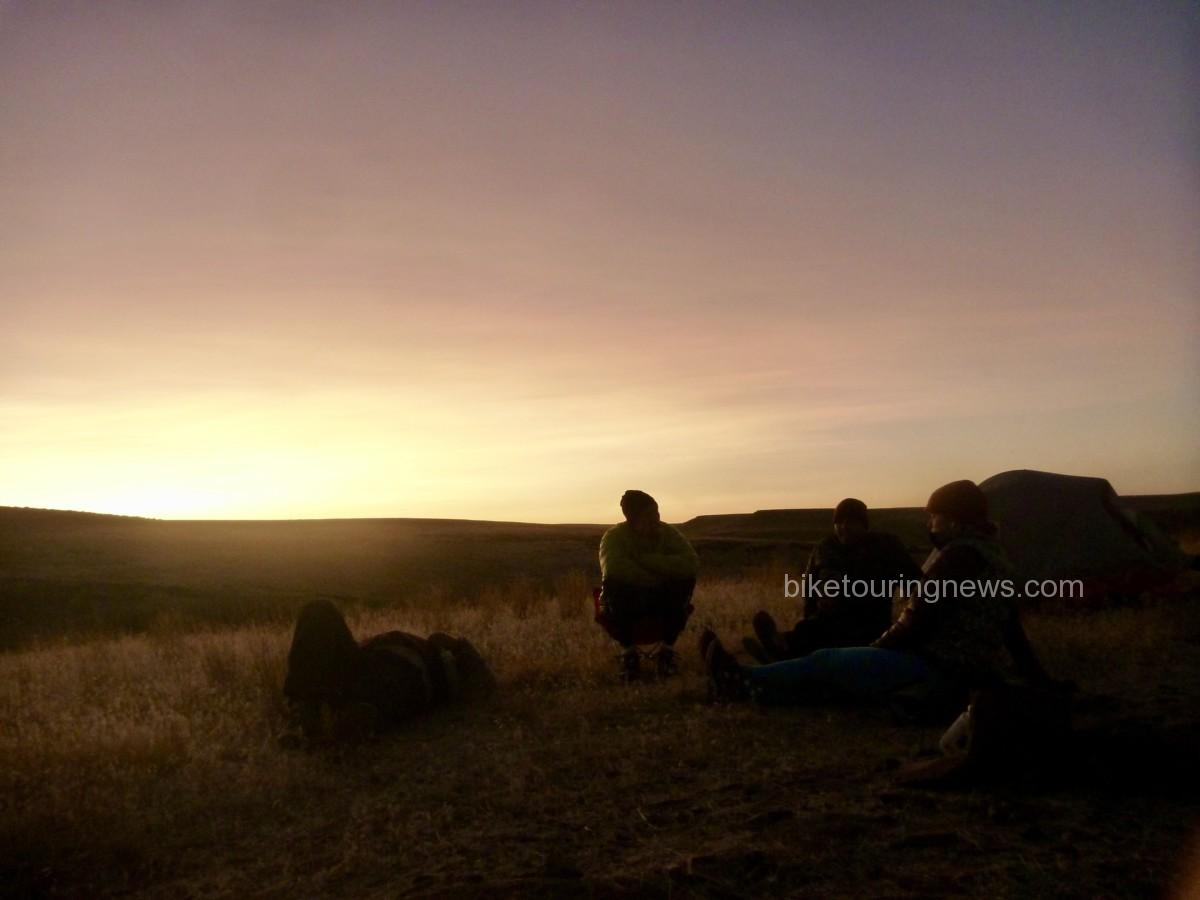
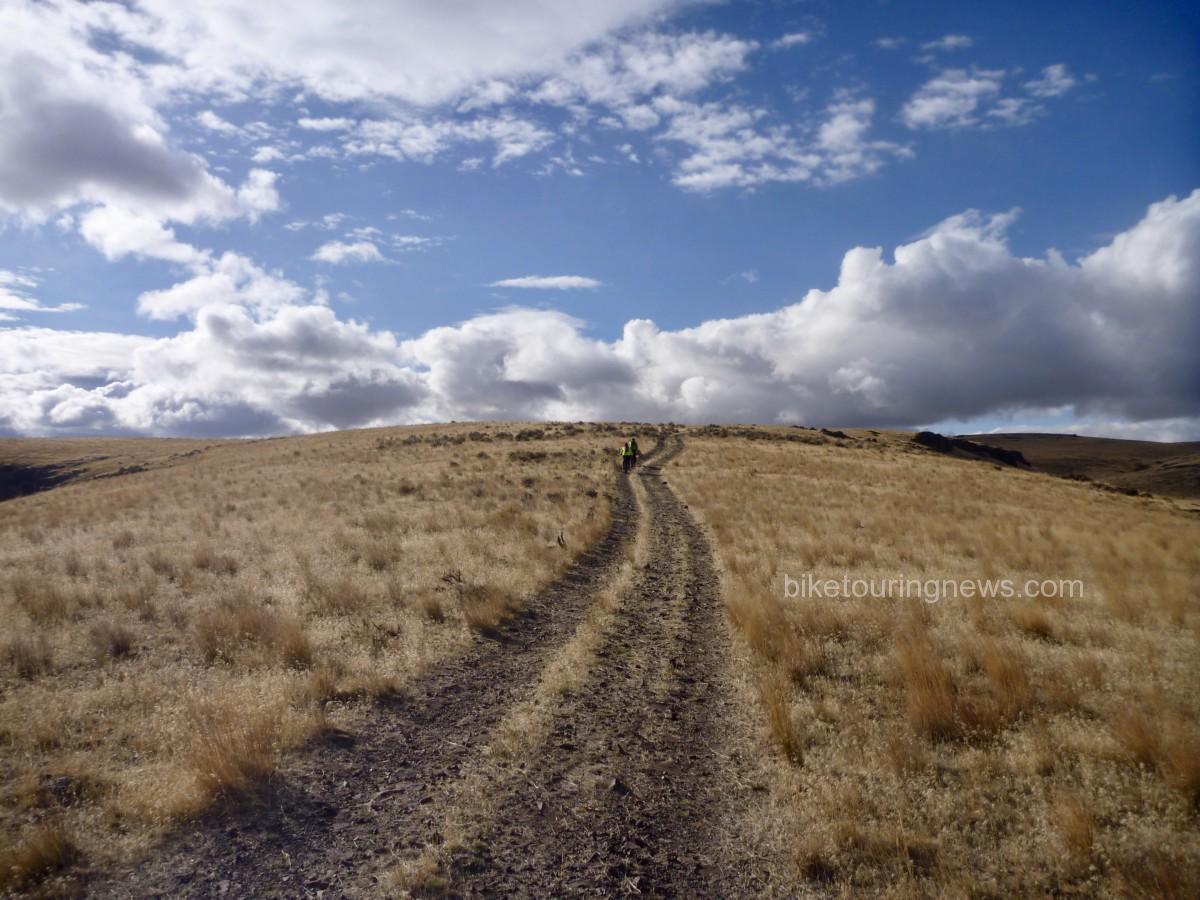
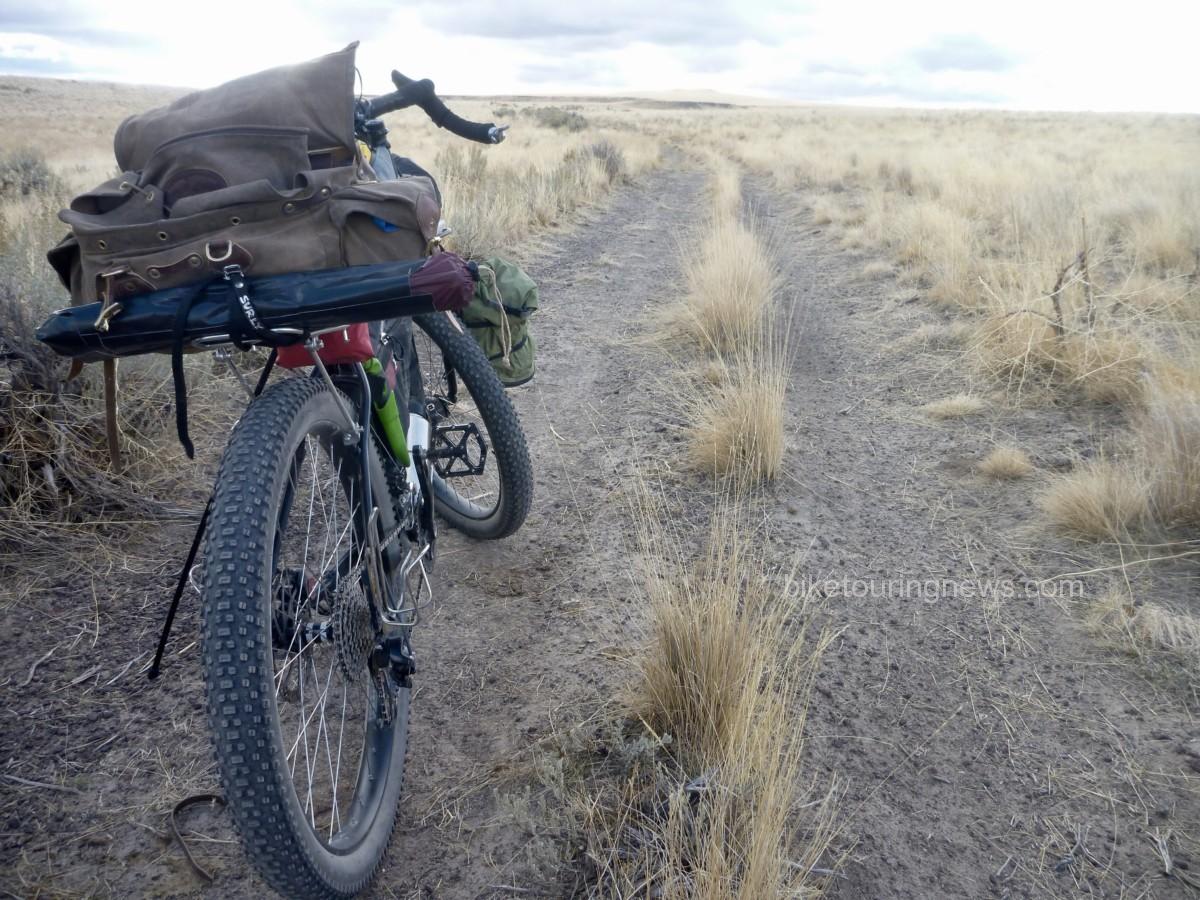
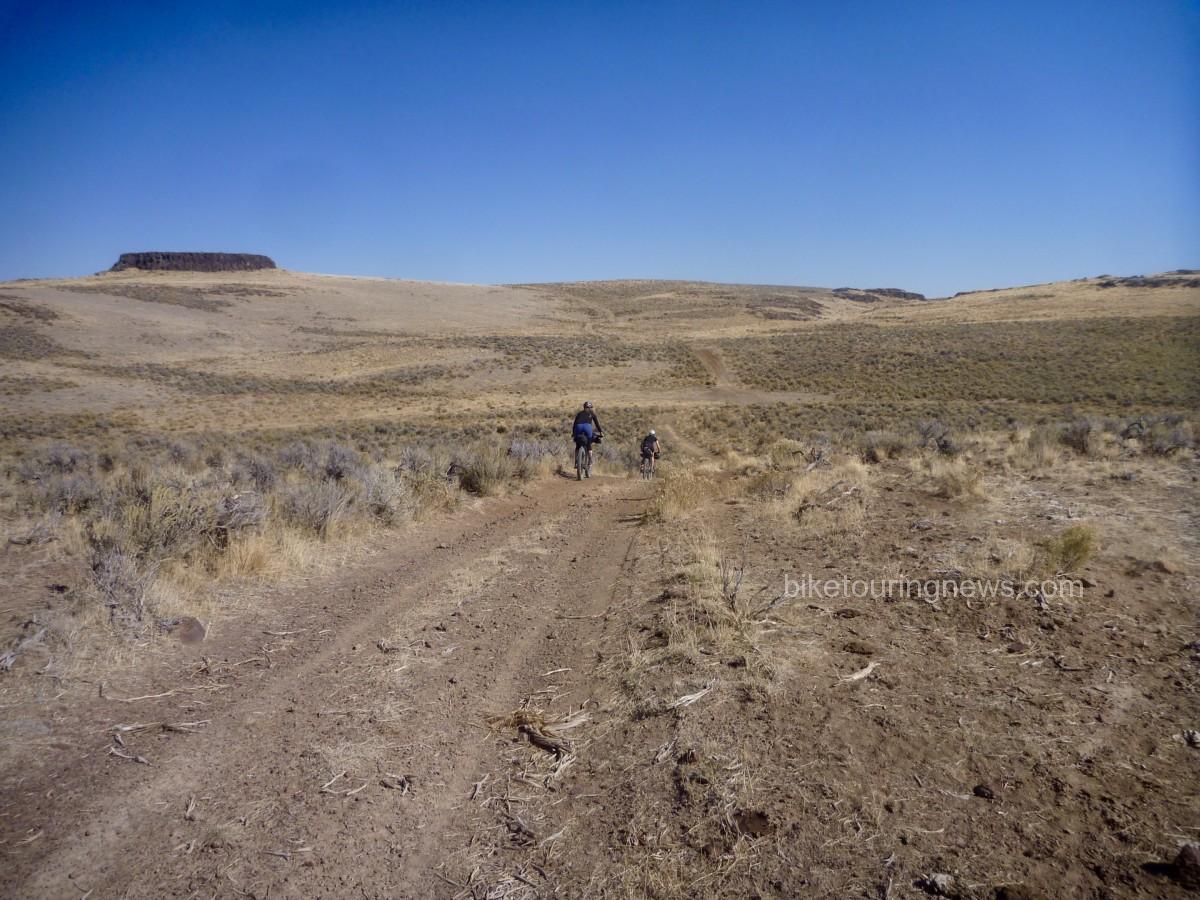
A couple of weekends ago, I was able to join a handful of friends for Jim and Stacy’s last ride in the Owyhee Canyonlands.  At the time, it felt like just another trip in the desert.  Every journey into that wild, remote country is special and unique but this particular ride didn’t feel all that different from those that came before.  Looking back, it now feels packed with meaning and significance.  We started out separately, rode and camped together, then continued on our separate paths.

Our trajectories in life have been somewhat similar.  Happenstance and shared interests brought us together for a time and now those shared interests are leading us down diverging trails.  I think I first started saying goodbye to Sky and the Hermit when we parted ways on the frosty morning of the second day of our ride to Little Jack’s Creek, as I watched them climb away along the double-track into the cloud-filled sky.  I know our paths will cross again in the future but I’m left wishing we had more time.

Despite my sadness at their leaving, I’m excited and optimistic about the future for all three of us.  They’re pursuing a brave dream, having offloaded nearly all the belongings and encumbrances that tie so many of us down and setting out to ride one of the most ambitious bikepacking routes in the world.  At the same time, I’m embarking on my own adventure of bike shop ownership, building on the foundation they laid over the past six years.  I feel incredibly fortunate to be in a position to move Bike Touring News into the future and am honored by the trust Jim and Stacy have placed in me to carry on their legacy.

They’ll be rolling out of Boise in their big red pickup tomorrow, with bikes in the bed, a Bike Touring News sticker on the bumper and their few earthly possessions securely stowed in the Boles Aero travel trailer.  Come November they’ll be pedaling terra incognita on the Baja Peninsula, camping on beaches, traversing mountains and navigating deserts.  When asked how long they expect to spend on the Baja Divide their answer has always been, “as long as it takes.”

I hope their journey is filled with excitement and discovery, honky tonks and juke joints, cervezas frias y tacos pescados, with only enough difficulty and struggle to highlight the easy, effortless times.  Safe travels, you two.  Take care of yourselves and each other.  Bike Touring News, Boise, and the Owyhee will be awaiting your return, for as long as it takes.


Categories
Advocacy/Awareness Bikepacking

Idaho Conservation League Benefit Event at Smoke ‘n’ Fire Riders’ Meeting

Holy Smokes! We’re one week out from the Grand Depart and the 2017 Smoke ‘n’ Fire 400 has already lived up to its name!  Despite the smoky haze, we hope you’ll join us at the riders’ meeting on Tuesday the 12th for a special event benefiting the Idaho Conservation League!
 
We’ll pour beverages for a suggested donation of $4/pint and sell raffle tickets for $5/ea or $20/5, so BRING CASH!  100% of proceeds will benefit the ICL and their work protecting Idaho’s priceless land, air, water and wildlife.  Highlands Hollow is providing a keg of delicious brew and the raffle is stacked with products from Surly, Revelate, Sinewave Cycles and more!
 
You don’t need to be a Smoke ‘n’ Fire rider to participate, so bring your family and friends for a celebration of human-powered adventure and natural resource conservation!
  • Tuesday, September 12, 6pm, Sun Ray Cafe (1602 N. 13th St)

  • RSVP and find more info on the Facebook event page here.

  • BRING CASH!

Categories
Bikefishing

New Bikefishing Gear Roundup!

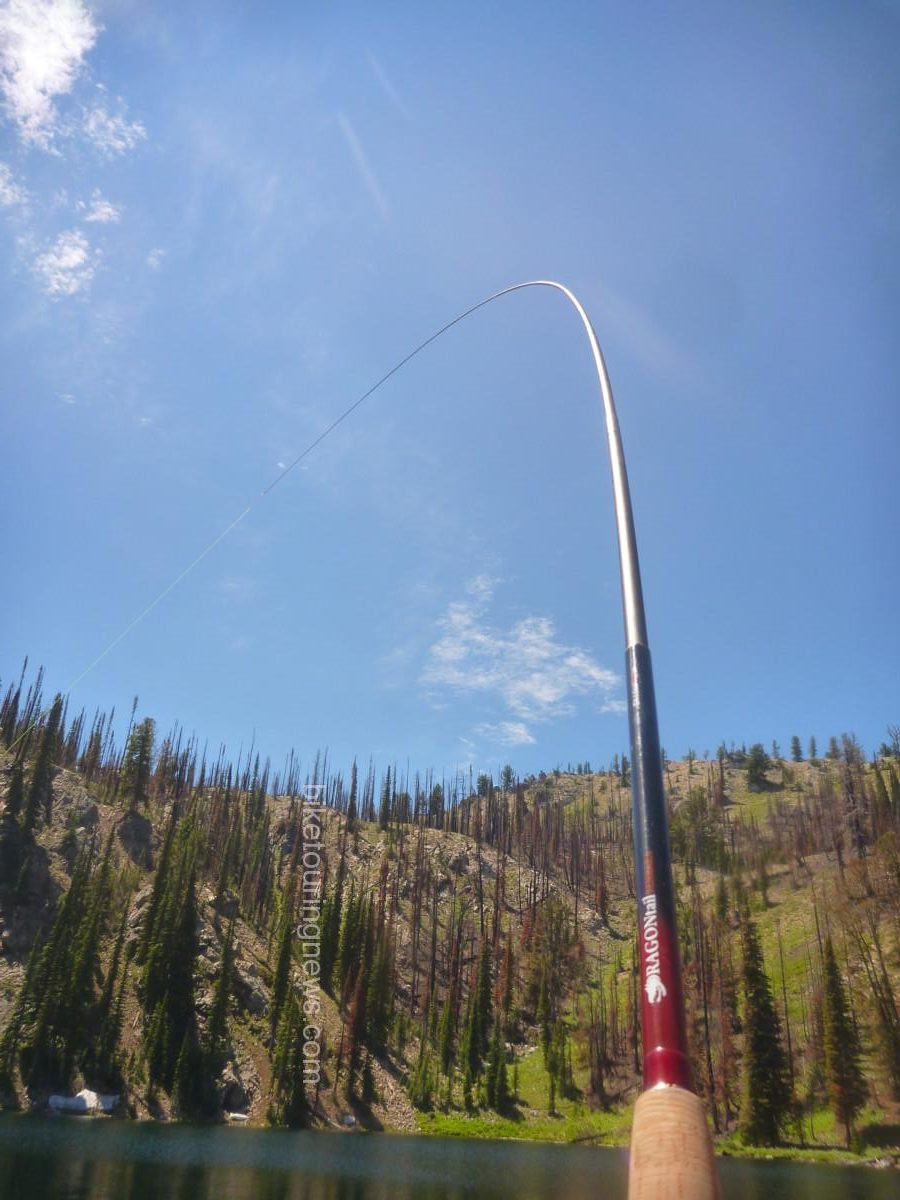
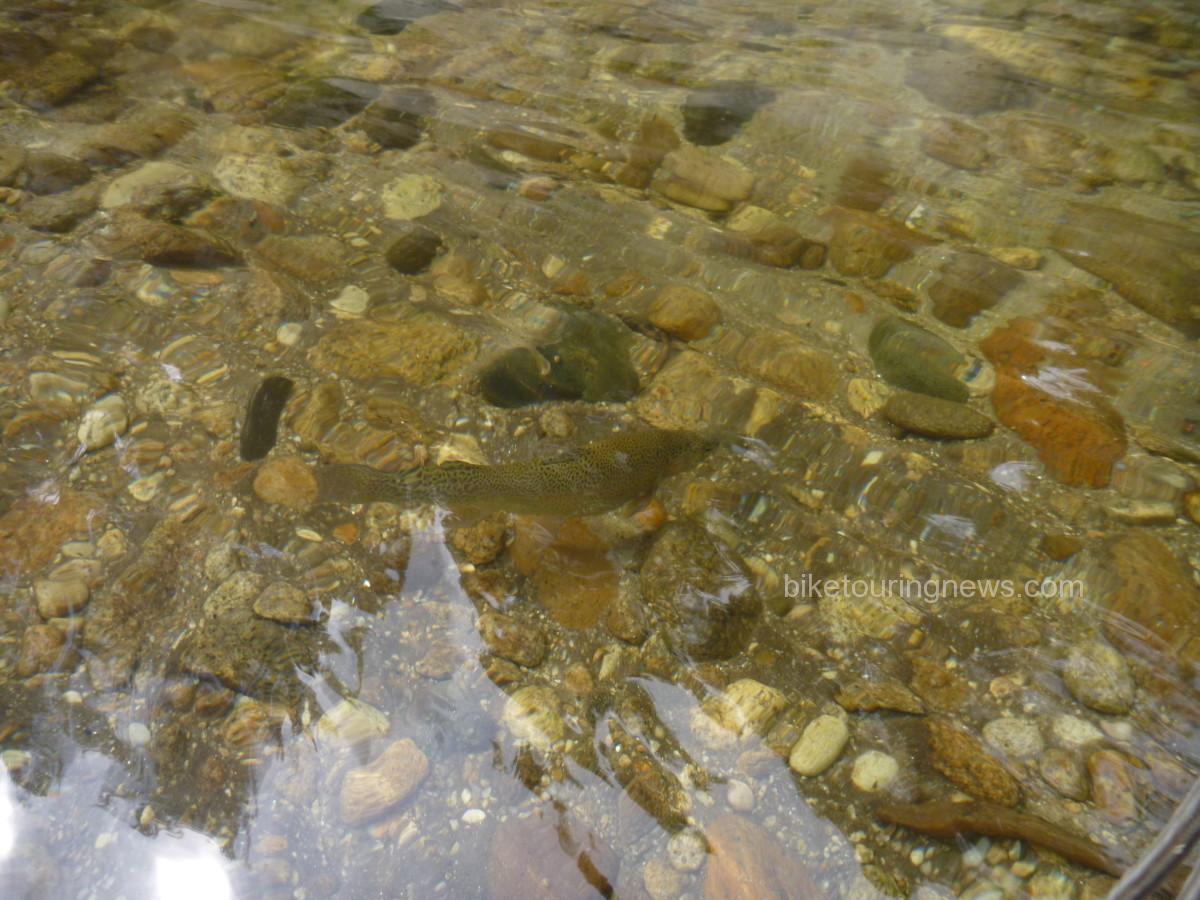
We want to help you have fun and catch fish on your rides, so we are expanding our selection of bikefishing gear!  We’re stocking a selection of tenkara rods from DRAGONtail Tenkara, top-quality furled lines from Moonlit Fly Fishing and a range of tools, equipment and accessories hand-chosen to get you out on the water and catching fish!

In this post, I’ll take a quick look at some of the products we’re offering to help you build a fishing kit that suits your preference, budget and water.  I’ll also try to answer some common questions regarding tenkara gear and share some helpful tips and tricks for fishing by bike.  We’ll definitely be posting more on these subjects, so send us your questions and comments and we’ll try to include them in future posts.

Rods

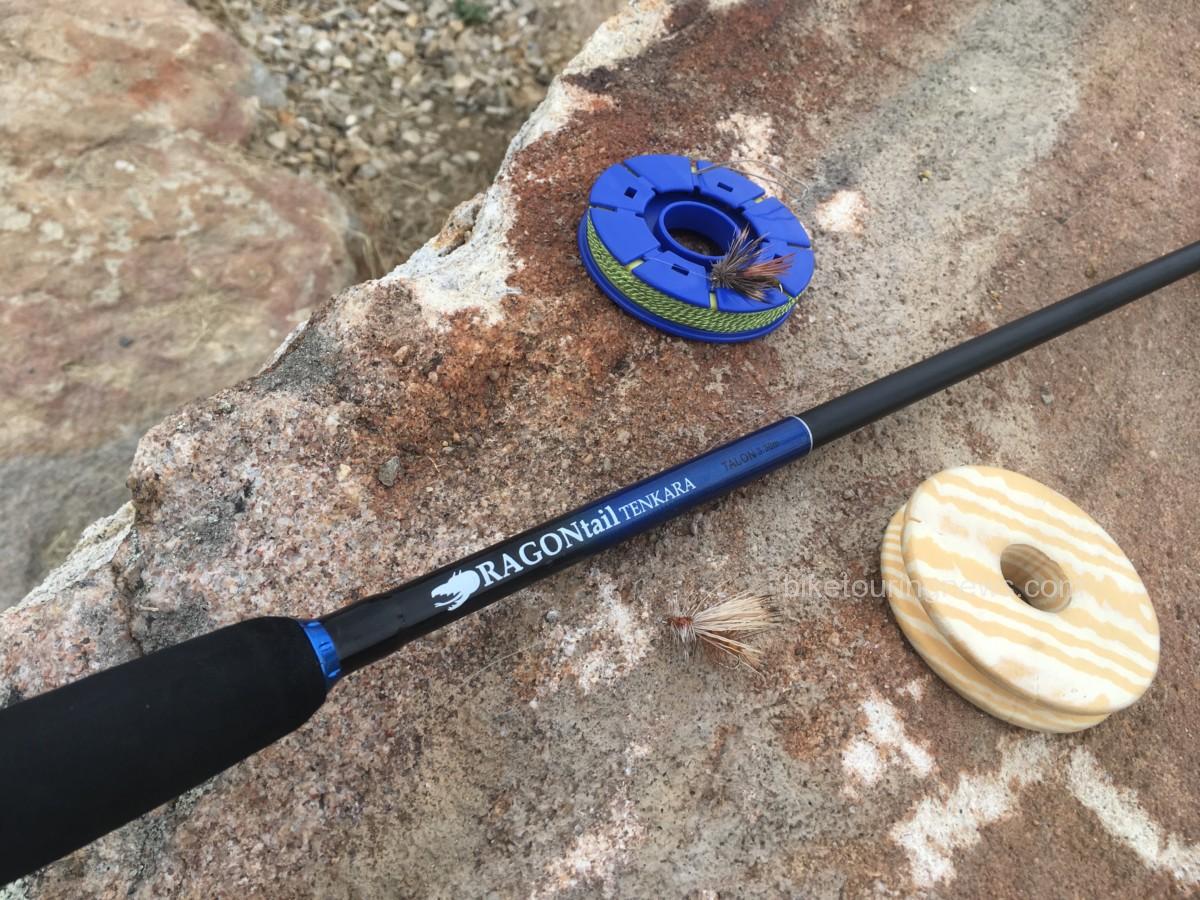
Just like rods for other fishing styles, tenkara rods come in a wide range of lengths, weights, actions and price points.  Most experts recommend a rod in the 11-12′ range for all-around fishing.  Longer, heavier rods may be employed for big, western streams or very large fish.  Tight conditions or smaller fish may call for a shorter, lighter rod.  We’re currently stocking two solid options but will continue to expand our rod selection as the Bikefishing category grows.  Looking for something different?  Get in touch!

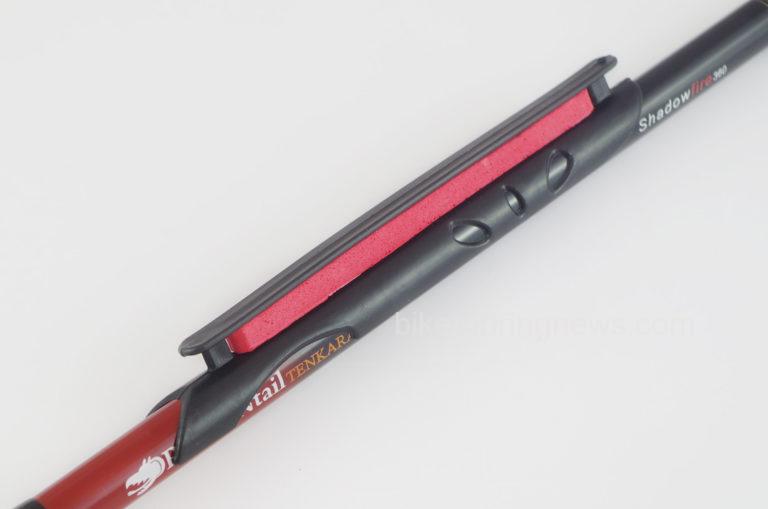
Shadowfire 360

The Shadowfire is DRAGONtail’s all-around tenkara rod.  It extends to a full 12′ and has a casting feel that is truly impressive for a rod at this price.  Having tried a small handful of other rods, I honestly didn’t think a $100 rod could be this good.  Lightweight and well-balanced, it has a snappy action that pairs well with lightweight dry and wet fly setups, heavy nymphs or even mid-weight streamer rigs.  While this rod is super fun for smaller fish, it does have the backbone to corral the big boys.  No matter where where your tenkara fishing adventures may take you, the Shadowfire is a solid choice and won’t let you down.

The Shadowfire collapses to 20.5″ and weighs less than 3 ounces.  It is easy to strap this rod to your bike and forget about it until you come across some fishy-looking water.  However, DRAGONtail’s just-released Talon rod sets a new standard for packability!

Talon 330

This is a new offering from DRAGONtail and Bike Touring News is proud to be one of the first to stock the Talon 330!  We are offering special promotional pricing through the end of August, so don’t miss out on this killer deal!

This rod was specially designed to be even more packable than a standard-length tenkara rod without sacrificing performance.  Collapsing down to just 17 inches, the Talon fits neatly into most frame bags or panniers, making it incredibly easy to carry on bike trips of any length or description.  On the water, the Talon extends to 10’8″ and is ideal for small streams and headwaters where fish are typically 14″ or less, though it is certainly possible to land larger fish on this rod.

The Talon has a noticeably more flexible tip and stiffer spine, not quite as round of a flex profile as the Shadowfire.  It casts well with lighter lines – even down to a #3 level line – but can still throw weighted nymphs or small streamers.  DRAGONtail also hit a remarkably low price point with this rod, making it and ideal starter rod or as an inexpensive second rod for smaller fish, tighter situations or extra packability.

While the Talon packs neatly into most frame bags, it may not fit in bags made for small or extra-small frames.  If your bag doesn’t have a dimension longer than 17″ you may be out of luck.  Fortunately, there are lots of other ways to carry a tenkara rod on your bike!  Look for more tips on that subject in a future post.

Starter Kits

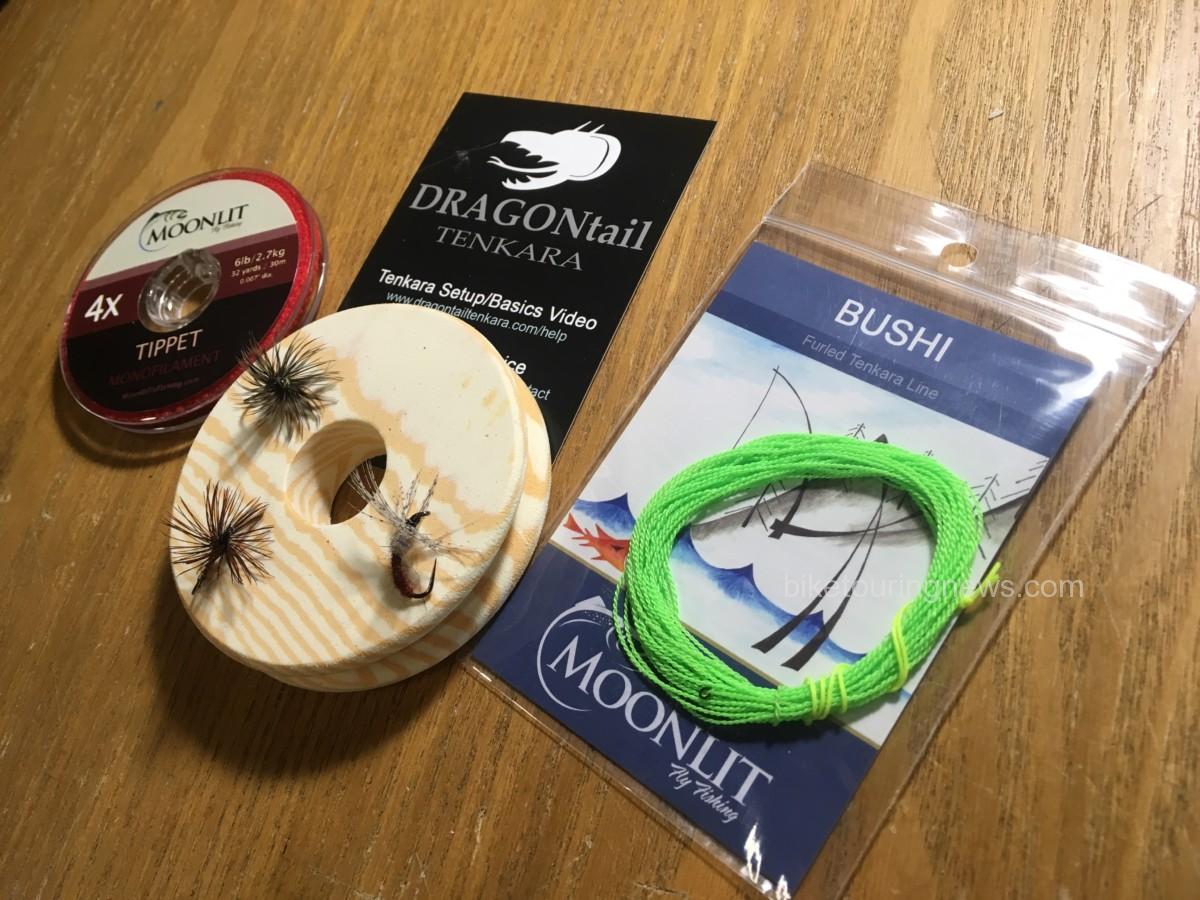
Our starter kits include everything you need to start fishing with your chosen rod.  Each includes a Moonlit Bushi furled line, 30m spool of 4x tippet material, a foam line winding spool and three hand-tied flies on Moonlit’s high-quality barbless hooks.

Choose the starter kit with the line that most closely matches the length of your rod.  We recommend a 12.5ft line for the Shadowfire and the 11ft line for the Talon.  If you already have tippet and flies but are new to tenkara, you may want to choose different lines that are best suited to your fishing style.  Adding additional lines to your arsenal is an inexpensive way to extend the range of your bikefishing kit.

Lines

Broadly speaking, lines for fixed-line fishing come in two styles: furled lines and level lines.  Furled lines are made from multiple strands of material that are “furled” or spun together.  Level lines are made of a single strand of monofilament or flourocarbon that is cut from a spool to the desired length.  Each style of line has its advantages.  We usually recommend furled lines to folks new to tenkara for their ease of rigging and casting.  Once over the initial learning curve, we encourage experimenting with level line.  Unlike rod-and-reel outfits, changing lines with tenkara is quick and easy.  Lines can be stored with fly and tippet already tied on, so switching from a dry fly setup to a subsurface nymphing rig is a simple matter of freeing one line from the lillian on your rod’s tip and cinching on another.

Katana

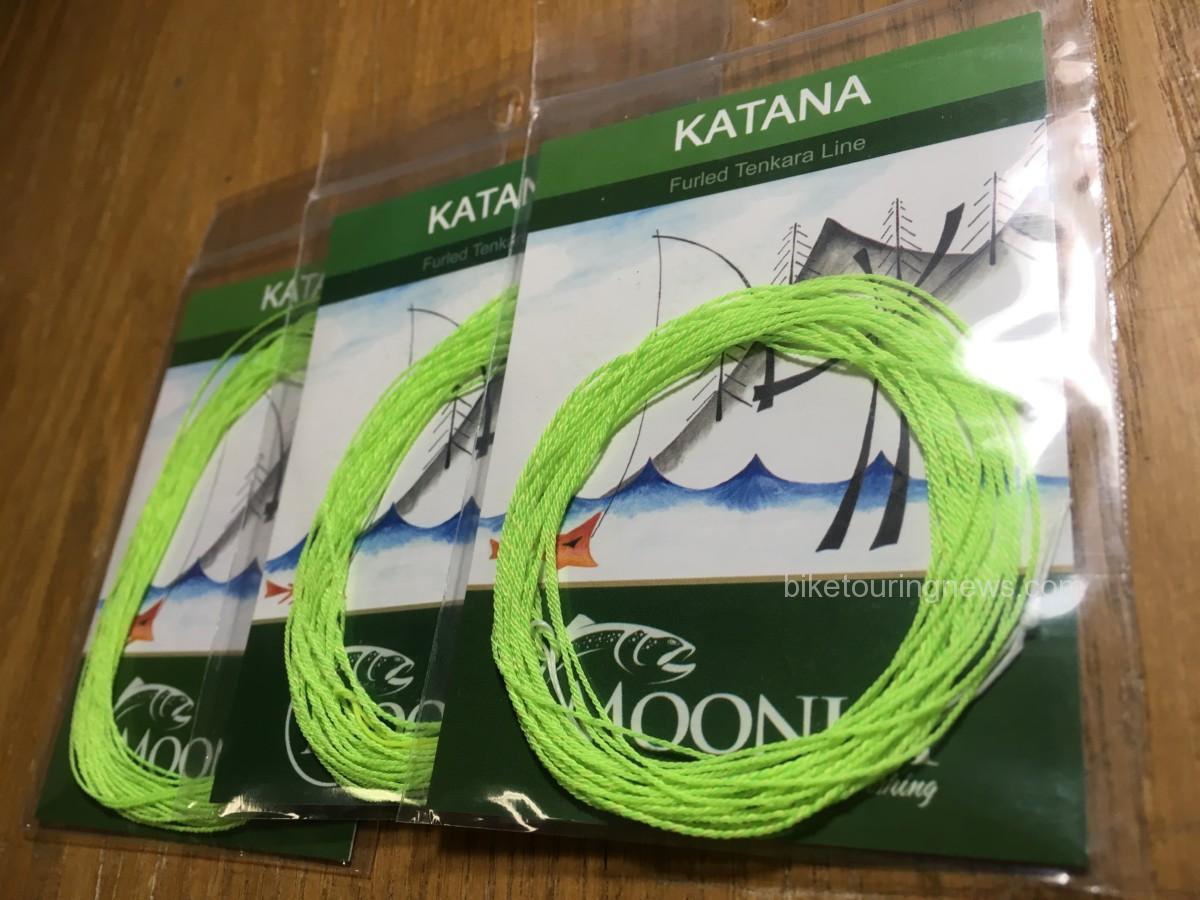
The Katana is Moonlit’s premium lightweight line for making delicate presentations with very light flies.  The tapered, lightweight furl also helps reduce drag-inducing sag when holding line off the water.  This makes it ideal for dry flies or weightless wet flies.  Many dry fly fishers like to treat this line with floatant to prevent it from sinking and pulling their fly underwater.

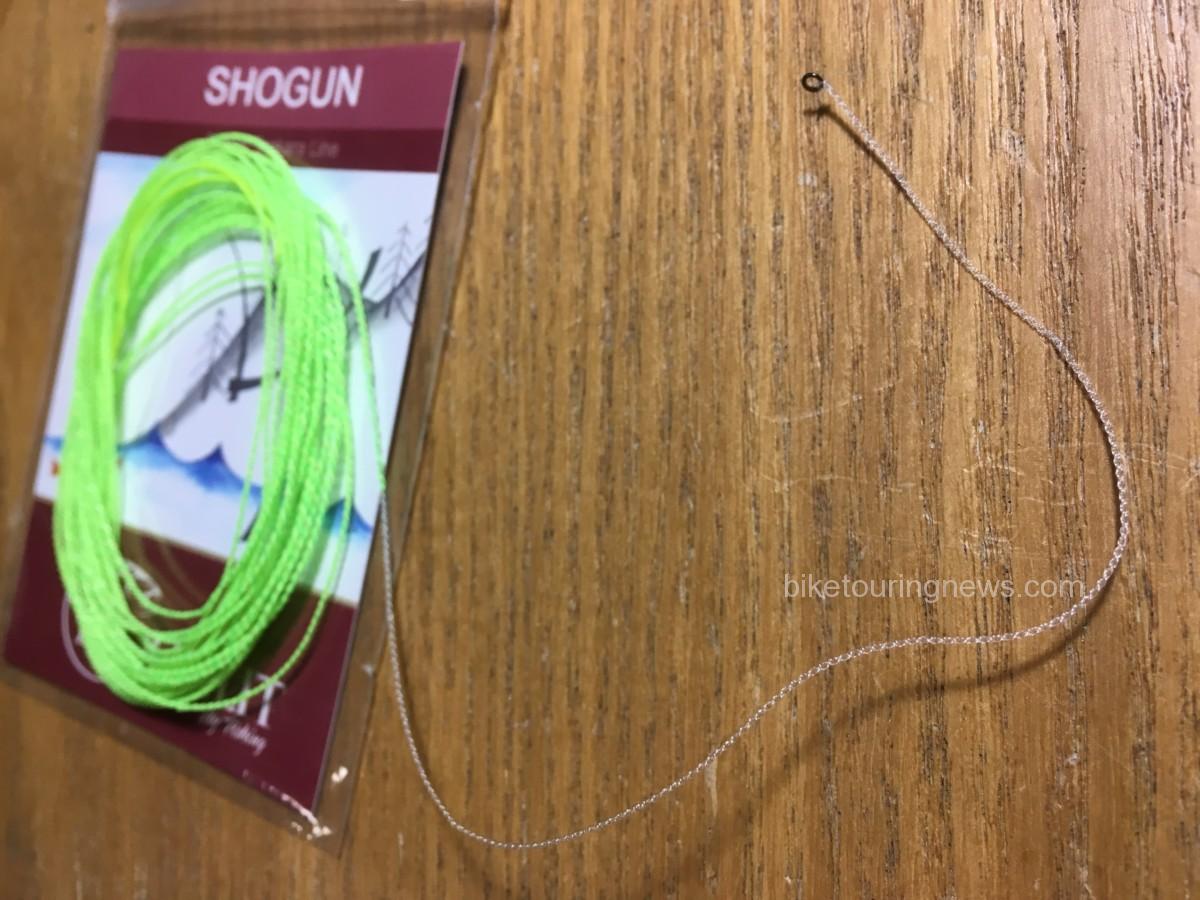
Shogun

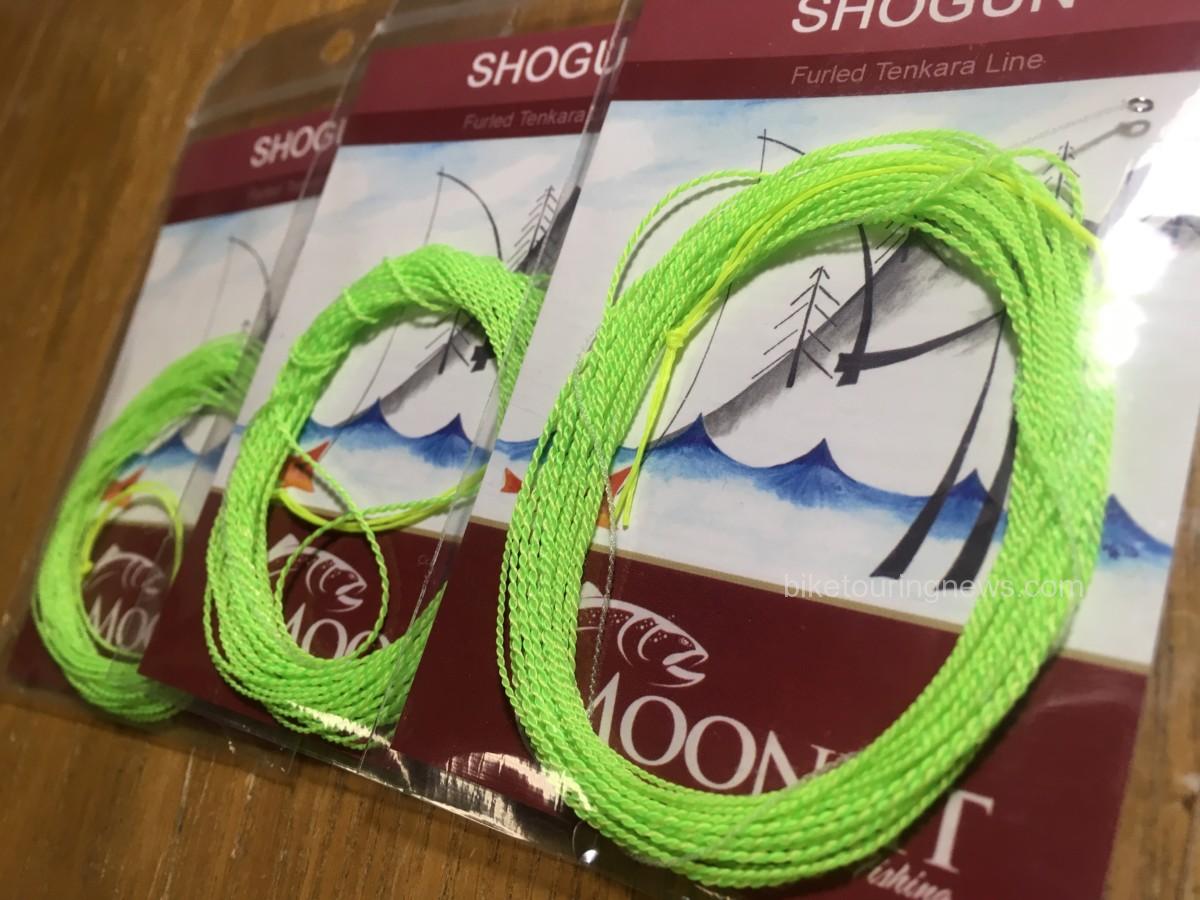
The Shogun is a solid choice for any subsurface fishing.  It has a bit more heft than the Katana but still has a light feel and makes gentle presentations easy.  The short flourocarbon tip section “hooks” the water to help prevent line sag and deliver a natural drift for your nymph or wet fly.  The Shogun will handle weighted flies or small streamers very well.  About the only thing it doesn’t do is fish dry flies.

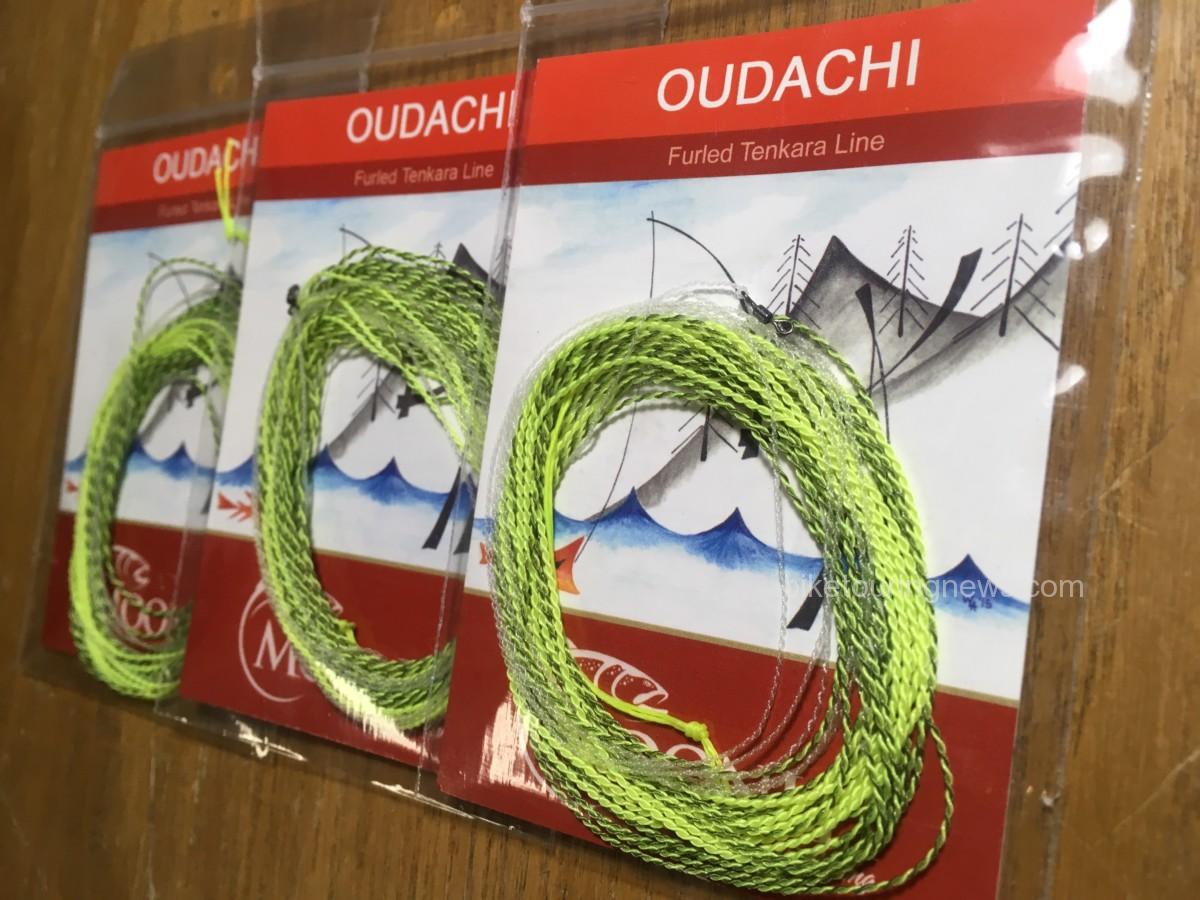
Oudachi

The Oudachi is your go-to line for fishing deeper in the water column with weighted flies or streamers.  Compared to the Shogun, the Oudachi sports a much longer flourocarbon tip to help sink your fly fast.  I find it works best in lengths 2-4 feet (or more) longer than your rod to help extend range, reach greater depth and cover more water.  This line will drop into deeper pools or still waters to find fish that would otherwise be out of reach to the fixed-line angler.  It also works well in faster water on larger streams because of its quick-sinking properties.

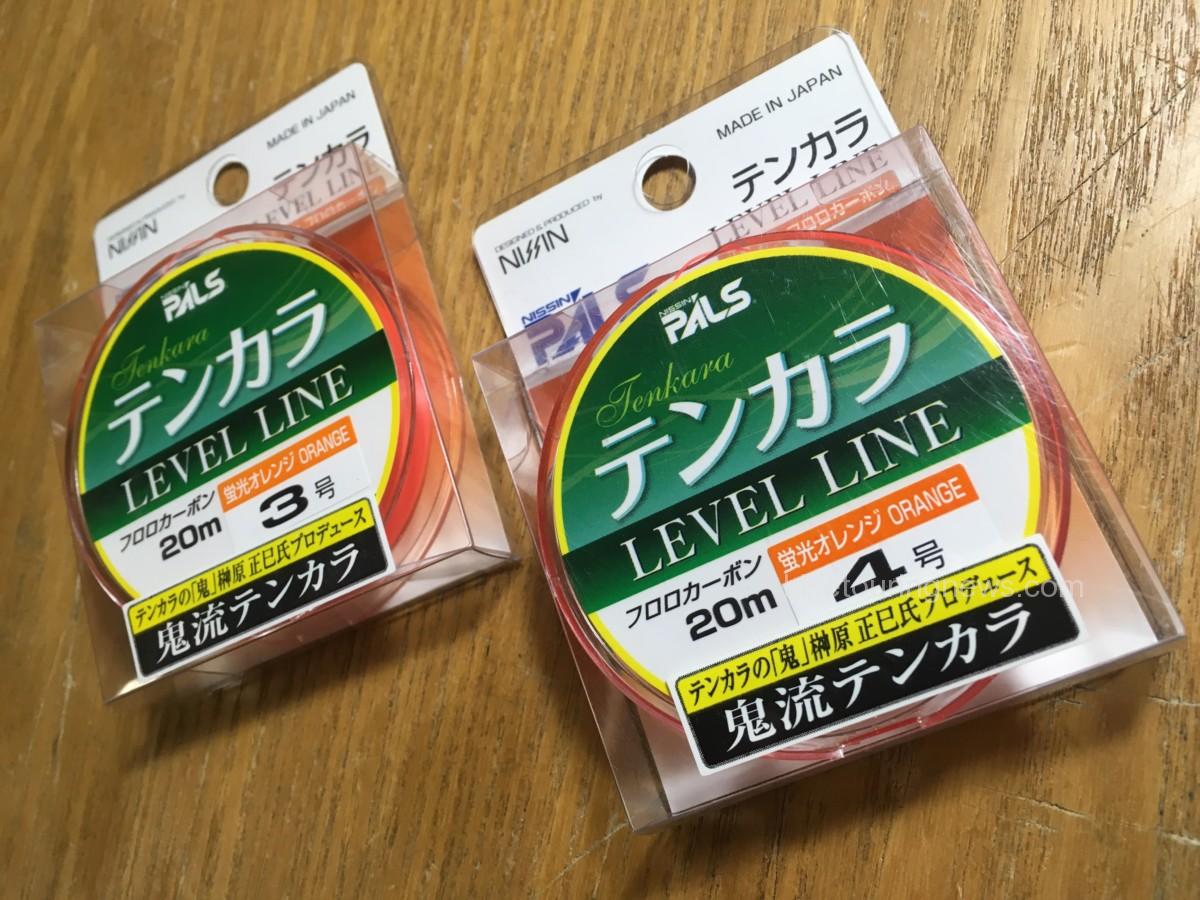
Nissin Level

While Moonlit’s furled lines are excellent and offer options for nearly any fishing situation, there are some advantages to using level line.  Cost is a big one.  A 20-meter spool of level line – enough to make least 5 lines – costs roughly the same as one furled line.  The angler may cut the line shorter or knot line segments together to add length, providing extra versatility on the water.  Level line will also allow very light, delicate presentations and will have minimal line sag.

However, level line will struggle more than heavier furled lines in breezy conditions and won’t turn over heavier flies very well.  Rigging is slightly more complex than with furled lines but is quite simple with just a little practice.  We recommend a #4 line for most folks new to level lines as the slightly heavier line will load the rod more readily and cut through wind better.  The lighter, #3 line is slightly more challenging to handle but will allow very delicate, precise presentation of your fly.  Many tenkara anglers fish either level lines or furled lines exclusively but I think each style has its place.  Look for more tips, tricks and insights from my experiments with level line in a future post.

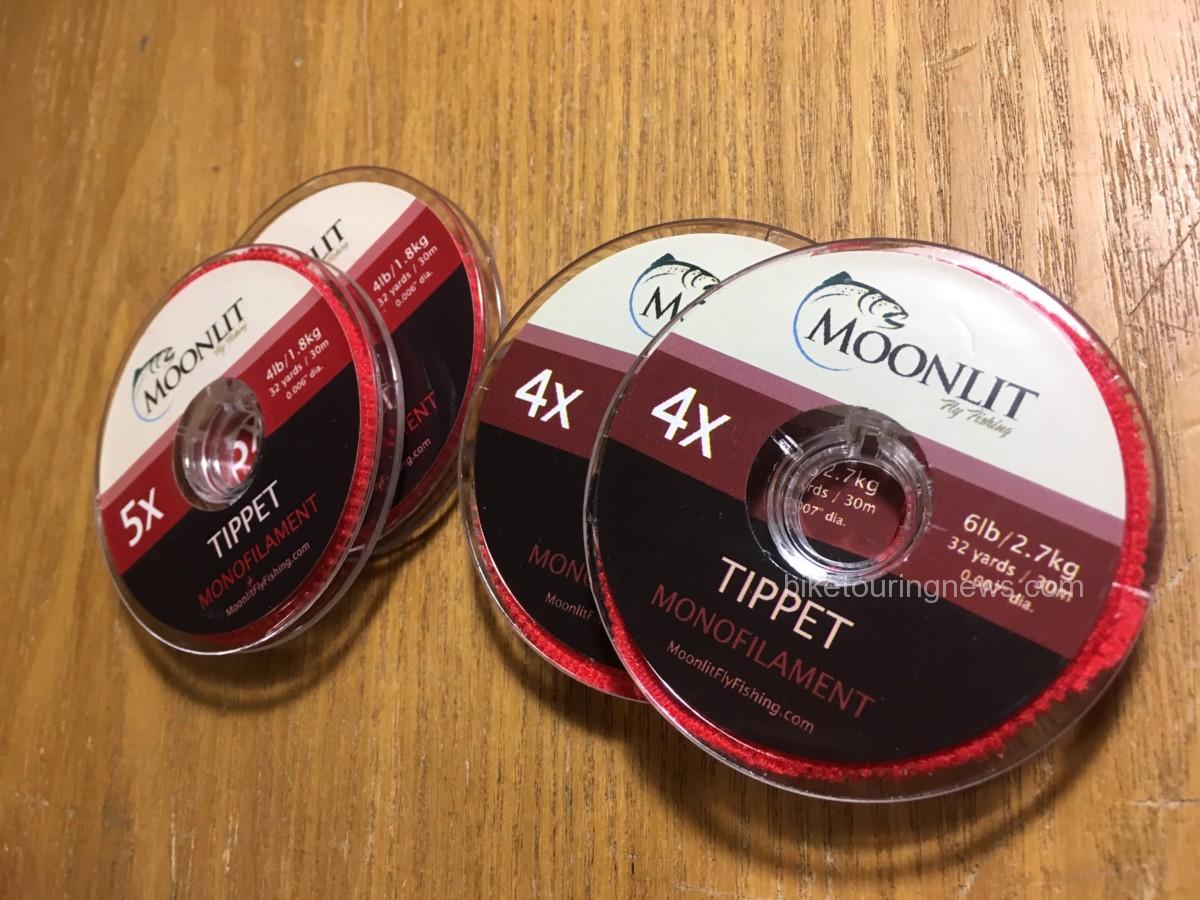
Moonlit Monofilament Tippet

Use Moonlit’s high-quality monofilament tippet material to connect your fly to the end of your tenkara line.  DRAGONtail recommends 4x tippet across the board for their rods.  We also carry 5x tippet for extra delicacy or very small flies.  The Moonlit tippet comes on very narrow spools to minimize bulk and feature a convenient elastic band to prevent line from unspooling.

Accessories

While you only truly need a rod, line and fly to catch fish, there are a handful of accessories that will help you make the most of your time on the water.  We will continue to expand our range of streamside tools and equipment with products specifically chosen for fishing by bike, so keep an eye on the store!

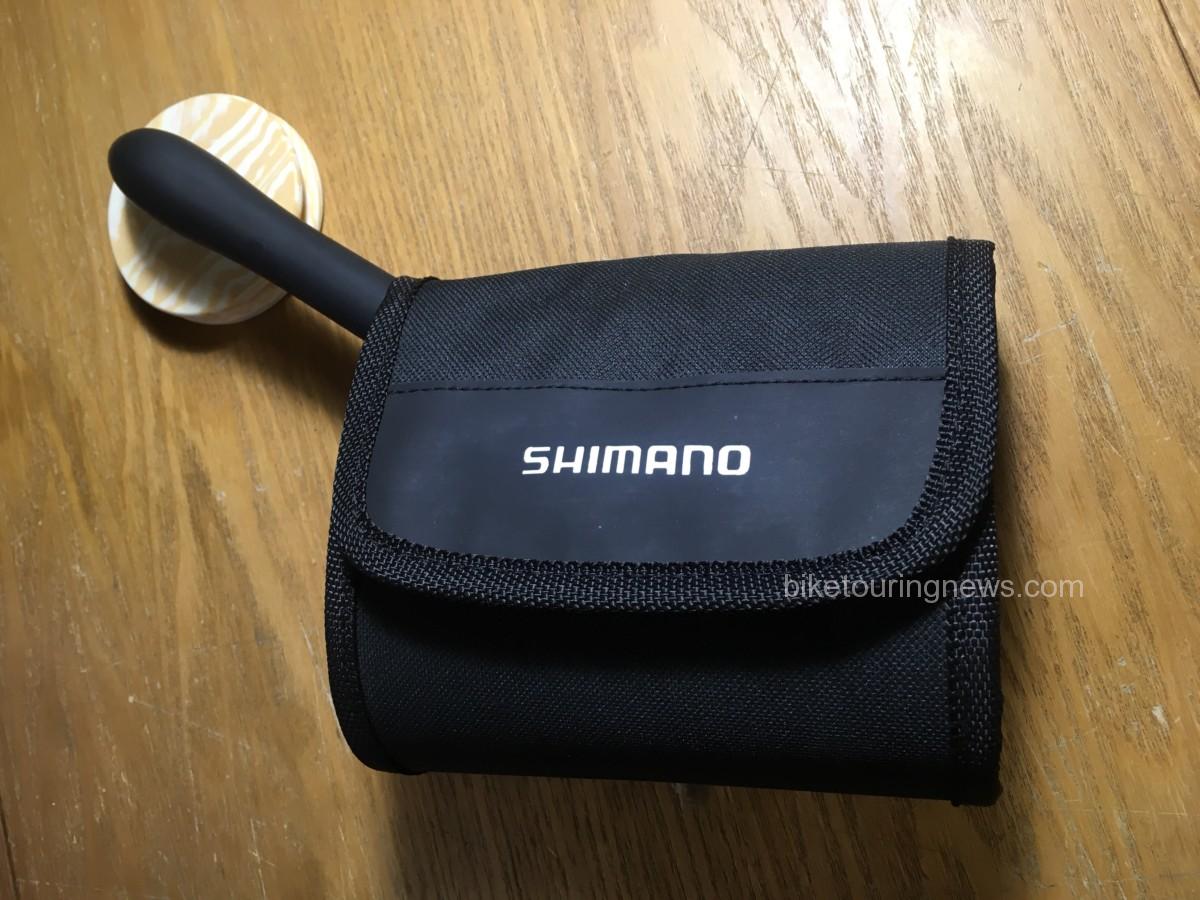
Shimano Folding Landing Net

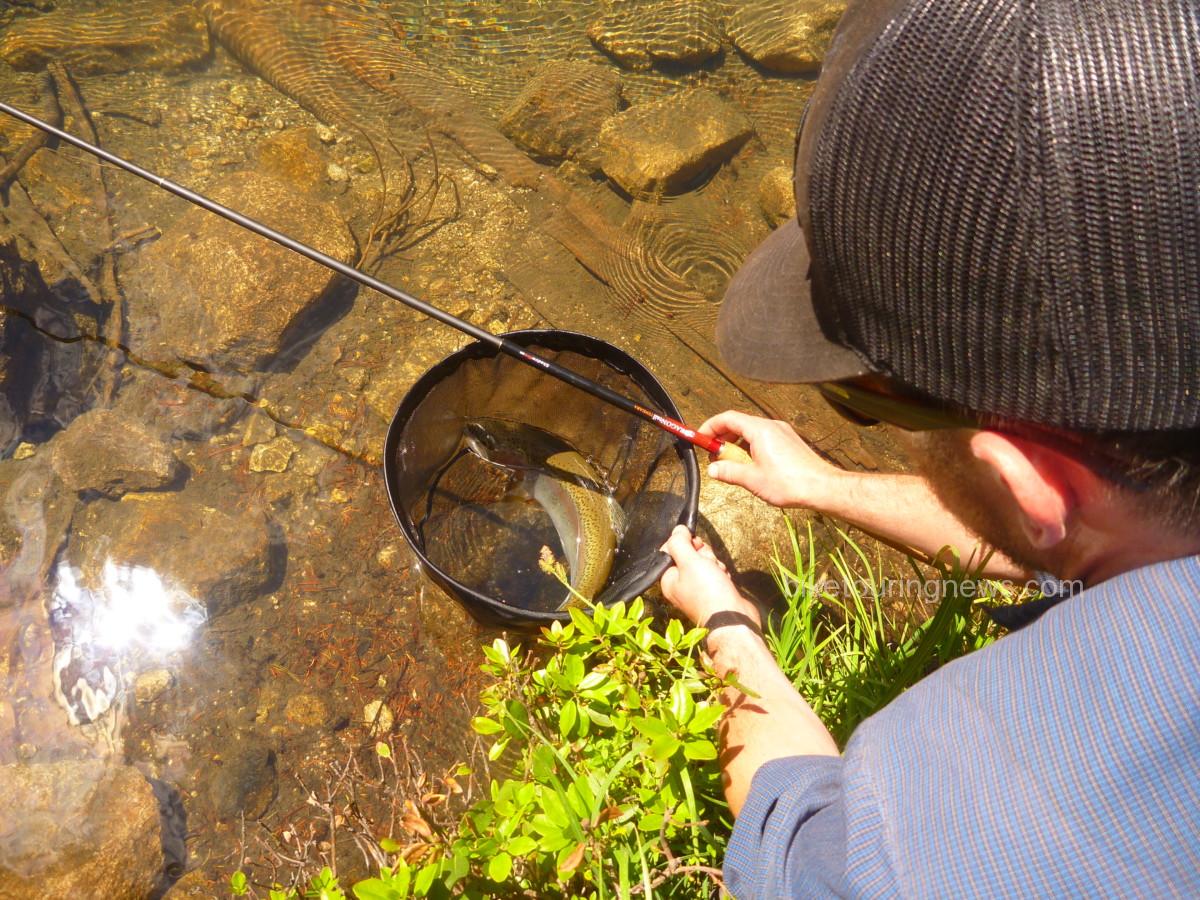
Landing and releasing a hooked fish can be stressful for both the quarry and the angler.  A landing net helps make this process easier, especially when hand-lining a strong fish.  However, traditional fishing nets are heavy, bulky and can be awkward to pack.  This clever folding net features a hoop made from durable spring steel and a comfortable, ergonomic handle.  It folds into a compact case that can be easily stuffed away or carried by the attached belt loop.  Pull the net from its pouch and give it a shake to open the hoop and secure your catch.  The entire package is of very good quality and is a joy to use.

Fish 14″ and under are reasonably easy to scoop up with this net.  Larger fish can be challenging to get through the 30cm hoop and will cause the hoop to sag if lifted clear out of the water.  Fortunately, the net’s mesh is quite deep so fish can be kept in the water while secure in the net, making unhooking and releasing easy.

NOTE: Shimano has discontinued production of this net, so get yours now before they’re gone!

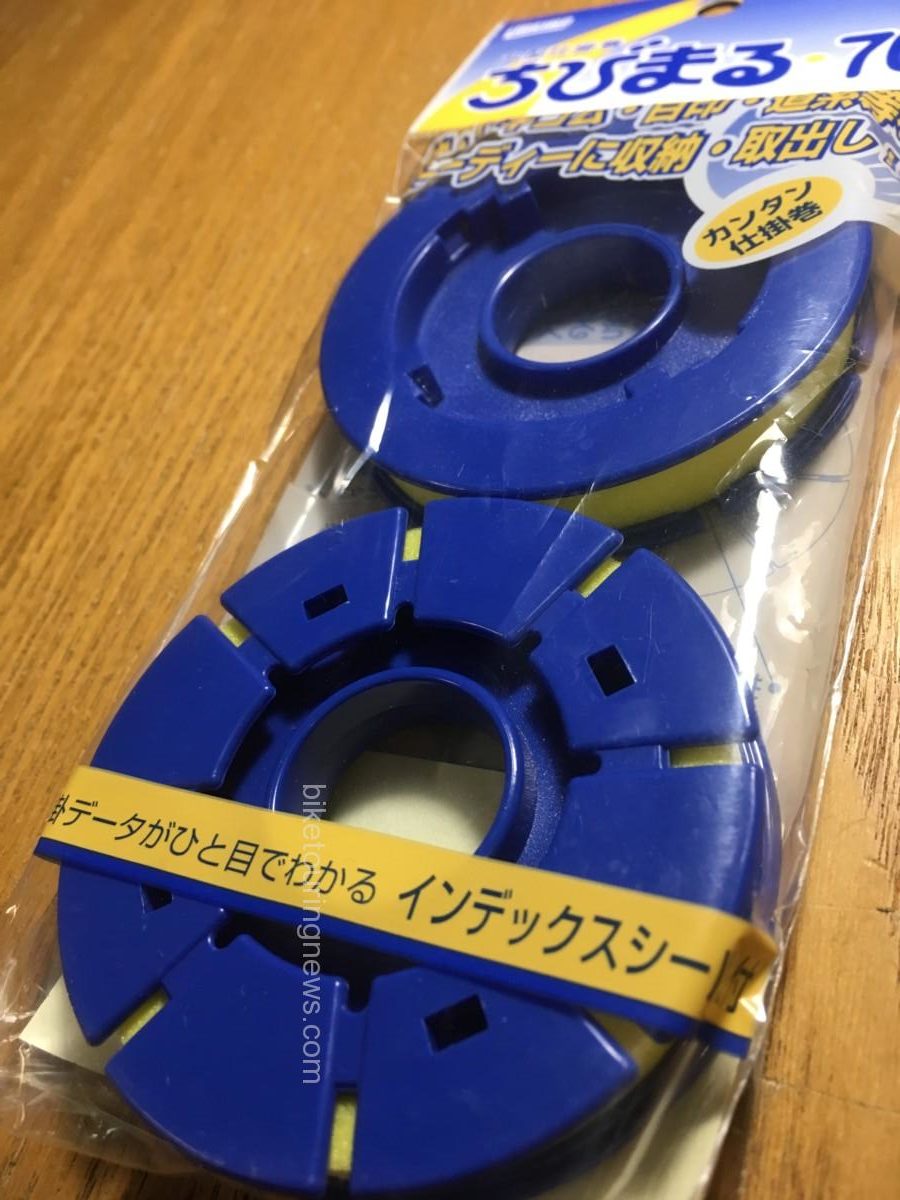
Meiho Spools

These are the classic plastic-and-foam spools for line management when you’re not actively fishing.  Hook your fly into one of the slots, wind your line and tuck the tail for easy, tangle-free storage.  The inner diameter fits neatly on your rod’s handle for the ultimate in convenience when changing fishing locations.

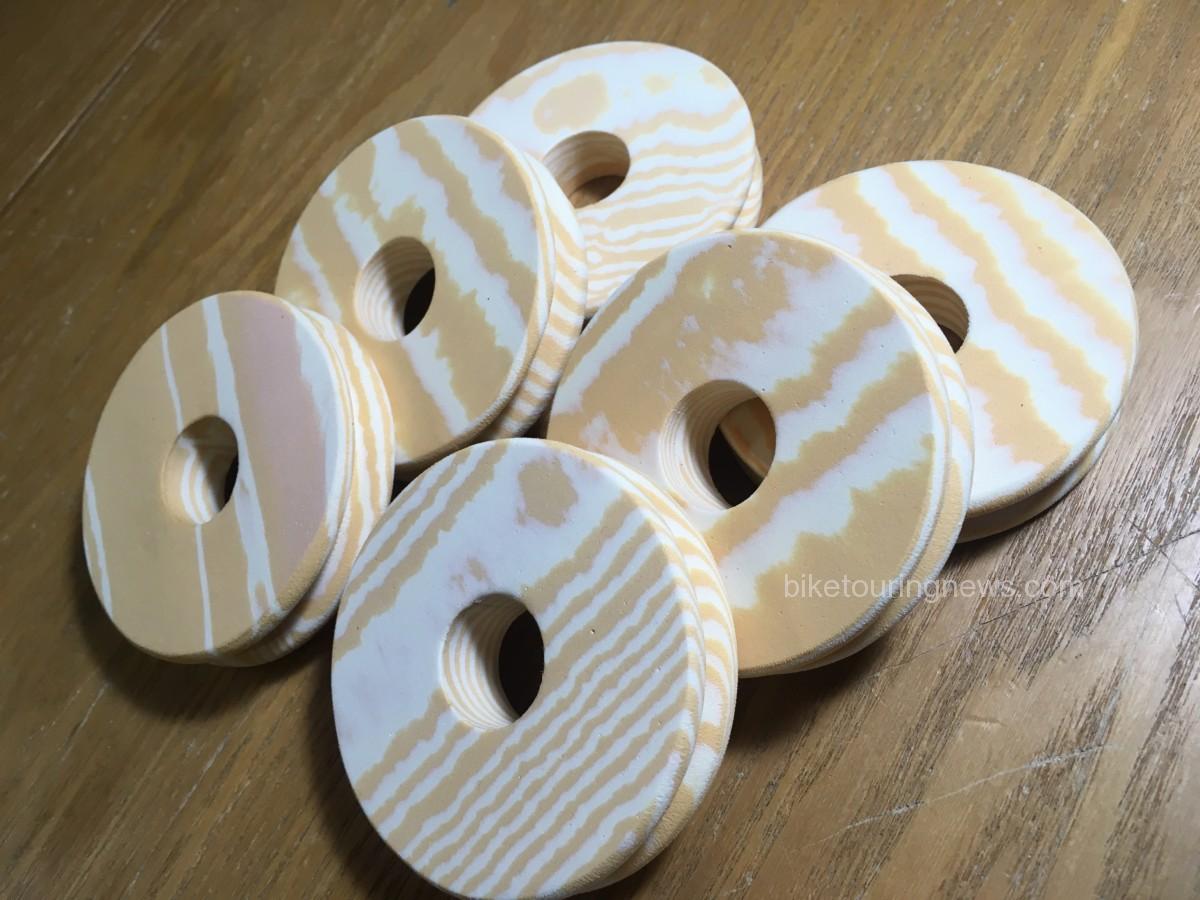
Foam Spools

These are a lightweight, low-cost alternative to the Meiho spools.  Hook your fly into the durable foam wherever you like and cut notches where desired to capture your line.  The groove in these is deeper than that of the Meiho spools, making them easy to wind and ideal for longer lines.

Clip-On Line Winders

Line Winders add an extra level of convenience to line management as they remain clipped to the butt section of your rod as you fish.  When you’re ready to move, simply collapse the rod, wind your line and hook your fly into the foam insert.  No need to dig in your bag or pockets for a spool!  While they work great for furled lines, we recommend sticking with spools for level lines to avoid annoying kinks in your line.

What questions do you have about getting started with tenkara or fishing by bike?  Drop us a comment and let us know what we can do to help you get out and catch some fish on your bike trips!  Thanks for reading!
Categories
Bike Touring Equipment Bike Touring Tips Bikepacking Other Planning Resources

Colorado Trail Race 2017 Gear Roundup

The epically wet and stormy 2017 running of the Colorado Trial Race pushed riders and their gear to the absolute limits.  The technical singletrack and massive elevation gain of the CT also reward a light-and-fast approach to packing.  There is no room for excess gear in the alpine.  However, improper or inadequate gear can have serious consequences on self-supported rides and definitely contributed to the large number of riders unable to finish the CTR this year.

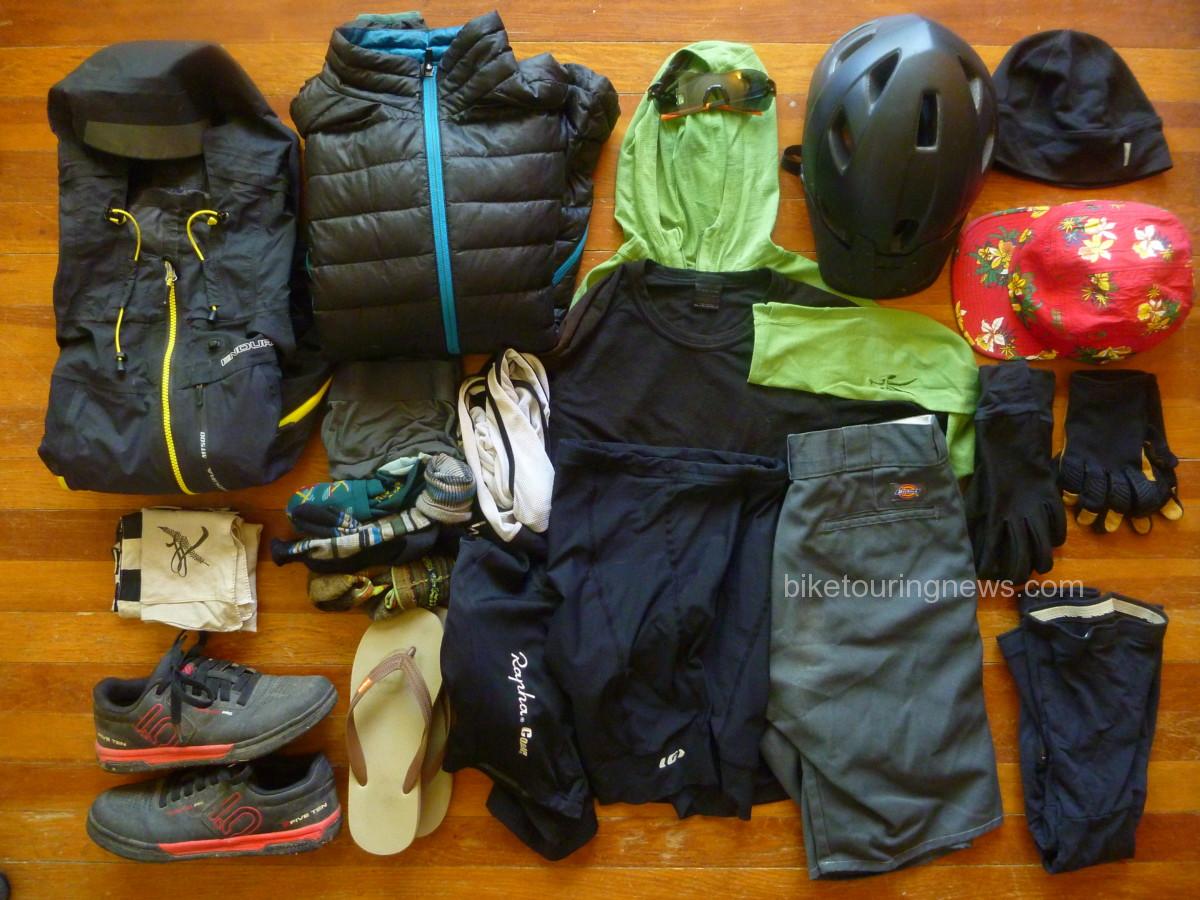
In this post, I’ll go over the gear I took on the trail, what worked and what didn’t.  The photos below were taken before departing for Colorado.  I’ve noted a handful of minor adjustments made on the final pack in Durango.

Clothing and Accessories

  • Icebreaker Wool T-Shirt, SS
  • Ibex Wool Pullover, LS w/hood
  • Dickies Cutoff Shorts
  • Rapha Bibshorts
  • Louis Garneau Tri Shorts (aka “Touring Undershorts”)
  • Rapha Wool Skullcap
  • Hike-a-Bike Cap (lost on the trail)
  • Handkerchief x2
  • Five10 Freerider Pro Shoes
  • Synthetic Boxer Briefs
  • Point6 Wool Socks, 1 light, 1 midweight
  • Wicking Synthetic Socks
  • Leg Warmers (swapped for knee warmers before the start)
  • Softshell Gloves
  • Trail Gloves (lost on the trail)
  • Sierra Designs Down Jacket
  • Endura MT500 Rain Jacket
  • Smith Sunglasses w/smoke, amber & clear lenses.
  • Giro Helmet
  • Grocery Store Sandals

Overall, my clothing selections were solid.  Many riders also brought rain pants, shoe covers and additional wet weather protection.  I definitely had wet legs and feet for much of the ride but don’t think additional rain gear would have helped with that situation.  The Endura MT-500 jacket was a standout performer.  While it isn’t the most packable, it breathes better than any rain gear I’ve ever owned and incorporates well-designed ventilation to keep it comfortable in warm temperatures.  The helmet-sized hood helped seal out rain and hail while conserving additional body heat.

While the rain jacket didn’t garner much attention from fellow riders, my shoe and pedal combination certainly did.  While flat pedals have made big inroads in other mountain bike disciplines, the vast majority of CTR riders ran clipless pedals.  Nearly every day of the ride I had at least one other rider make an envious comment about how comfortable my shoes looked as we pushed our bikes up one hellish rock pile or another.  In my opinion, flat pedals are the way to go for all but the strongest riders on loaded singletrack rides.   Five Ten’s rubber compounds provide excellent grip and the Freerider Pro’s sole delivers an optimal blend of pedaling stiffness and walking flexibility.  Despite the constantly wet conditions, I made it through at least 100 miles of hike-a-bike with no blisters or other significant foot issues.  Frequent dismounts and remounts are also much more fluid on flat pedals with no pedal binding to search for.

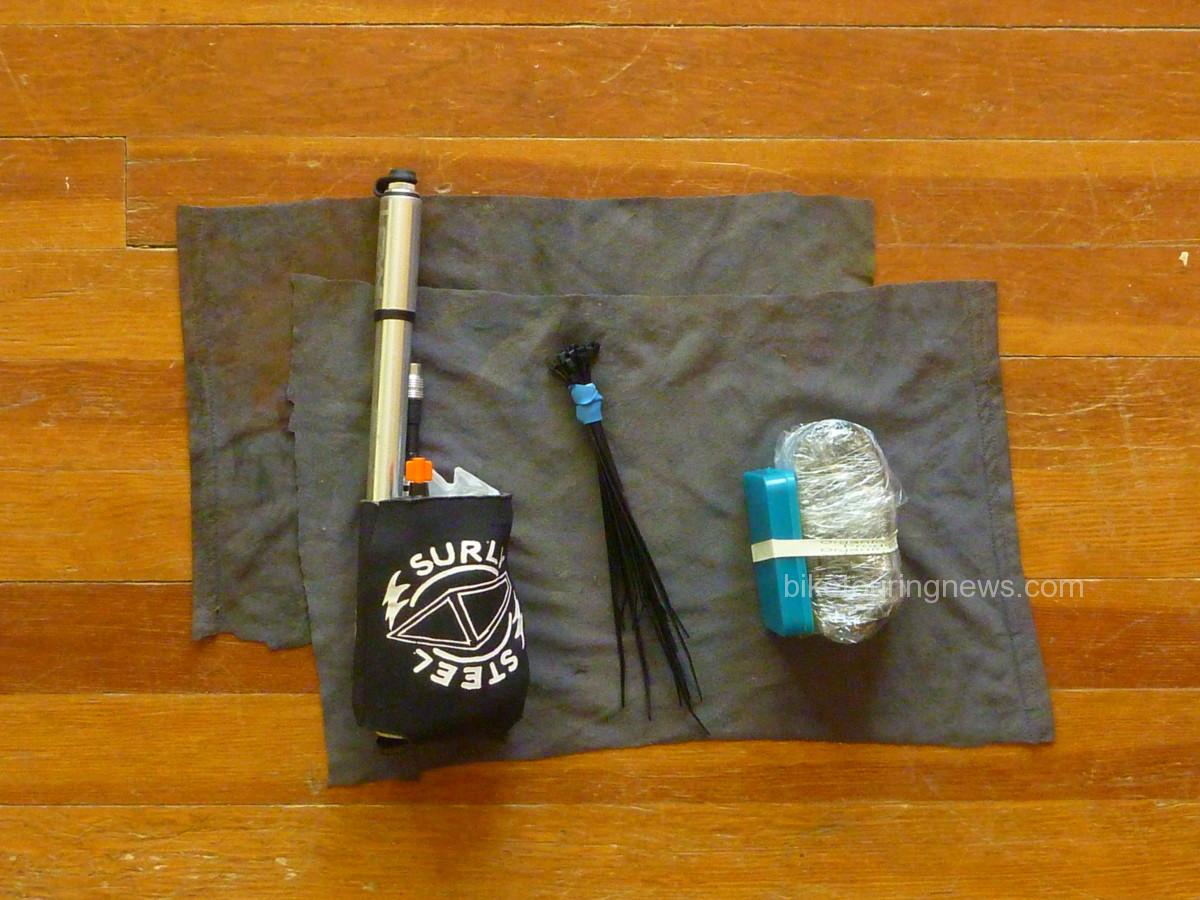
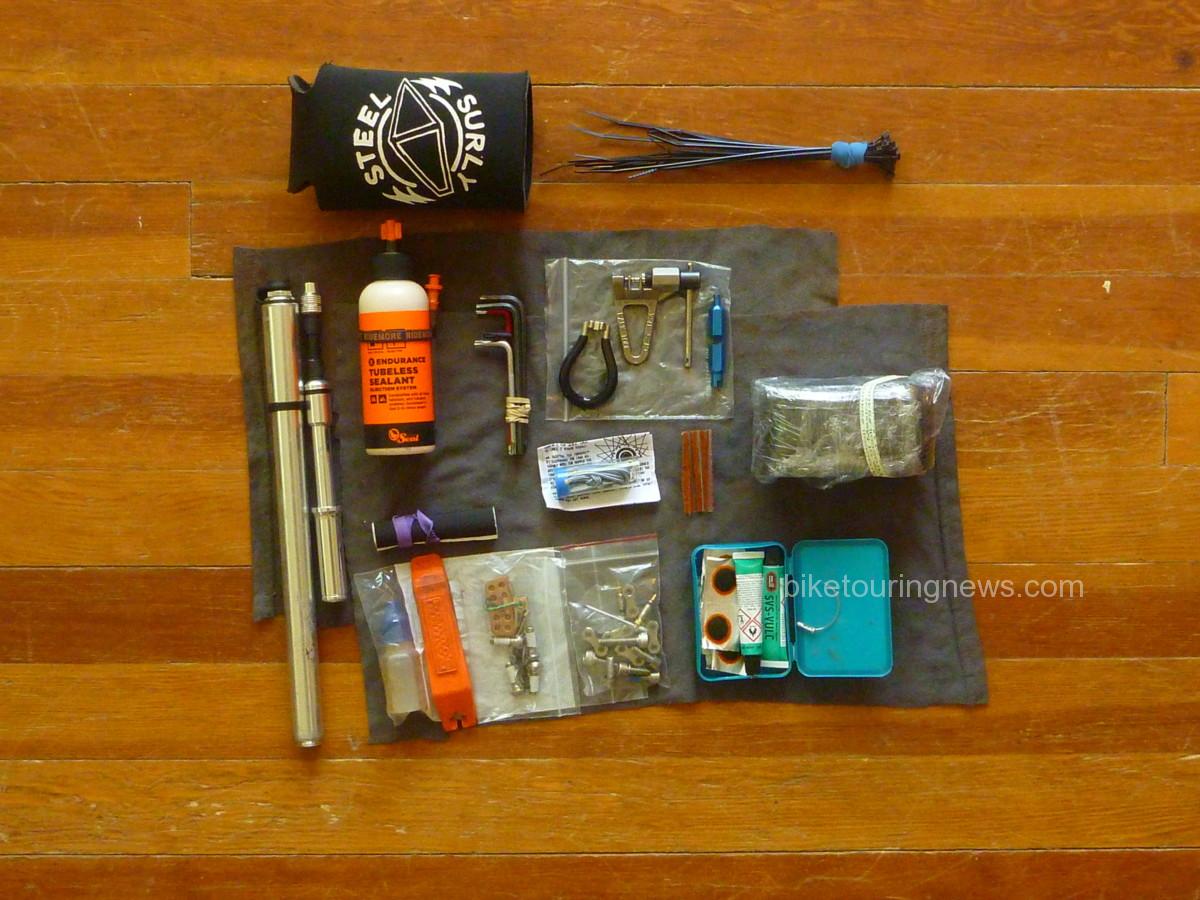
Yet another use for the Surly Insulated Sheath: stash pack for tools and spares!

Tools & Spares

  • Hex Wrenches:  5,4,3,2.5,2mm
  • Torx Wrenches:  T-25,20,10
  • Park Chain Tool
  • Fiber-Fix Spoke
  • Spoke Wrench, #0
  • Pedro’s Tire Lever
  • Valve Core Remover
  • Gear Repair Tape
  • Zip Ties
  • Chain Lube
  • Rags x2
  • 29er Tube
  • Lots o’ Patches
  • Patch Cement: 5g Tubes, x2
  • 11speed Quicklink x2
  • Spare Chain Links
  • Spare Hardware: M5, M6 bolts in assorted lengths
  • Spare Brake Pads
  • Curved Needle (business end protected with a cable crimp. Good thinking, Nic.)
  • Leatherman Wingman Multi-Plier
  • Tire Sealant, 4oz
  • Spare Valve Core x2

Thankfully, I found very little use for my tools and spares aside from the rags and chain lube.  The Ninja Gorilla was a rock-solid partner, handled everything the trail dished out with nary a squeak, creak, clunk or complaint.  Regardless, I wouldn’t have felt comfortable leaving many of these items behind on a ride this long.  I did pick up an additional set of brake pads in Leadville as I was concerned about burning through them on the long, wet descents.  I never wound up replacing the pads I started on but having 2 spare sets on board provided peace of mind.

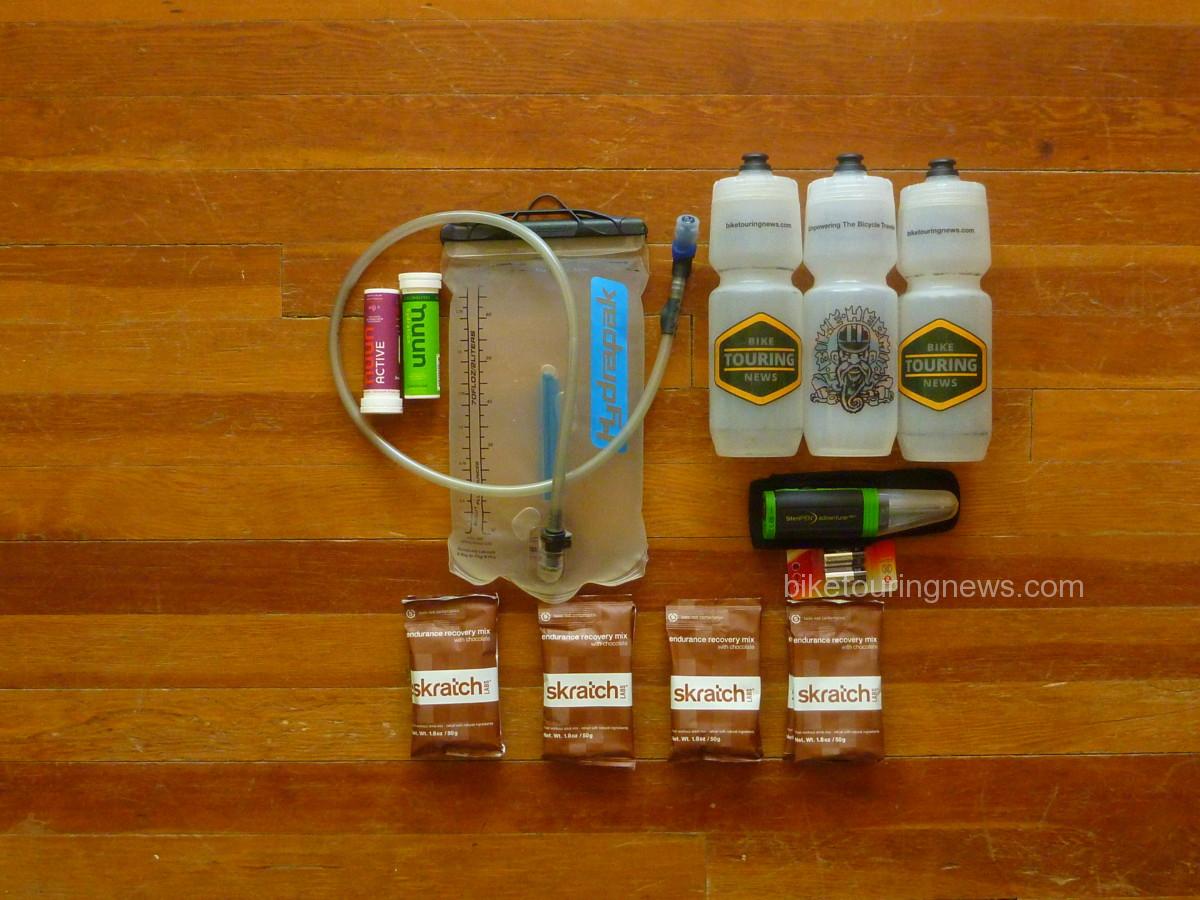
Hydration and Nutrition

Water was especially abundant on the CT this year, so my three bottles provided more than enough capacity.  The Colorado Trail Guidebook and Databook provide only basic directional information for the Wilderness detours, so it was sometimes unclear how much water would be accessible along the detour routes.  For the most part, I started looking for a water source when I got down to only one bottle and had very little difficulty staying topped up.

The Steripen worked well for me on this trip.  While it may not be as fast as some filters, it is wonderfully packable and easy to use.  I anticipate this will be my go-to purification method on future bike trips, replacing the Sawyer filter I’ve used in the past.

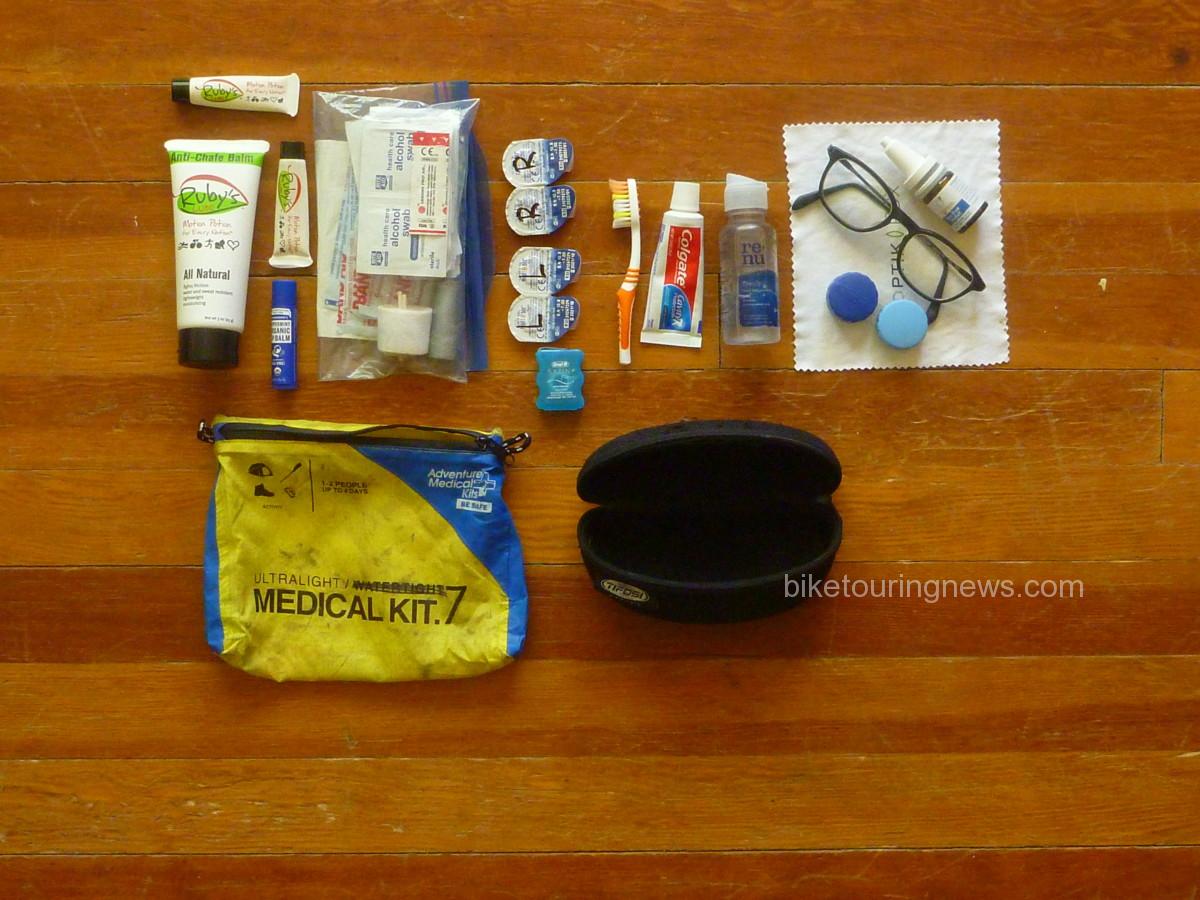
Hygiene and First Aid

  • Toothbrush
  • Toothpaste
  • Glasses
  • Spare Contacts x2
  • Contact Case
  • Contact Solution
  • Dry Eye Drops
  • Alcohol Wipes
  • Ruby’s Lube
  • Gauze Bandages
  • Athletic Tape
  • Duct Tape
  • Butterfly Bandages
  • Asst. Large Band-aids
  • Dr Bronner’s Lip Balm
  • Dental Floss

I didn’t find much use for any thing in this category other than my toothbrush, toothpaste, eye drops and a handful of alcohol wipes.  I was surprised that I never reached for the Ruby’s Lube but I spent so much time on my feet over the first 4 days that I didn’t have time to develop saddle sores or chafing.  I also experimented with extended-wear contacts on this ride.  The twice-daily ritual of sticking filthy fingers into my eyes to insert or remove contact lenses has generated infection problems in the past, so I hoped extended-wear lenses would be the solution.  I wore the same pair of lenses throughout the entire 9 days I spent on the trail with zero issues.  I used rewetting drops occasionally but found that my eyes stayed well-lubricated as long as I kept up with hydration.

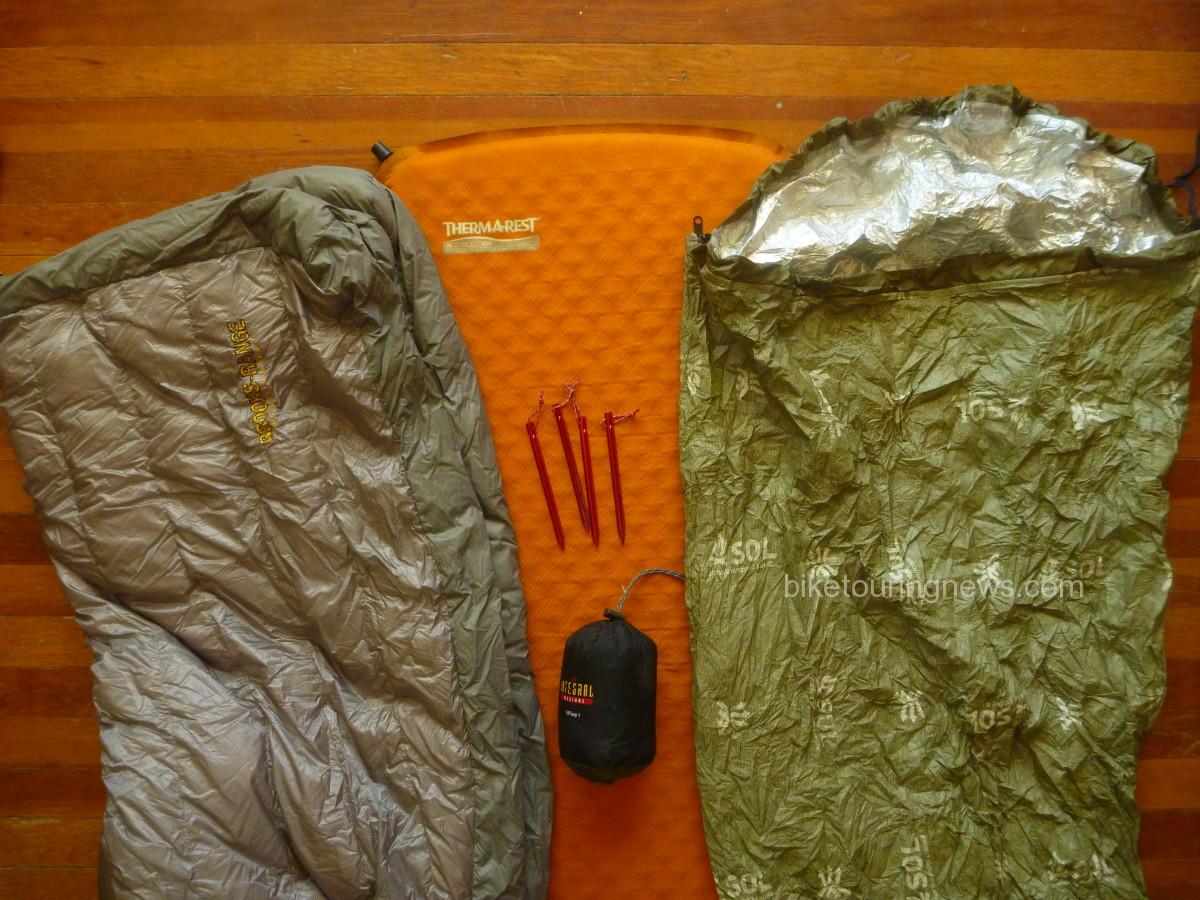
Sleep Kit

  • Brooks-Range 45-deg Down Quilt
  • Thermarest Prolite 3/4 Pad
  • Silnylon Tarp, 8x10ft
  • Stakes, 4
  • SOL Escape Bivy

This is the category that proved to be many riders’ downfall on the CTR this year.  Of the 42 riders who didn’t finish, I’d guess that a significant number were carrying inadequate shelter.  I spent a full 12 hours hunkered under my tarp just below Stony Pass waiting for the weather to clear.  Riders without proper shelter were forced to press on through the storm or retreat miles back down the road to find shelter, even all the way back into Silverton.  At least two riders who continued into the bad weather were forced to scratch after enduring miserable or even dangerous conditions.  I may have been among them if I hadn’t had that one little scrap of silicone-coated nylon.  The bivy and down quilt combination kept me comfortable across a wide range of temperatures.  I don’t think I would ever carry a more minimal sleep kit unless precipitation were completely out of the question.  Overall, I got good rest on the trail and that sleep bank allowed me to make relatively efficient progress while on the bike.

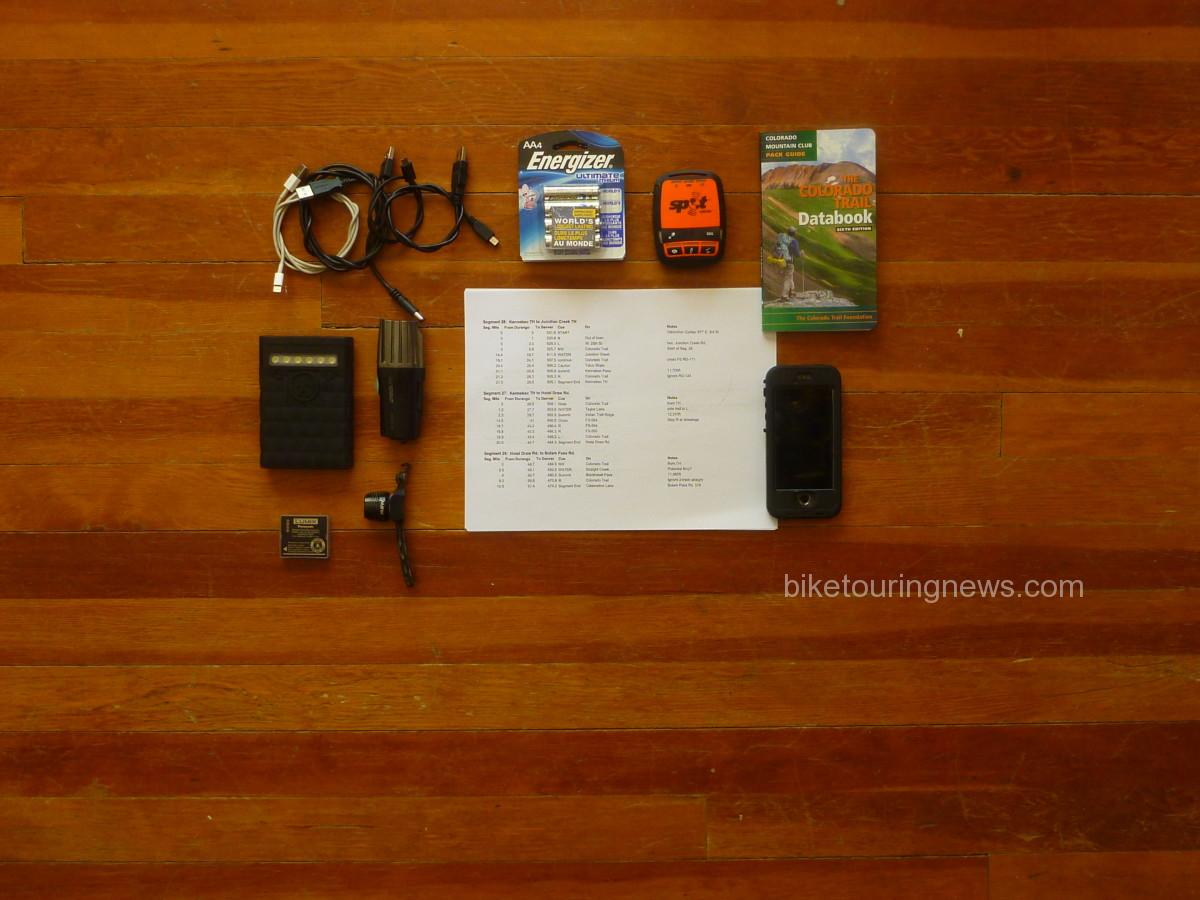
Electronics and Navigation

  • iPhone with GaiaGPS app, tracks and maps downloaded
  • Printed Cue and Resupply Notes
  • Colorado Trail Databook
  • Cache Battery
  • Helmet-Mount Light
  • Point&Shoot Camera and Spare Battery
  • Charging Cables
  • SPOT Tracker and Spare Batteries
  • Little Red Taillight

Generally speaking, navigation along the Colorado Trail is easy.  Junctions are mostly well-signed and confidence markers are frequently posted in between.  However, the bike detours can present navigational challenges.  With my iPhone mounted to the Rokform handlebar mount, I was able to double-check my routing with two presses of the home key.  This prevented many navigational miscues and kept me from making any costly mistakes.  However, wet touchscreens are difficult or impossible to navigate, so I had to take care to keep my phone from collecting water.  I used the Databook for its elevation profiles, water and campsite notes.  It wasn’t much help for navigation as this year’s CTR ran from Durango to Denver, contrary to the westbound route description in the Databook.  I created my own cue sheet as a navigational backup but used it more for distance estimation than navigation.

Another standout performer on this ride was the Sinewave Cycles Beacon headlight and USB charger.  This key piece of gear lit my way and kept my phone, helmet light and backup battery charged throughout the ride, despite the notoriously slow speeds common on most of the route.  Look for a more thorough review of the Beacon and its performance in a future post.

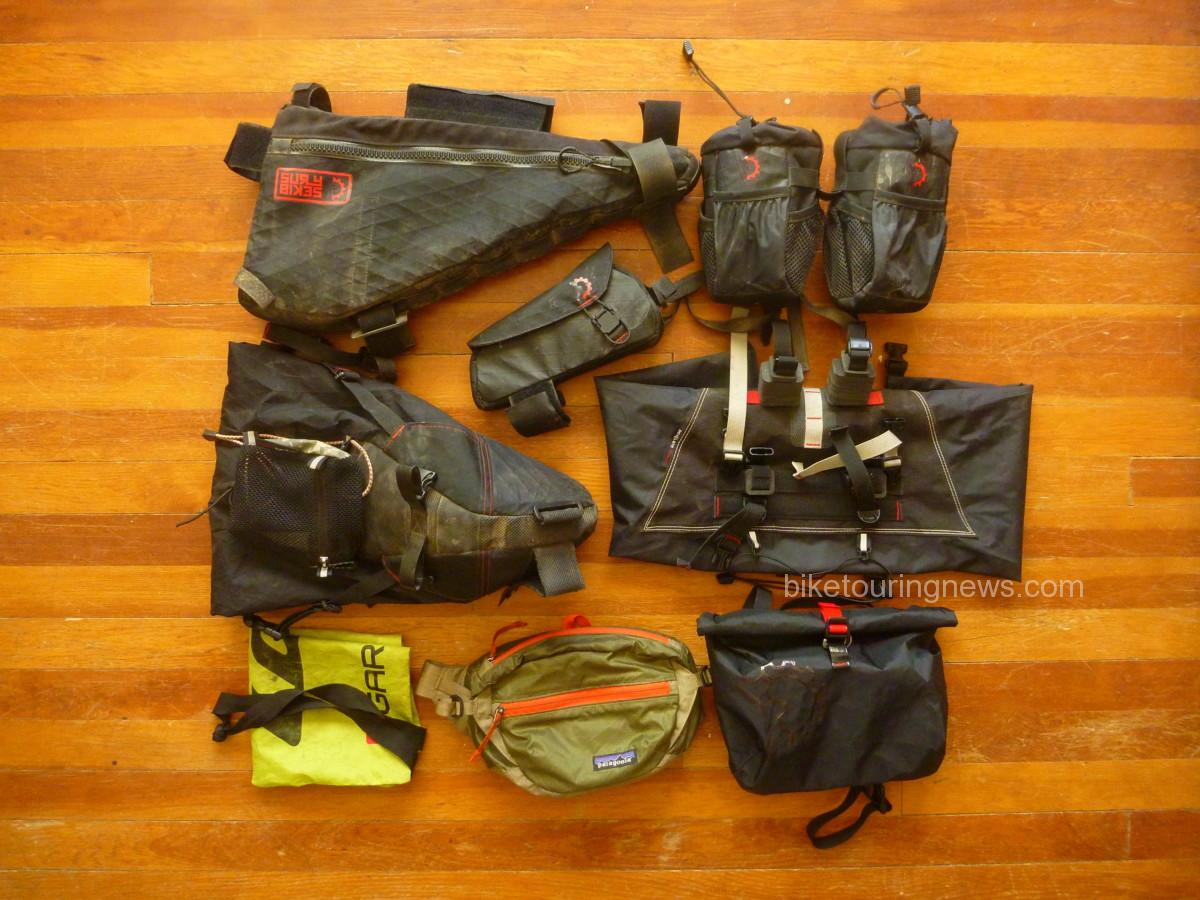
Luggage

As usual, my Revelate kit was more than up to the task.  I added the Periphery Pocket at the last minute and was very happy to have a convenient spot to stuff my Databook, cues, gloves, charging cables or other quick-access items.  It also expanded my food-carrying capacity pretty significantly.  This may be my new favorite piece of Revelate gear, right up there with my Mountain Feedbags.

The hip pack was another handy addition that allowed me to further extend my food stores or carry my 70oz hydration bladder when needed.  I quickly forgot I was wearing it when it was unloaded.

Other than the synthetic socks (wore them for a few hours, were just too thin to be comfortable for long) and my hike-a-bike cap (wore on Day 1, sat in a wet heap strapped to my seat pack for 3 days, lost on the trail on day 5) I was very happy to have every piece of gear I brought on the ride.  While some riders are able to push the limits of minimalism much further, I felt like I maintained a good balance between keeping gear weight down without sacrificing safety or comfort to any great extent.  I also had just enough space left for all the calories I’d be toting for the long push from Silverton to Buena Vista.

What questions do you have about packing for singletrack bikepacking adventures?  Anything you’d like to know about the Colorado Trail experience?  What trips do you have coming up?  Sound off in the comments below and I’ll do my best to answer in a reply or future blog post.  Thanks for reading!


Categories
Bikepacking Our Trips

Colorado Trail Race 2017 Bike Setup

At 4:00am on Sunday, July 23, I’ll be among the group of bikepackers setting out from Durango to ride the 525 miles to Denver along the Colorado Trail.  This will be an adventure unlike anything I’ve ever undertaken, with challenges unlike anything I’ve ever faced.  The route is 60% singletrack and tallies nearly 70,000 feet of climbing, much of which will be hike-a-bike.  Average elevation is around 10,000 feet with a high point of 13,271 feet and several sustained sections above treeline.  The ruggedness of this route is difficult to overstate.  Bikepacking.com rates the CT’s difficulty as 9 out of 10.  Idaho’s Smoke’n’Fire 400 – probably the most difficult bikepacking route I’ve undertaken to date – scored a paltry 6/10.

The relentless climbs and rugged terrain of the Colorado Trail demand a sturdy, reliable bike that is equipped for the rigors of alpine riding.  My rigid dirt touring bike – known as the Rando-Gnar – would be far outgunned on the steep, rocky Colorado Trail.  Many experienced CT riders say they would never ride the route on anything other than a full-suspension bike but it has been completed (and rather quickly) on rigid singlespeeds as well.  For me, the extra cost, maintenance, failure potential and packing difficulties presented by full-suspension outweigh the potential benefits.  A good hardtail would have to do.

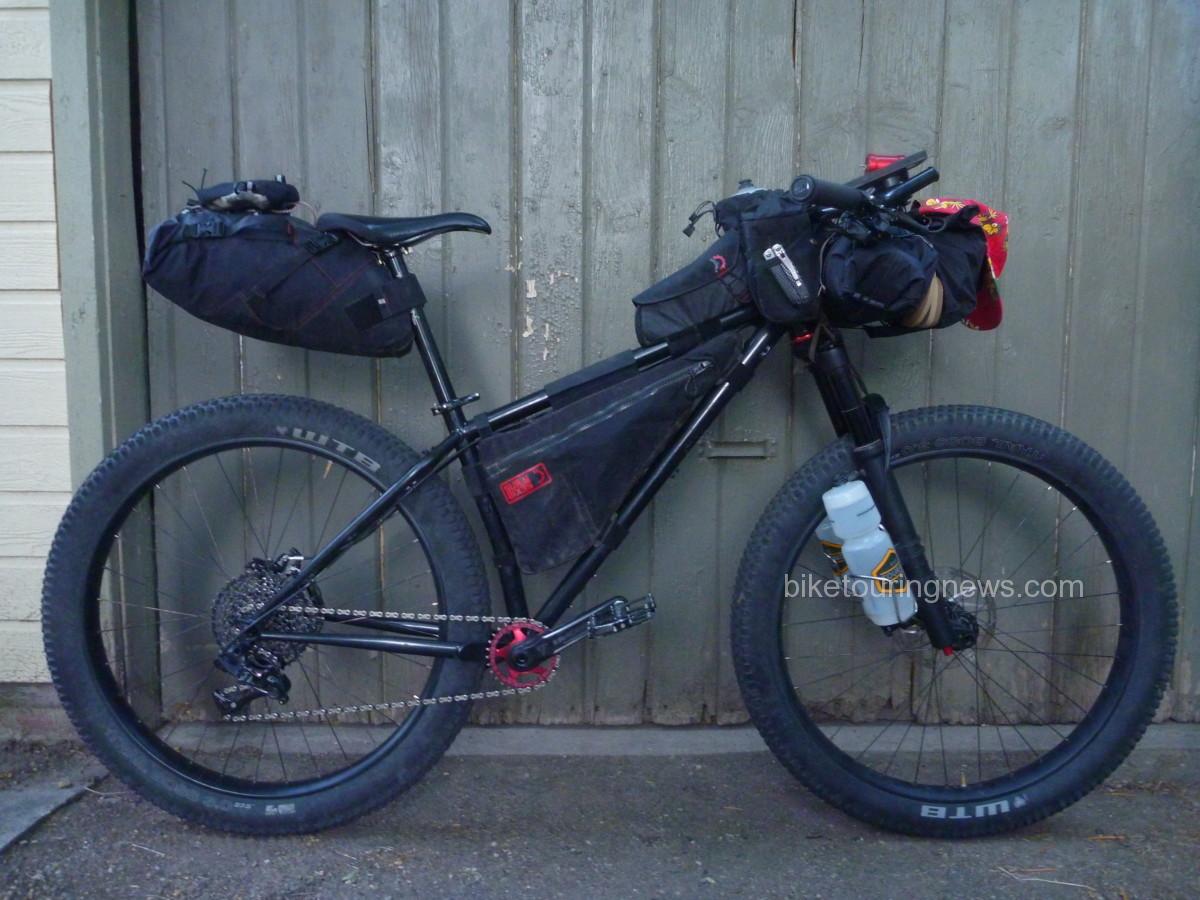
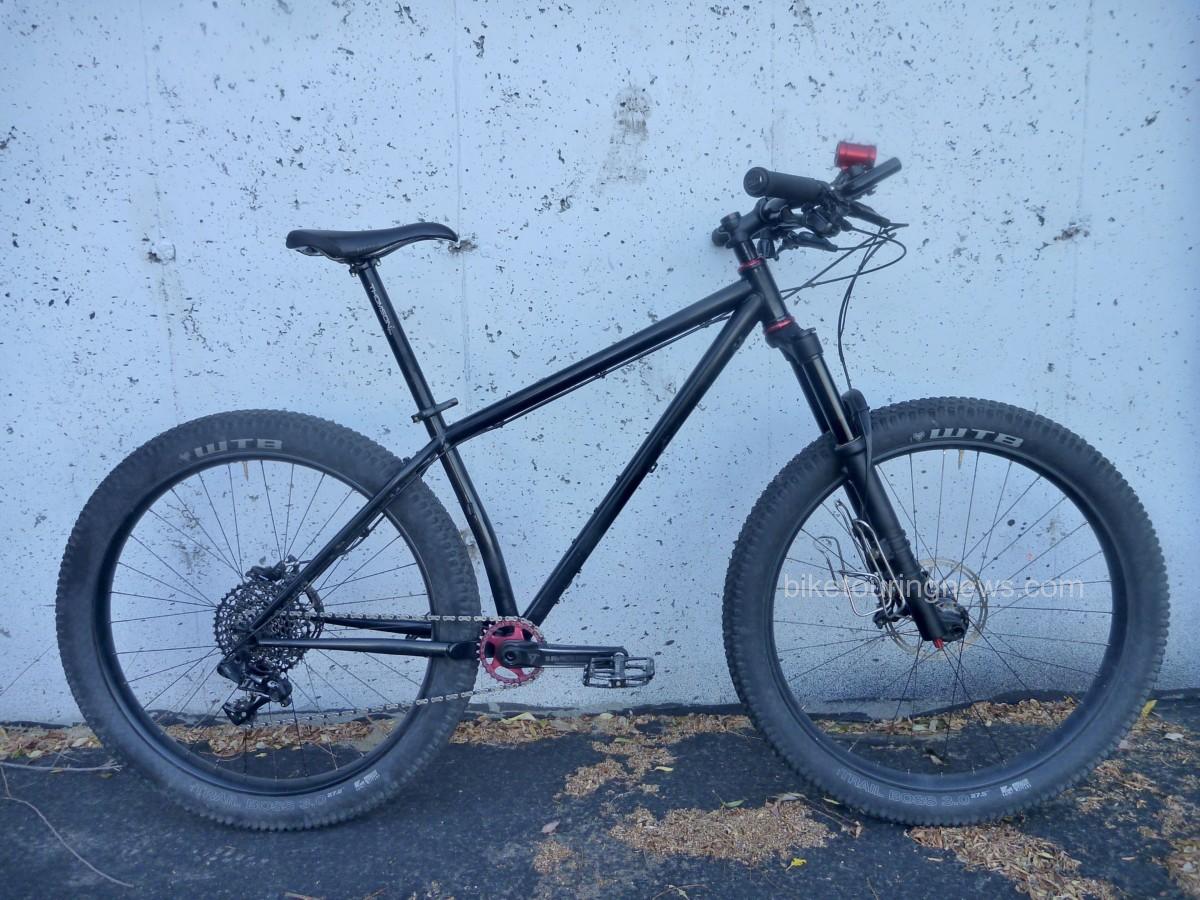
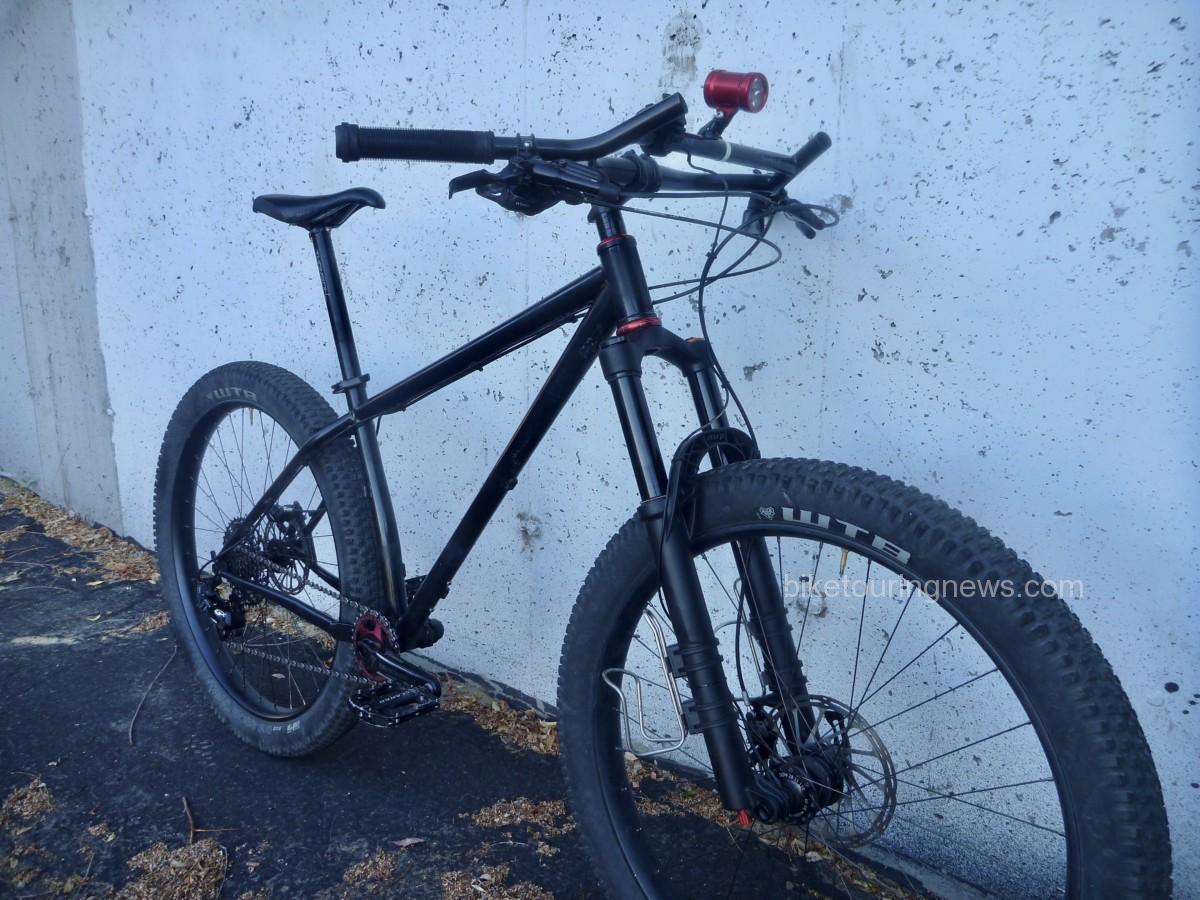
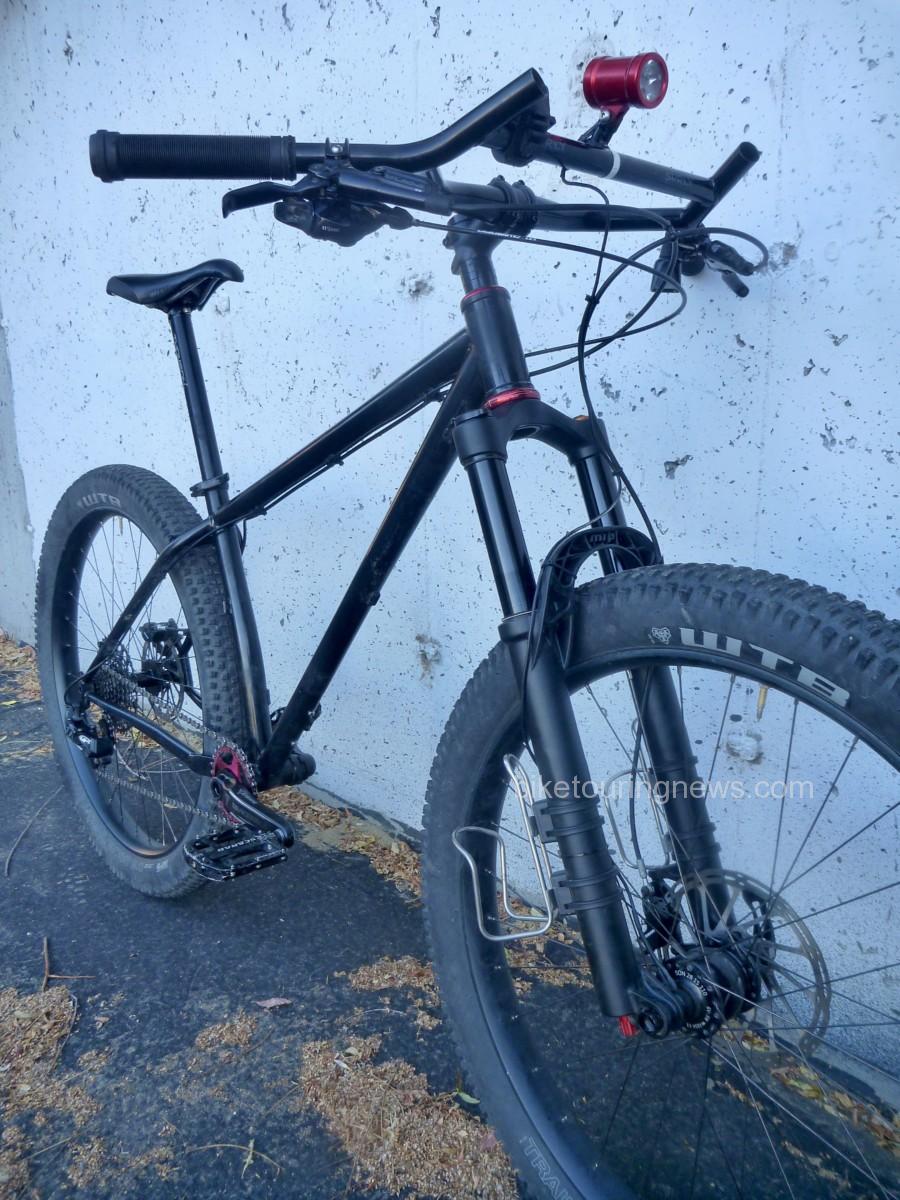
While the CTR was the catalyst for the Ninja Gorilla’s construction, this is by no means a CTR-specific bike.  Overall, I wanted to build a bike that would serve well on the CT but would be ideal for rugged, trail-heavy bikepacking adventures closer to home.  When Surly announced their redesigned Karate Monkey built around a 650b wheel and 3″ tire (aka 27.5+, B+, mid-fat…) I knew it would be the first choice for my high-altitude bikepacking rig.  I was fortunate to score one of the first framesets to hit the market and started ordering the rest of the build kit as finances allowed.  The Ninja Gorilla took its maiden voyage in late April and has been a killer ride ever since.

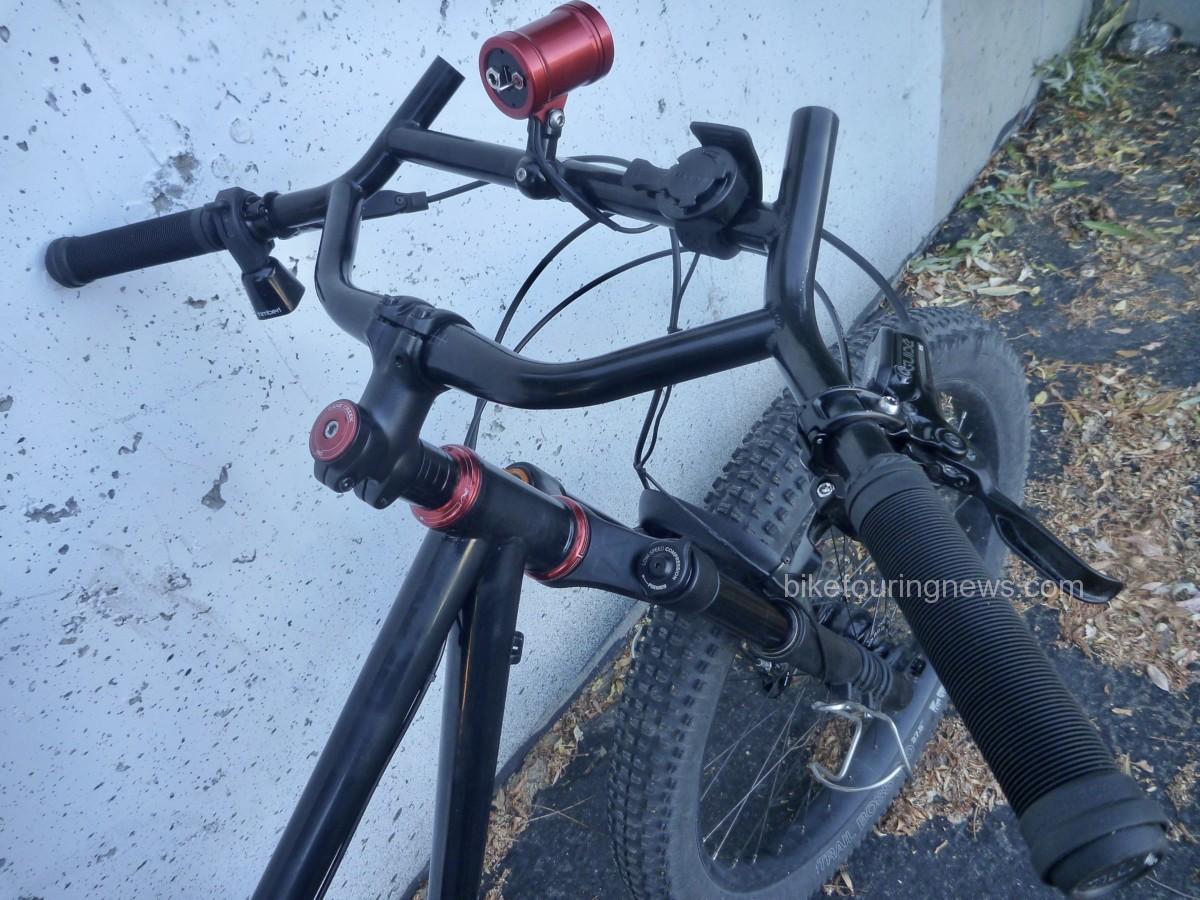
Surly’s Moloko bar provides a useful range of hand positions and gear attachment options.  Clocking 35 degrees of sweep and 735mm of width, these are an alternative to the Jones Loop-H Bars on the Rando-Gnar that provide a fit and feel more similar to traditional riser bars.

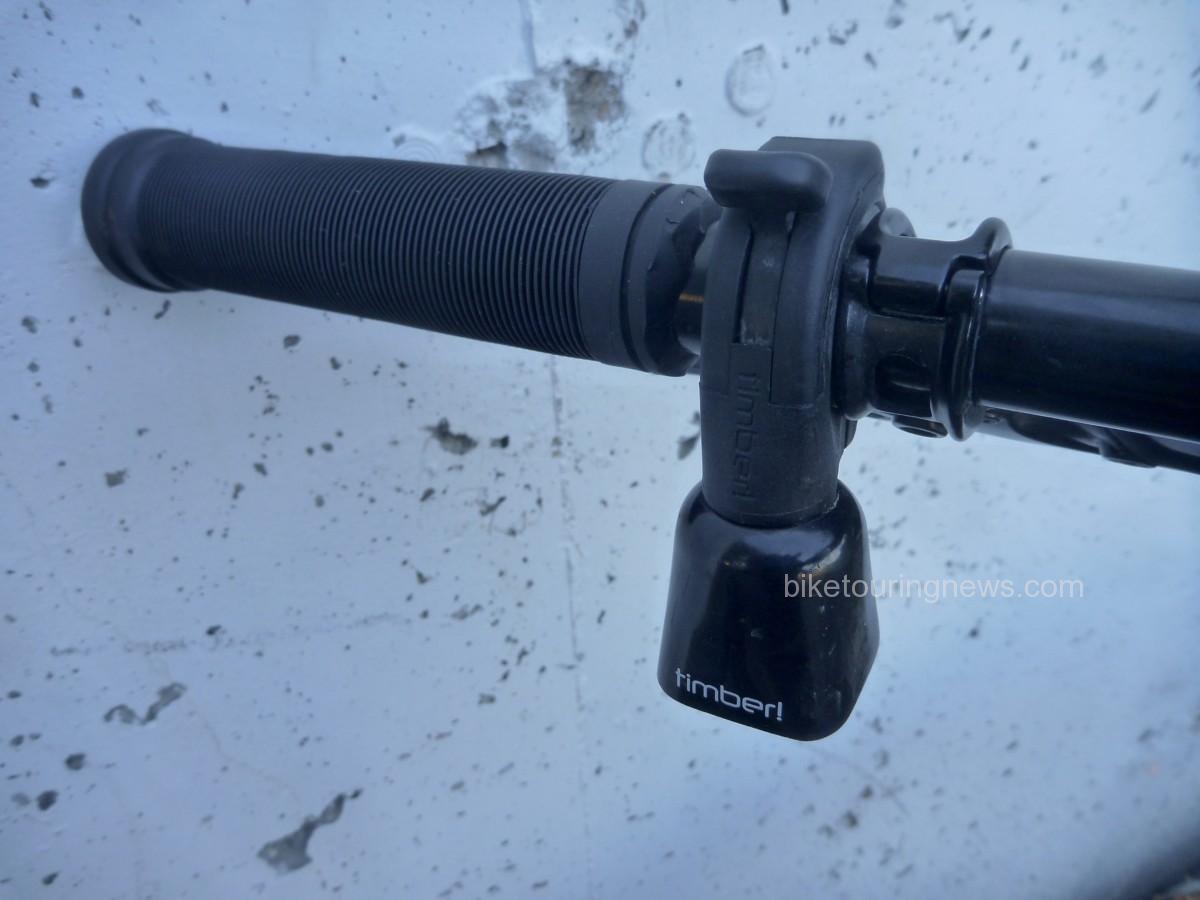
No component on this bike provides more smiles per dollar than the TimberBell!  Push down on the lever to release the clapper and allow the bell to ring with the motion of the bike.  Pull the lever back up to silence the clapper.  Dawn patrol rides have been a regular component of my preparation for the CTR.  Those early morning hours can often be surprisingly busy as folks hustle to fit in their rides, runs or walks before work.  I’ve generated many more smiles with the TimberBell’s pleasant, passive ring than with the kindest “Good morning!” I can muster.  Every now and then I’ll release the clapper and jingle my handlebars just for fun or for a morale boost on a tough climb.  You can’t help but smile when the TimberBell rings!
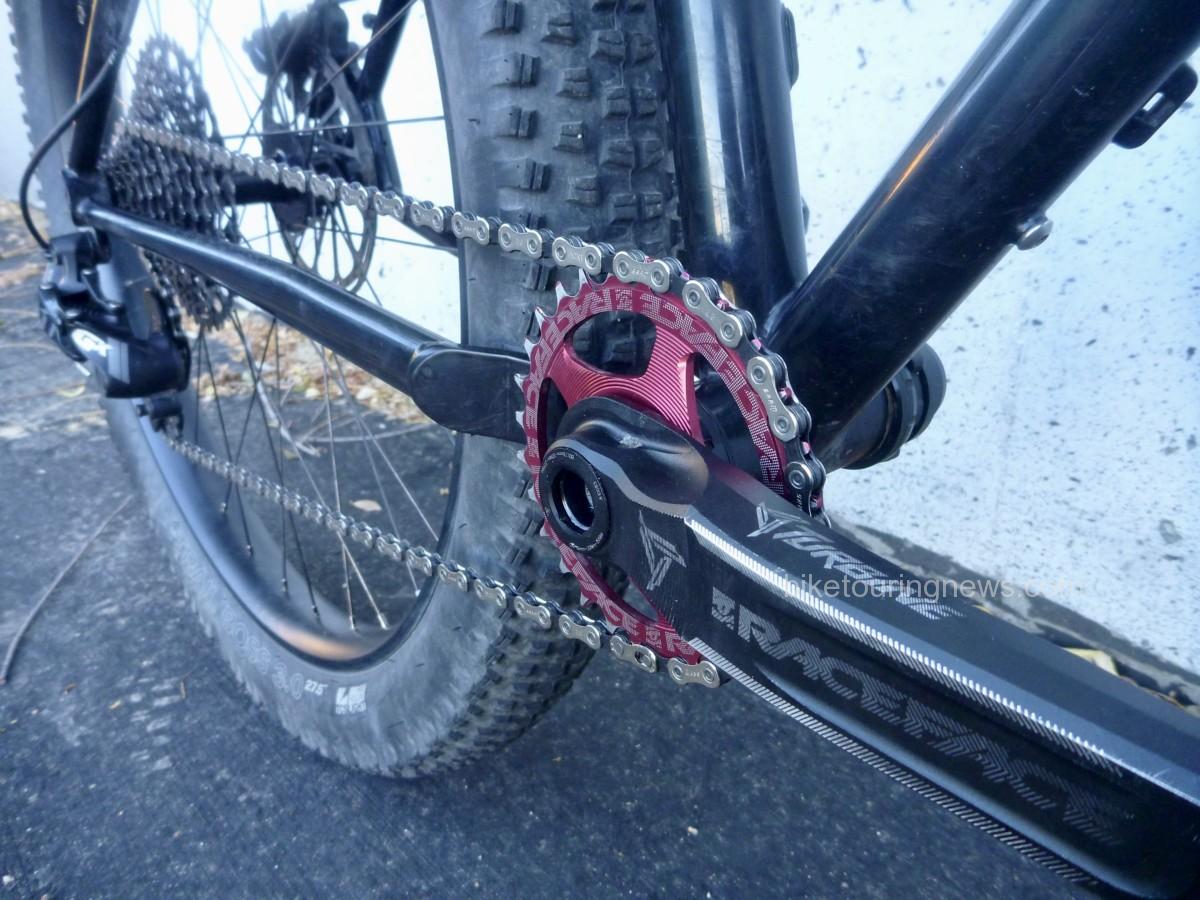
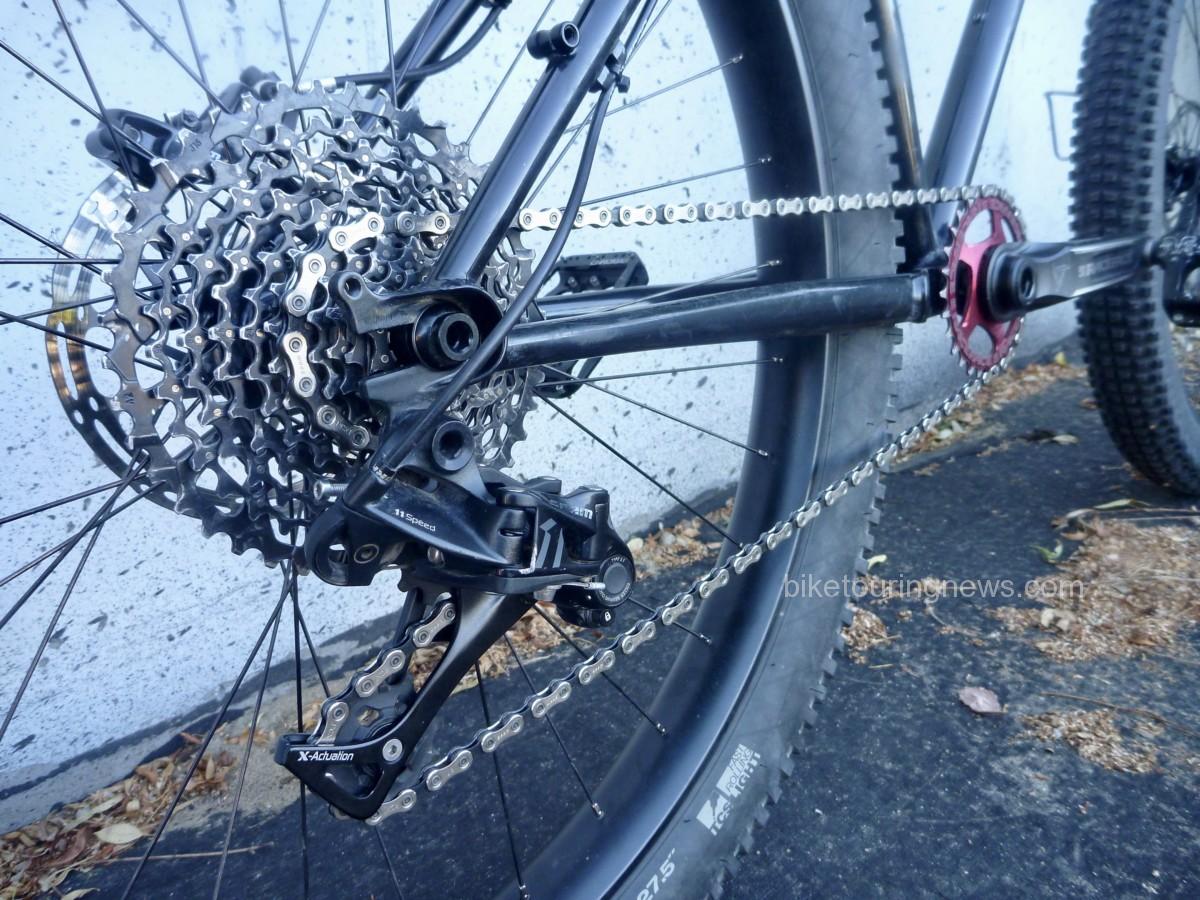
Drivetrain.  Boring.  It’s Sram GX 1×11 with a Race Face crankset, 28 x 10-42t.  I chose Race Face’s Turbine Cinch for its wide range of chainring and spindle options, strength to weight ratio and good looks.  The direct-mount chainring offers smaller tooth counts than spidered systems, so I selected a 28t ring to lower my range slightly.

The SRAM XG-1150 cassette features 100% steel cogs with pinned construction, delivering the shifting performance of higher-end 11-speed groups with improved durability, a minimal weight penalty and a much more affordable price.  This is the advancement that has brought 1×11 groups into the everyman’s price point.

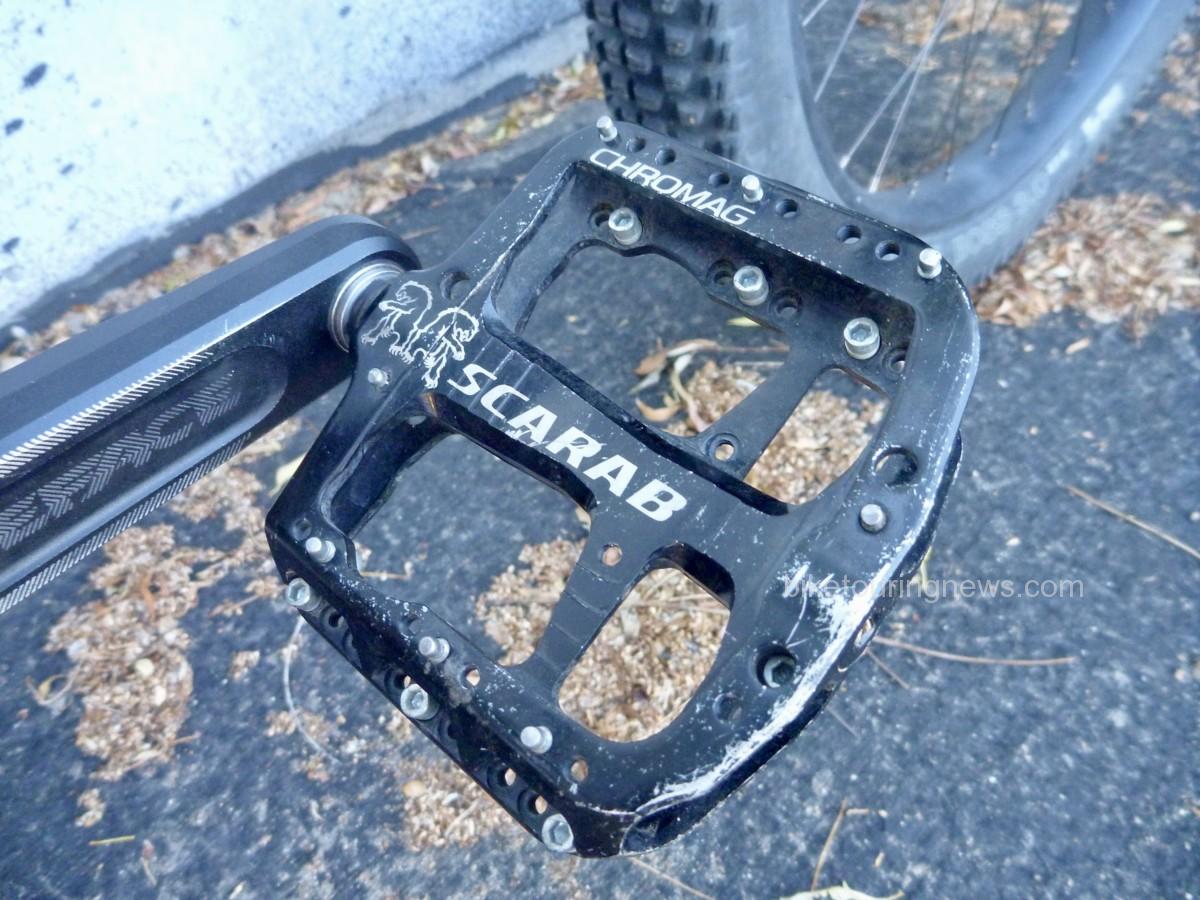
With rare exceptions, I’ve ridden flat pedals exclusively for the past 2 years.  Chromag’s Scarab pedals are some of the smoothest and most comfortable I’ve tried.  Their thin, concave body cradles the foot and the multitude of pin positions provide customizeable traction.  The walkability of flat pedal shoes and the ability to vary my foot position on the pedals over long days in the saddle far outweigh any efficiency benefit provided by clipless.  The ease of dismounting, remounting and hike-a-bike comfort all combine to make flat pedals ideal for me on bikepacking trips.

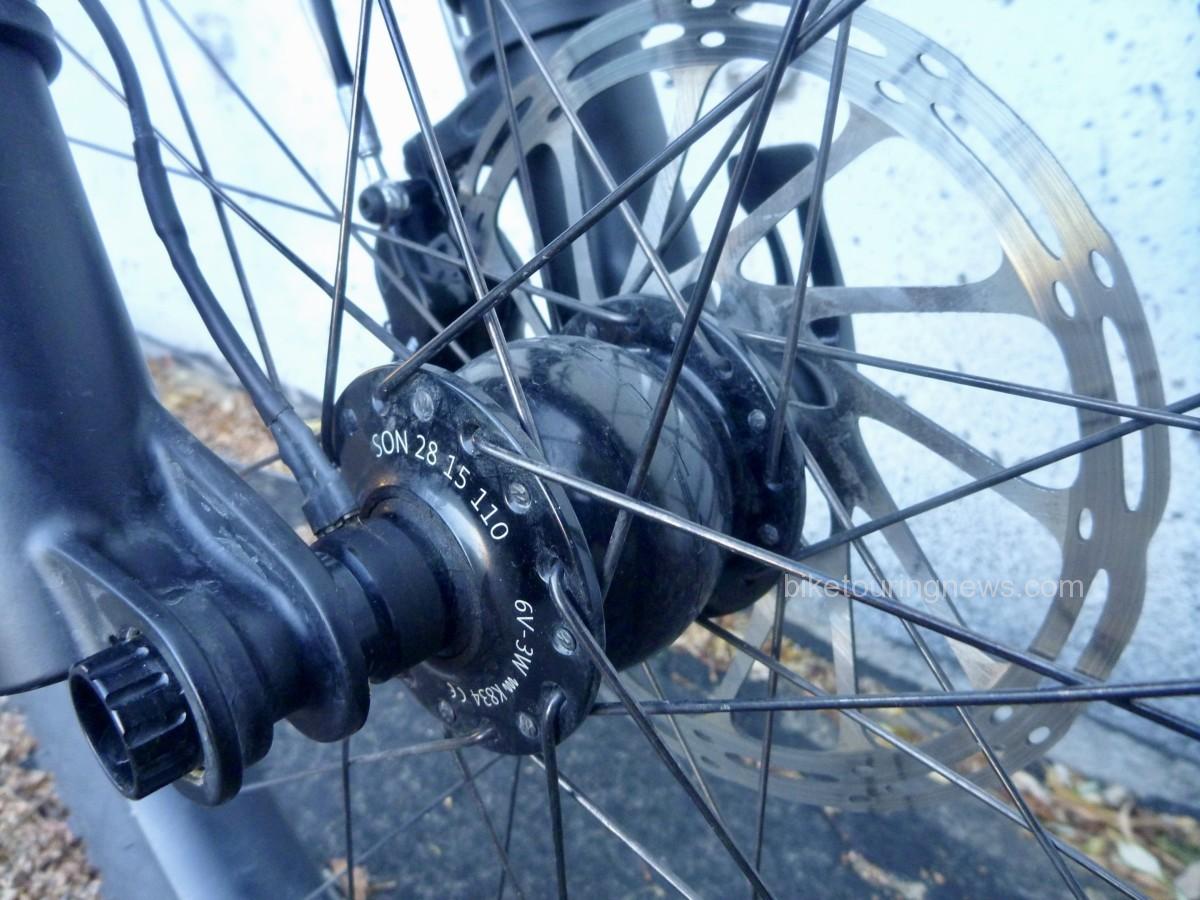
The hand-built wheelset features WTB’s Scraper i45 rims (debadged) laced to a DT Swiss 350 rear hub and a SON28 dynamo up front.  DT’s star ratchet freehub and quality cartridge bearings are legendary for their reliability, as are Schmidt’s dynamo systems.  Many riders eschew the dynamo for the CT and similar singletrack-heavy routes as speeds are generally too low to provide consistent power output.  However, I knew I’d be using the bike for much more than just the CT and dynamo power would be worth the extra investment.  Honestly, if I could have a dynamo on every bike I own, I would.  Maybe one day…

I chose WTB’s Trail Boss tires for their even tread pattern that rolls well on dirt roads or two-track but with the cornering knobs to keep the bike on track in the sketchy stuff.  Many riders and commenters recommend reinforced casings for the CT, so I’m hoping to get away with the “light” sidewalls.  Tubeless setup on the Scraper i45 rims was flawless and has been trouble-free with no burping or loss of air.

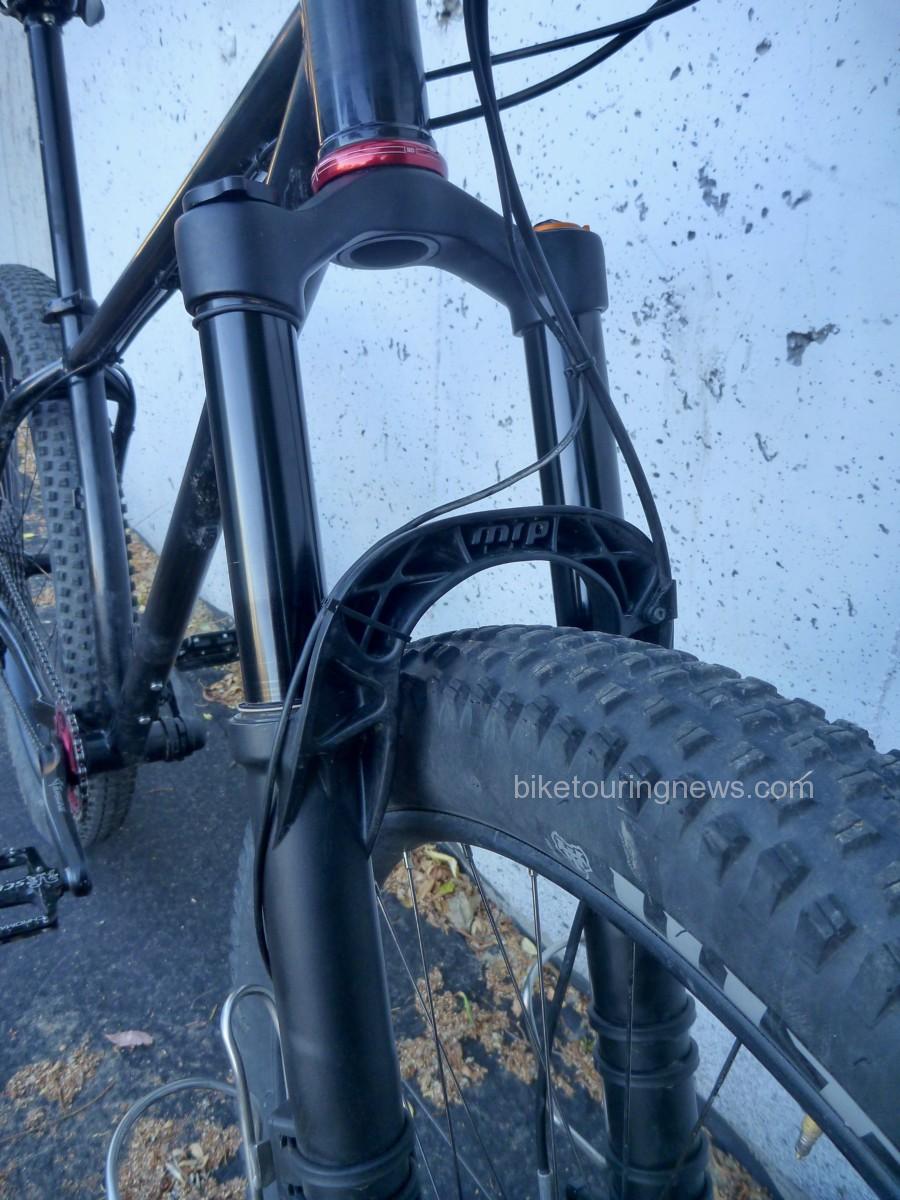
Even with the stock steel fork, this is an impressively capable bike.  The 3″ tires steamroll rough trail and provide excellent traction.  However, you won’t forget you’re on a rigid bike, especially on fast descents.  I knew that I’d want a suspension fork to keep my front wheel on the trail when things get dicey.  With the MRP Ribbon fork installed, this beast takes on a completely different character.  Assembled (and partially fabricated) in Grand Junction, the Ribbon is designed with high-altitude adventure in mind.  This is easily the most adjustable, highly tuneable suspension fork I’ve ever experienced.  Setup is relatively straightforward, even with the multitude of possible adjustments.  Following MRP’s guidelines, I was able to dial in a setup that rode high in the travel and maintained a bottomless feel while still providing some suppleness over small bumps.  Travel is smooth and plush with very little seal friction, even right out of the box.  The OutCast arch lends sculptural appeal and makes this fork unmistakable, even with the decals removed.  With the appropriate crown races installed, swapping back and forth between rigid and suspension forks is a relatively simple task, allowing me to dial in my setup for a variety of future trips.

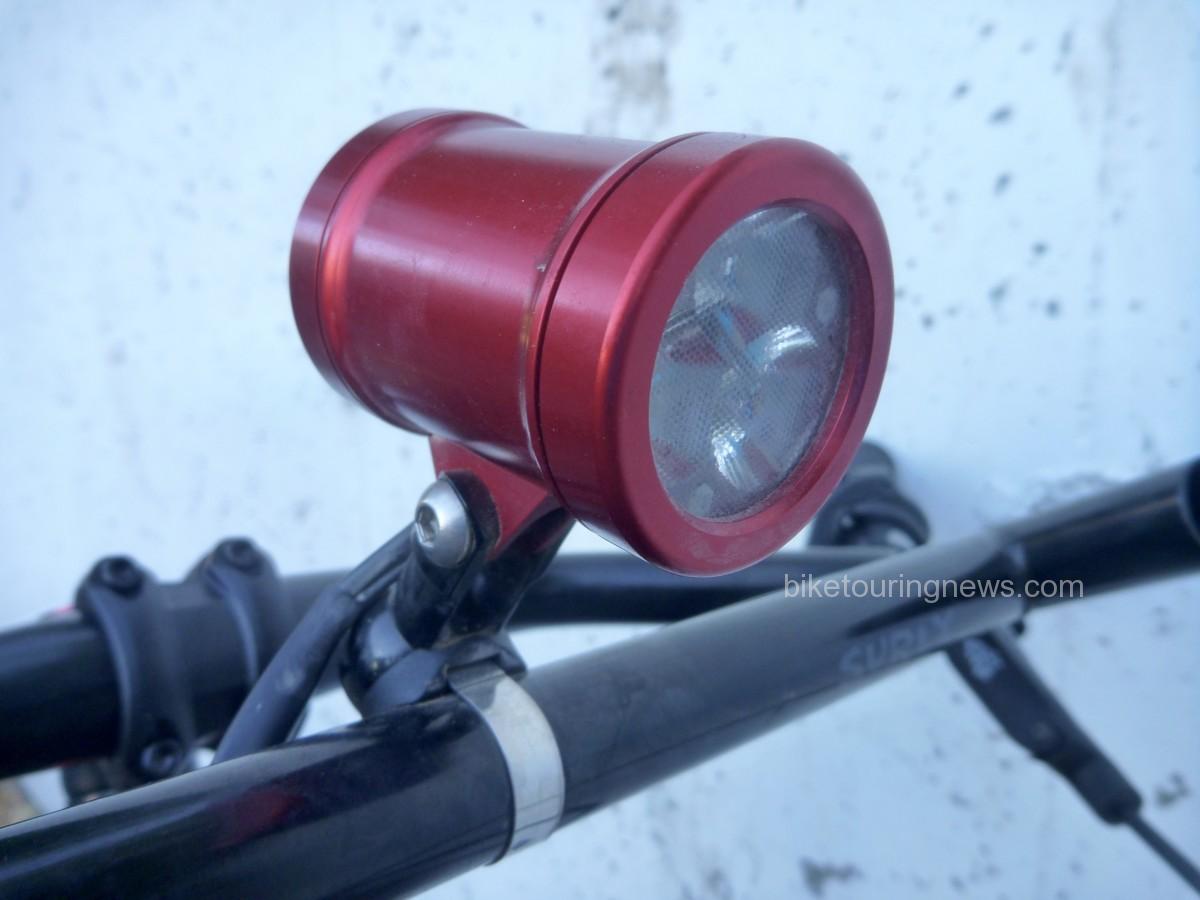
The Sinewave Cycles Beacon headlight is the icing on the cake of this build.  For the pavement or dirt road rider, dynamo lighting had already advanced to a very high level.  Busch + Muller, Schmidt and others make excellent lights that are ideal for those speeds and terrain.  However, the trail rider has mostly been forced to rely on battery-powered lights that provide the broad, even illumination required to navigate off-road terrain safely and confidently after dark.  In addition, singletrack speeds are often insufficent for a dynamo light to provide consistent output, resulting in annoying flickering or even total loss of light.

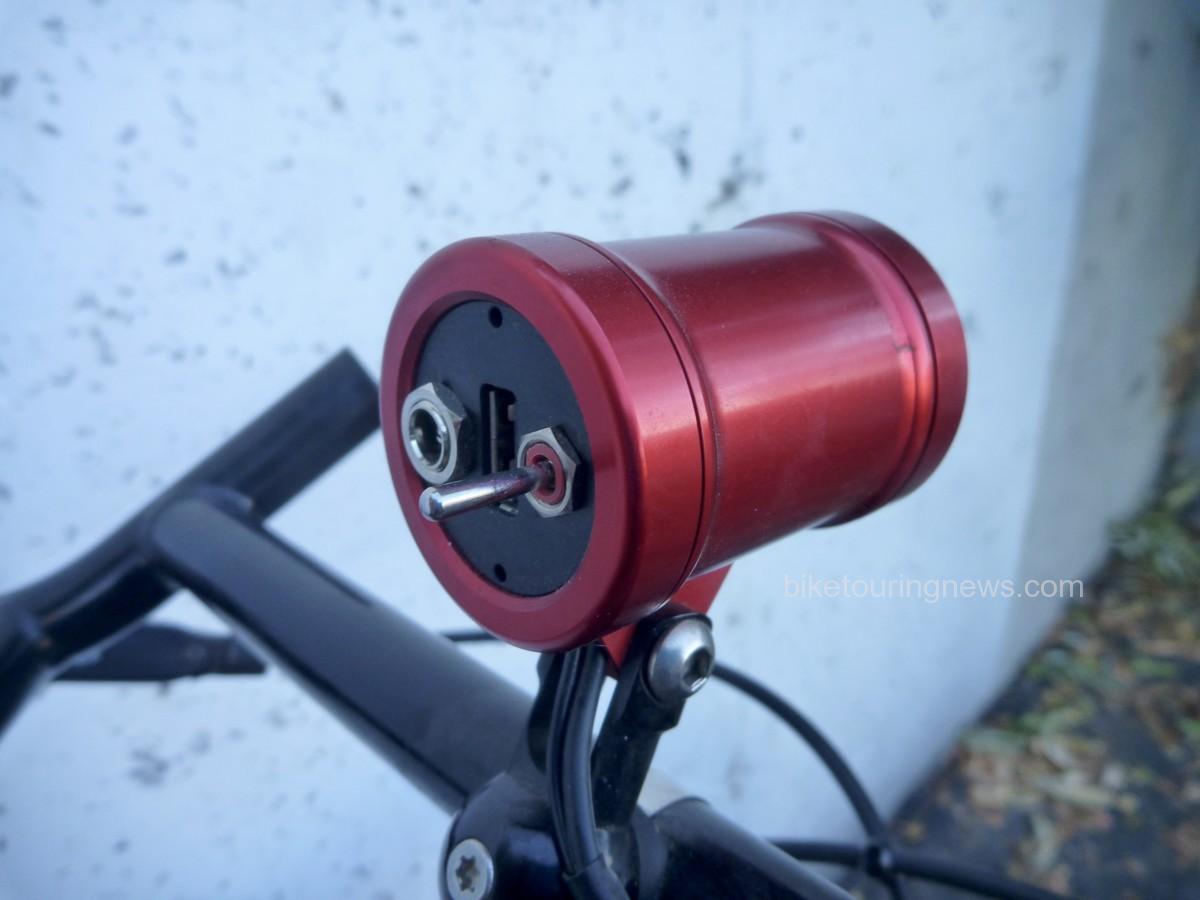
The Beacon solves these problems.  With a wide, symmetrical beam pattern, this light provides plenty of illumination around the fringes of the trail.  It also incorporates a power input feature to provide stable lighting no matter what your speed.  Simply plug in your external battery using the included cable and flip the switch up for the full 750-lumen output or down for medium power.  The Beacon draws from the battery as needed but the dynamo provides more power as speed increases, eventually taking over completely preventing unnecessary battery drain.  A USB charging output is supplied as well, allowing you to charge your battery or other devices when speeds allow.

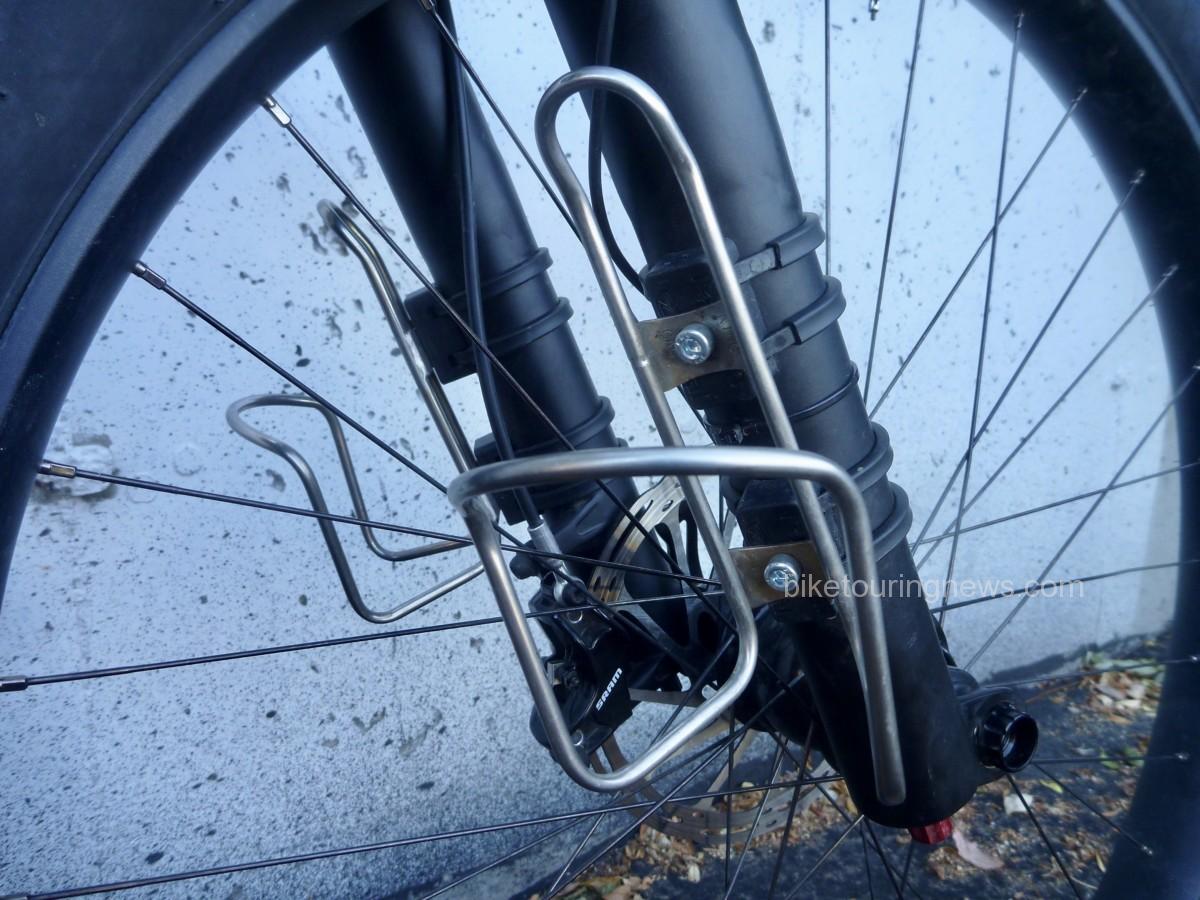
Having grown accustomed to the fork-mounted cages on the rigid fork, I knew I’d want to mount cages to the suspension lowers to maintain my water capacity.  Zefal’s new Gizmo cage mounts provide rock-solid attachment points.  As far as I’m concerned, King Cage’s stainless bottle cages are the only cages worth owning.

Overall, I’m absolutely stoked on this bike.  It is far and away the most capable, versatile mountain bike I’ve ever owned.  While it isn’t a bargain build, there also aren’t any blingy parts or unnecessary fluff.  Components were chosen for an ideal blend of affordability and reliability.  The only exception may be the Cane Creek 110 headset.  I’ll admit it; I paid the premium price over the more affordable 40-series because it came in red.

While anything could happen out there, I’m 100% confident in the Ninja Gorilla and know that it won’t be the bike’s fault if I struggle on the Colorado Trail!  I’ll be going through my gear and packing setup in my next post, so keep an eye out for that in the coming days.  As always, thanks for reading and feel free to share your thoughts, questions or personal experiences in the comments below.


Categories
Idaho Our Trips Tours and Rides

Boise Ridge Road Randonnee: Sunday, June 25

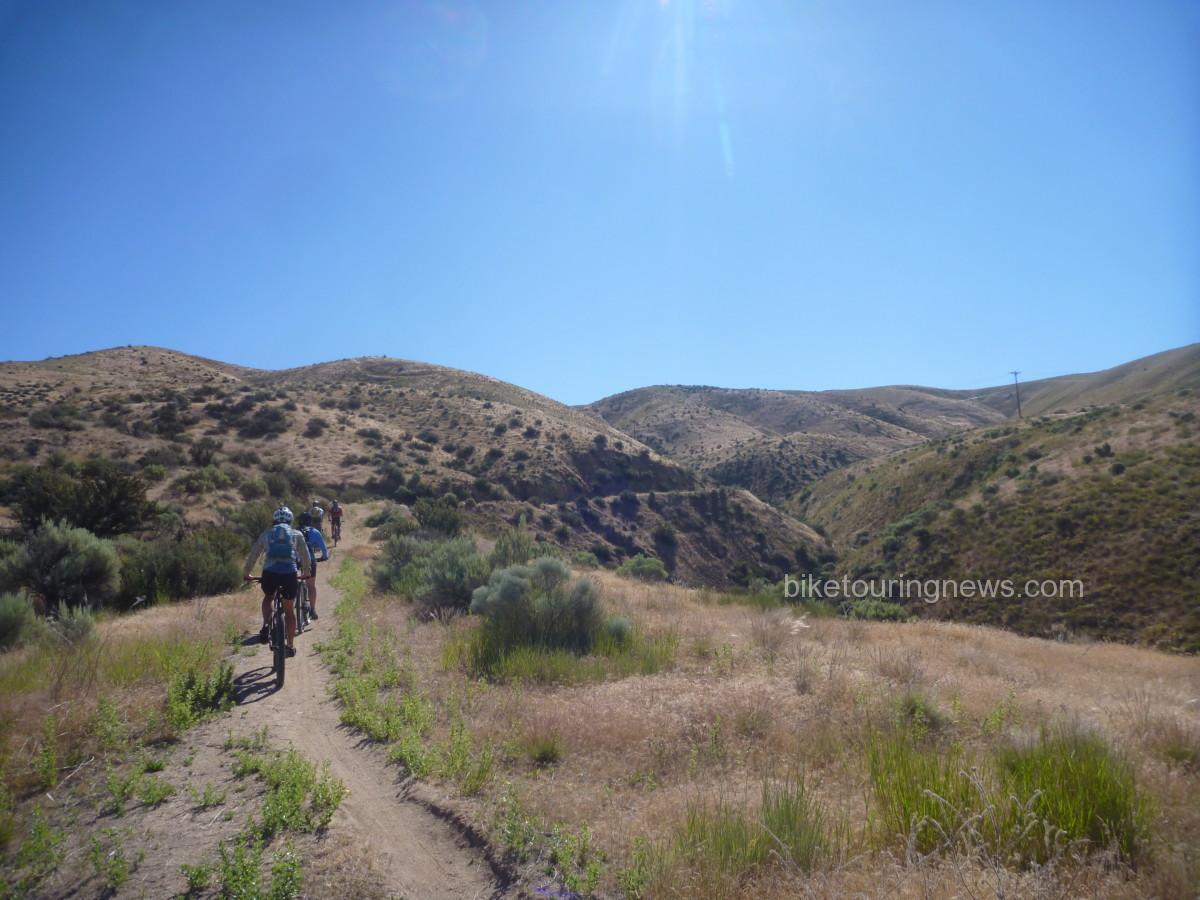
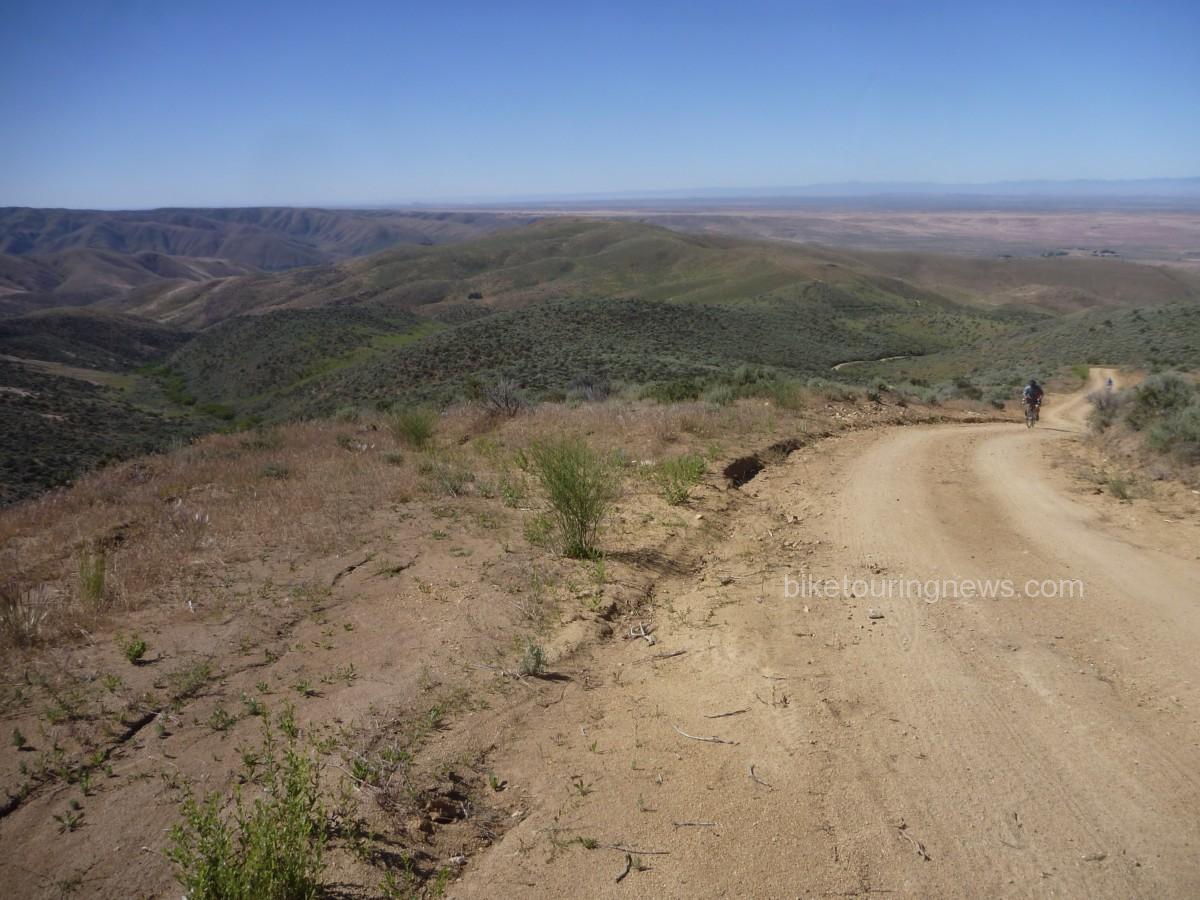
Ready for some challenge and adventure up in the Boise Foothills?  Come ride the third annual Boise Ridge Road Randonnee!  The ride takes in 45 miles with around 7,000 feet of climbing on rugged dirt roads, ATV tracks, a little singletrack and even some pavement.  Though the climbing will test your legs, the views are well worth the effort!  There are also multiple bail-out options for a shorter trip.

This is an unsupported, unsanctioned ride.  You are responsible for your own safety and enjoyment.  Ryan will provide a turn-by-turn cue sheet with a suggested route but you are on your own and free to make your own decisions.  Read on for the details!

The Climbing Begins…

START:  Boise Co-Op (8th and Fort St.) Meet at 8:45.  Ride departs promptly at 9:00am, Sunday June 25.

FINISH:  Sun Ray Cafe (13th and Eastman).  Expect around 8 hours ride time for the complete route depending on fitness and stopped time.

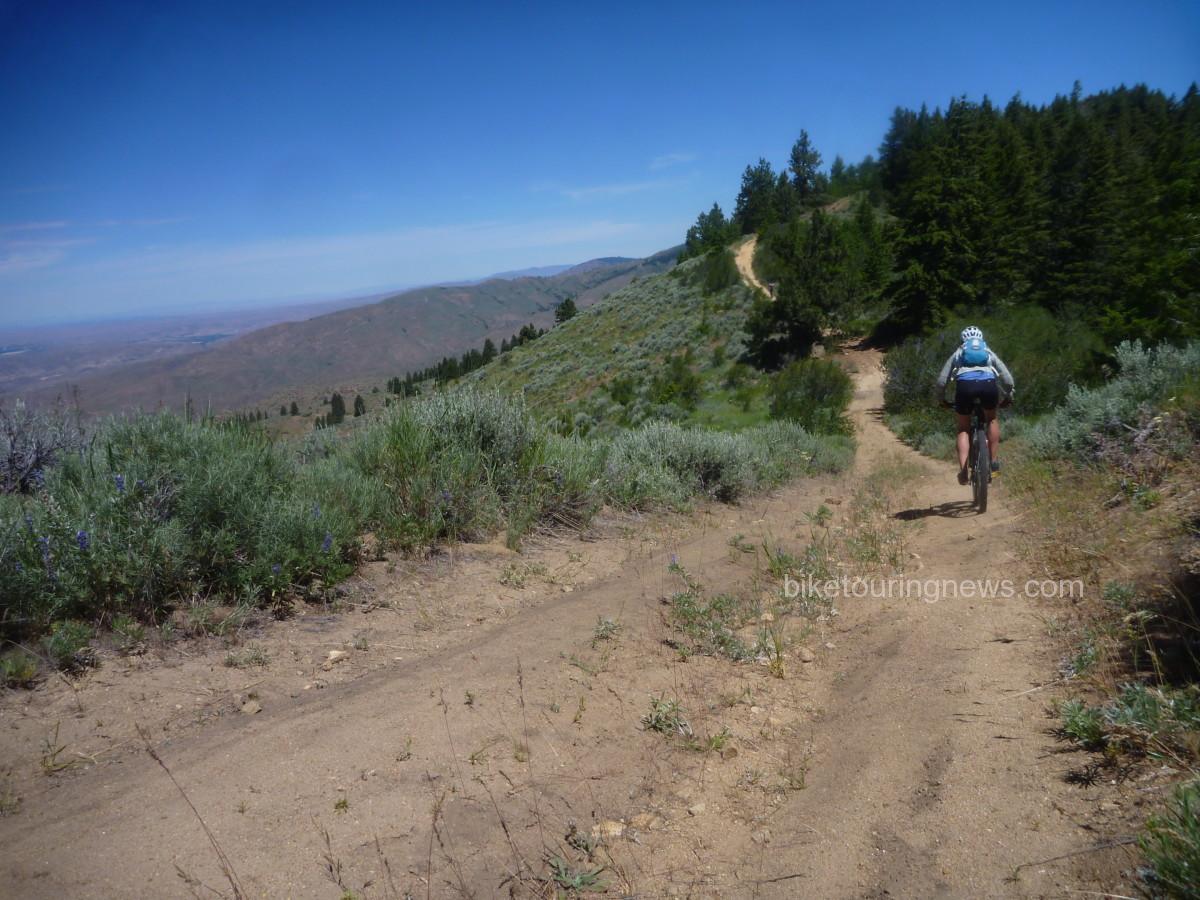
Steep pitches on the Ridge Road, headed toward Lucky Peak

ROUTE DETAILS:  Many sections of the route are unmaintained and conditions are unpredictable.  Expect loose, sandy, rocky and/or rutted conditions in certain places.  Much of the route is also very exposed to the sun, so protect yourself and be sure to start hydrated!  View the route on RideWithGPS here. 

Classic section of Ridge Road with killer views of the Treasure Valley

BIKE SELECTION:  Wide tires (1.75″/42mm and up) and low gears are highly recommended.  Suspension won’t hurt but isn’t necessary.  Any good mountain bike or dirt touring bike will be be fine.  Road, cyclocross or pavement touring bikes are not a good option.

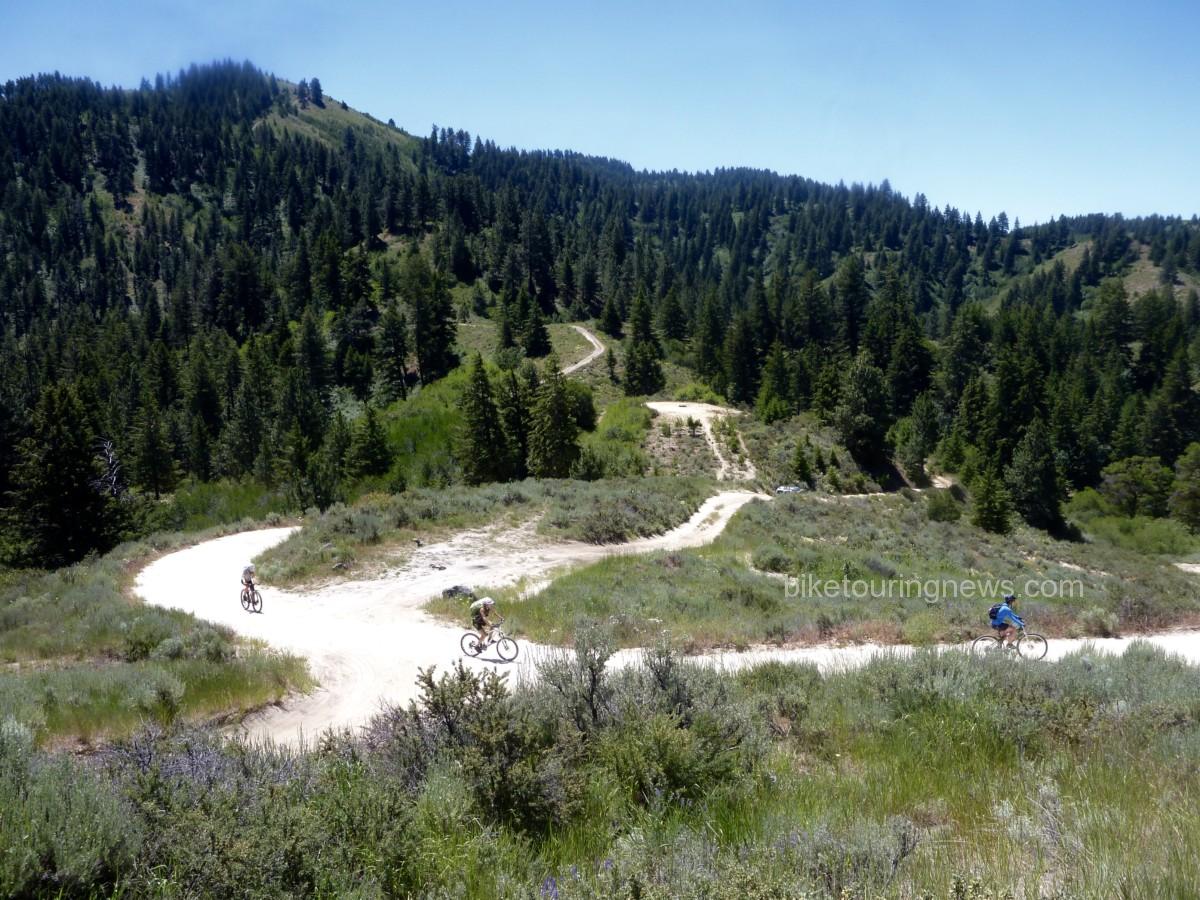
Grinding up switchbacks from Aldape Summit

RESUPPLY NOTES:   There are no resupply options en route with the exception of the Ranch Market at mile 6.5.  Water may be filtered from Robie Creek between mile 30 and 33.  Be prepared to carry all food, water and supplies you will need to complete the route.

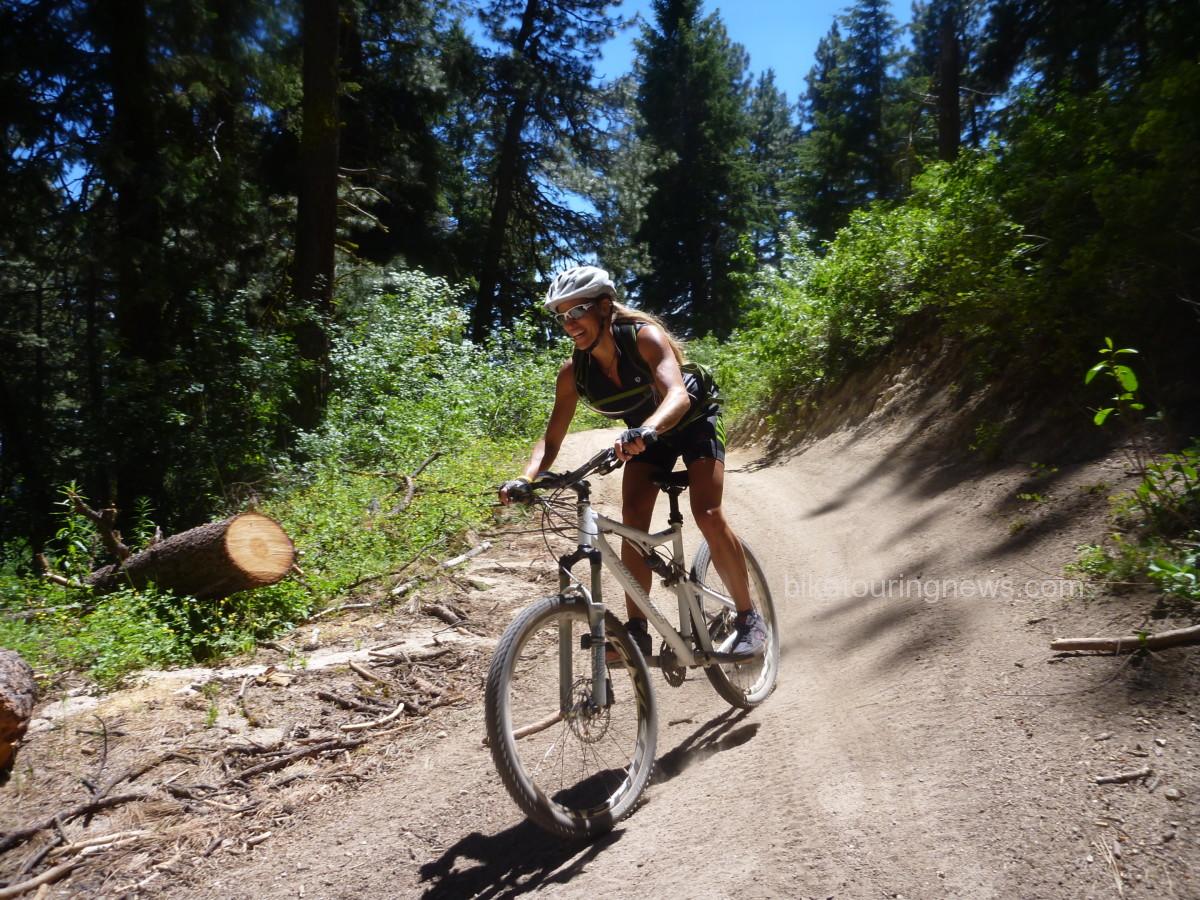
The fast, “post-apocalyptic” descent toward Robie Creek

Questions?  Comments?  Sound off below!  You can also head over to the Facebook event page to RSVP or share with your friends.  Don’t forget to tag your photos:  #RidgeRoadRandonnee #BR3 #RidgeRoadRandonneurs #BikeTouringNews.  Let’s Ride!