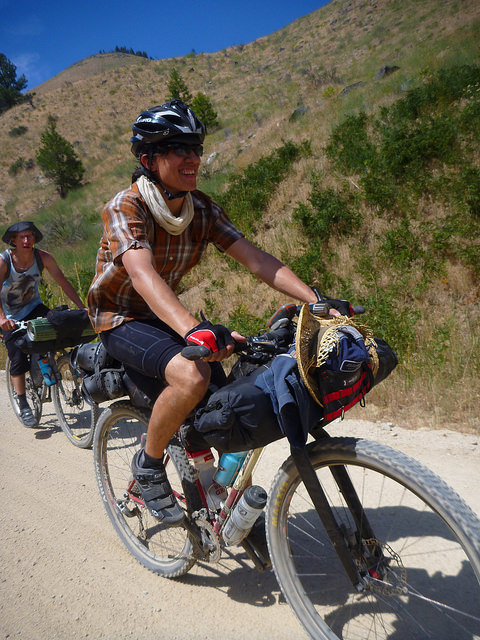
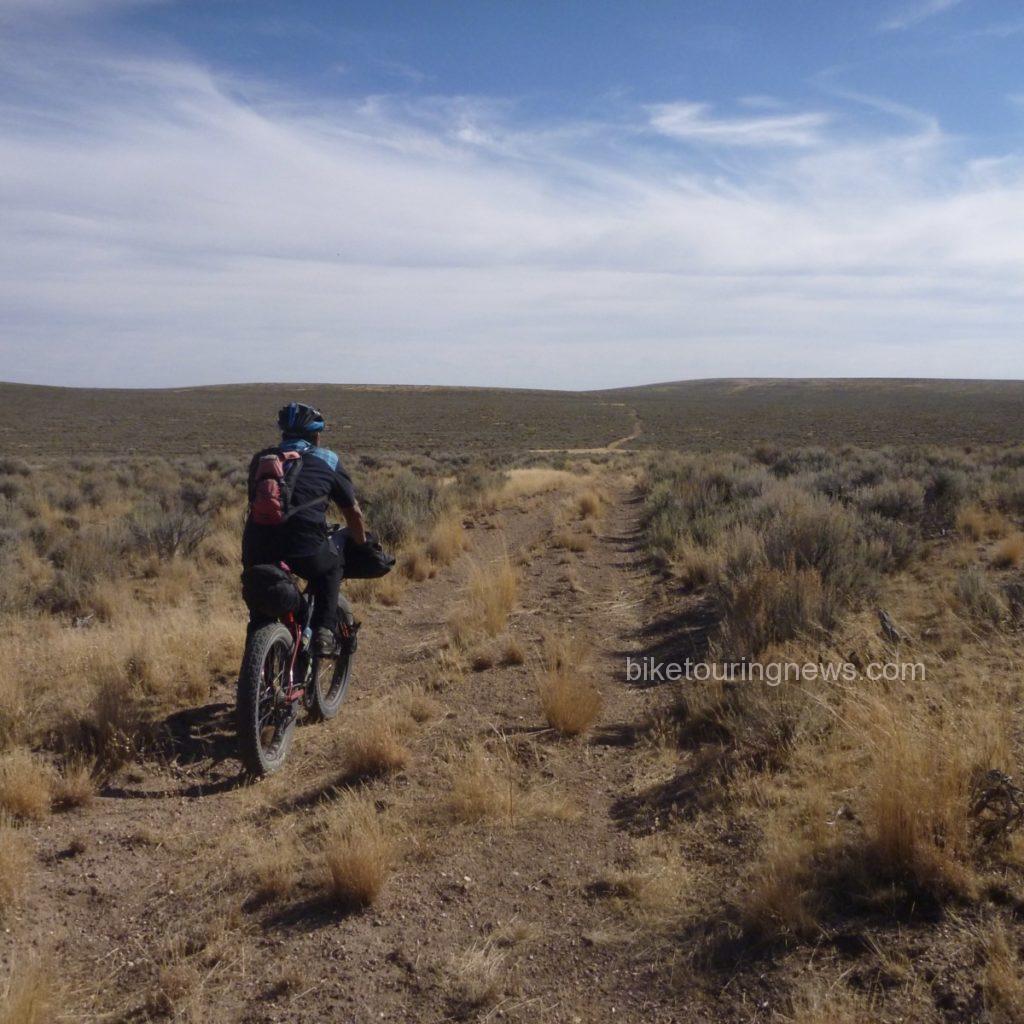
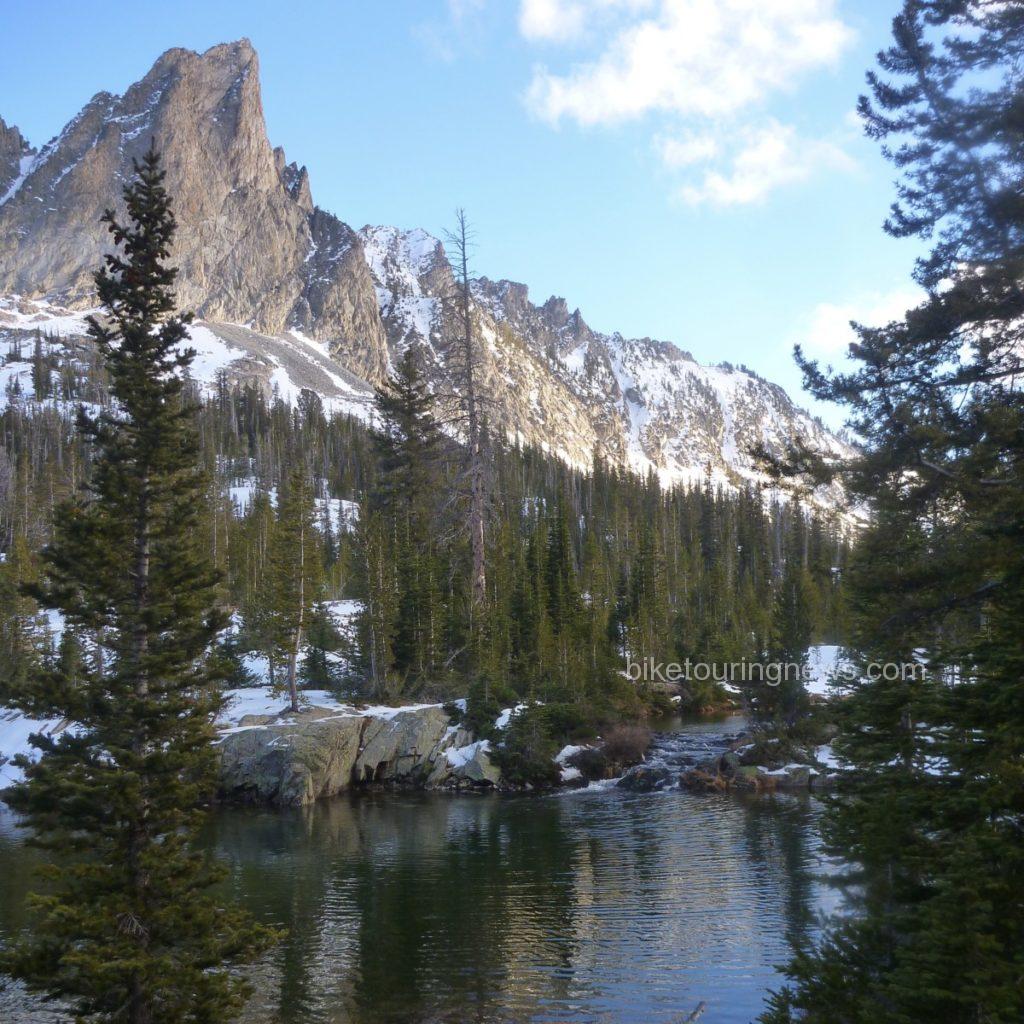
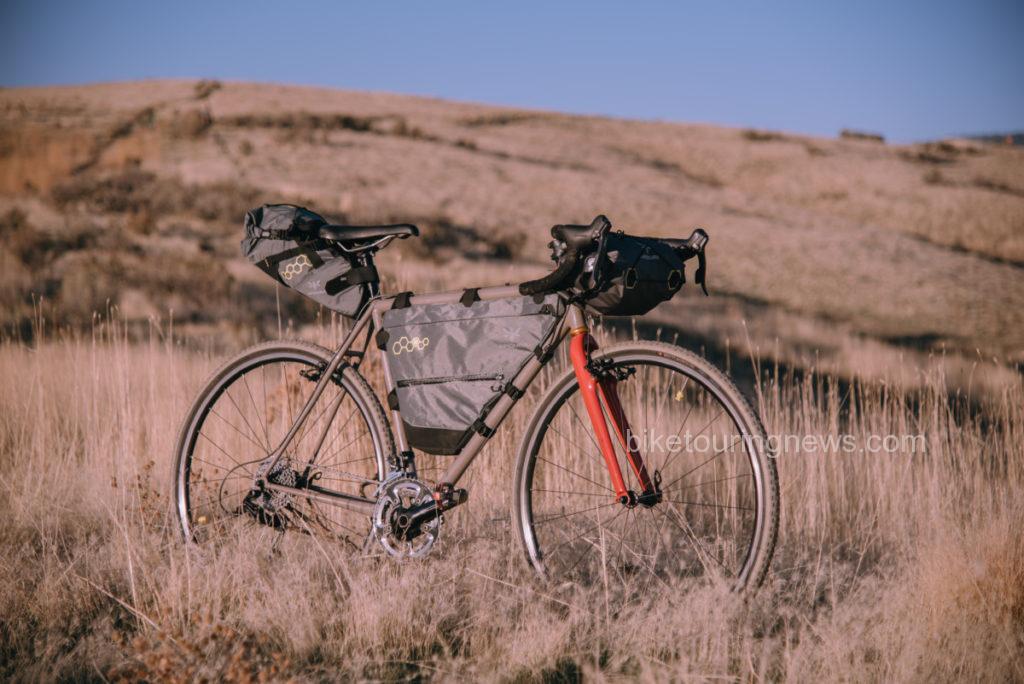
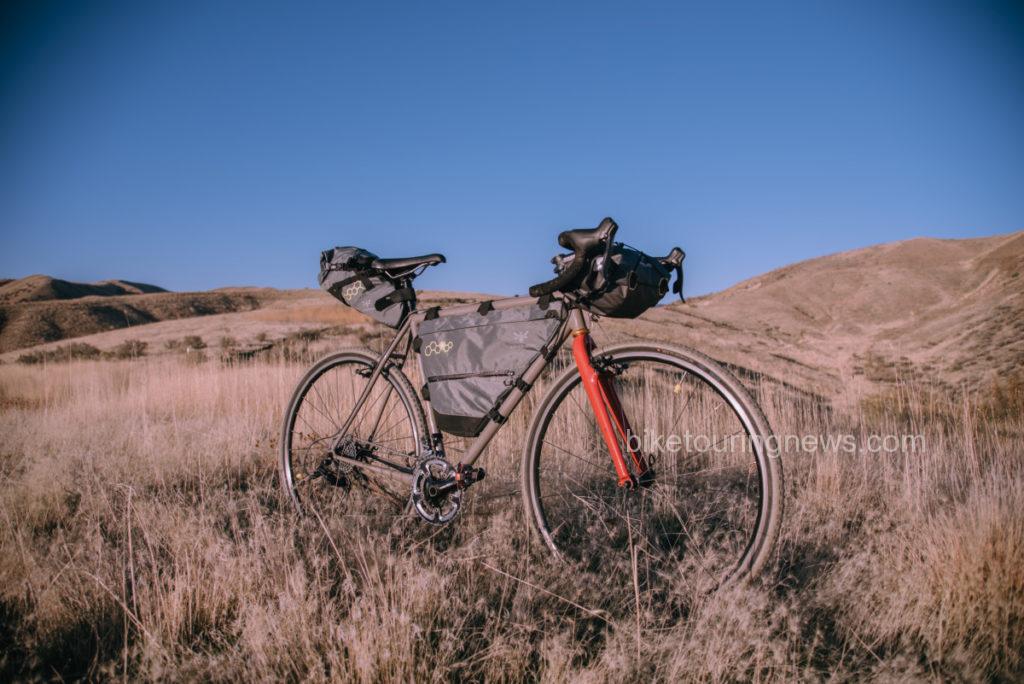
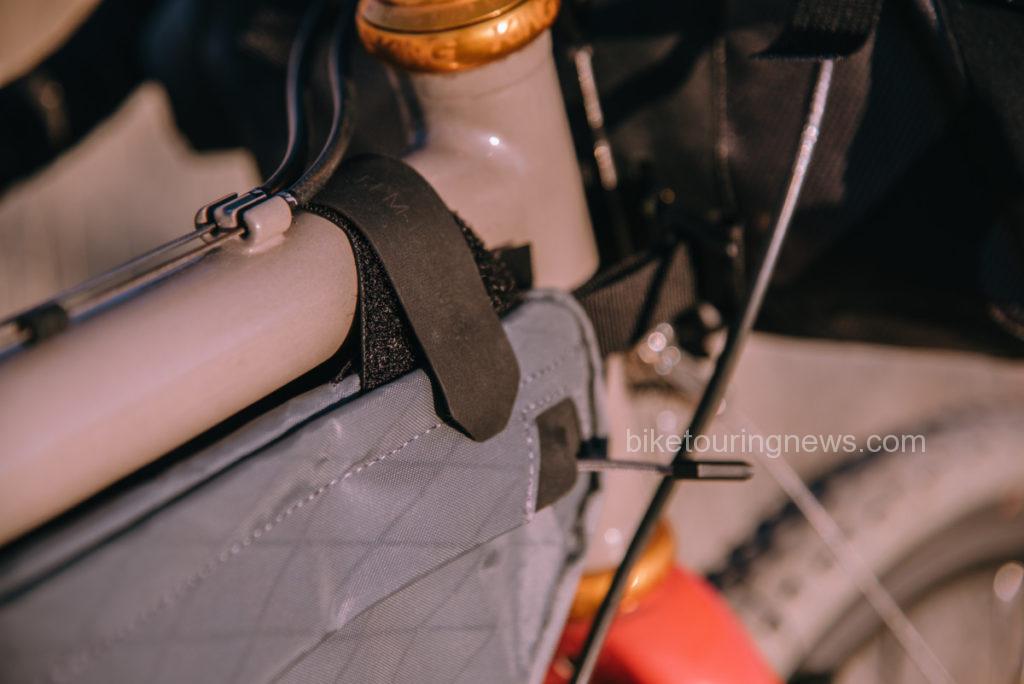
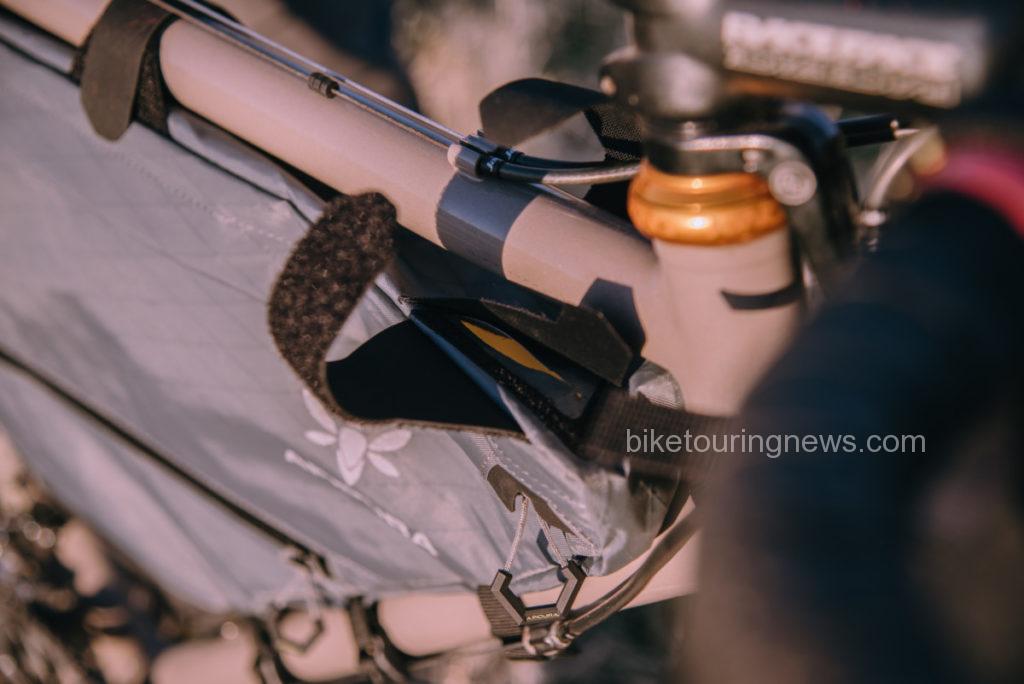
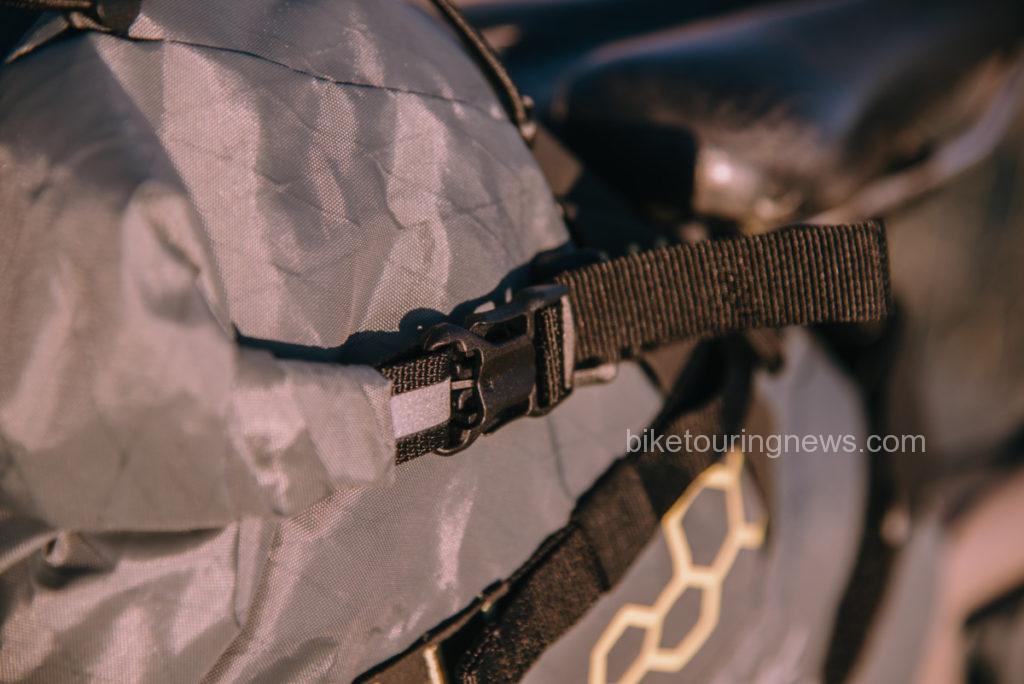
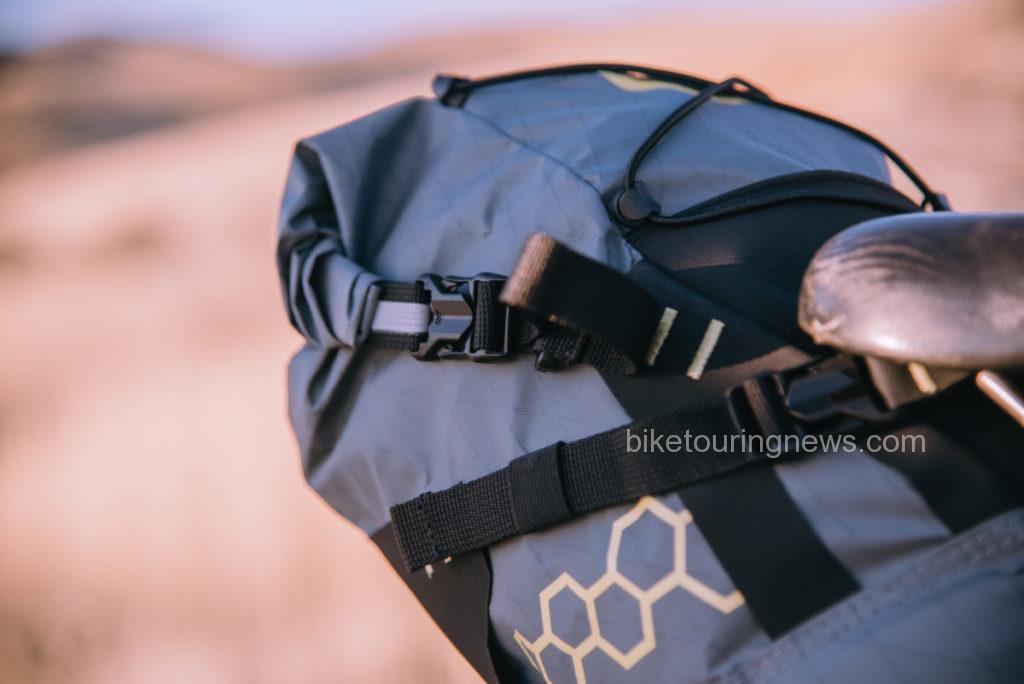
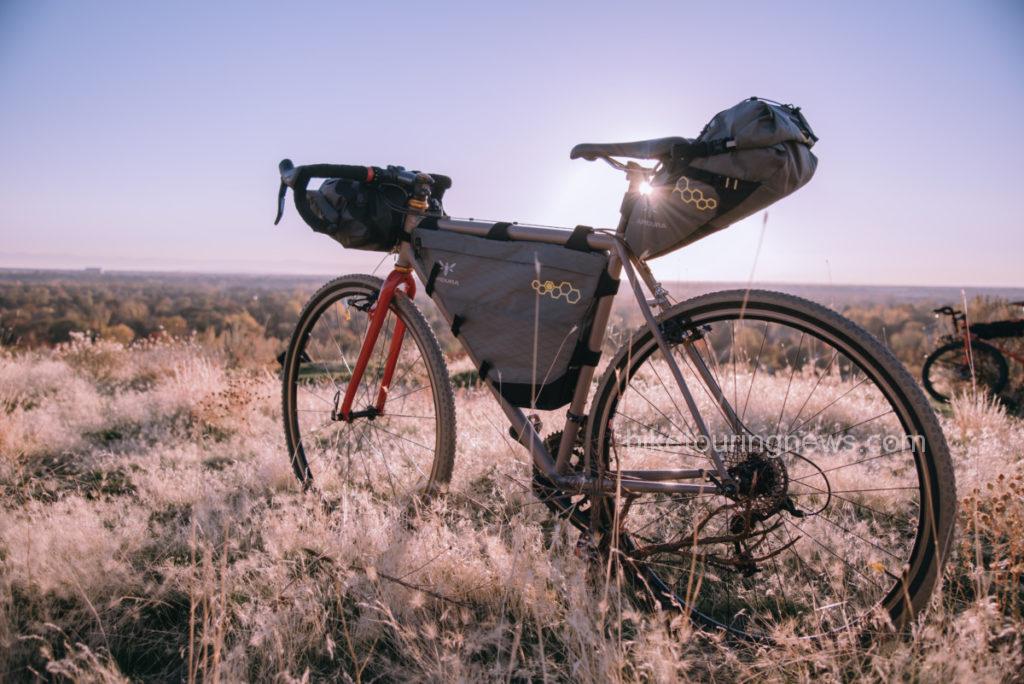
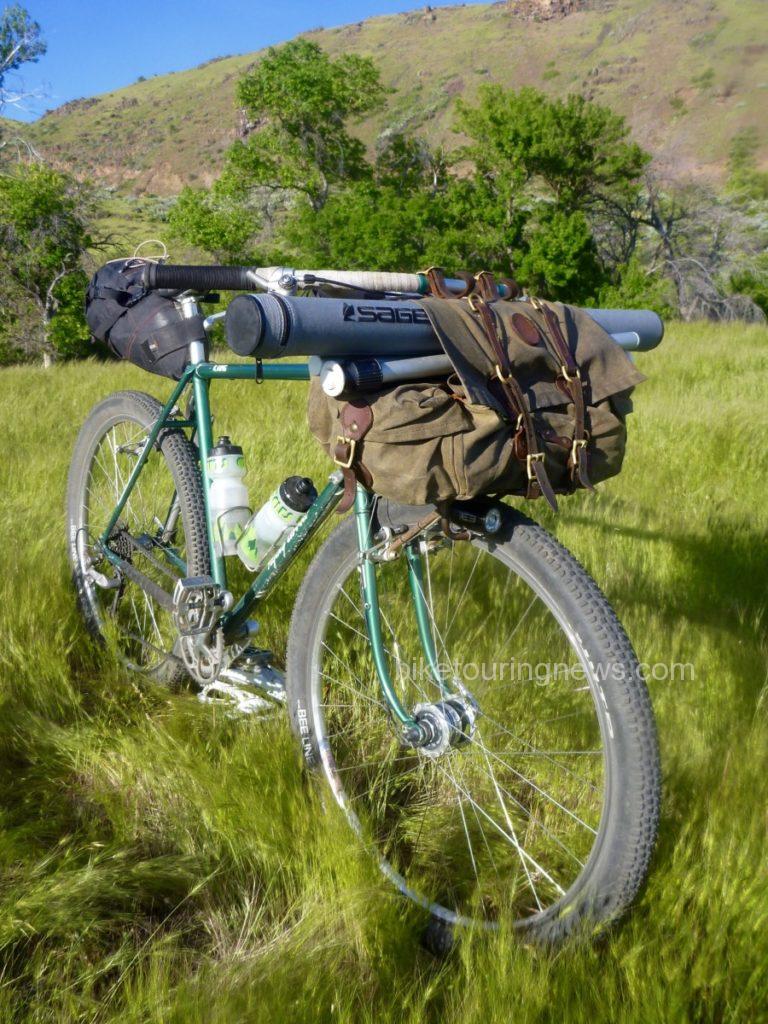
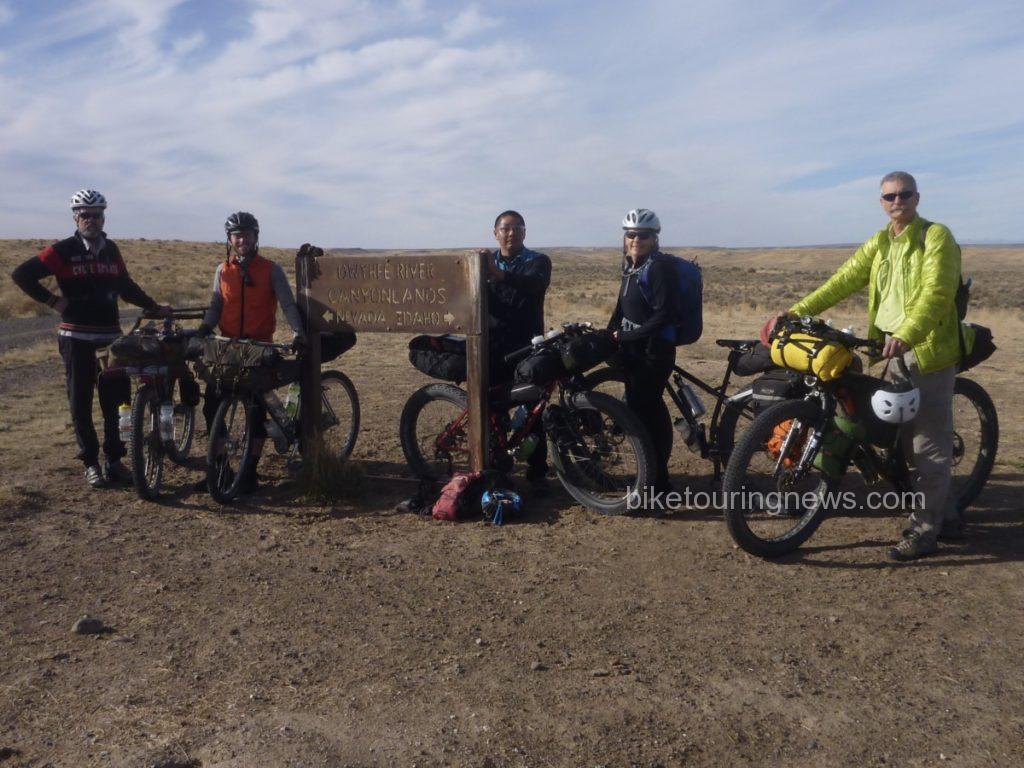
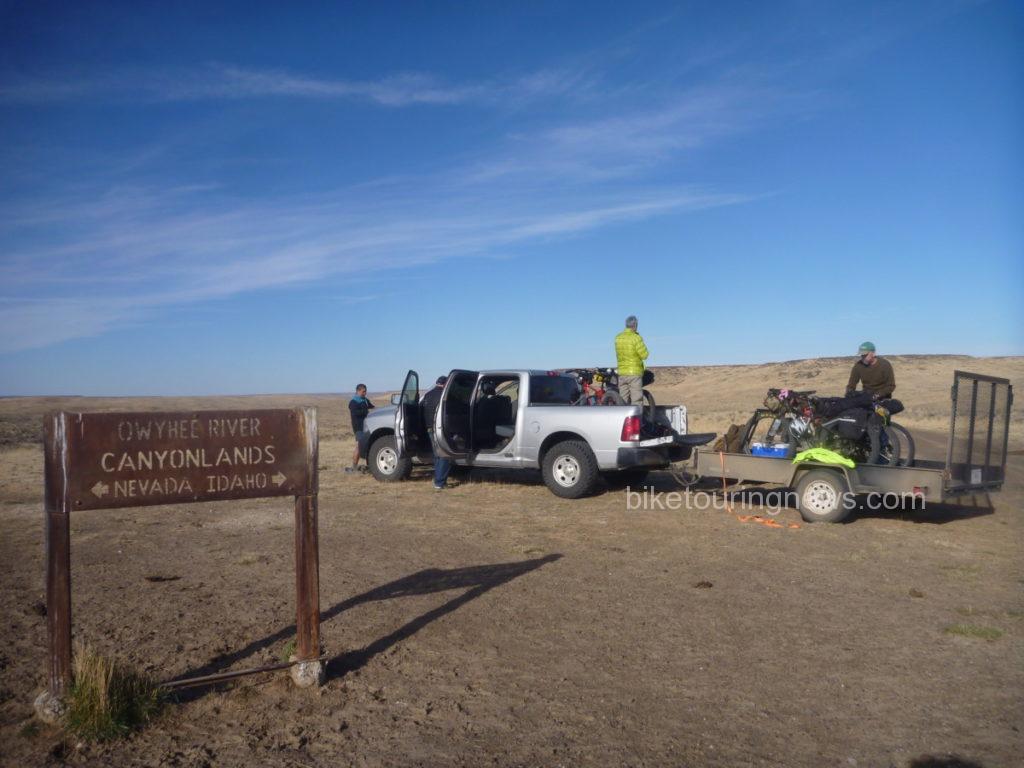
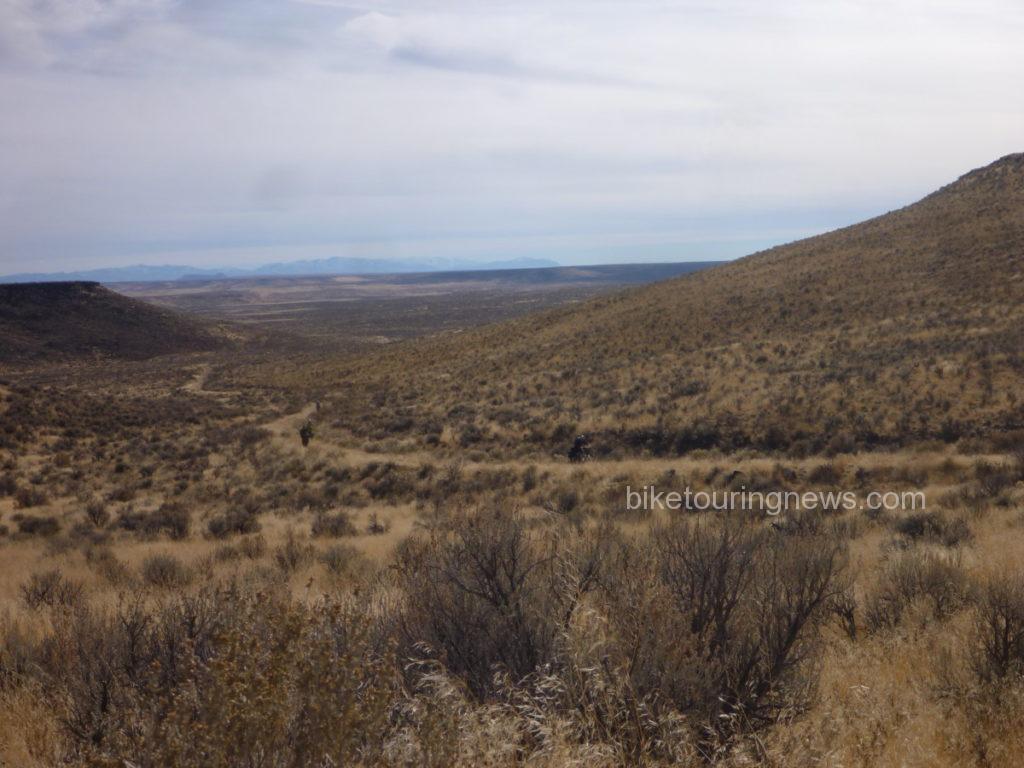
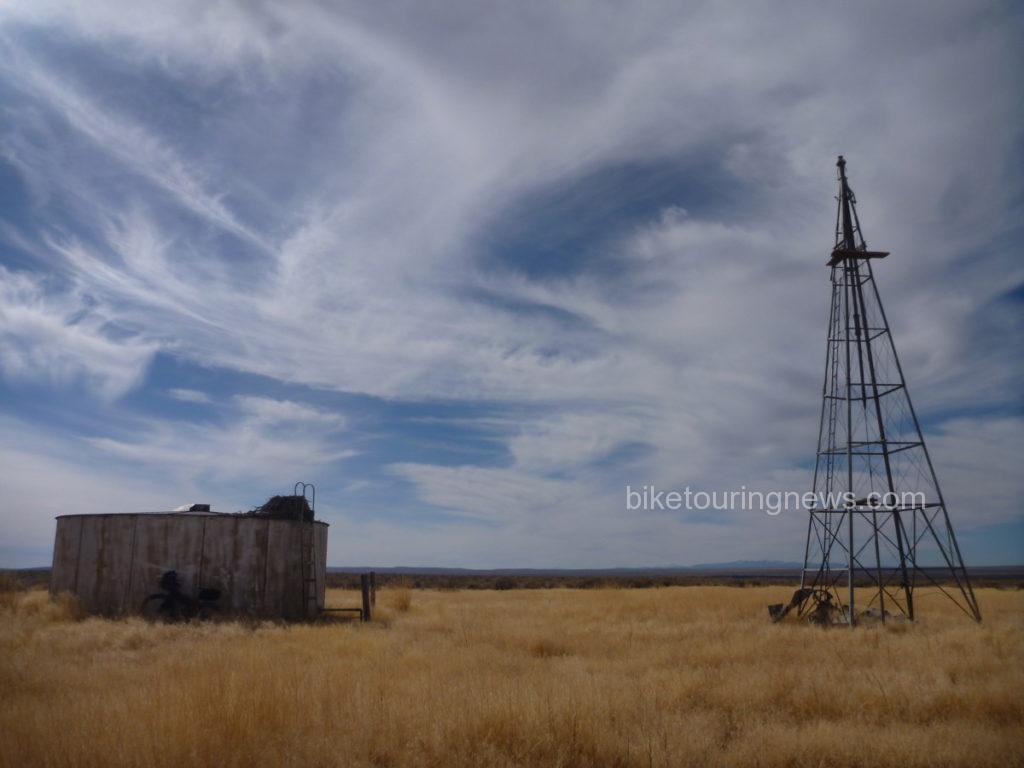
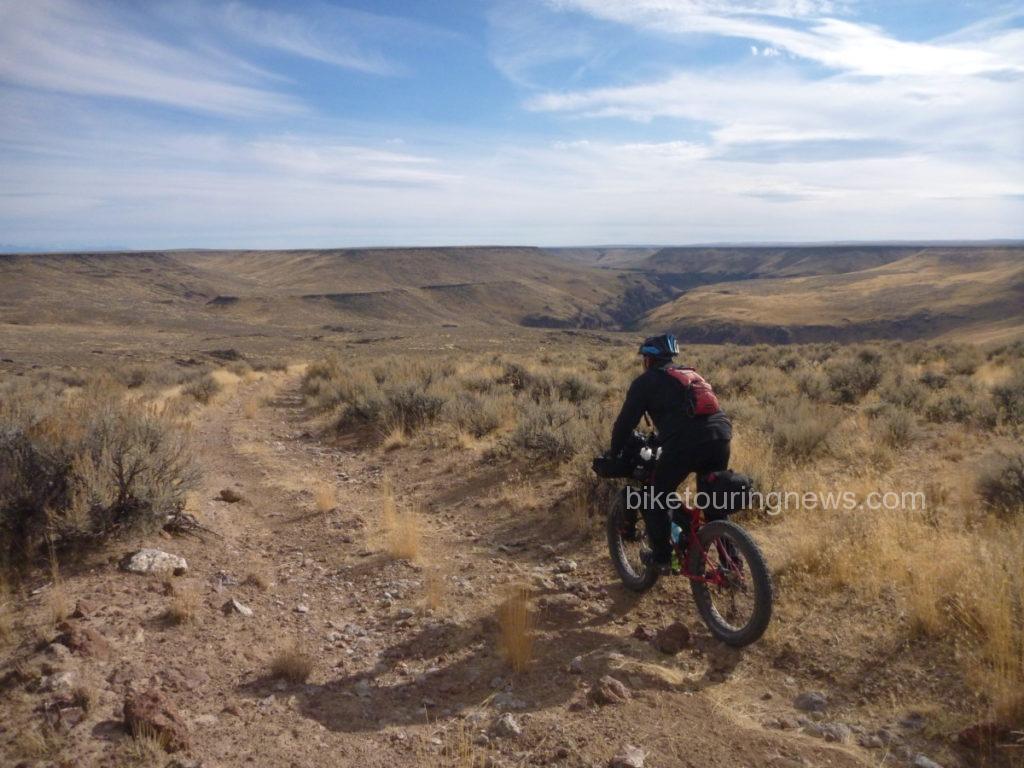
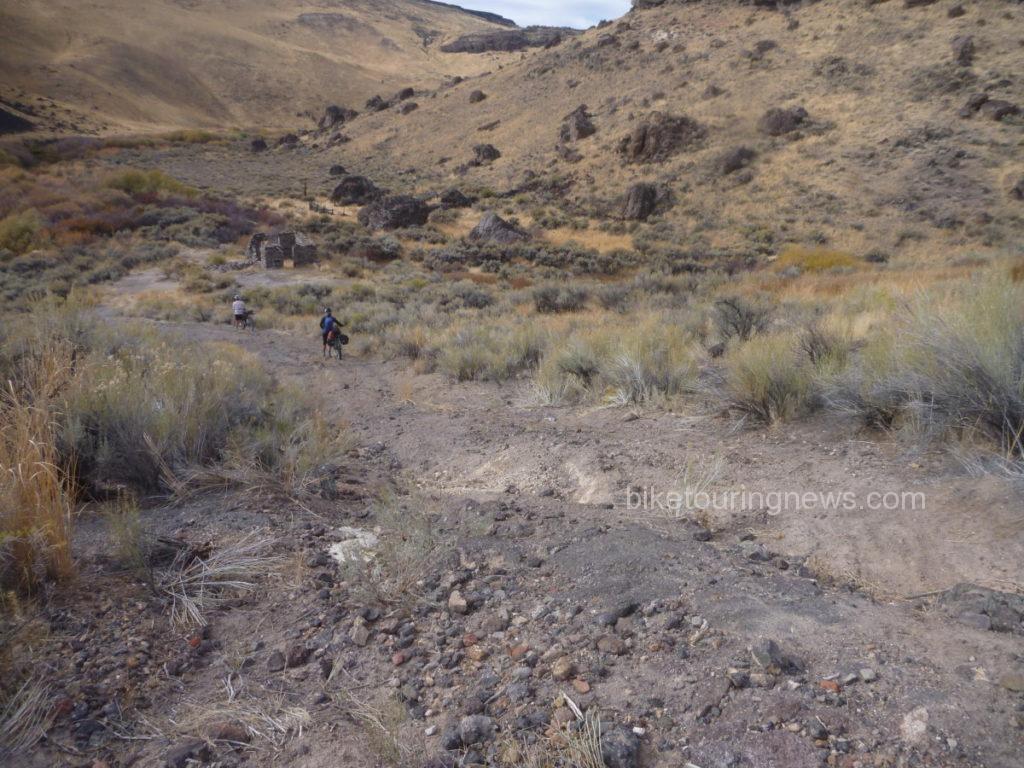
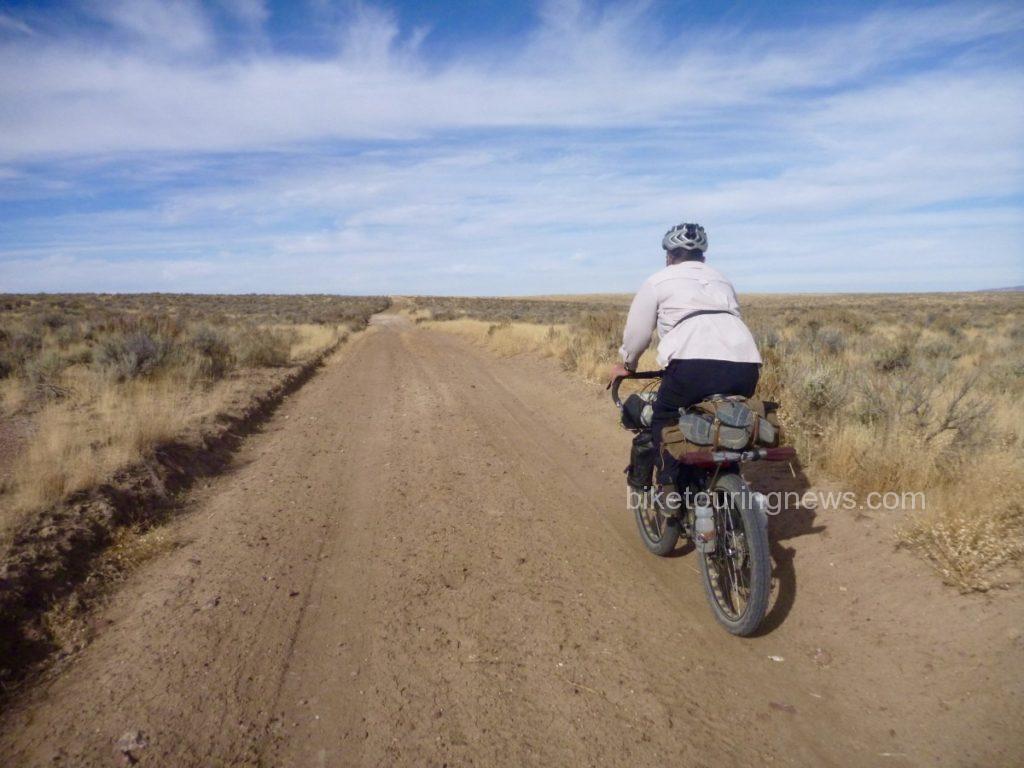
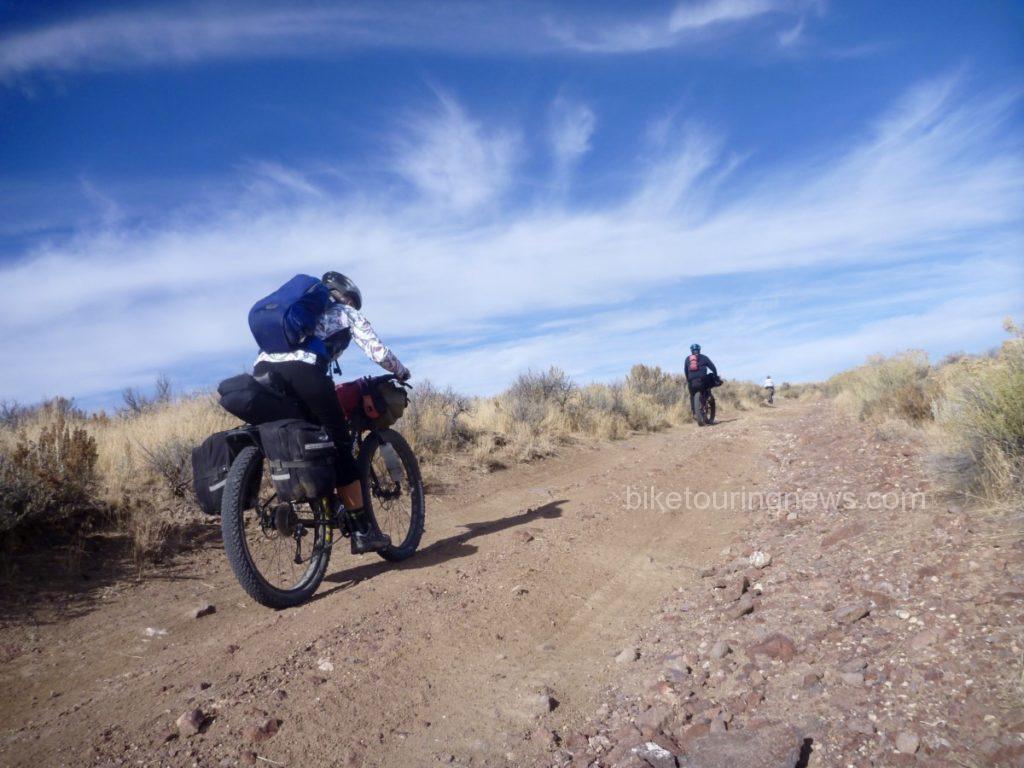
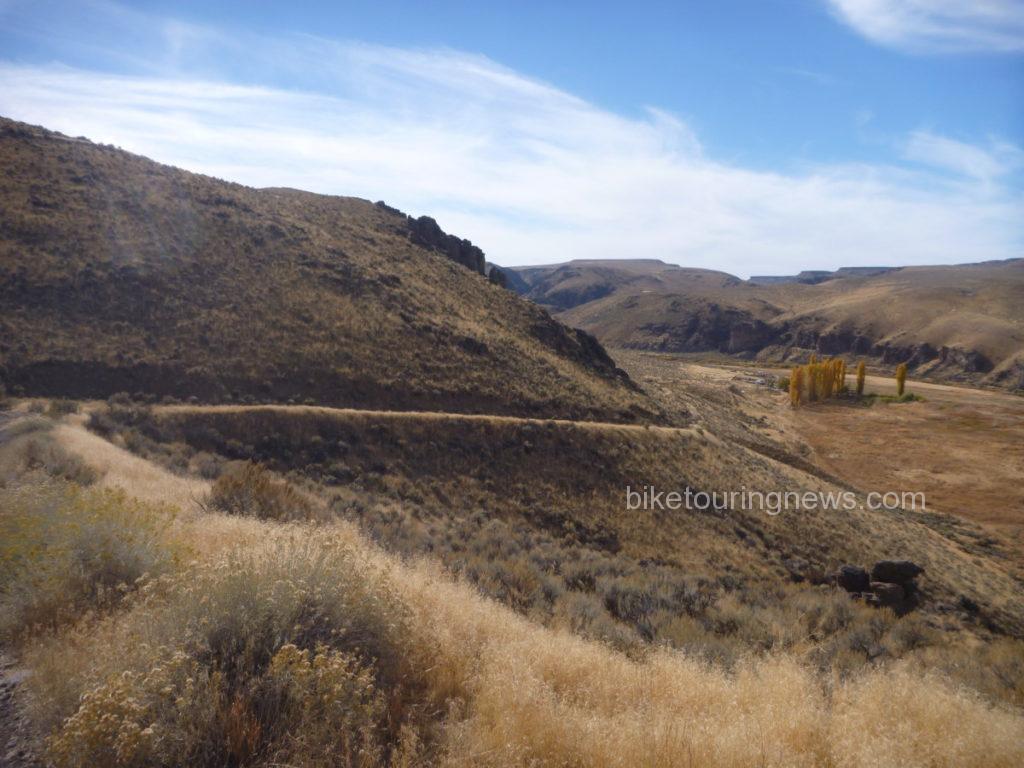
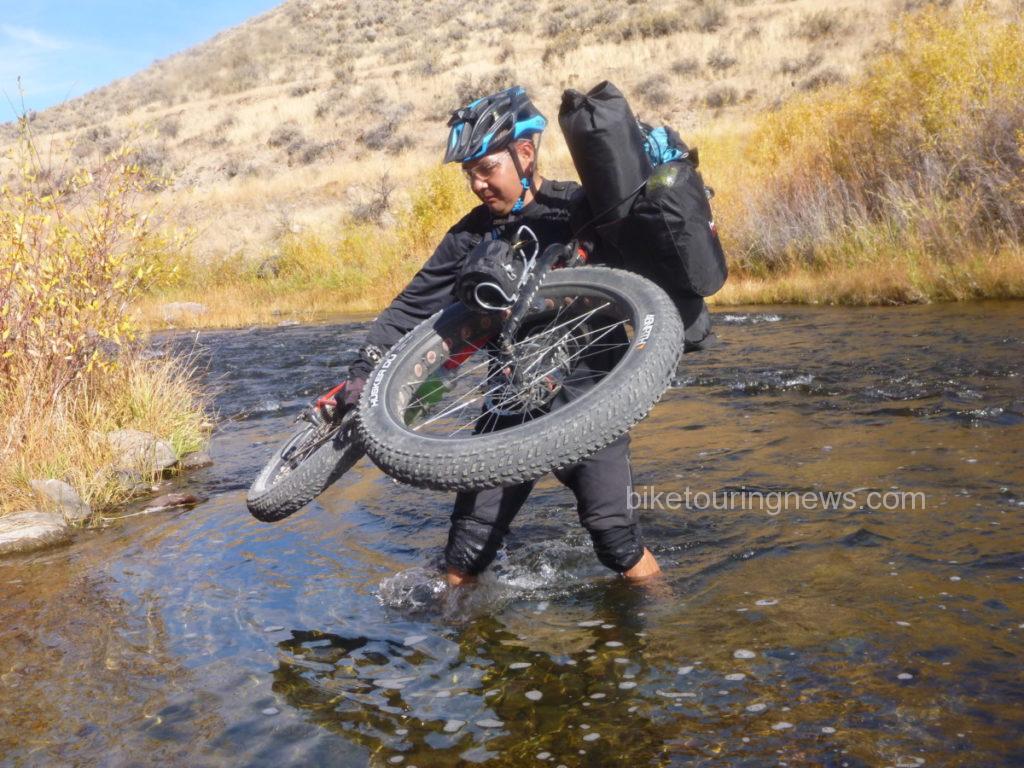
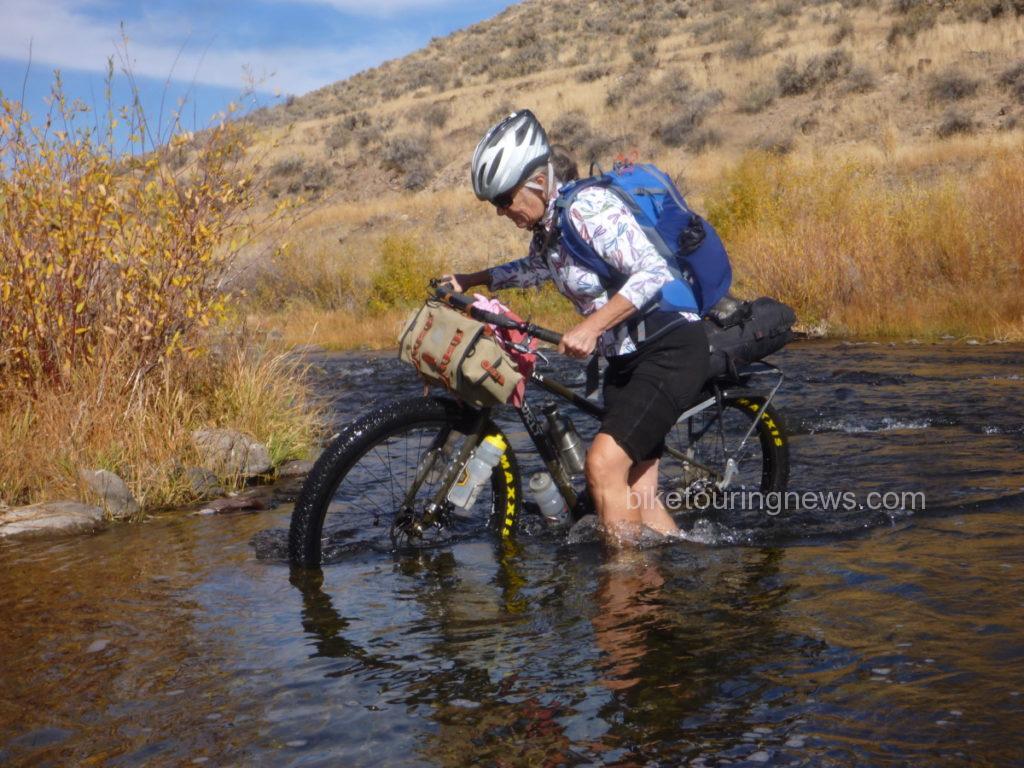
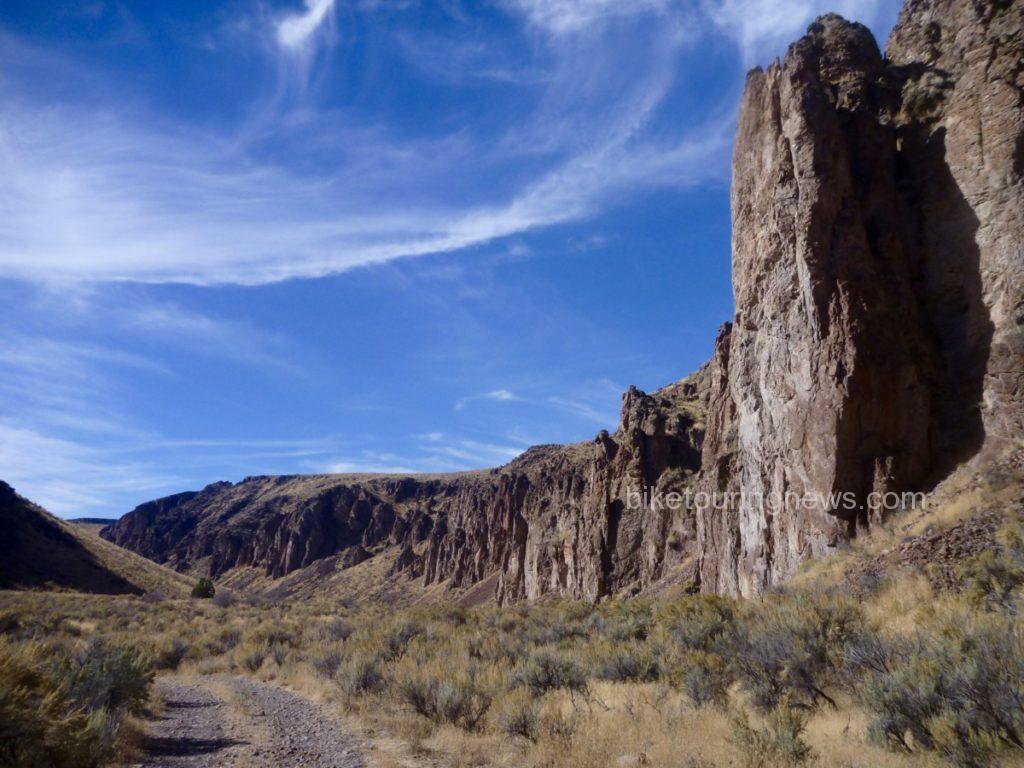
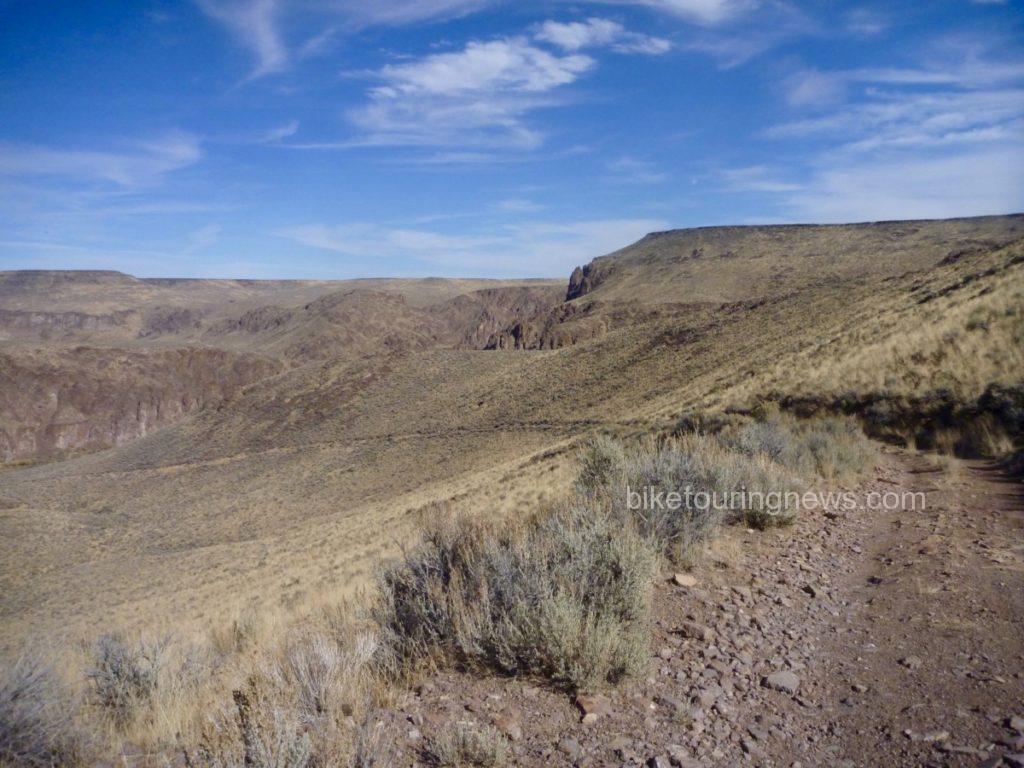
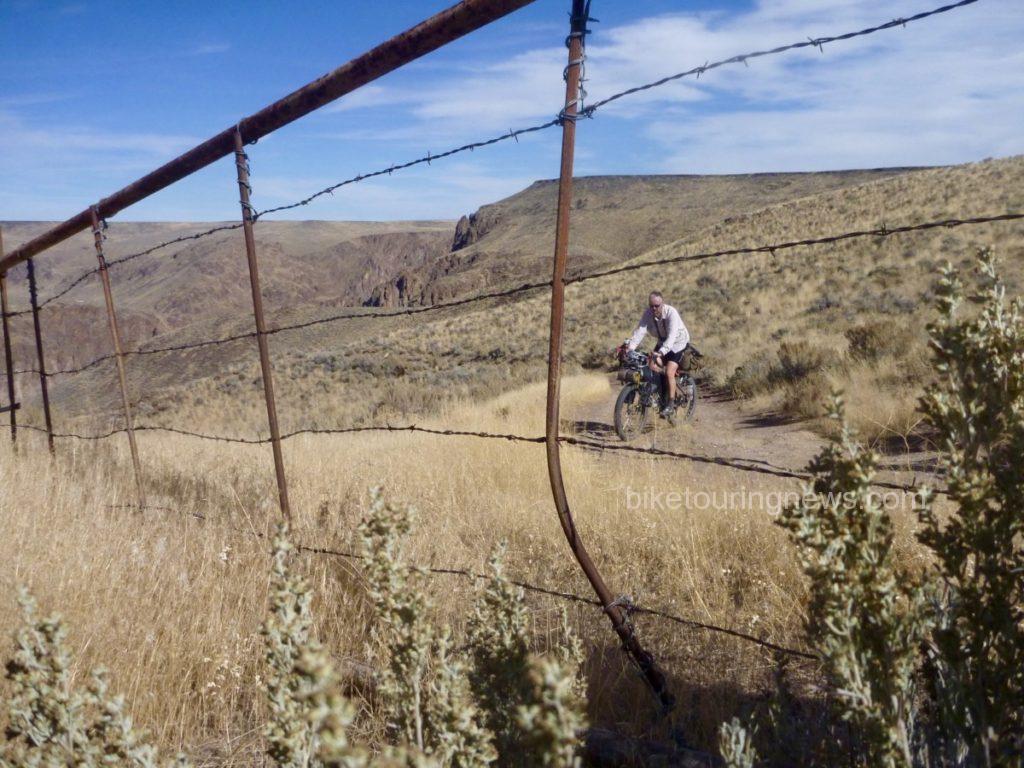
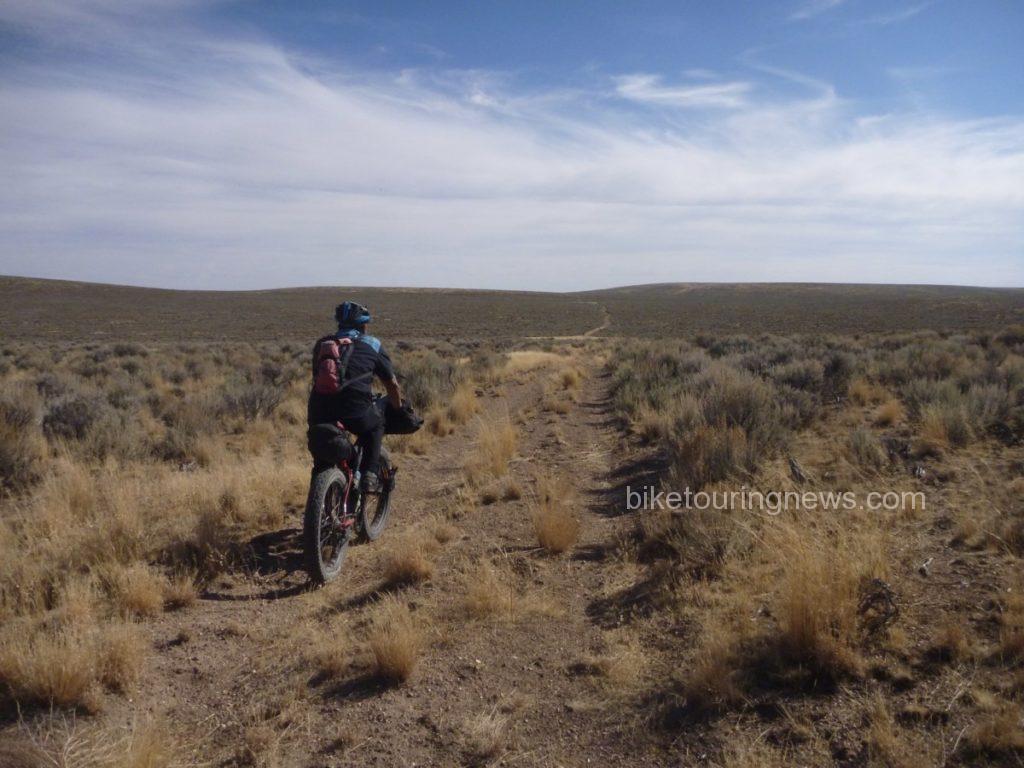
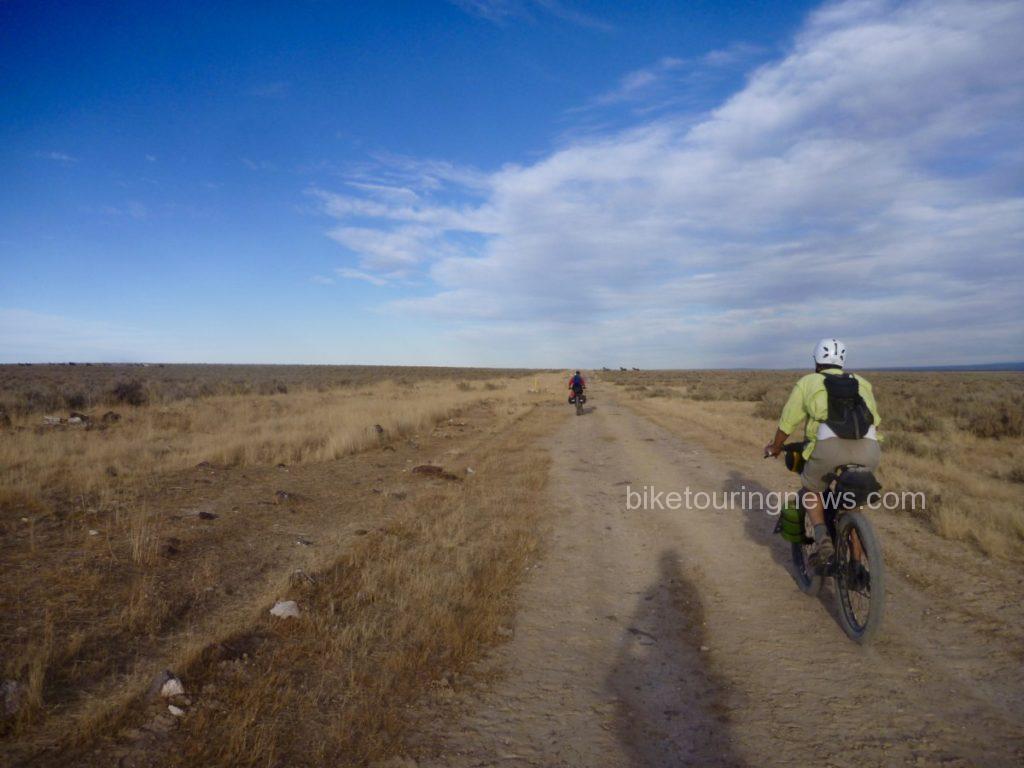
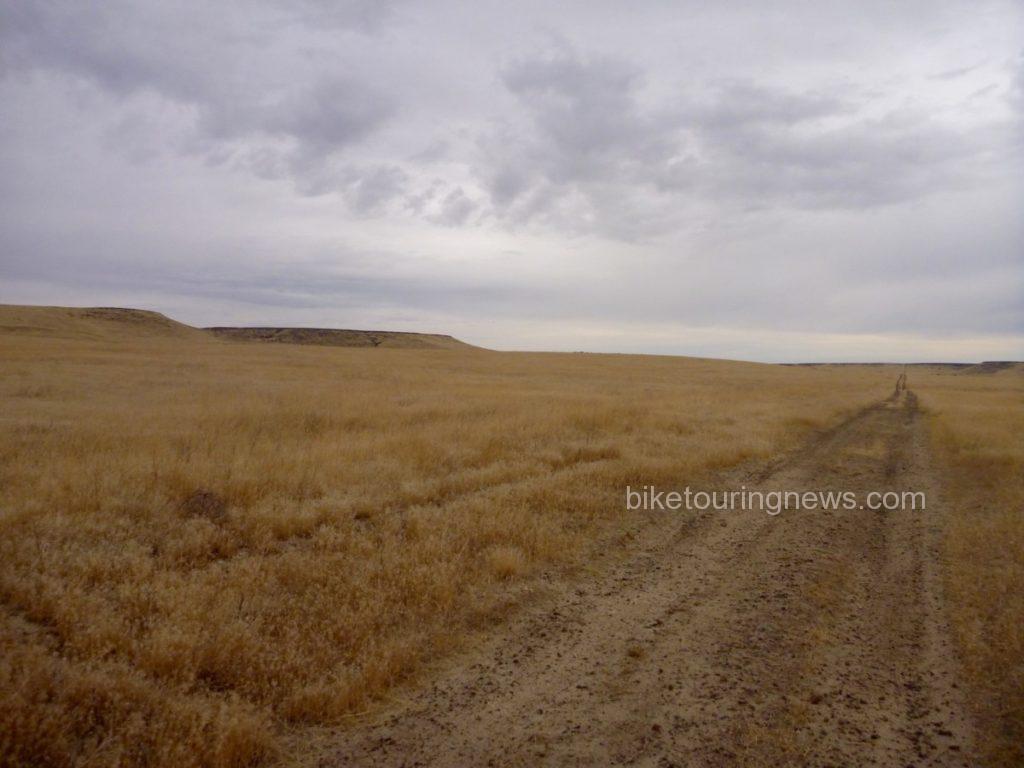
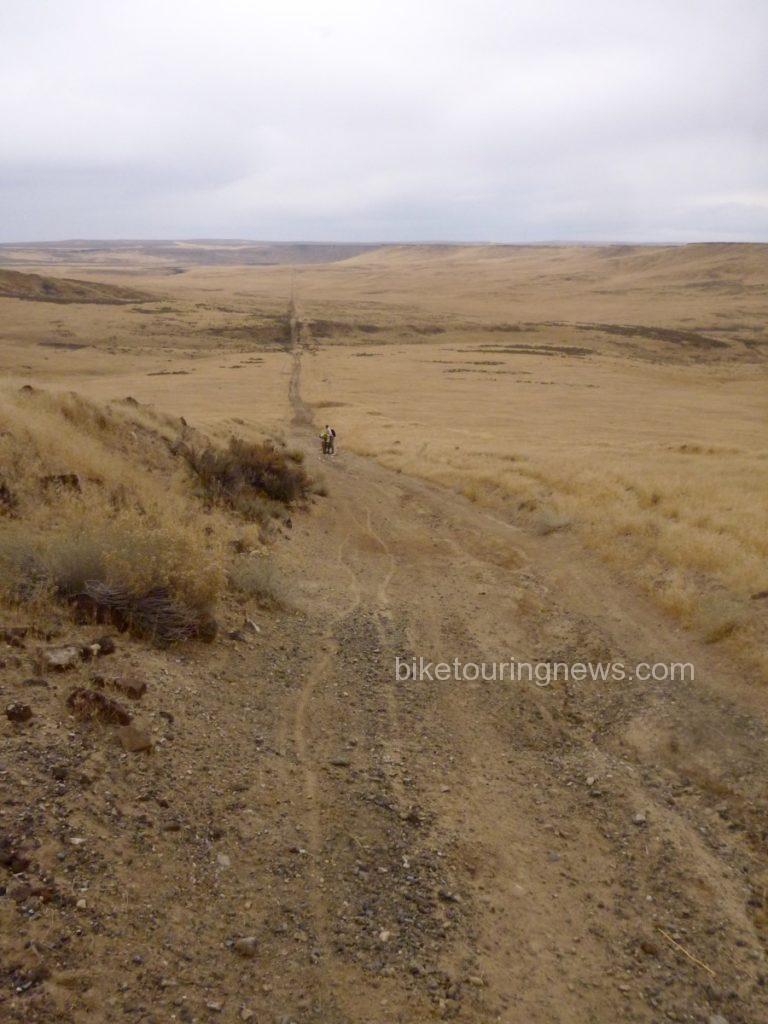
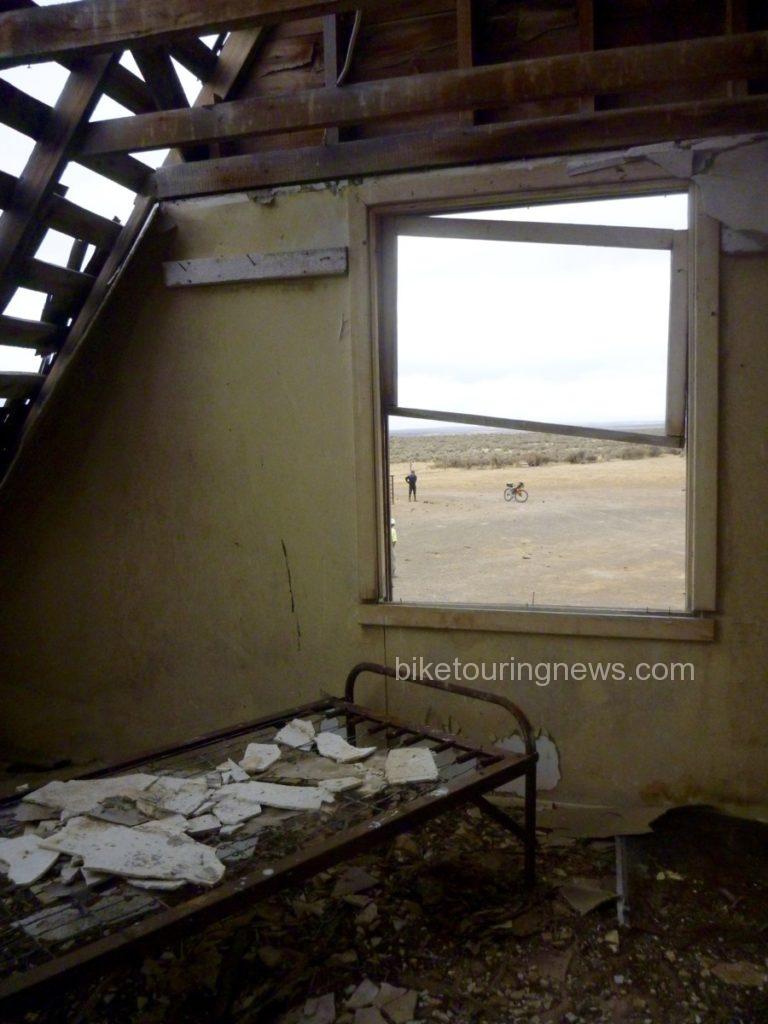
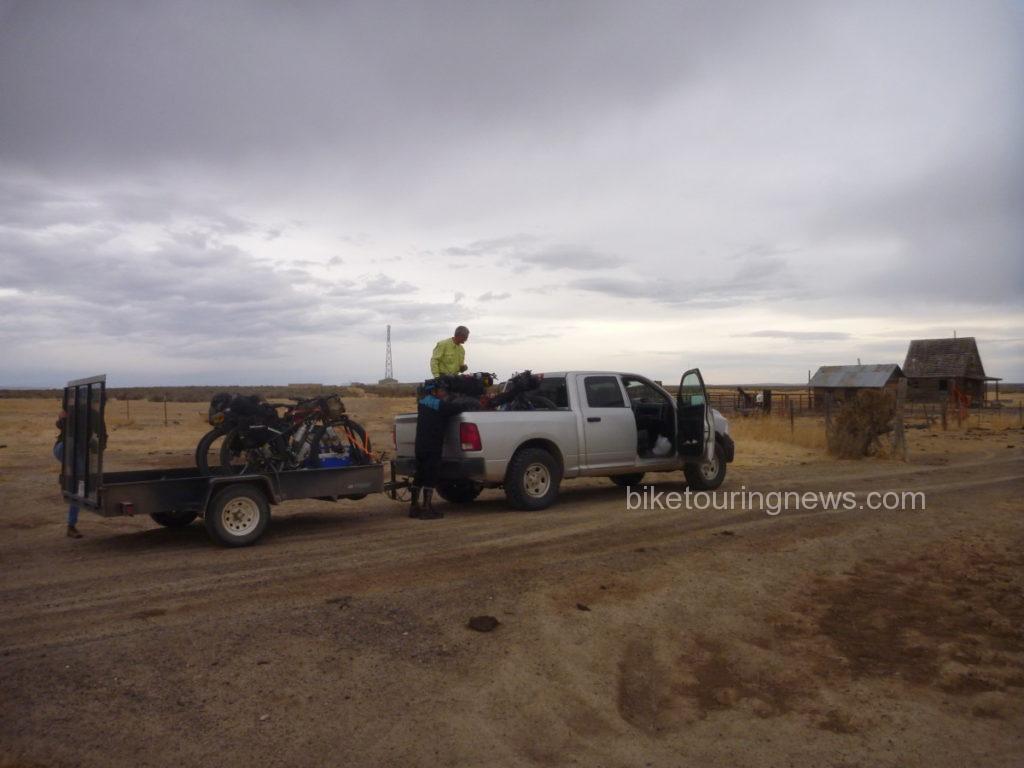
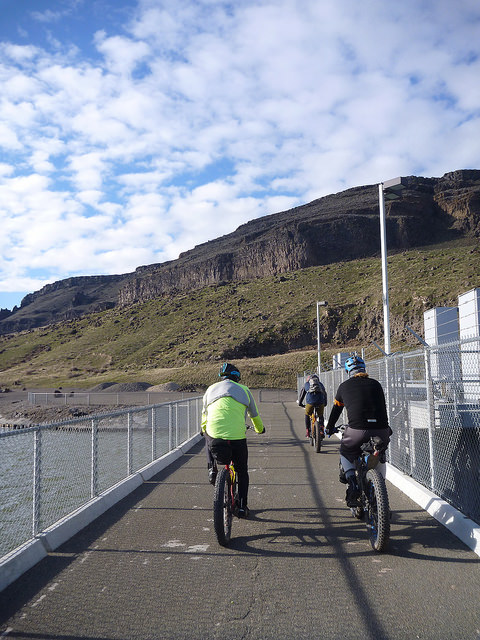
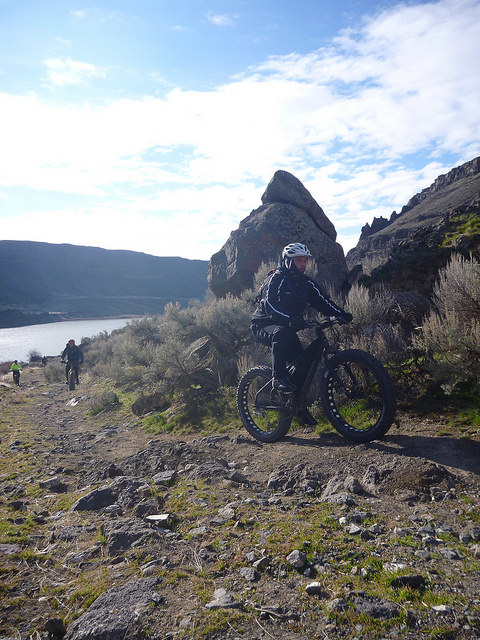
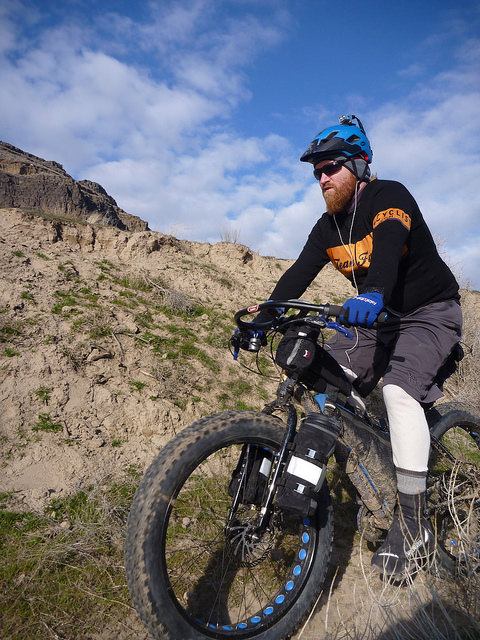
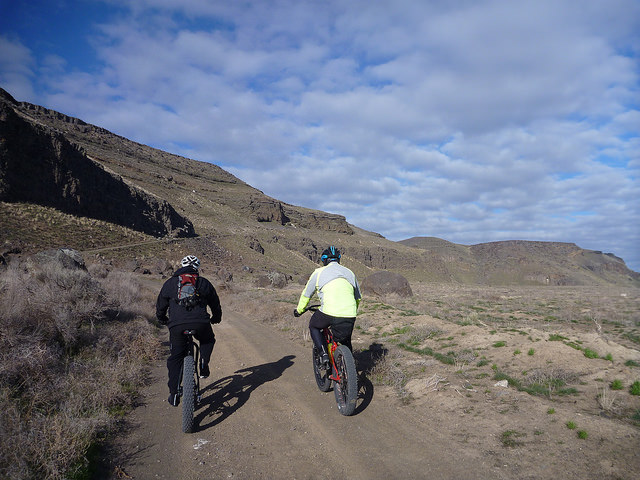
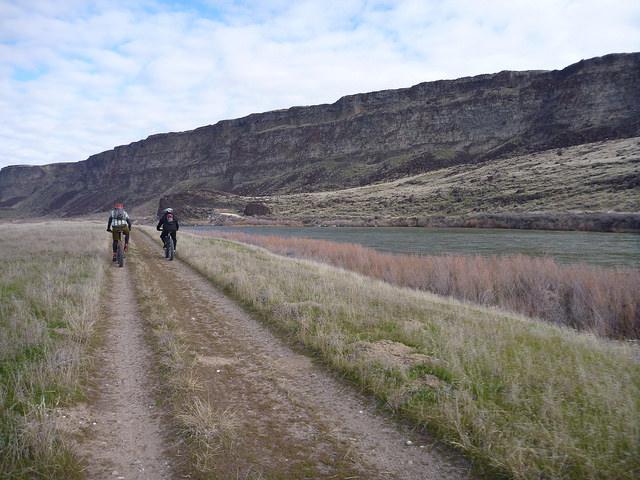
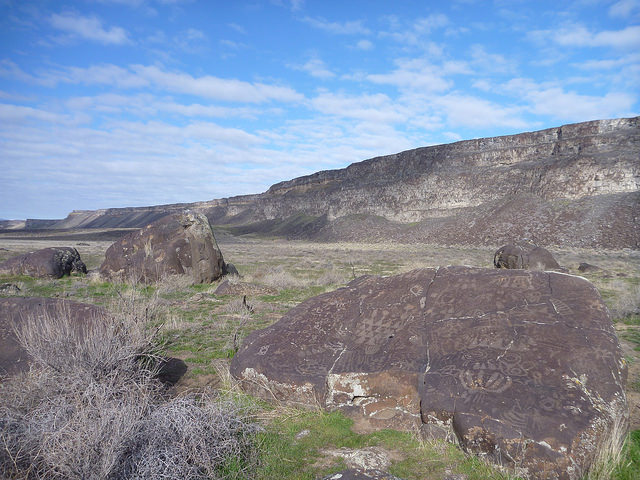
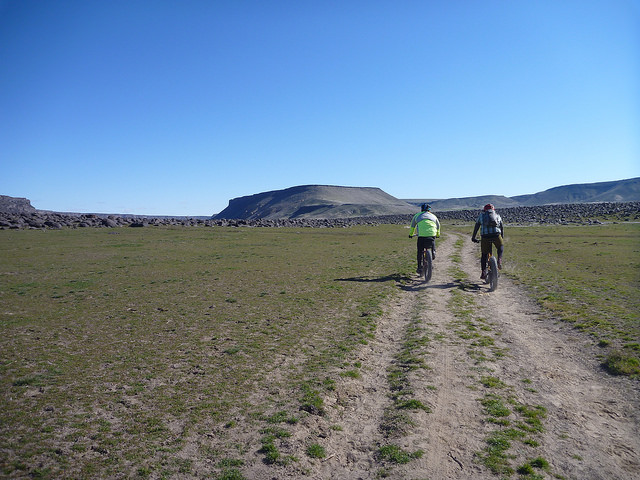
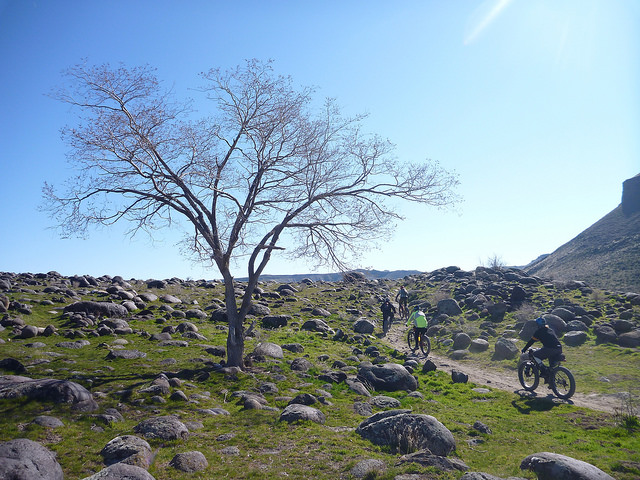
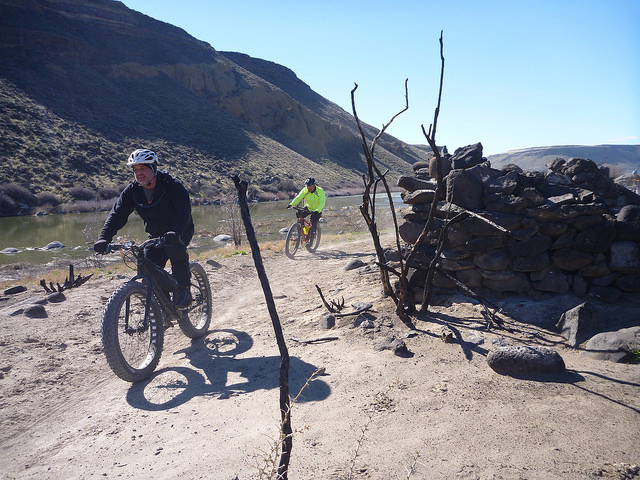
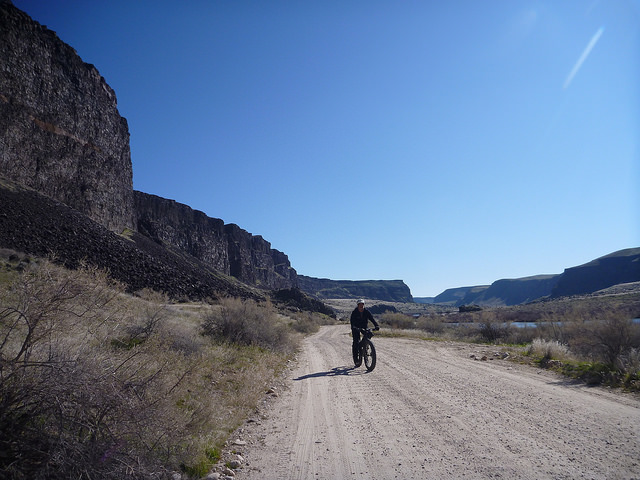
Spring has finally arrived in southern Idaho and it’s time for a good overnight bike trip! We’re planning a ride for next weekend and want you to come along!
For the record, this is not an organized bike race or event and is unsupported, unsanctioned and in no way affiliated with Bike Touring News. We are offering a suggested route and meeting place/time; nothing more. You are 100% responsible for yourself and every aspect of your participation.
Disclaimers aside, we hope you’ll join us for what we hope will be a great weekend! Here’s one version of the plan:
Friday, May 19
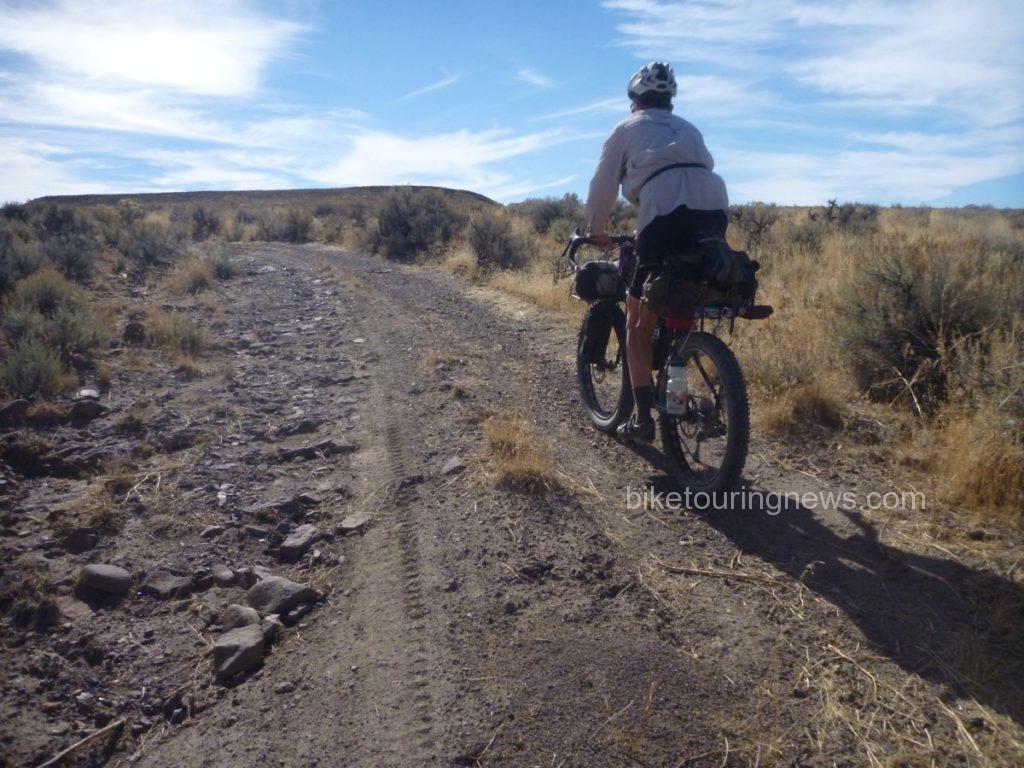
Depart Bike Touring News (3853 Garden Center Way) at 4pm. Ride to Montour Campground.
Approx. 27mi & 1,800ft elevation gain. Mostly paved or well-graded dirt roads with some sustained climbing.
UPDATE: The campground is open! 16 spaces available for overnight camping at $8.00/day, as well as dispersed tent camping for $3/day. Campsites are available on a first-come, first-served basis. Potable water and bathrooms are available.
Saturday, May 20
Ride the “Grindola” route mapped by David Robert Jones (@awakenengage)
Approx. 84mi & 6,500ft elevation gain. Mostly rolling dirt roads with some sustained climbs and pavement sections.
Some riders are planning on splitting this segment into an overnighter, camping somewhere at the northern end of the route.
For purposes of camping Saturday night we are considering riding this counterclockwise, camping just after the Dodson Pass.
Sunday, May 21
Ride back to town via Friday’s route or an alternative.
Want to Trim some Miles? Shorten the Trip!
There will also be a number of folks driving from Boise to Montour, either Friday night or Saturday morning. Email [email protected] or call the shop to inquire about ride sharing. Parking may be limited at the campground but perhaps we can leave cars at the Triangle Cafe. This itinerary is only a suggestion and you’re welcome to make adjustments or do your own thing!
Bike Suggestions
Wide tires and low gears will make for happy riders. We’d consider 35mm rubber the minimum, though some prefer the more exotic brand of suffering delivered by skinny tires on Idaho gravel.
We’re psyched to ride and hope you are too! Call, email or comment with any questions!
We get lots of questions about shelter from folks getting started in bikepacking. What shelter is best? Can I use the ____ that I already own? How do I know which shelter to bring on a given trip? In this post, we’ll offer three perspectives on the best bikepacking shelter and try to answer some of those questions!
While many people already do some kind of camping, many shelters that would be appropriate for car camping or even backpacking are not well-suited for bike travel. Space and weight are at a premium when traveling by bike, so heavy and bulky shelters are a liability. In selecting a shelter for bikepacking, there are a few key factors to consider:
Sleeping Comfort
Protection from the Elements
Interior Space & Gear Storage
Ease of Site Selection & Setup
Packed Size/Weight
Obviously, many of the above factors can change dramatically depending on weather, environment or season. Plan Ahead and Prepare for the conditions you expect to experience. Any shelter will offer some level of versatility but some excel only in certain conditions. Also, every person has their own preferences, likes and dislikes when it comes to shelter. In this post, we’ll offer perspectives from the Bike Touring News crew on the different shelters we use. What shelter do you prefer for bikepacking? What did we miss? Read through and add to the discussion with a comment below!
The Bike Hermit’s Preference: The Hammock
Several years ago, I came across some articles about stealth camping – or “hiding in the woods” as some people call it – on an obscure site called crazyguyonabike.com. The author’s choice of shelter was a Hennessy Hammock and – for some reason I can no longer remember – the idea of bike touring with a hammock appealed to me.
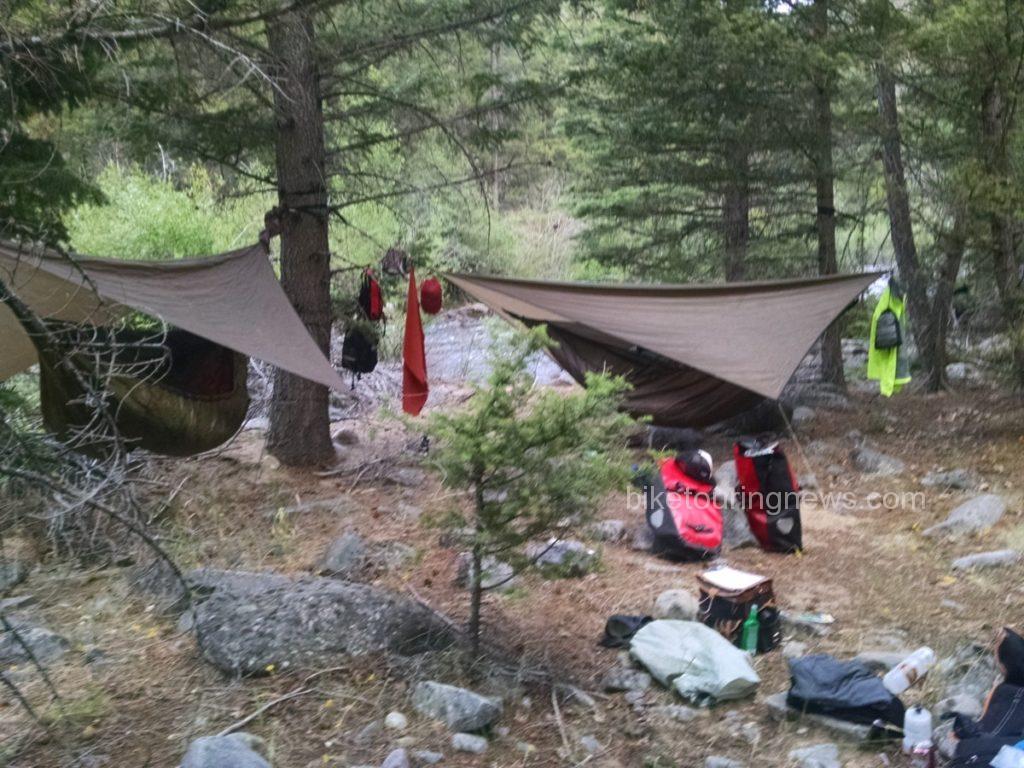
The design of my Hennessy Hammock impresses me every time I use it. The hammock is attached to and suspended from a ridge line which also supports the enclosing insect netting. A separate rain fly keeps the sleeper dry and/or out of the wind. Upgrading from the stock rain fly to the Monsoon rain fly creates a space around and under the hammock big enough to park the bicycle out of the rain. Hennessy sells a 4-season SuperShelter system consisting of a second layer of nylon on the bottom of the hammock which creates a sleeve where an insulating pad can be inserted. My experience is that the hammock is very cold to sleep in without the 4 season system.
Worries about sleeping in a “hammock” position and only being able to sleep on ones back are mitigated by the asymmetrical design of the Hennessy; once in the hammock the sleeper can put his feet to one side and his head to the other and the hammock offers a flatter, even if still not completely flat, support. I am not able to sleep face down but I can sleep comfortably on either side. This is obviously a big plus for side sleepers who struggle for comfort when sleeping on the ground.
People always ask what I do when there are no trees. The rain fly, when staked at one end or tied to a sagebrush, and supported at a higher point by the bike or a tree or a fence post at the other end makes a dandy shelter. If the night is cold the hammock can be used laying on the ground under the rain fly as a sort of cocoon. In this configuration, the hammock becomes a sort of tent/bivy/hammock hybrid shelter. The benefit of sleeping suspended is lost and setup can be tricky but this capability extends the range of conditions where a hammock is functional.
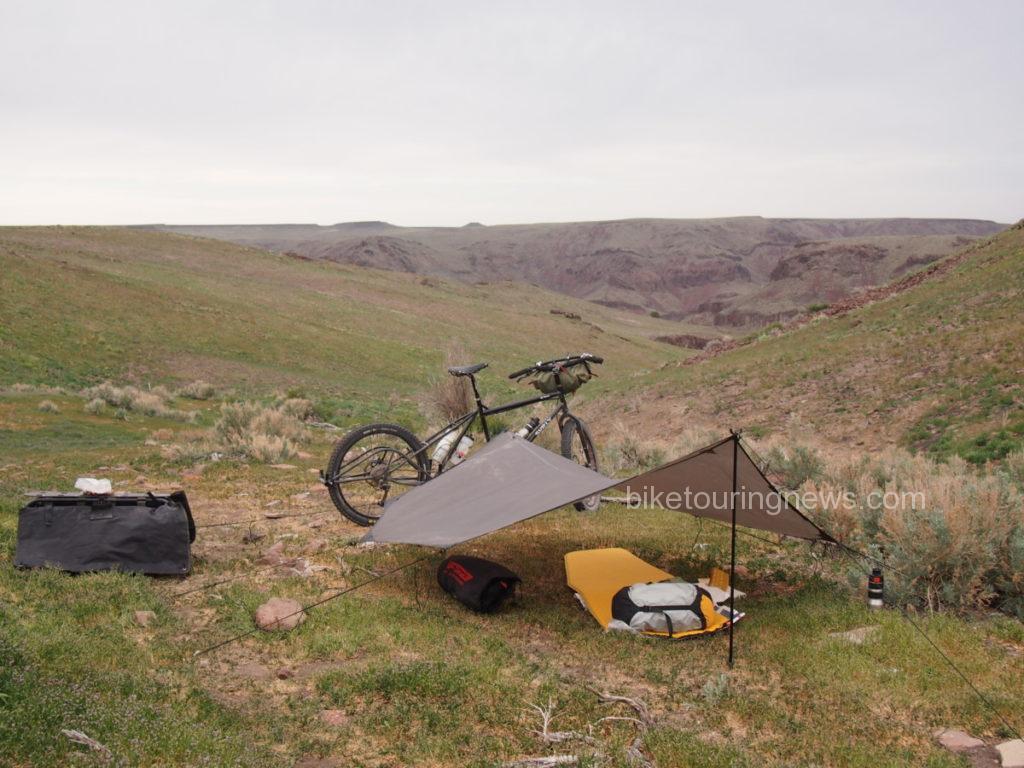
On the last couple of trips I have been using Hennessy’s SnakeSkins which stay attached to the ridge line and simple slip over the entire hammock and pad and swallow the whole thing up leaving a long, fat, nylon snake that can be stuffed into one half of a pannier. This is a much faster way to set up and take down the hammock.
Pros:
Very comfortable – none of the pressure points associated with sleeping on the ground
Warm enough for most conditions when used with the two layer insulation system
Can be used on uneven, sloping, rocky or wet terrain
Completely weatherproof
No condensation
Packs relatively small – no tent poles.
Cons:
Can’t always be suspended
Not necessarily lighter than a good tent
Not ideal for relaxing – minimal interior space
Not as private as a tent – hard to dress or undress in a hammock
Makes some people feel claustrophobic
Sky King’s Preference: The Tent
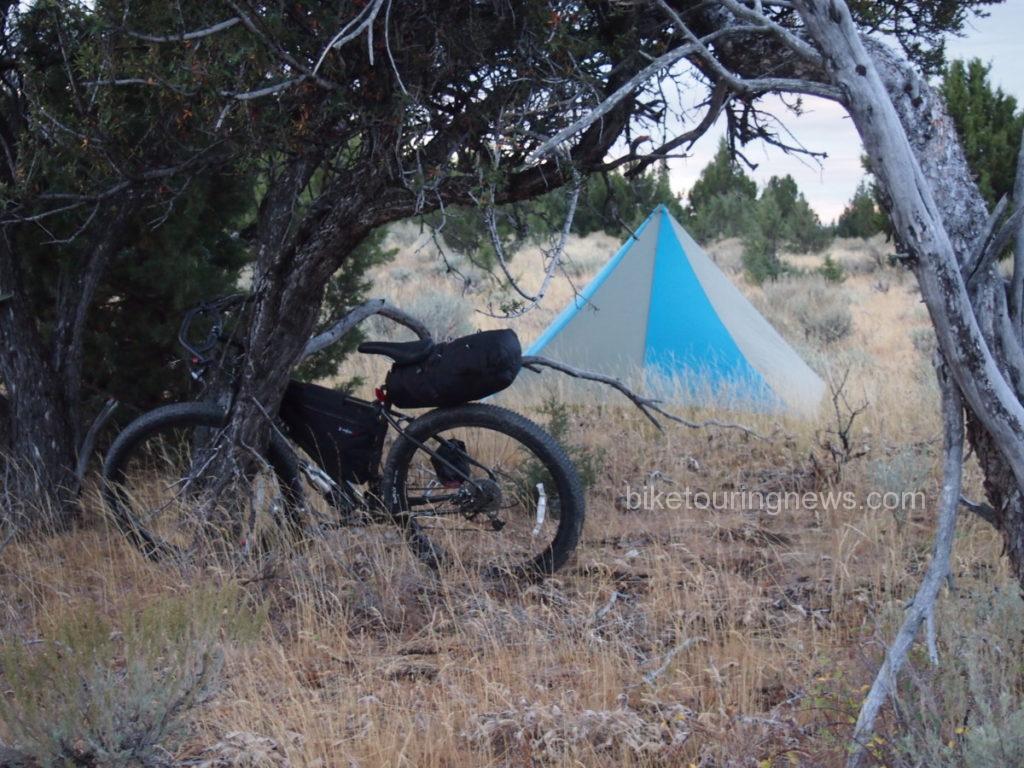
While the Bike Hermit and Sky King are both huge fans of the Hennessy Hammock there are situations where a tent is a more practical shelter, especially in desert environs where trees are scarce. Sleeping on the ground in a hammock is an option, though one without most of the hammock’s benefits. Comparatively, a good tent offers increased comfort and space at roughly the same weight and pack size as the hammock, when divided among a team of two.
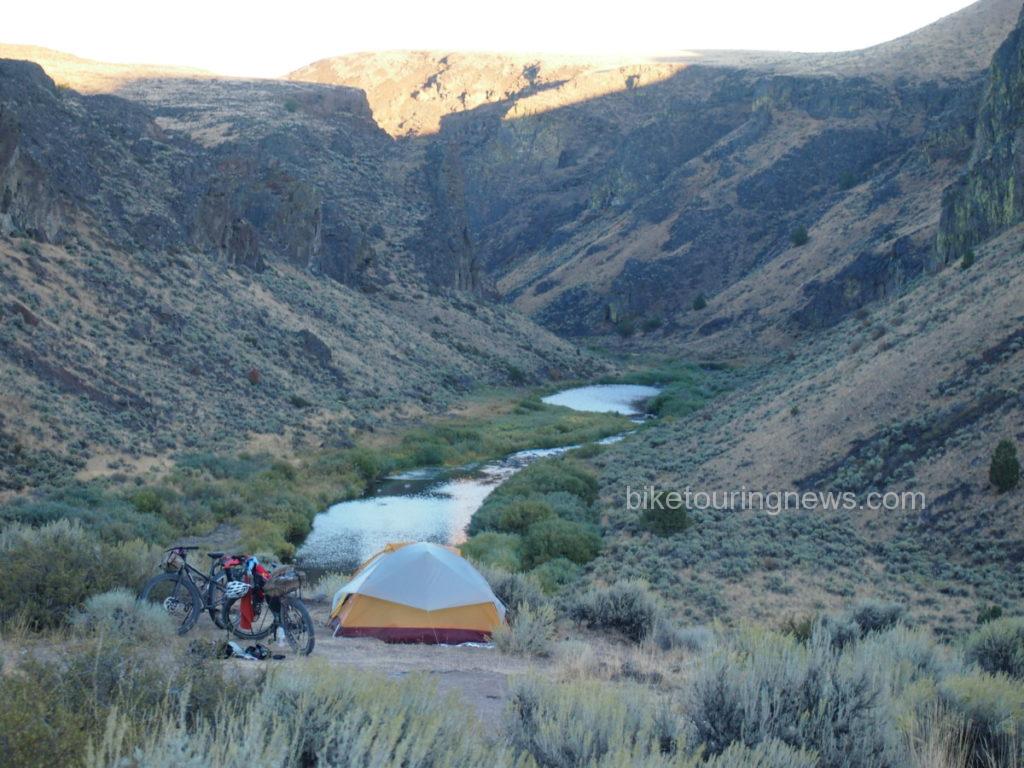
For our first couple of “let’s take the tent trips” we used our 3-person Kelty – a great tent. We bought it for backpacking primarily because it was roomy – with two vestibules and two doors – making for easy entry/exit and gear storage. However, it is a bit bulkier than we’d like for bike trips. We bit the bullet and now own a Big Agnes Angel Springs UL2. We gave up the double entrance, meaning someone is getting crawled over for the middle of night nature call. Like most tents, it incorporates a rain fly vestibule, allowing for a place to tuck gear out of the weather.
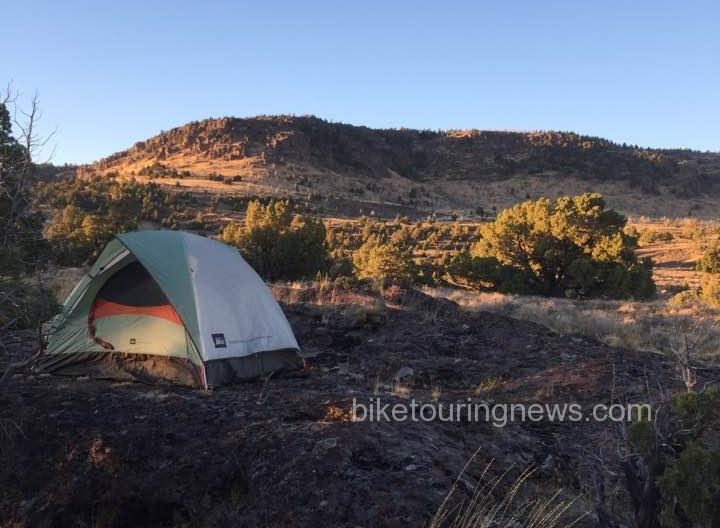
We carry the tent for most of our desert riding, especially in new terrain where we aren’t certain of the tree situation. Site selection – especially in areas where large trees are few and far between – is relatively easy with a 2-person tent. The tent’s footprint is relatively small, but very hard or soft ground can present guyline challenges. On surfaces where stakes won’t hold or can’t penetrate, you’ll have to get creative as most tents must be staked out for a proper pitch.
Weight wise, the combination of tent and sleeping pads is roughly equal to that of two hammocks without pads. We can divide the load between bikes and packed volume equates to about the same as the hammock. For teams of two who don’t mind sharing space and gear, a tent makes an appealing option. Solo adventurers may find the packed weight and size burdensome unless they are willing to spend big bucks for high-end, ultra-light models.
Pros:
Easy entry and exit.
Relatively easy site selection.
Vestibule space to keep gear dry.
Space to sit up and move around inside, especially nice if bad weather hits.
Tent components can be divided between bikes, decreasing each rider’s load.
Cons:
Heavier and bulkier on average.
Higher cost for lightweight options.
Tent poles can be difficult to pack on a bike.
Potentially tedious and time-consuming setup and takedown.
Condensation can be an issue in certain conditions.
Ryan’s Preference: The Bivy Sack
Bivy is short for “bivouac,” which is a fancy word for making camp. “Bivouac Bags” or “Bivy Sacks” are essentially waterproof sleeping bag covers and have been used since time immemorial by soldiers, alpinists or anyone else who needs a simple shelter that can be quickly deployed in nearly any site.
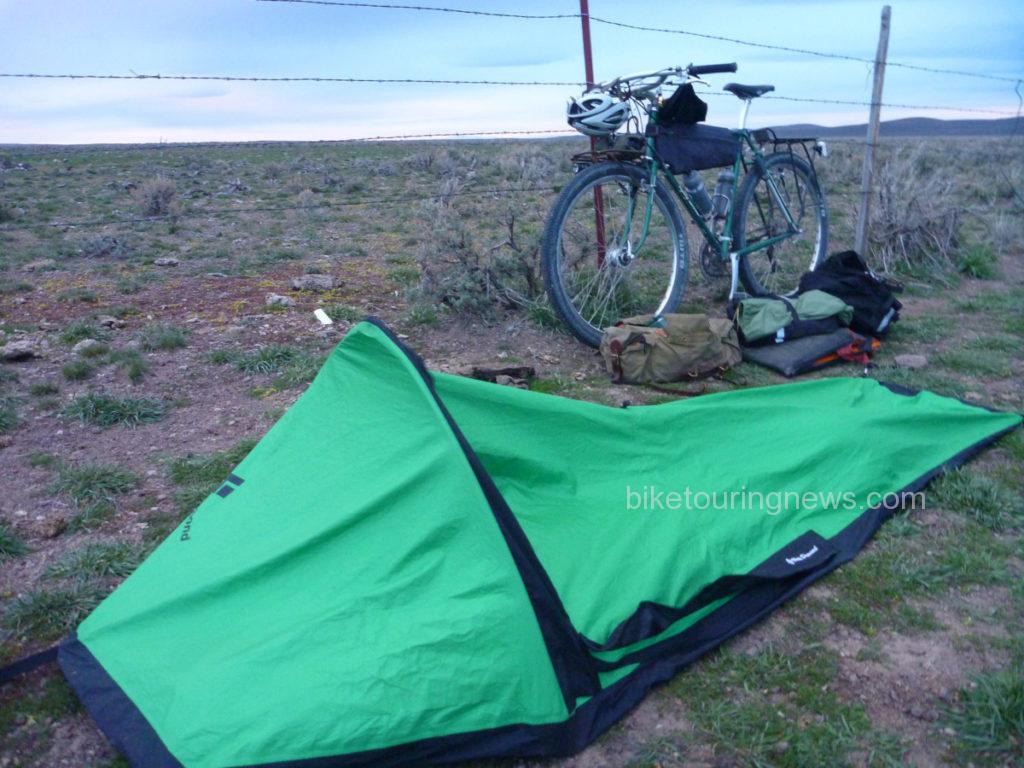
There are a wide variety of bivy sacks on the market intended for a range of purposes. Ultralight emergency bivvies are intended to help you survive an unplanned night out. They are generally inexpensive, pack small, weigh next to nothing and offer little in terms of comfort. Some ultra-minimalist bikepackers use shelters of this type for racing but they’re planning on sleeping 2-4 hours per night, if at all.
The more fully-featured bivvies are designed for alpine climbing or similar pursuits. They typically employ sturdier construction, waterproof/breathable fabrics and may even incorporate some kind of additional structure to increase space and ventilation. If you’re looking for a full night’s sleep or expect anything other than perfect weather, this is the way to go.
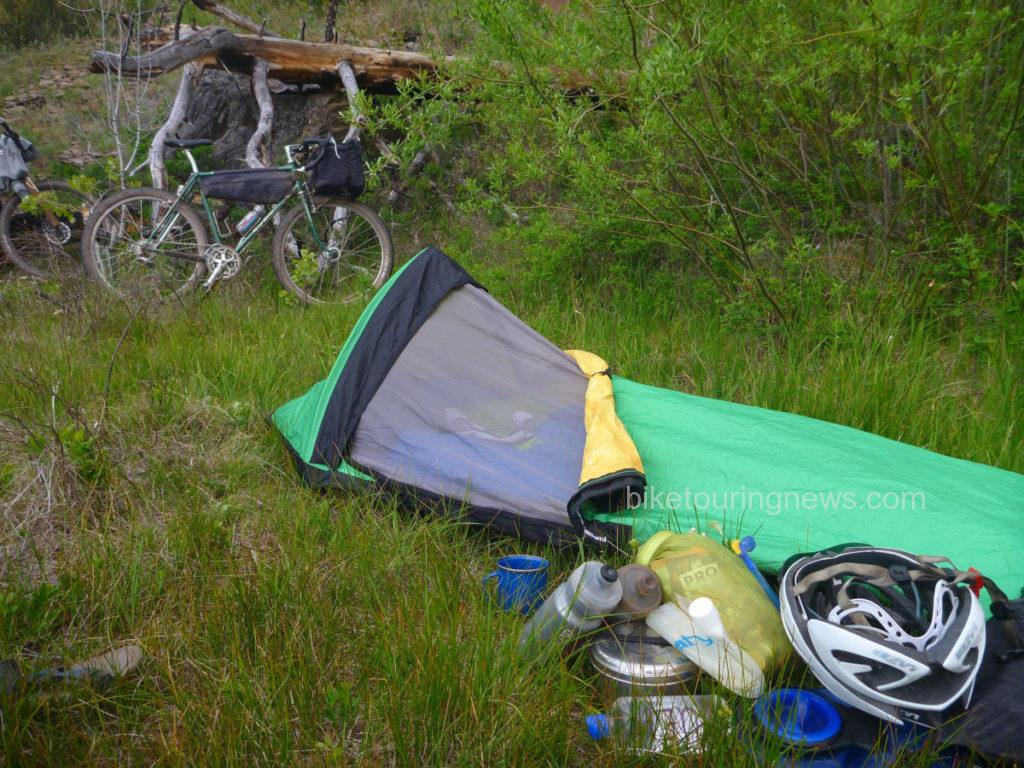
Even though a full-featured bivy can weigh as much or more than an ultra-light tent, it is significantly less expensive, more durable, simpler to pack and ultimately easy to deploy. For me, this is the bivy’s main advantage. Any piece of level ground large enough to lay on can be your campsite and the shelter is ready to use within seconds. This allows you to spend more time riding and exploring rather than searching for an appropriate site to pitch your tent, hang your hammock or fly your tarp. No stakes, guylines or trees required! There is also nothing quite like laying on the earth with no roof over your head and watching for shooting stars on a clear night while you drift off to sleep!
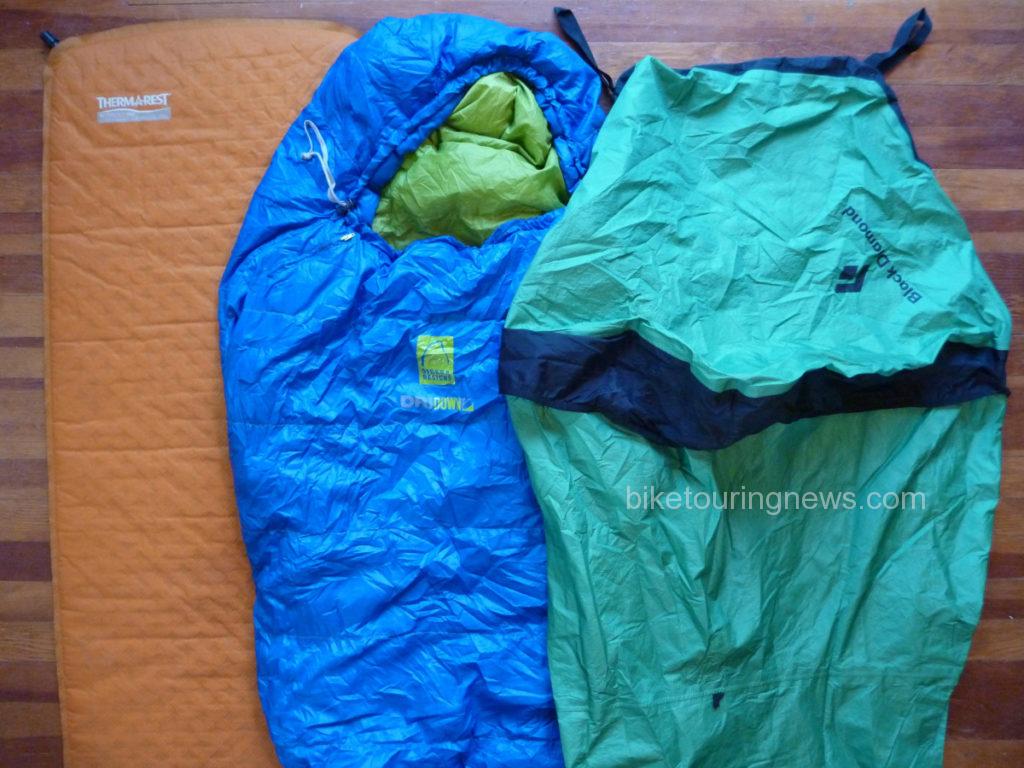
A good waterproof/breathable fabric is the key to the bivy’s success. The fabric used in my Black Diamond Bipod Bivy features a fuzzy, nappy surface on the inside, allowing it to absorb moisture and disperse it across a wider area of fabric. This prevents droplets from forming and speeds moisture transport through the fabric. I have had some condensation form on the floor panels (made from a different, less breathable material) but never on the upper portion of the bag. I highly recommend that any bivy you purchase feature similar technology.
Also, consider the volume of your sleeping bag and pad. You’ll lose the loft and warmth of your sleeping bag by cramming it into an undersized bivy, especially around the foot. If in doubt, go for a larger size. This is especially true if you plan to use a thicker, inflatable pad or a winter-weight bag.
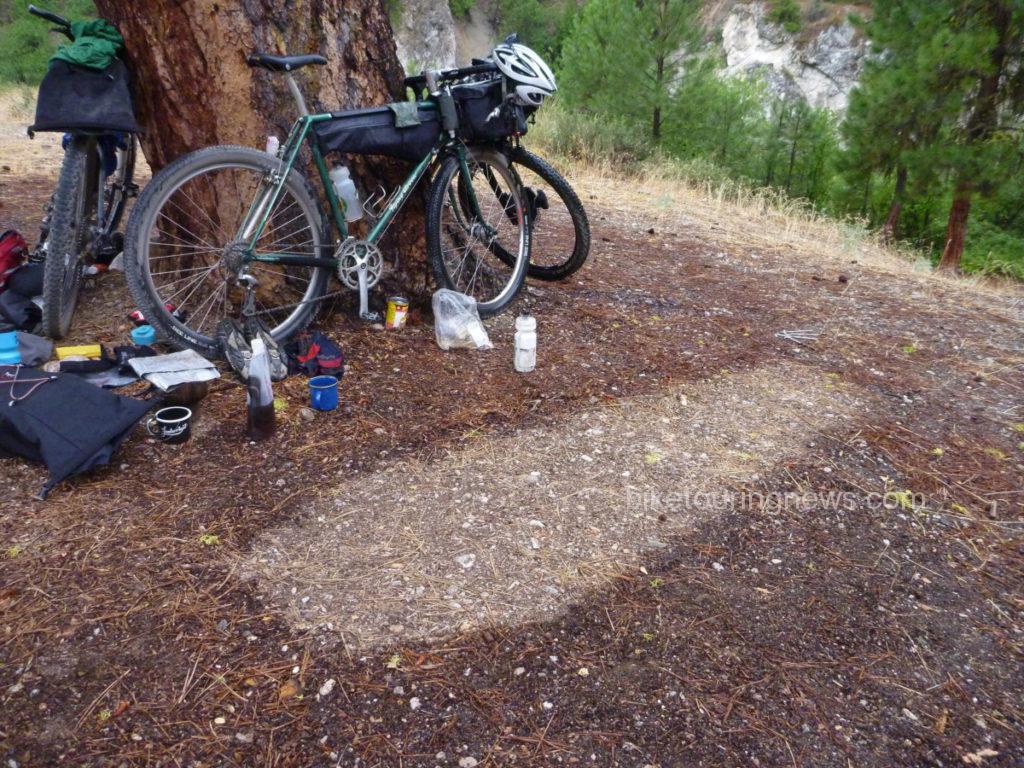
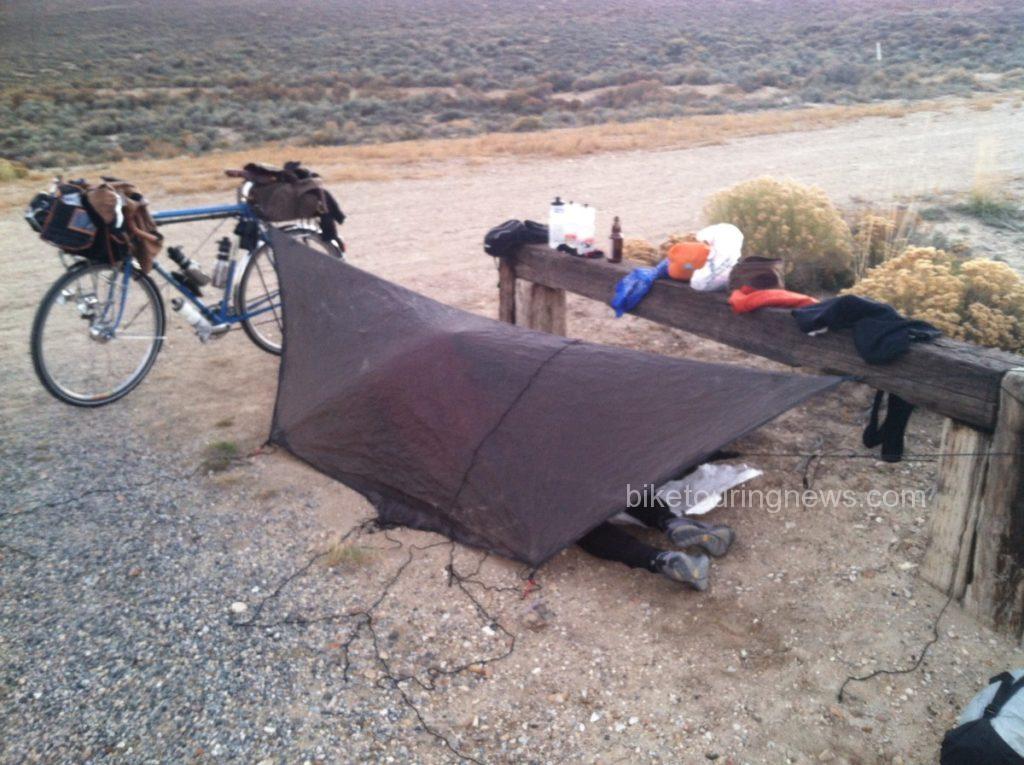
Even with the best breathable fabrics, it is always best to keep any bivy at least partially unzipped to allow moisture to vent out, especially if you’re going to bed wet or attempting to dry wet gear in the bag overnight. Therefore, it is wise to bring along a tarp to create additional shelter if you expect wet conditions. A tarp flown over the bivy allows you to leave the head open to vent moisture and prevent claustrophobia. Nobody likes sleeping in a waterproof coffin (see photo above). The tarp will also provide shelter for cooking, changing clothes, packing or other camp chores. I use a simple 8×10′ silnylon tarp that packs to the size of a softball and weighs around 200g.
Pro:
Easy Site Selection
Ultra-Fast Setup & Takedown
Simple Packing
Inexpensive
View of the Sky!
Con:
Claustrophobic When Zipped
Minimal Interior Space
Condensation Issues
Loss of Loft in Sleeping Bag
Not Particularly Light
Conclusions
As we’ve learned, every different shelter has its merits and a set of ideal conditions for use. You should select your bikepacking shelter taking those merits and conditions into account, along with your personal preferences and budget. Every bike traveler is different, and so is every journey! We hope this post has provided some guidance and that you’ll have many comfortable, peaceful nights out on your bikepacking trips!
What did we miss? What shelter(s) do you use and why? Let’s keep the discussion going in the comments below! Thanks for reading!
The stakes are high when traveling far into the backcountry by bicycle. The potential success or failure of your trip is (literally) riding on your wheels. A mechanical malfunction at the wrong time can leave you in a very serious situation. Like teeth, taxes or electricity, your bicycle wheels are easy to ignore when they aren’t causing problems, but can leave you in a world of pain and trouble when things go bad. Fortunately, most of these kinds of problems can be prevented by choosing appropriate equipment and ensuring it is well-maintained before heading out for a trip. This is especially true when talking about wheels.
In this post, we’ll discuss what makes a good bikepacking wheel, how to evaluate your current wheels and some points to consider when shopping for new wheels. Hopefully we’ll be able to help you enjoy your bikepacking adventures with no wheel-related malfunctions!
In general, we think good bikepacking wheels should be durable and reliable above all else. Gram-saving components will make precious little difference in the ride of your bike when loaded down with 35 pounds of gear and failures are much more than a minor inconvenience when you’re two days from the nearest town. Fortunately, most truly trail-worthy mountain bike wheels are built to handle pretty rough treatment and won’t suffer greatly under the added stress applied by a loaded bike. However, many lower-end wheelsets are not built with long-term durability in mind.
Are your wheels ready for bikepacking? Many stock wheelsets are not. Bike manufacturers often cut cost on wheels when spec’ing bikes for middle-of-the-curve riders. Even many high-end bikes are shipped with inferior wheels that don’t hold up to hard riding. However, it isn’t always easy to tell a high-quality wheel from a cheap look-alike. In addition, even top-flight wheels can be a liability if they’re nearing the end of their useful life.
There are a few ways to evaluate your wheels for quality and condition, so let’s get into those:
Consider their Service Record
Assuming you’ve put some hard miles on your wheels, perhaps the simplest measure of quality is their service record on the trail. So, how have your wheels performed so far? Have they needed regular re-truing? Have you broken any spokes? Do the hubs make any funny noises or need repeated bearing adjustments? If so, you’d be wise to consider repairing or upgrading your wheels before taking off into the woods. If they’ve taken some abuse with no ill-effects you’re likely to be in good shape. If you’re unsure about any of these points, a trusted mechanic can help assess your wheels.
However, just because you haven’t had issues yet doesn’t mean they won’t crop up in the future. The key here is preventative maintenance. We’ll talk more about that in a bit. For now, let’s take a closer look at your wheels and see if we can evaluate them for quality and condition.
Check Those Spokes
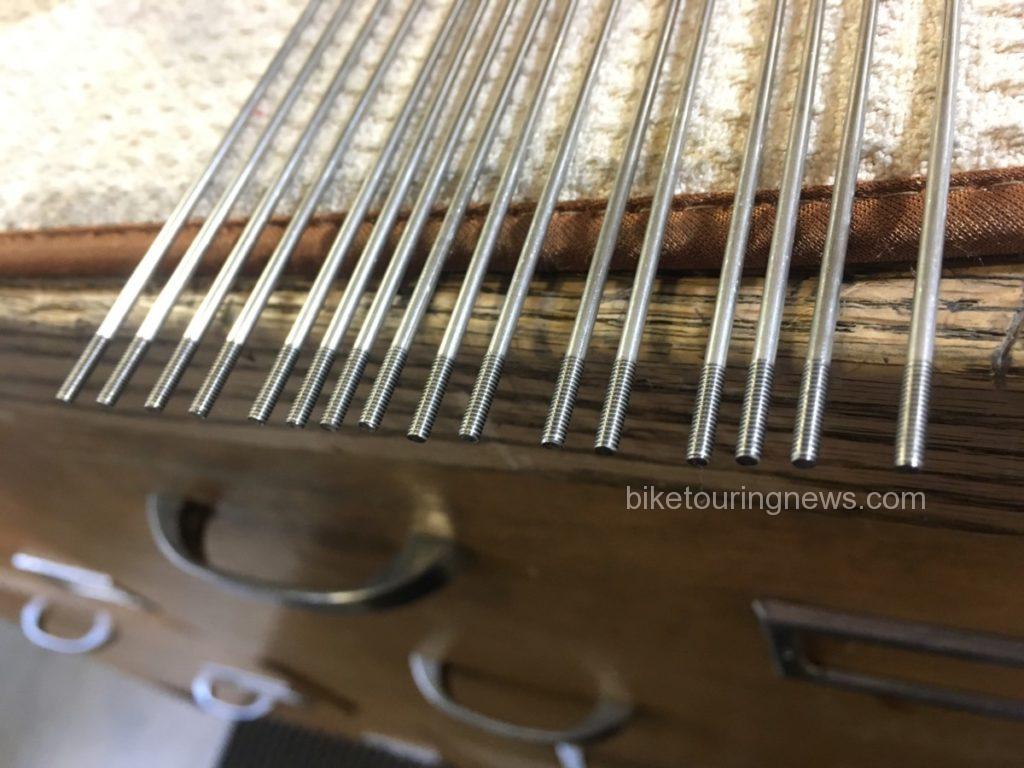
A spoke is a spoke is a spoke, right? How big of a difference do spokes really make? Well, imagine if the Golden Gate Bridge was built with suspension cables made from cheap steel to cut cost. Bicycle wheels and suspension bridges have a lot in common. Spokes made from poor-quality steel will have a much shorter lifespan and will be prone to breakage. Quality brands like DT Swiss, Wheelsmith and Sapim mark their spokes, either on the head (DT, Wheelsmith) or just below the j-bend (Sapim). Cheap spokes will have no mark at all or one of a handful of markings such as a star or uppercase “S” or “N”. If you’re curious, you can investigate the mark on your spokes using this extra-nerdy Spoke Head Identification website.
A butted spoke is also a definite indicator of quality. Butted spokes are tapered in the center and thicker at the ends. Sometimes the butts will be clearly visible. If not, you can feel for the taper by grasping the spoke near the nipple with your thumb and forefinger. Slide your fingers up the spoke and you’ll feel the diameter decrease if your spoke is butted. A butted spoke distributes stress along that slender center section rather than focusing it at the j-bend or threads, improving durability. As a happy side effect, they are also lighter.
Regardless of quality, any bent or gouged spokes can cause problems or break prematurely. Bends typically happen when an object lodges in the wheel as it turns or through impact. Gouging most often occurs on the drive-side spokes due to the chain shifting over the largest cassette cog. Cassette removal may be necessary for this inspection.
Inspect Your Rims
As we discussed in a previous post, single-wall rims are wholly inadequate for bikepacking. Fortunately, even entry-level mountain bikes typically feature a double-wall rim. Much like spokes, the quality of a rim can be difficult to assess. Rim makers such as DT Swiss and Stan’s are at the top of the original equipment game. WTB and AlexRims are common in the middle of the range. Fortunately, even many inexpensive rims can hold up to hard riding if kept true and properly tensioned.
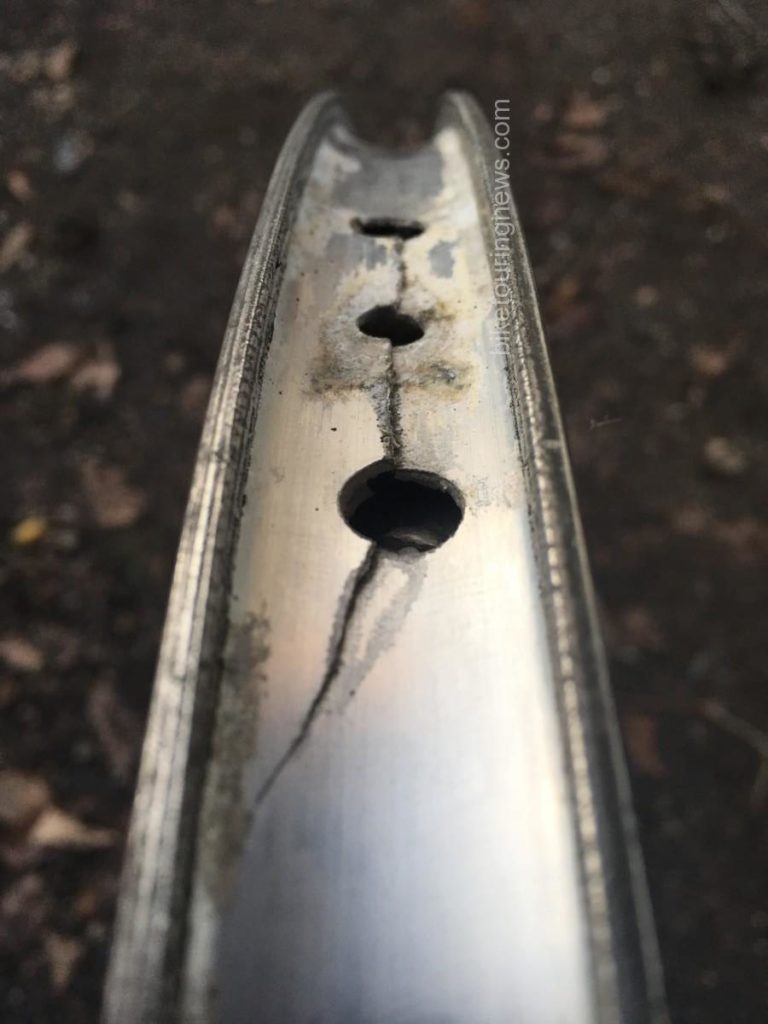
Of course, even the best rims will suffer the ill effects of high mileage, hard riding or abuse. If your rims have any major dents or bends you’d be wise to replace them before a big trip. Also, check the nipple seat for cracks. This is a common failure mode on quality wheels that have reached the end of their life. On a bike with rim brakes, you should also inspect the brake track for excess wear.
Evaluate Your Hubs
Even inexpensive hubs rarely fail but you’d still be wise to evaluate their condition before heading out. Is there play in the bearings? Try to push the wheel side-to-side while clamped in your frame or fork. Do you feel any knocking or play? Remove the wheel and turn the axle end by hand. Do the bearings feel rough when you turn the axles? Does your freehub make odd noises when coasting or fail to engage when you start pedaling? If your hubs exhibit any of these signs you’d be wise to service them before hitting the trail.
Steer Clear of “Wheel Systems”
We have seen a nearly infinite number of departures from the traditionally-spoked design as manufacturers continue to reinvent the bicycle wheel. Some of these variations may offer a performance benefit for competitive cyclists. Most simply want to stand out from the crowd and appear unique. Regardless of the result, they accomplish this at the expense of durability and serviceability. You may be wise to consider a replacement if your wheels have fewer than 28 spokes, nipples that aren’t square or spokes that aren’t made of stainless steel with a j-bend at the hub. Fortunately, most bike makers are using more traditional wheels on their mountain bikes these days.
Preventative Maintenance is Key!
Assuming your wheels pass the test above, you’ll want to make sure they’re in the best possible shape before you head out for your trip. Wheels that are properly trued and tensioned will be much less likely to go out of true or break spokes. Hubs that are properly adjusted and lubricated will very rarely fail, even under demanding conditions. If you’re not a top-flight home mechanic you may want to leave this job to a professional. A skilled mechanic will also be able to update you on the condition of your wheels and help you make preventative repairs to avoid untimely failures.
Need an Upgrade? Go Hand Built!
If your wheels aren’t up to the task or if you’re just looking for an upgrade you’d be well-advised to go hand built. Unless finished by a skilled wheel builder, machine-built wheels are often undertensioned and tend to need repeated truing even if they are built with quality components. A hand built wheel allows you the choice of components specific to your application and the ability to customize to your heart’s content. A good wheel builder will also build to precise, even spoke tension and take steps to remove the stresses that cause wheels to go out of true, resulting in a very durable, reliable wheel built specifically for your riding style and intended use. They don’t have to be expensive either. Our prices for hand built wheelsets typically start around $300 and go up from there depending on options. We build a large number of bikepacking wheels here at Bike Touring News and would love to talk with you about your dream hoops!
If you’re considering a new wheelset, think about incorporating a dynamo hub into the build. The benefits of dynamo lighting and charging are massive, even if you don’t expect to do a great deal of riding after dark. With a dynamo light you’ll never have to worry about charging or replacing batteries or leaving your light behind. If you’re traveling off the grid and need to charge electronics, there are a also a variety of USB charging options powered by your dynamo. That front wheel is already turning over; why not put it to work? We offer a wide range of hubs, lights and chargers for every budget and application but that is a subject for another post!
It is difficult to understate the value of solid, reliable wheels for bikepacking. Good wheels are the best upgrade you can possibly make and are worth their weight in gold. We hope you’re feeling better equipped to evaluate your current wheelset or consider what you may look for in an upgrade. As always, feel free to drop us a comment to ask a question or share your experience. Have you ever had a bike trip hijacked by wheel problems? What qualities do you look for in a good wheel?
Author’s Note: This post has been revised and updated as of January 9, 2017. It was published in its original format on March 20, 2015.
By now, hopefully you’ve had time to digest our introductory post and are ready to start equipping your mountain bike for bikepacking! The best bike in the world won’t do you much good if you can’t carry the things you need to survive and thrive when you’re out on the trail for days at a time, so lets dig into the world of luggage for carrying those essentials. In this post, we’ll go over the various brands and styles of bikepacking bags we carry at Bike Touring News and help you decide which will fit your bike and needs.
Our Brands
Bike Touring News carries bikepacking gear from Revelate Designs, Apidura and Ortlieb, along with a handful of others. There are many other makers of quality gear out there but most are cottage industries making bags on a small scale for individual customers. There is a time and place where custom or DIY bags make sense but all three of these brands offer top-quality gear at reasonable prices without a long waiting list. They each have their own approach and offer products optimized for certain conditions. We’ll cover the range and help you make sense of it all.
The Bikepacking Triad
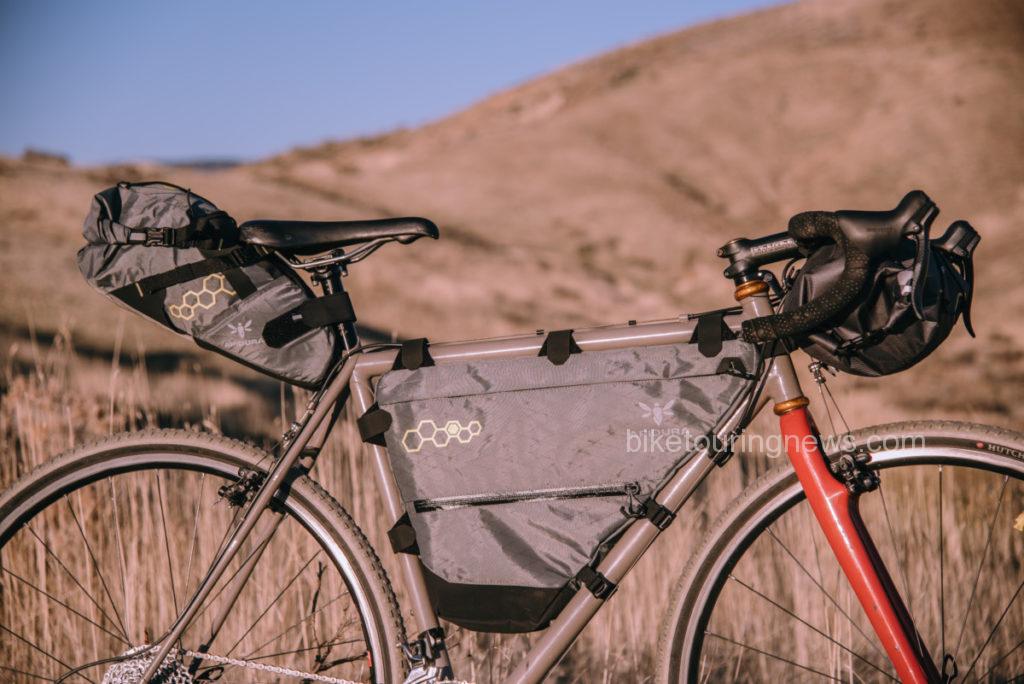
The three cornerstones of any bikepacking setup are pretty clearly established. They are the Frame Bag, Handlebar Pack and Seat Pack. It is pretty easy to imagine where each one goes, right? Good. There are also various add-on or accessory bags to extend carrying capacity. We’ll go over those as well. Let’s get into it!
Frame Bags
The frame bag takes advantage of the space inside your frame’s front triangle. Because of its central location, this is an ideal place to carry heavier items like your cookset, food, tools and spares, water transport and filtration supplies, first aid kit, etc. Most frame bags feature a top zipper located just below the top tube of your frame, so they also are well-suited for carrying items you’ll need easy access to while in motion such as ride food, spare layers, camera, phone, maps, sunglasses, fermented/distilled beverages, etc. All but the very smallest can accommodate a 2 or 3-liter hydration bladder and have a built-in port for the drinking hose to exit. Strap one on and leave the hydration pack behind!
How do I know which bag fits my bike?
The process is easy if you own a Surly! We carry Revelate’s line of co-branded bags for Surly’s mountain and fat bikes! Reference the chart on the product page to find your bike and the corresponding frame bag. Easy enough. But what about your Cross-Check or Straggler? We’ve got you covered there also; just pick your frame size. Even though they have a Surly logo on them, these co-branded bags will fit lots of other frames as well. Check out the complete dimensional fit charts for the Straggle-Check bags and Mountain bags on Surly’s site.
In addition to the co-branded bags, we stock Revelate’s generic Ranger Bags that fit a wide variety of bikes. They share features with the Surly-specific bags but come in four standard sizes and carry only Revelate logos. Reference the fit chart on the product page to find the best fit for your frame.
PRO TIP: If in doubt or in-between sizes, go for the smaller size! Most frame bags feature fairly long straps to accommodate a range of frame shapes. You’d rather have a tightly drawn bag than a saggy, floppy one.
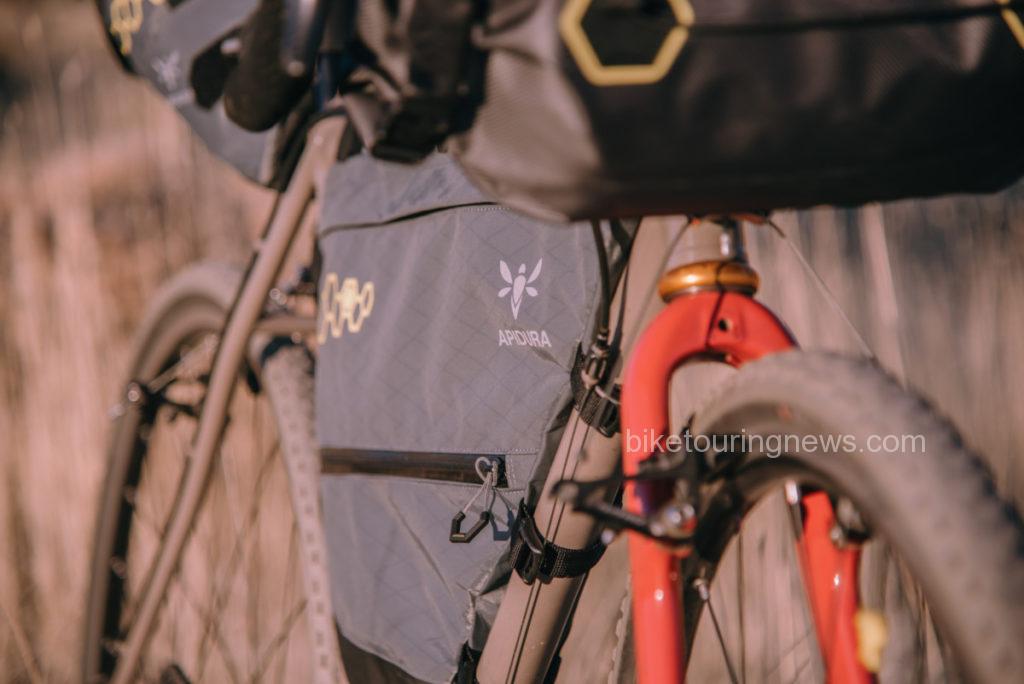
We also carry frame bags from Apidura. Their offerings are best suited to road or cyclocross bikes with slightly sloping top tubes rather than the ultra-compact frames found on most mountain bikes. Their frame bag comes in three sizes and features a more minimalist, low-profile design with some nice details and high-quality materials. They are a great choice for those looking to travel light and fast.
Half-frame bags can be a good alternative for riders looking to retain the use of one or more water bottle cages on their frame. These smaller bags will also fit a wider variety of frames, including many full-suspension models. Revelate’s Tangle Bag is our pick in this category. Three sizes, burly construction, cut and sewn in the USA. What more do you want?
All of the frame bags we have discussed are considered water resistant. They are all constructed with materials that will not absorb water but moisture can still enter through the sewn seams in seriously wet conditions. These bags have been proven to shrug off anything short of a monsoon but we still recommend that you use waterproof dry bags inside your frame bag for anything that must be kept absolutely dry. They are also useful for organization!
NOTE: Ortlieb plans to release their fully waterproof frame bag line in February of 2017. We’ll update this post when they arrive. Keep an eye on our Facebook, Twitter and Instagram for the most current information.
Seat Packs
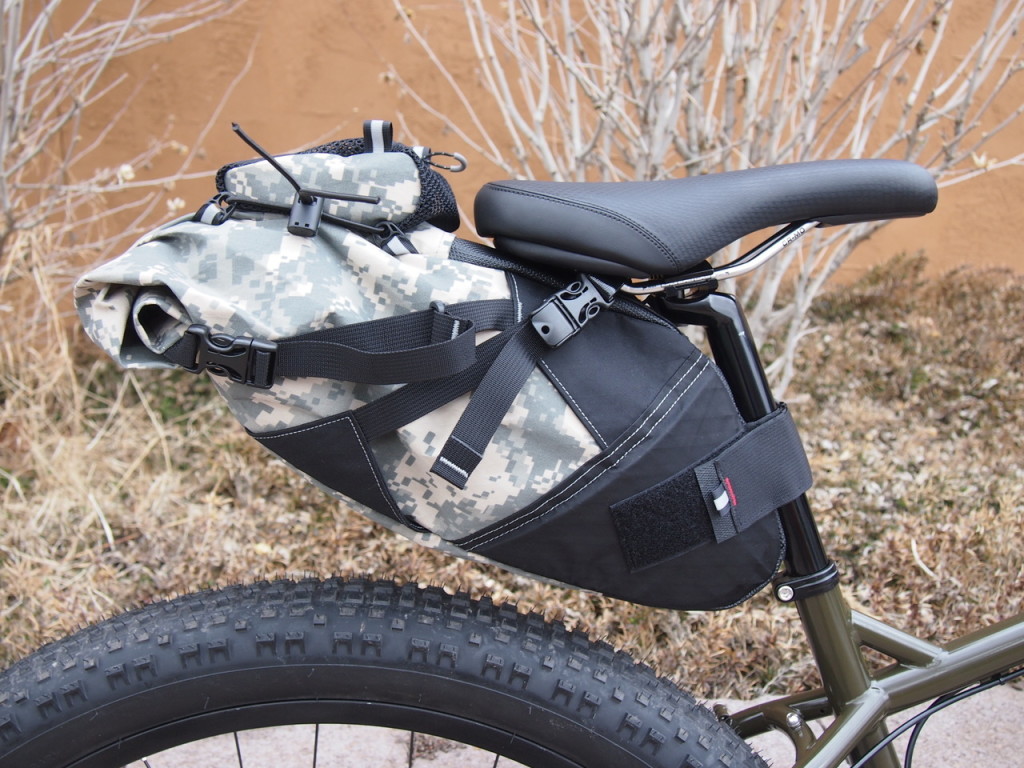
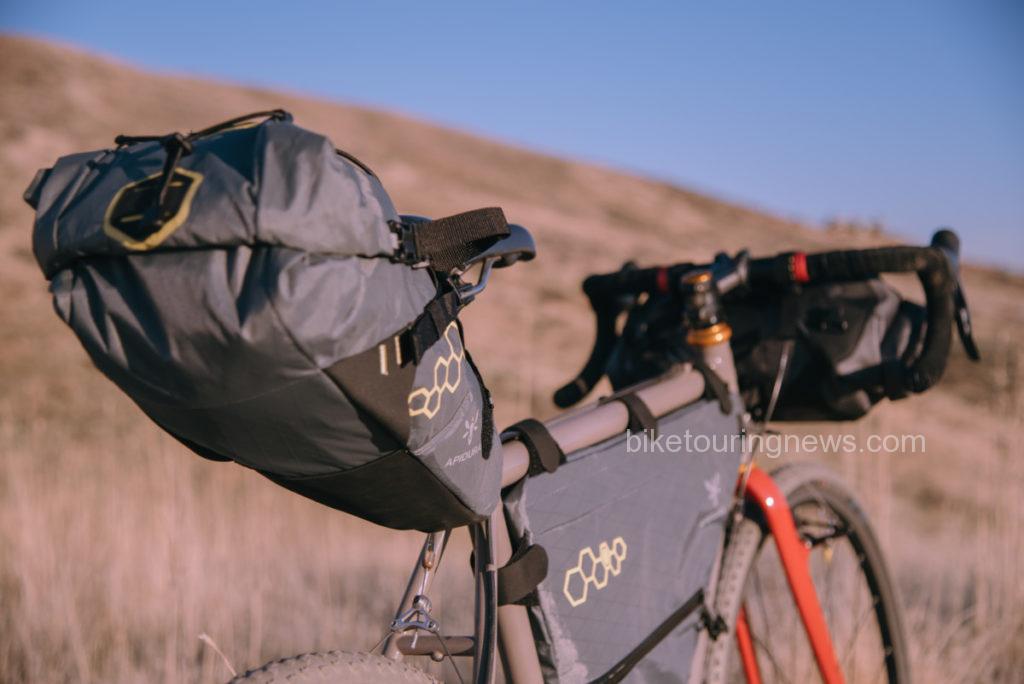
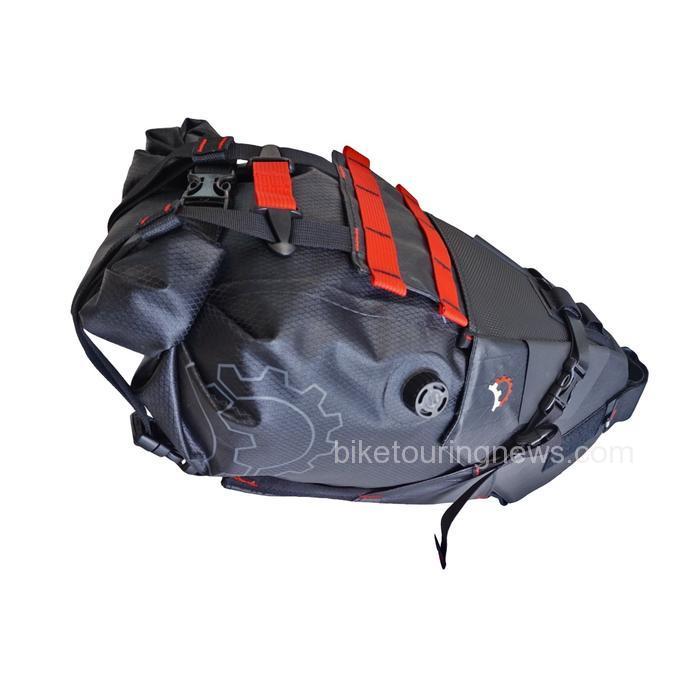
We carry a few different flavors of seat packs but they are all perfect for carrying compressible items like sleeping bags, shelters, spare layers, etc. Most also have external shock cords or lash points for overflow storage. They vary in size, construction and water resistance.
How do I choose a Seat Pack?
I’m glad you asked! Seat packs are great because the fit is nearly universal, making them easy to move from bike to bike. There are a few limiting factors. The big one is tire clearance. If there isn’t enough space between your saddle rails and rear tire (a common problem on bikes with big wheels and small frames) the bag can bump and rub on the tire. You’d be amazed how fast you’ll wear a hole right through your bag and its contents in this situation! Give yourself some breathing room so that your bag will never contact the tire, even if overloaded or sagging. Riding full-suspension? Make sure you measure your clearance with the suspension fully compressed!
The second consideration is the length of exposed seatpost. This is less critical and can be fudged a bit within reason. For example, Revelate recommends at least 5″ of exposed seatpost for their Viscacha. I only have about 4″ of exposed post on the bike pictured above and it still fits fine. If in doubt, stick to the maker’s recommendations. Fit considerations aside, let’s take a look at the various seat packs we carry.
Revelate’s Viscacha was the first widely-available bikepacking seat pack. A few improvements have been made to the design over the years but the essentials remain. This pack will always be hard to beat if you have the 9.5″ of clearance required. It carries up to 14L but easily compresses down to less than half that volume for smaller loads.
The Pika is nearly identical to the Viscacha but is smaller in girth, requiring only 8″ of clearance. However, it only sacrifices 2L of capacity. This makes it ideal for minimalist packers or for smaller frames with slightly less tire clearance and exposed seatpost.
Apidura’s Seat Pack shares many features with the Viscacha and Pika but has a couple of features that set it apart. One nice addition is the series of taillight loops on the rear of the pack. A loop should be available at any point in the range of compression. Apidura’s offering is also available in three sizes: 17L, 14L and 11L so riders can choose the bag appropriate for their bike and needs. Minimum clearances are listed on the product page.
So far all of the seatpacks we’ve covered fall into the “water-resistant” category. We also carry a couple of designs that are fully waterproof. A waterproof seat pack is great in wet climates or for extra insurance in changeable conditions. Down jackets and sleeping bags especially benefit from this extra level of protection.
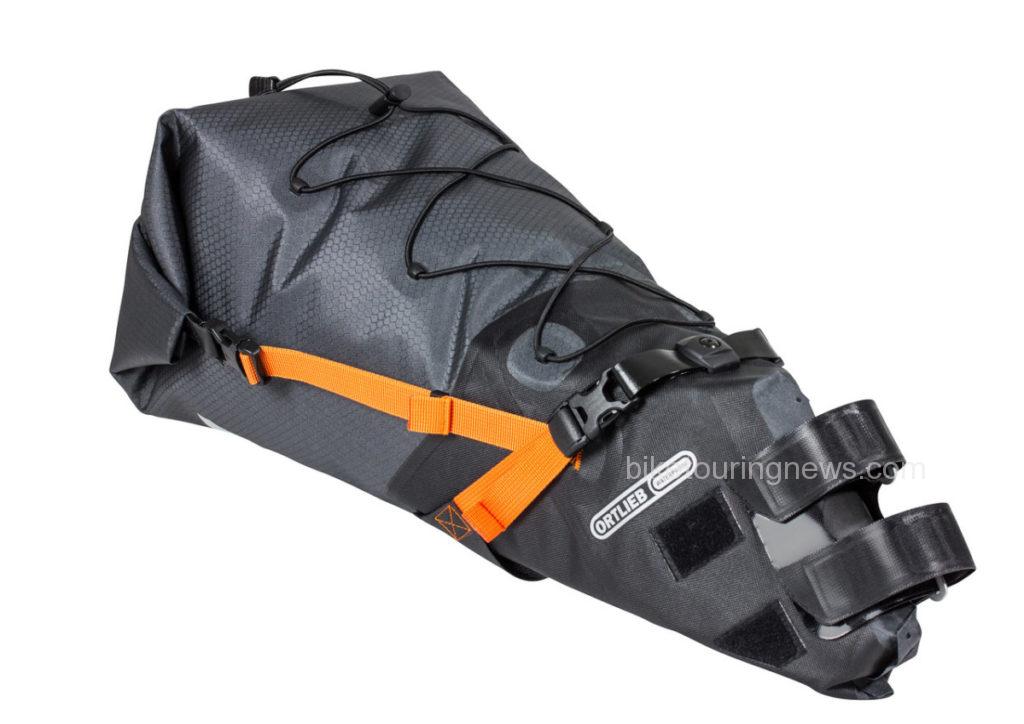
Revelate’s Terrapin is an evolution from the Viscacha that separates the bag from the strapping and compression system. Basically, it is an underseat harness designed to hold a separate drybag. This two-part system has a few advantages over the Viscacha or Pika. First, the drybag is fully sealed and waterproof where the Viscacha/Pika is highly water-resistant but is not seam sealed. Also, the Terrapin is easier to pack and unpack since the drybag can be removed without unstrapping the harness from your bike. Daisy chain webbing on the harness provides a perfect place to attach a SPOT tracker or other accessories. The bridge of webbing between the straps can be used for taillight mounting and the drybag incorporates a one-way valve to purge excess air. The Terrapin harness and drybag are also available separately. Ortlieb is a relative newcomer to the bikepacking game but they certainly know a thing or two about waterproof gear. They took their time designing their seat pack and it shows. This bag is definitely on the large side with a 16.5L capacity. It also incorporates an internal aluminum frame at the saddle rail and seatpost attachment points for added anti-sway stability. This is a helpful feature as the bag has a pronounced cone shape, placing more weight farther behind the saddle. Similar to the Apidura, Ortlieb incorporates a series of light attachment points on the rolling closure, along with reflective patches. Add in the extra-long section of criss-crossing shock cord and air purge valve and you have the most fully-featured one-piece seat pack we carry. Ortlieb doesn’t list a minimum tire clearance. Instead, they ask for 14cm (5.5in) of exposed post. Given the more rigid nature of this bag, any bike with that much post should have plenty of clearance but it is best to check the fit first.
Handlebar Pack
To balance your load and maintain equilibrium, your handlebar roll is the last key component in your bikepacking setup. The handlebars are a great place to carry your shelter, sleeping bag, sleep pad, tent poles and other rollable or compressible items. Most of the handlebar setups that we sell also provide a large amount of flexible strapping space for things like fishing rod tubes, trekking poles, firewood, etc.
How do I choose a Handlebar Pack?
Similar to the seat packs, the big limiting factor here is tire clearance. You want to be certain that your front tire will never come into contact with your handlebar pack, especially if you’re using a thin, lightweight dry bag. Again, be sure to take suspension travel into account! The best way to be sure you’re getting a proper fit is to test the bag on your bike. If that isn’t possible, measure from the bottom of your handlebars to the closest point on your tire. You’ll want a bag at least 2″ smaller in diameter than that measurement. Don’t forget to account for the thickness of any spacer blocks or pads! We typically recommend using the smallest handlebar pack you can get away with to reduce handling impact and clearance concerns. Need more assistance? Don’t hesitate to give us a call, email or drop a comment below. Fit concerns aside, let’s look at some gear!
Revelate’s Handlebar Harness is a simple and versatile “soft rack” for carrying a dry bag on your handlebars. It attaches to the bars using nylon webbing and heavy-duty rubber spacer blocks to space the bag away from the bars and prevent kinking of your brake and shift cables. Dry bags up to 20 liters can be secured with the three compression straps but Revelate lists a 15-pound weight limit. For the price, you’d be hard-pressed to find a more versatile handlebar system.
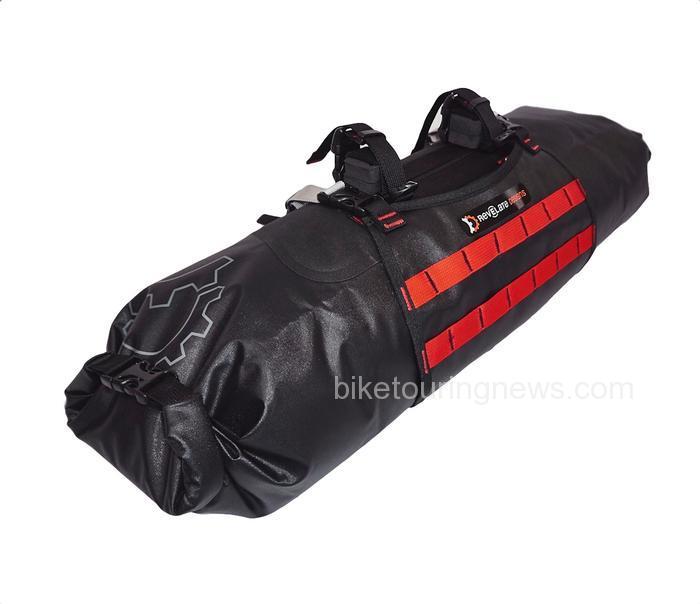
The new-and-improved Sweetroll is an evolved version of Revelate’s handlebar harness that integrates the dry bag into the handlebar attachment for added simplicity and reduced weight. The latest version uses RF-welded seams for long-term waterproofness compared to sewn-and-sealed seams. The dual-roll design allows easy packing and centering of the load while the compression flap provides additional security and a place to strap extra cargo. Have a set of Jones Loop H-Bars on your bike? We have a special Loop Bar buckle kit that creates two additional attachment points to the handlebar for added security and extra spacing away from your bike’s head tube. The Sweetroll comes in three sizes: small, medium and large. The length of the dry bag is the same; they only vary in diameter. Click through to the product page for dimensions.
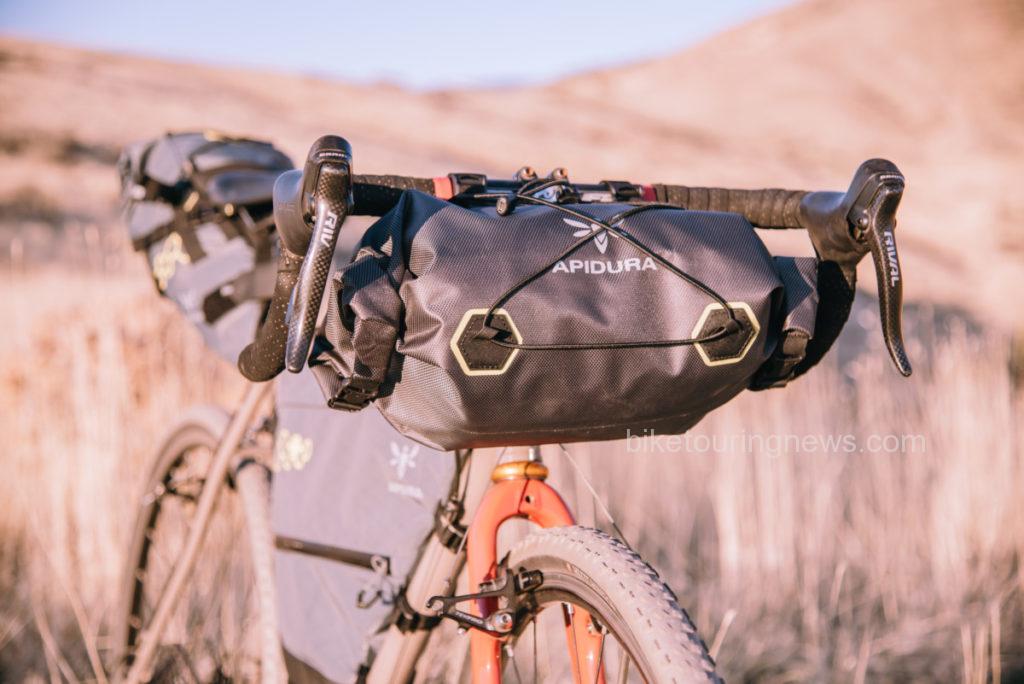
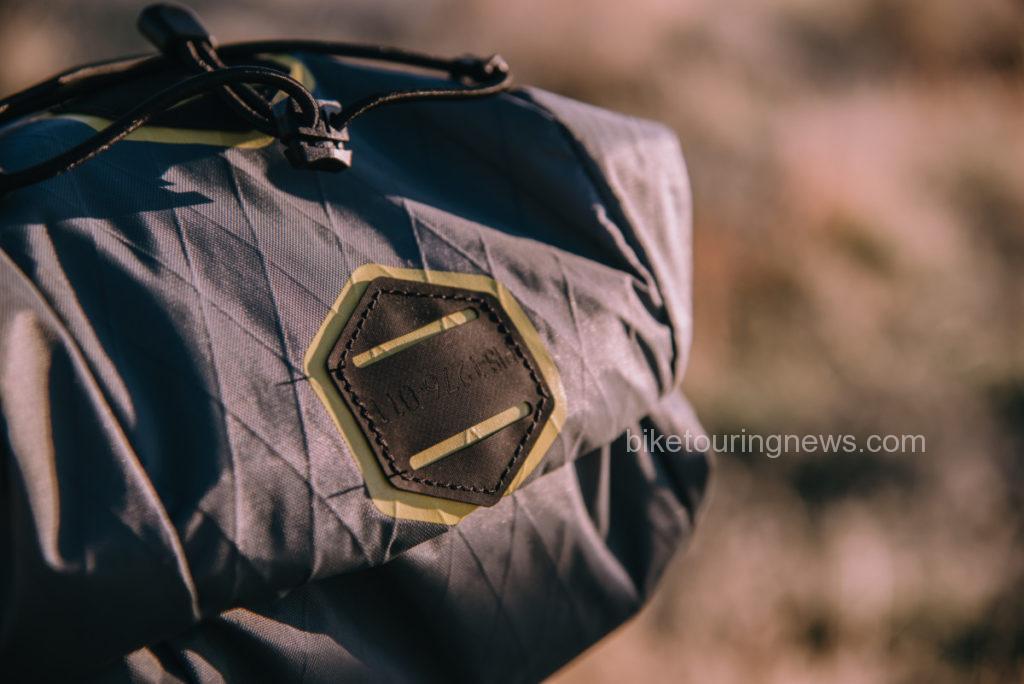
Apidura also has solid bar-mounted options. Like their other products, their handlebar packs are simple, lightweight and thoughfully detailed. They offer four different handlebar packs, differing on size and construction. The water-resistant version comes in a Regular 20L size or a “Compact” 9L version. The 20L size is especially useful on drop bar bikes. The “Dry” option is available in a Regular 14L or Compact 9L. The dry versions feature a cleverly hidden air purge valve for easy compression. All four feature a criss-crossing shock cord for extra storage and reflective details for visibility.
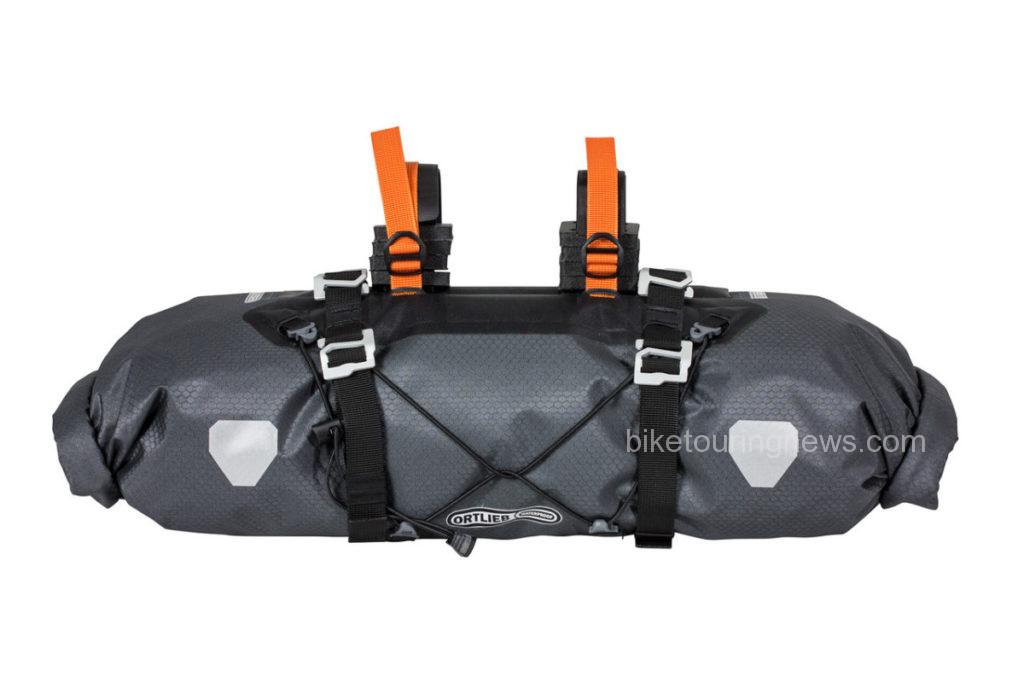
Like their seat pack, Ortlieb’s handlebar pack is thoroughly engineered and especially secure. Dual straps and adjustable foam spacers secure the bag to your handlebars and a pair of compression straps lock down the load or secure overflow gear. 15L capacity is on the large side and the welded construction is rock solid. This bag is especially appealing for shoulder season trips where additional gear and weather protection will come in handy.
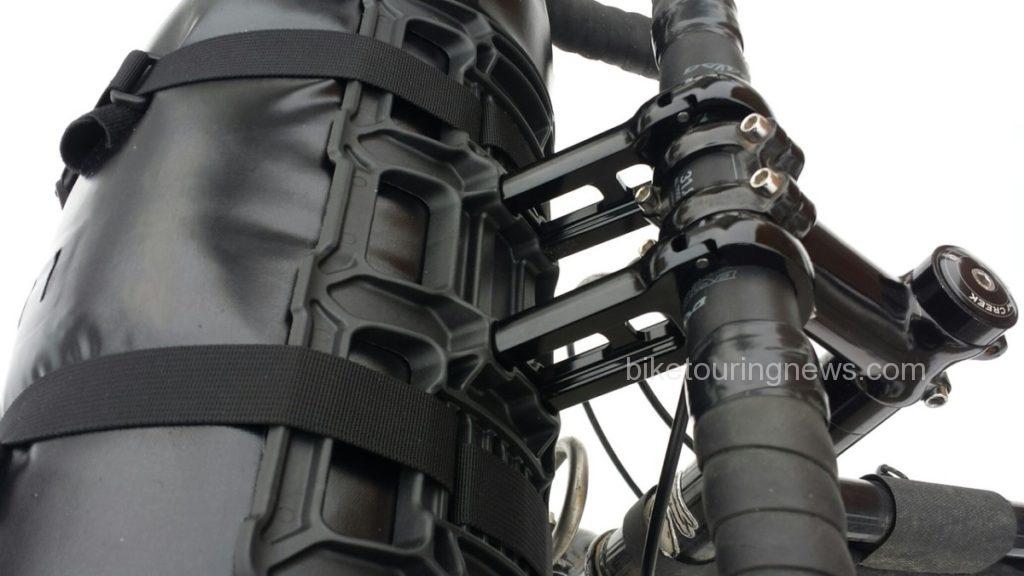
Salsa’s EXP Anything Cradle is a new addition to our offerings and takes a very different approach. This is a very “rack-like” handlebar packing system designed to carry a separate dry bag. Two hinged aluminum clamps secure the cradle to your handlebars and provide plenty of standoff to prevent kinking hoses or cables. The complete kit comes with 15L double-roll dry bag and two webbing straps.
Conclusions
Hopefully you’re feeling a little more comfortable choosing bikepacking bags for your bike! Overall, fit is the most important factor here. If your bags don’t fit your bike well, they won’t perform well! Feel free to give us a call, email or comment if you have questions about fitting bikepacking bags to your bike!
Stay tuned for the next installment of this series, coming soon! Don’t forget to follow us on Facebook, Twitter and Instagram (@BikeTouringNews) for all the latest updates! Thanks for reading!
Author’s Note: This post was updated on Dec. 29, 2016. It was originally published on Feb. 20, 2015.
As interest in bikepacking and off-road bicycle travel continues to grow, many bike makers are offering machines that claim to be optimized for the task. We should know, as Surly’s line is full of bikes like the ECR, Ogre, Troll and Karate Monkey that are ideal vehicles for pedal-powered exploration. This level of specialization in bicycles can be a good thing but it also leaves many would-be bikepackers on the sidelines because they think they need a whole new bicycle to participate. While a shiny new bike can certainly make things easier and provide good motivation to get out and ride, you may discover that the best bikepacking bike is the one you already own.
With a few simple modifications or additions, any good-quality mountain bike can carry you and your gear into the backcountry. In this series of blog posts, we’ll guide you through the process and detail a few key points to consider when evaluating, upgrading and modifying your bike into a two-wheeled adventure steed that will take you places you never thought you could go.Especially since many key pieces of equipment (bags, lights, etc.) won’t come with any new bike, modifying the bike you already own can be a much more cost-effective path of entry.
In this post, we’ll take a look at the key qualities that good bikepacking bikes share and see if your bike fits the bill. A comfortable, durable, mechanically-sound bicycle is critical. The consequences of an ill-timed breakdown or failure can be quite serious when venturing far from home, so these are very important considerations. Assuming you own a mountain bike of some kind, wheel that thing in here and let’s have a look.
Evaluating your Bike for Trail-Worthiness
Before heading into the backcountry or sinking lots of money into expensive upgrades, you would be well advised to be sure your bike is up for the task. There is a certain standard of trail-worthiness that not all mountain bikes meet. This is mainly a question of reliability. Off-road riding is hard on equipment and many inexpensive, “entry-level” mountain bikes are built with more casual riding in mind.
So, how do you know if your bike is trail worthy? If you purchased your bike at a bike shop and are already riding it regularly on singletrack with few mechanical issues you’re probably in good shape. If you bought your bike somewhere other than a specialty bicycle retailer your chances aren’t so hot. Bikes sold in many sporting goods and department stores are cheap for a reason and don’t typically hold up well when ridden often, especially off-road.
However, even many top-quality mountain bikes don’t make great bikepacking bikes. So, let’s dig into some of the nuances that set a potential bikepacking rig apart from the rest. Your bike doesn’t have to meet all of these criteria to work well but you’ll be more likely to enjoy the experience if you have most of these boxes checked.
What Makes a Good Bikepacking Bike?
Comfortable Riding Position
This is perhaps the most important consideration that we’ll discuss but also the most potentially challenging to get right. When you’re on the bike for hours at a time for days in a row, any potential source of discomfort can lead to frustrating pain or a debilitating injury. Other than employing the help of a skilled bicycle fit professional, the only way to know if you’ll encounter comfort issues is to put in the hours riding your bike. If you’re preparing for bikepacking you’ll want to do plenty of preparatory rides anyway, so listen carefully to your body for signs of problems as you ramp up the miles. A comfortable saddle and handlebar in the proper position are key elements in this equation. We’ll get deeper into fit issues in future posts. Assuming that you have a properly sized frame that you can ride comfortably, let’s take a look at some of the nuts and bolts of your bike.
Front Suspension or None at All
While full-suspension mountain bikes are becoming more common across all categories, they are often less than ideal for bikepacking on anything other than the roughest and most technical of routes. Suspension pivots and shock mounts take up valuable space in the front triangle, making frame bags difficult if not impossible to mount. All those moving parts also require regular maintenance and are often impossible to service in the field. You’d rather not be a hundred miles from the nearest bike shop when your rear shock blows a seal and stops holding air.
A suspension fork can be valuable if your route includes a good deal of rough terrain but can be overkill for routes consisting mainly of dirt roads or smoother trails. Much like rear suspension, a suspension fork adds weight and complexity, requires regular maintenance and can be a major problem if it fails. While rigid mountain bikes have become a relative rarity the simplicity they offer is appealing. If your bike is already equipped with a rigid fork you may be in luck!
The choice to ride front and/or rear suspension will be dictated by your bike, route, personal preference and budget. If your bike does have suspension, be sure it is in top condition before heading out on a long trip.
Big Wheels, Wide Tires
There are many good reasons that 29ers have taken over the mountain bike market in recent years. The bigger footprint, increased air volume and shallower angle of attack offered by wide 29″ tires deliver excellent traction and improve the bike’s ability to roll easily over larger obstacles. These attributes are especially helpful when the bike is loaded down, less maneuverable and harder to unweight over bumps. However, don’t despair if your bike has 26″ wheels or is one of the newer crop sporting 650b/27.5″ hoops. Wheel size won’t make or break your experience out on the trail but larger wheels certainly offer appealing comfort and performance benefits.
Regardless of wheel size, you can do yourself a big favor by using the widest, highest volume tires your frame can safely accommodate. Wide tires will provide a smoother ride, cushion your bike, load and body from bumps and provide improved traction. We’ll talk more about tires in a future post, so stay tuned for that.
Quality Components
For better or worse, the price of an “entry level” mountain bike is incredibly low these days. This is certainly a good thing for many riders as the cost of getting into cycling is lower than perhaps ever before. However, those “entry level” bikes reach their low price points by cutting corners somewhere. One common place for this cost-trimming is in the bike’s wheels.
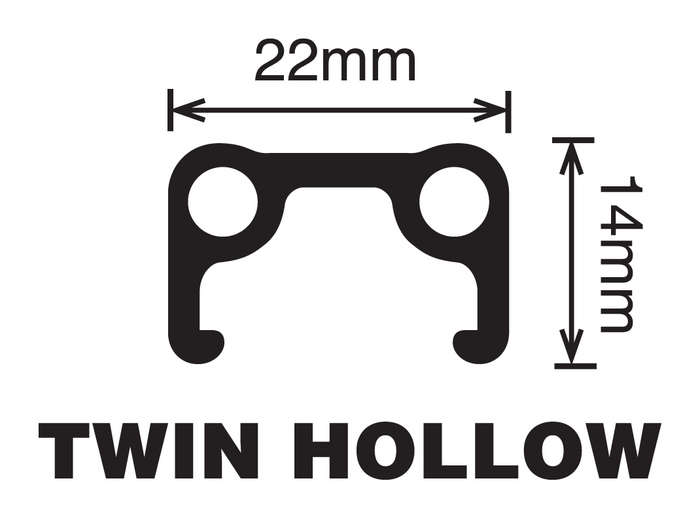
Bicycle wheels endure tremendous forces, especially when carrying heavy loads over rough terrain. Low-quality wheels that break spokes, bend axles, dent easily and won’t stay true are a serious liability. You’ll want to be certain that your wheels are built on sturdy, double-wall rims with quality hubs and spokes to avoid problems. As shown in the cross-section diagrams below, double-wall rims feature a box section design that adds significant strength over the less-expensive single-wall design.
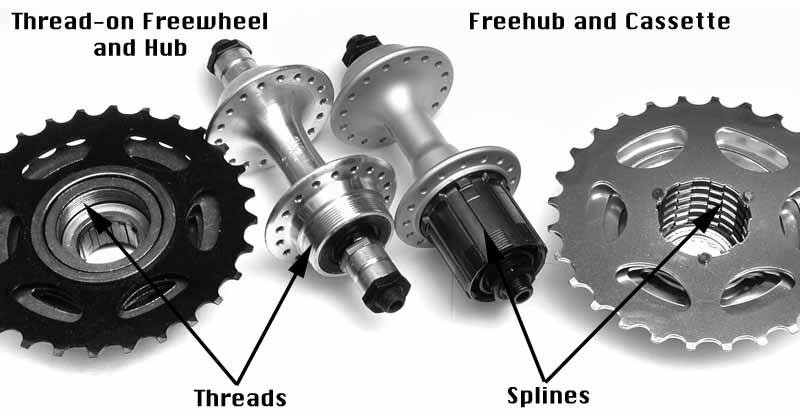
On the subject of hubs, most newer bikes are equipped with a “freehub” drive system rather than the older “freewheel” style. Bent or broken axles were common with “freewheel” rear hubs on mountain bikes because of the long section of axle protruding past the drive-side bearing. If you have a rear wheel using a threaded-on freewheel you’d be wise to consider an upgraded wheelset before loading the bike down. We build a significant number of bikepacking-worthy wheelsets here at Bike Touring News, so we’ll talk more about wheels in an upcoming post.
Other than wheels, you don’t really have too much to worry about. Even inexpensive brakes, shifters and drivetrain parts are surprisingly reliable and rarely fail when properly maintained. Higher-end parts will be lighter, more precise, offer performance benefits and are sometimes more durable but are not required. However, it is vital that all of your components are well maintained, not excessively worn and in good working order. It is wise to check and replace (if needed) your chain, cables/hydraulic fluid, brake pads, etc before heading for the hills to avoid problems on the trail. We have a series of blog posts on roadside repair and maintenance, so brush up there if you need a primer. Many trip-ending mechanicals are a result of poor maintenance and should be easily avoidable.
Metal Frame
Carbon fiber is everywhere in the bicycle industry. Carbon frames and components are showing up at surprisingly low price points and have (mostly) shaken off their reputation for fragility and premature failure. Modern carbon bikes and parts from reputable manufacturers are of very high quality and have proven reliable in demanding conditions. Many also offer extra protection in the form of tough, durable finishes, rock guards and the like. However, you’d still be wise to take extra care when bikepacking with a carbon frame. The combination of additional weight, frame bag straps, accumulated dirt, abrasion and vibration – in addition to normal hazards such as sharp rocks, severe crashes, etc – can cause serious damage to frame tubes of any kind but the problem can develop faster and have more severe consequences with carbon tubes. A good carbon bike can be a potent off-road weapon – especially for those looking to travel fast and light – but metal bikes will be more worry-free and probably longer-lived.
On the other hand, steel or aluminum bikes may suffer damage to their finish from the conditions presented by bikepacking but will rarely sustain serious damage to the tubes themselves. Regular cleaning and inspection is still important but is not as serious a concern as with carbon tubes. Though expensive, titanium may be an ideal material for bikepacking bikes due to its exceptional hardness and resistance to scratching or abrasion.
Summary
So, is your bike up for the challenge? You may already have your new bikepacking bike hanging in your garage, waiting to hit the trail! If your ride doesn’t cut the mustard, Bike Touring News offers a range of models from Surly that will do the job admirably without breaking the bank, like the ECR, Troll, Ogre or Long Haul Trucker. There comes a point where a new bike becomes a simpler, more cost-effective option. Feel free to give us a call, shoot us an email or stop by the shop if you want to talk about the pros and cons of your current bike!
Throughout this series of posts, we’ll dig deeper into some of the considerations outlined above and a few more in order to help you build the best possible bikepacking setup for your application and budget. In the next post we’ll explore various methods of carrying the supplies for your ride, so stay tuned for that! Follow us on Facebook, Instagram and Twitter @BikeTouringNews for the most up-to-date news and information.
What questions do you have about setting up a bike you already own for bikepacking? Sound off in the comments, give us a call or email and I’ll do my best to cover those topics of interest in a future post. Hey, thanks for reading!
It is coming. You can practically smell the monster’s rancid breath as it approaches. Retailers and “consumers” across the country will soon be in its grip. Poor, helpless employees will be struggling for survival like citizens of Tokyo hoping to escape Godzilla’s rampage. Of course, the monster I’m describing is the annual shopping blitz known as Black Friday.
However, there is a way out. In fact, it is easier than you might think! Don’t go shopping. Go outside, ride your bike and enjoy the world outside the fluorescent-lit halls of consumption. You don’t really want to be a “consumer” anyway, do you?
Bike Touring News will Opt Outside on Friday, November 25 and we want you to join us! To encourage you to join in, we’re holding the first-ever
#OptOutsideBTN Instagram Photo Contest!
You can win great prizes, have some fun and share in the adventure with Instagram users all over the world.
Read on to learn how to participate!
How to Enter:
Post a photo to Instagram during the contest period showing your adventurous outdoor pursuit (preferably involving a bicycle) using the hashtag #OptOutsideBTN. Entries must be properly tagged to be valid! Multiple entries are encouraged, so post away! See the Judging Criteria below for some guidelines.
Timeline:
The contest runs from 12am, MST on Wed. 11/23 through midnight on Sunday 11/27. Winner announced on 11/29.
Prizes:
Grand Prize – Surly Merino Hoody in winner’s choice of size and color! ($180 value!) This is an awesome layering piece that is perfect for everyday wear on or off the bike. Available in Men’s and Women’s sizing. Follow the links to learn more or view size charts.
Runner-Up – BTN Water Bottle stuffed with winner’s choice of Nuun drink tablet flavor, Surly t-shirt and Socks! (~$60 value!)
NOTE: Color and size options may be limited due to availability.
Judging Criteria:
Adventurousness – We want to see you get out and explore your world by bike!
Originality – Go where few have gone before and show us your unique perspective.
Timeliness – We don’t want to see your ride from last month! Keep it fresh and current.
Humor – Make ‘em laugh! Clever captions and hashtags help here.
Composition – Don’t forget that Instagram uses the square format!
Use of the Bicycle – You don’t have to incorporate your bike to win but it’ll sure help!
Terms and Conditions:
The Grand Prize Winner and Runner Up will be chosen by a panel of impartial judges. Owners, employees or other agents of Bike Touring News will not participate or influence judging. The Judges’ decision shall be final and binding.
No preference will be given to Bike Touring News customers and no purchase is necessary to win. Purchasing will not increase the likelihood of winning. Owners, employees or other agents of Bike Touring News and their families are not eligible to win. They’re still welcome to post their photos, however!
By using the #OptOutsideBTN hashtag you give Bike Touring News permission to use your tagged photo(s) in any manner, including reposting to other social media outlets, use in promotional content and any other lawful use.
Winners will be notified via public Instagram post and direct message. Prizes may be claimed in person at Bike Touring News in Boise, ID or shipped to the winner’s address. Bike Touring News will cover shipping costs to addresses in the USA. International winners must pay shipping to receive their prize and may be liable for duties, taxes or other import fees.
So get out there, have an adventure, take a picture and share your story! We’re looking forward to sharing in the journey with you!
Except on the most rugged of trails or in Wilderness areas where mechanized transport is not allowed, a bicycle is the ideal vehicle to transport you and your gear to your favorite fishing locations, especially if you’d rather escape from the crowds! The hassle of finding a suitable place to park a truck on narrow, rugged roads allows the pedal-powered angler to access spots that motorized fisherfolk often overlook. They’re too busy looking for a turnout big enough for their massive pickup! Many streams have singletrack trails running alongside and there are countless lakes and ponds accessible only by bike or on foot. If you prefer solitude to fishing conditions resembling the lunch line at Burger King, bikefishing is for you.
For me, fishing and bike riding have always gone hand-in-hand. In fact, I was first motivated to pick up a fly rod by an experience I had on a bikepacking trip soon after moving to the Gem State. I was pedaling my loaded bike on a backcountry dirt road paralleling one of central Idaho’s sparkling freestone streams. Trout were easy to spy as I gazed down from road level into the riffles below. Why wasn’t I down there in that beautiful river catching those fish!? Since then, I’ve spent countless hours searching for fish in big rivers, small streams, alpine lakes and urban reservoirs by bicycle, on foot and occasionally with the aid of motor vehicles. In this post, I’ll share some helpful tips from my experience to help you get out and fish by bicycle! Feel free to chime in with your own thoughts and experiences in the comments below.
1: Do your Homework!
Plan ahead and prepare! The amount of local knowledge and useful information accessible via the internet is a potent weapon in your arsenal. Check fishing and weather reports so you can choose appropriate tackle, clothing and other gear, then leave the rest at home. The USGS monitors water conditions for countless fisheries across the country. Water temperature, level and flow are all useful pieces of information. Local fish and game departments provide a wealth of information about fish stocking and species to expect in a particular piece of water. Many fishing shops and outfitters post regularly-updated fishing reports online. Stop into a local outfitter or fishing shop if you’re traveling far afield. Good research and local knowledge may make the difference between catching one fish after another or getting skunked.
2: Don’t Throw a Rod!
Fishing rods can be challenging items to carry by bike, even when broken down and stored in a tube. Bags with a flap – like Ostrich’s S-2 Saddlebag or Frost River’s Gunflint Trail (see photo above) and Caribou Trail work great. Alternatively, you can use toestraps or Surly’s Junk Straps to lash the tube to the deck of a rack. I would never recommend riding your bike with a fully-assembled rod. You’re just begging for a potentially expensive accident. It is also easy to strap a rod tube to many backpacks. This carrying method works great if you’ll need to do a good deal of walking, hiking or scrambling to access your fishing location. Otherwise, I prefer to ditch the backpack and let the bike carry the load.
3: Streamline your Setup!
Do you really need multiple rods, reels, lines, a vest packed with gadgets and fly boxes with every imaginable imitation to catch fish? Simplify, simplify. You can’t just chuck your entire collection of outdoor gear in the back of the Subaru! Space and weight are key considerations when fishing by bike. While unnecessary gear will weigh you down and clutter your experience, you don’t want to leave critical equipment at home. Tenkara rods may offer the ultimate in a simple fishing outfit. With no reel and a featherweight telescopic rod that collapses into its 20″ handle, these fishing outfits are ideal equipment for the adventurous angler.
4: Wade Wisely (or not at all)!
Waders and wading boots are the bulkiest, heaviest and most cumbersome pieces of gear in most anglers’ closets. Leave them at home unless you really need them. Fishing from the bank is a great option and may even be preferable. The long reach afforded by Tenkara rods is a big advantage in this situation. If you choose to wade in warm conditions, wet wading can be a real joy and big part of the fun. Sturdy sandals, Crocs or water shoes work fine for footwear. Even on the hottest days, neoprene socks or booties help you fish longer by keeping your feet warm and preventing irritating debris from getting next to your skin. When the mercury dips, you’ll definitely want to stay dry. Fish from the banks, wear rubber boots or consider bringing those waders along. Wear heat-retaining layers to stay warm in the chilly water. You don’t have a heated vehicle to retreat to if you get chilled, so don’t forget to layer up and bring spare dry, insulating layers in case you take an unexpected dunking!
5: Use a Shuttle (When Appropriate)!
While pedaling from home on a bike loaded with everything you need for a day, week or month of human-powered travel and fishing adventure sounds like a great idea, it isn’t always practical or possible. If you have access to a vehicle, take advantage! Drive out with your bike and gear, find a place to park or camp and strike out on the bike from there. Though perhaps not as idealistically appealing, this approach can deliver the best of both worlds. Who doesn’t like to return to a well-appointed campsite with a dry change of clothes, fully-stocked cooler and comfortable chair after a long day on the river? If the fishing – not the riding – is your main focus this may be the ideal approach.
6: Be Flexible!
Fishing is unpredictable, so don’t get disappointed if you don’t find immediate success. Like the old bumper sticker says, “a bad day of fishing is still better than a good day at work!” Approach each situation with an open mind and don’t be afraid to try new, different or unorthodox techniques. The bike also gives you practically unlimited access to water far off the beaten track, so explore those side streams, tributaries and hidden pools. Small fish often represent big success!
I hope you’ll find these tips helpful and get out on your bike for a day of fishing soon! Did I forget anything? Share your #bikefishing ideas and experiences in the comments section below. Thanks for reading! Now get away from that screen and #getoutandfish!
In our overpopulated world, there are few places where humans rarely venture. For better or worse, our species has learned how to make a living in just about every environment on Earth and has left only a precious handful of habitats unmolested. Even in the most remote corner of Idaho – a state with more protected Wilderness than any in the lower 48 – evidence of human history is everywhere. However, just because humans have been everywhere on our planet doesn’t mean they’re still around. Some environments are not welcoming to our fragile and demanding bodies. Despite the challenges of survival in hostile and difficult conditions, wild and unpopulated places call out to us. The allure of traveling where few people have ever gone – places where evidence of human activity is nearly invisible – is a powerful draw. This allure makes Wilderness travel undeniably attractive to a certain breed of people who are capable of cutting the cord and tuning in to a more basic way of living. Five such adventurous souls recently struck out into the vast Wilderness surrounding the South Fork of the Owyhee River for three days of pedal-powered reconnaissance. This is the story of that journey.
The group convened at the BLM headquarters in Boise to finalize a route and load gear for the 3-hour drive to our drop-off point east of the Duck Valley Indian Reservation, just north of the Nevada border. After the long drive riding three-abreast in the pickup, we were happy to stretch our legs and breathe the sage-perfumed air while we unloaded bikes.
We set off to the west just after 11am, pedaling through Horse Basin toward the Wilderness Boundary. The miles passed with relative ease on the well packed two-track under sunny skies and with scarcely a hint of wind. We ground our way up a gradual climb to the plateau and turned to the south in order to survey a longer section of wilderness boundary.
This section of doubletrack was among the smoothest any of our group had ridden in the entire region and a slight tailwind began to push us northward. The sea of sage was interrupted by two water tanks and windmills; aging remnants of ranch infrastructure. Each one sat in a grassy circle cleared of sage and featured abandoned eagle nests tucked into the ladder handles of the water tank. A draft of cool air blew up from the dry well near one of the tanks. A rock dropped down the tube never found water.
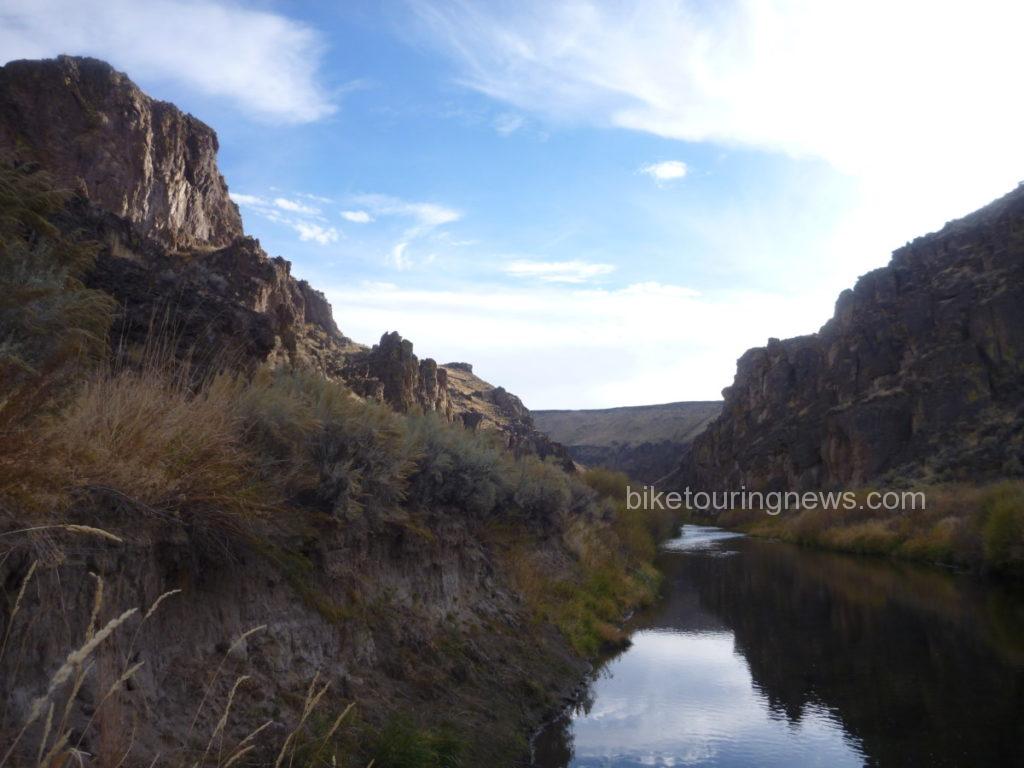
As we turned to the west along the boundary line, we came to a rock outcropping and saw the land fall away ahead of us. From here, we descended into Wilderness along the Coyote Hole Cherrystem to the bank of the South Fork where we would make our first camp. The road dropped gradually at first but became steeper as we neared the canyon rim.
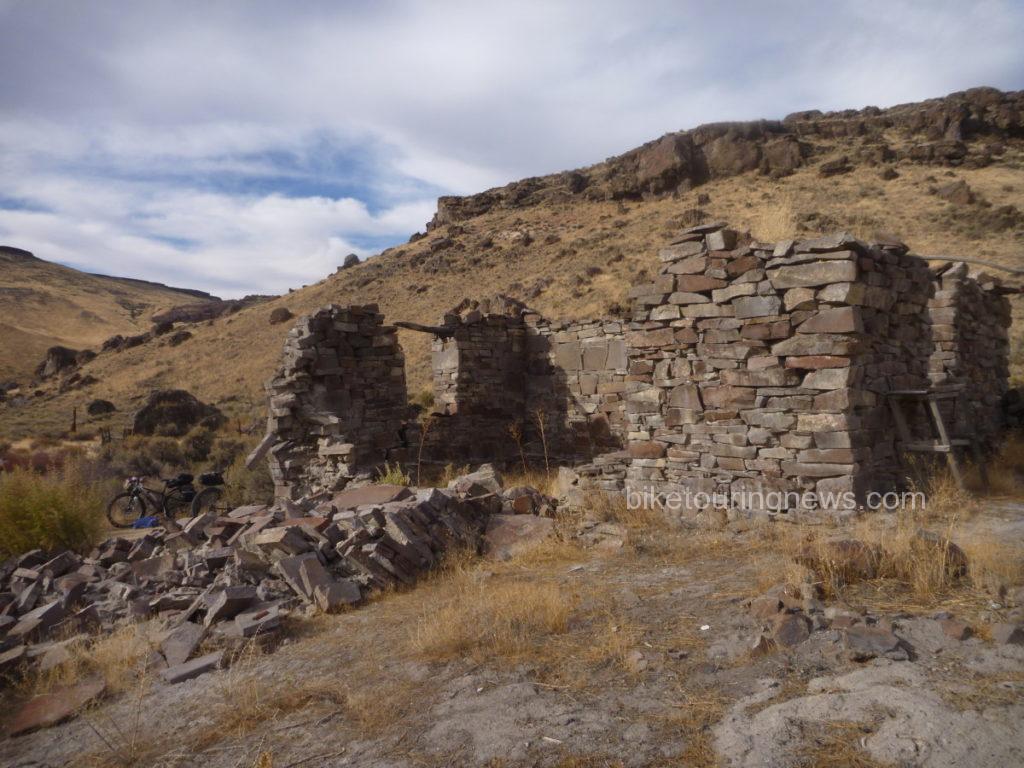
A badger scuttled off the road as we approached, making off into the underbrush. With sheer rock walls on both sides, we followed the loose, rutted track down its final plunge to river level, finding the ruins of a stone house, livestock pen and even some rusting farming implements.
The prospect of scratching a living out of the side of this remote stream seemed pretty daunting, but compared with the barren plains above this was a paradise of plenty. Springs bubbled out of the rocks above, delivering sweet water to wet our whistles.
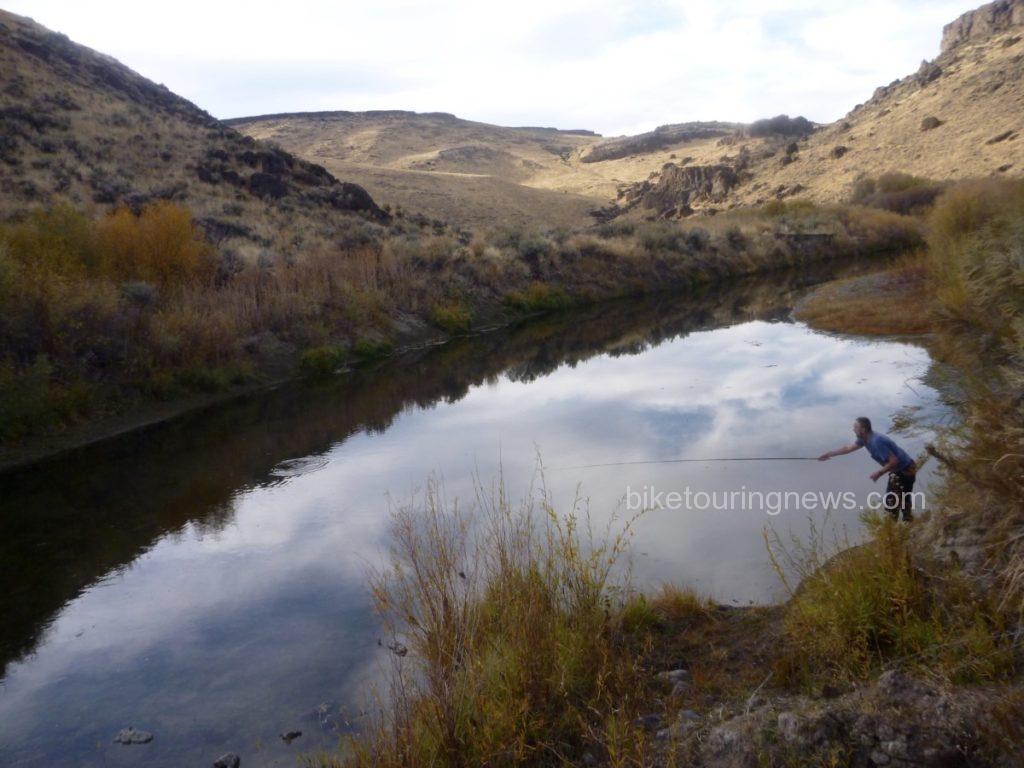
A brief exploration also revealed a river teeming with fish, which turned out to be Northern Pikeminnows. This provided an ideal opportunity to test the borrowed Tenkara outfit the Bike Hermit packed along. Thanks for the loan, Don! This was the first time fishing with Tenkara for me and the Bike Hermit, so look forward to more about that experience in a future post.
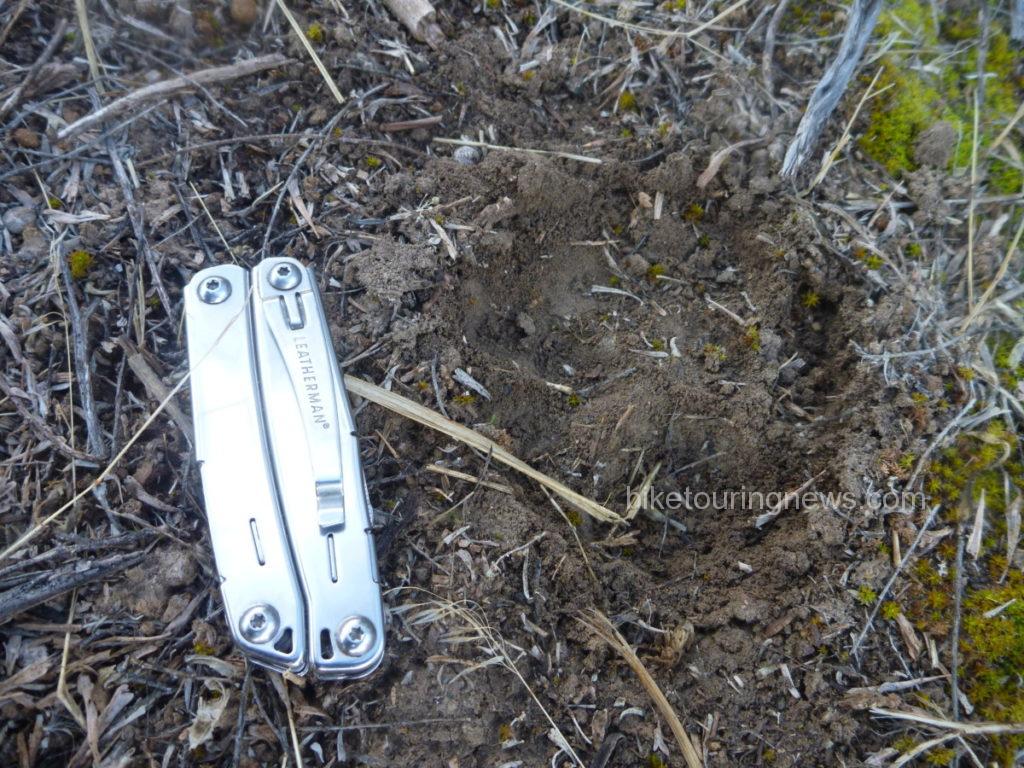
We awoke to temperatures barely above freezing and crawled from the warmth of our shelters to make our breakfast and coffee. I noticed the tracks of what appeared to be a mountain lion just on the edge of our camp, along a path we had trod the evening before to access the river. Did we have a visitor in the night? I can’t say for sure, but it certainly appeared that the big cat had stalked through the bush less than 15 yards from where we slept.
It seemed nobody was in a big hurry to tackle the climb back out of the river canyon. The first pitches were definitely unrideable on our loaded bikes and even the more forgiving sections tested our legs and determination. However, the exertions allowed us to quickly shake off the morning’s chill and we found ourselves back on the high plateau. We made good time northbound along the boundary line, headed for the river ford near the 45 Ranch.
Once atop a small rise, we were greeted with a stunning panorama of the massive gash in the earth containing the South Fork. It was clear that the descent to the 45 Ranch was going to be a wild ride, so we strapped our gear down tight and dropped in. The well-traveled road was delightfully smooth in some spots and terrifyingly rough in others. The switchbacking grade led us down to the homestead of the 45 Ranch, a privately-owned ranch in partnership with the BLM and the Nature Conservancy. We passed by the ranch on the way to the boat launch where we would ford the South Fork.
We paused at the river ford to partake of some victuals and prepare ourselves for the uneven footing and swift water. Group members crossed the river using varying tactics. Some – like Wendell – carried their bikes above the knee deep water…
Some – like Sky – pushed their bike along the bottom. I wonder who does her maintenance…
After crossing the river, we left ranch property and returned to the Wilderness along the Little Owyhee Cherrystem. We started out on a flat, rocky double-track between steep rock walls. However, when traveling through the Canyonlands, what comes down must always go up.
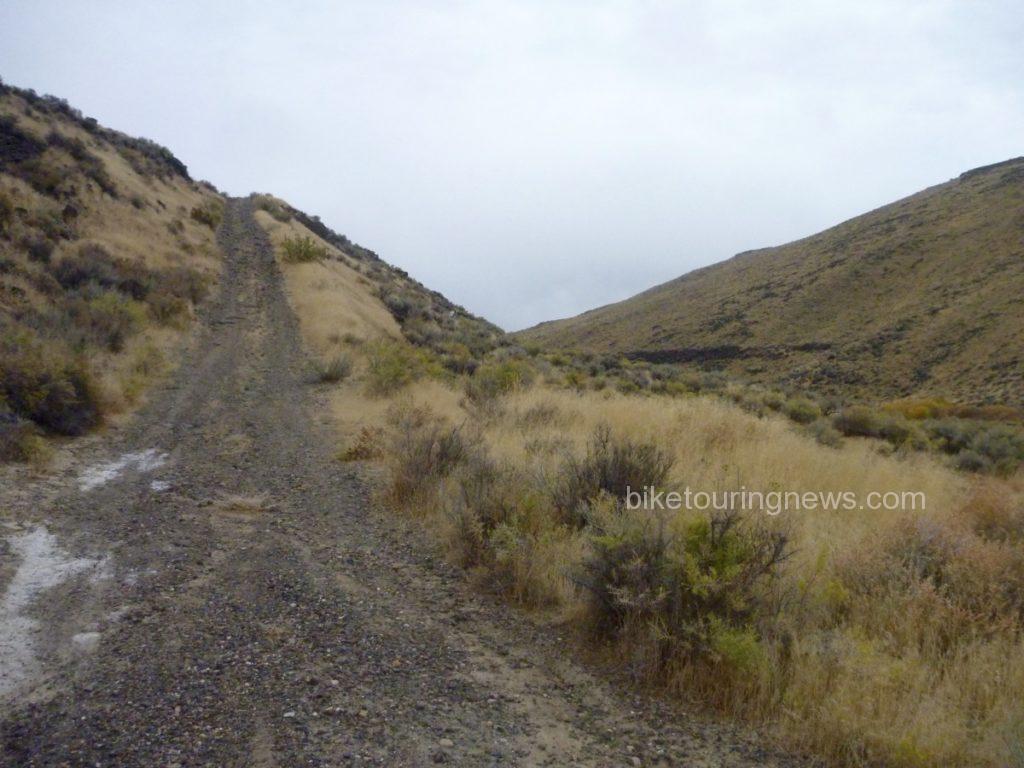
Our mild and scenic road soon turned steep and nasty. This climb out of the river canyon would be the most trying of the trip. The combination of intense midday sun, steep grades, deep ruts, off-camber tread, loose dirt and rolling rocks made this climb mentally and physically challenging. The left-hand track was reasonably smooth and appeared rideable but the loose soil and steep camber caused wheels to slip into the rut at the slightest shift of weight. Most of us were forced to push our bikes nearly all the way up from the valley floor.
The climb ground upward and topped out just uphill from a wide-open barbed wire gate. One downside to riding in the Canyonlands is that climbs are rarely rewarded with descents as they would be in the mountains. Instead, we were taunted by steep rollers and an increasing headwind as we headed south, keeping the Wilderness boundary on our left.
This section is among the least-visited in the entire Owyhee Canyonlands Wilderness. Our track showed little evidence of human travel within the past several months, if not longer. Animal scat, burrows, anthills and sagebrush abounded. Jackrabbits, coyotes and birds of prey appeared the be the only main road users. We investigated the heads of the Walcot and South Fork Cherrystems, neither of which had seen traffic in quite some time.
After 14 “desert miles” riding through the wide open ocean of dust and sage along the boundary line, we crossed through a gate. Somewhere past the gate we crossed the unmarked state boundary and into Nevada. South of the fence, evidence of heavy horse use was everywhere. Hoofprint potholes and heaping piles of “road apples” littered the double track and made for rough going. The stiff headwind made life even more difficult. We were feeling the effects of the tough climbs and long miles as we sought shelter and water for our evening’s camp. Shadows were already growing long in the road, obscuring rocks and holes in the right-hand track. Evidence of the fragility of life in the desert was all around.
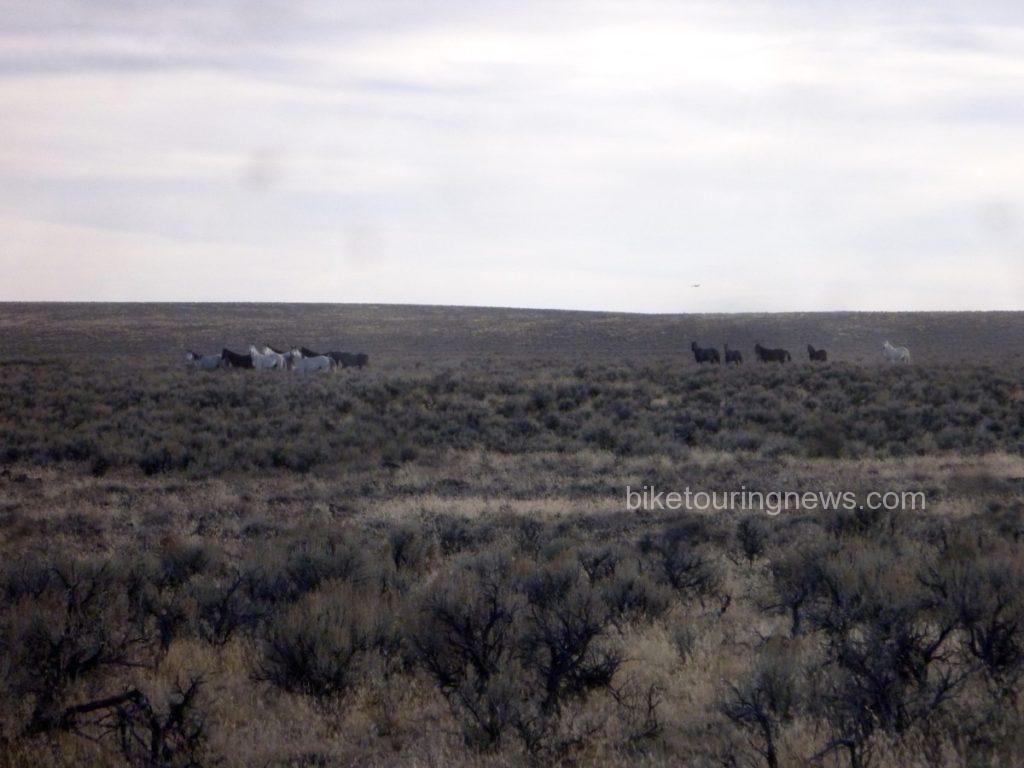
After cresting a small rise, we sighted a group of the horses responsible for the hoofprints and manure piles. They became aware of our presence and pricked their ears in our direction. However, they weren’t about to let us get very close.
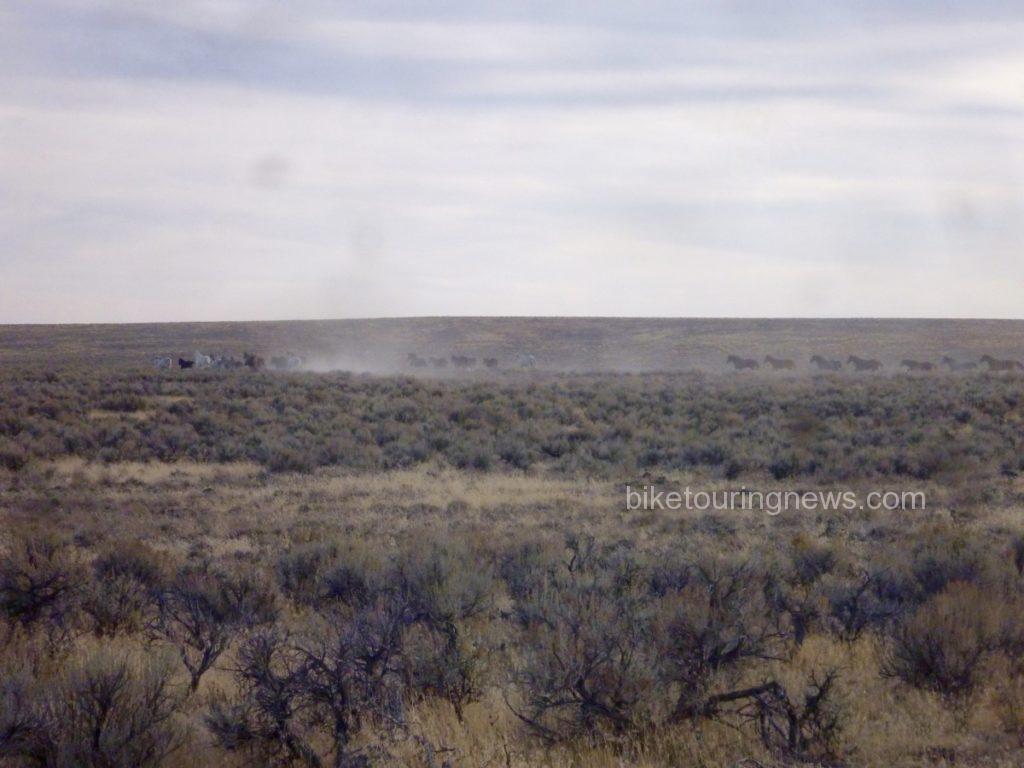
They turned tail and headed east, raising a mighty cloud of dust as they went.
We encountered another group as we picked up the Paiute Pipeline road. They’re just visible on the horizon in the photo below. Despite their skittishness, we were in their territory and this wouldn’t be the last we’d hear of the horses. We pedaled on, feeling battered by the rough road, headwind and long miles. We were quite ready to reach our riverside camp and put our bikes to bed.
Yet again, we braved a steep, rocky and loose descent into the river plain. From our high point on the plateau, we looked out across the valley to see the Pipeline road continue across the basin and climb straight up the opposite wall far in the distance. Evidence of horse mortality presented an ominous sign as we focused on making camp and put the next morning’s challenges out of our minds.
With a sigh of relief we reached the second river ford of our trip. Again, group members took varying approaches. Wendell opted to stay on the south bank and make his camp above river level. The rest of the crew elected to make the river crossing now rather than brave the chilly water in the morning. In our depleted and mentally deficient state, pitching our camp in the middle of the road didn’t sound like such a bad idea. We prepared our respective meals and turned into our shelters under a clear, starry sky. The crystalline starscape is one of the biggest rewards for traveling in this tough and forbidding landscape. Situated in the middle of one of the largest unpopulated areas anywhere in the United States, light pollution is practically non-existent. I lay in my bivy sack for quite some time, watching shooting stars and soaking in the view of the Milky Way as I dozed off.
On the morning of the third day, the discussion centered around the question, “did you hear those horses last night?!” At least one of the bands had descended from the plain above to river level for their evening drink, coming nearly right through our camp. The thunder of their hooves pounding down the rocky slope shook the ground and woke us from our slumber. The horses retreated when Wendell poked his headlamp out of his tent but continued to snort and stomp along the canyon rim. Despite our fascination with the equine residents, it was time for us to leave this place. We were due at the rally point at 11am to meet Evan and head back to civilization. That meant another grind up from river level, which started right off the bat.
This short but brutally steep stretch of Pipeline Road was littered with loose, round rocks that rolled like billiard balls at the slightest touch. Even on an unloaded fatbike, I’m not sure if it could be climbed. We had a difficult enough time walking up the cruel grade but were pleased that it didn’t last long. As we headed northeast toward Idaho, evidence of horses faded and the track grew smoother. A few rollers in the basin even delivered enough of a speed boost to get us into our big chainrings, perhaps for the first time on this odyssey.
The climb out of the basin loomed large in the distance and we prepared ourselves for the final grunt of the trip. The grade grew steeper the farther up the pitch we climbed and we were all forced to push our bikes to the rim. Wendell and I waited at the top, watching the rest of the group approach and eyeing the route we had taken yesterday and this morning across the wide-open bowl of grass.
Now back in Idaho, we continued to follow the Pipeline Road until we came across a dilapidated ranch outpost, complete with a two-story cabin, outhouse, workshop and corrals. Despite the run-down appearance, it was clear that the property still got some occasional use but was no longer suitable as living quarters. The cabin’s frame and foundation were solid but the roof and windows were long gone and the interior had fallen into deep disrepair. We struggled to imagine the difficulty of survival through the bitterly cold and windy winters out here on this exposed, isolated plain.
Just as we completed our explorations of the cabin and prepared to continue toward our meetup point, we saw the government pickup rumbling down the road toward us. Our Wilderness adventure was finished. With mixed emotions, we loaded our bikes and piled back into the truck for the drive back to the modern world.
Despite – or perhaps because of – the challenges and difficulty, trips to remote corners of our planet leave us with a better sense of our place in the world. We are reminded of the fragility of life, especially our own. We are forced to return to a more basic way of thinking that places priority on simple survival. When we return to the relative luxury and security of our normal lives, we do well to retain the perspective gained from journeys such as this. However, regular doses of wildness are essential to the maintenance of that perspective. That’s why places like this deserve to be protected. That’s also why we’ll keep going back.
For ages, they’ve been the standard. They’re nearly as ubiquitous as racks and panniers on touring bikes around the world but can also be found on road racing steeds, track bikes, cyclocross machines, commuting rigs or even mountain bikes. I’m talking about drop bars. Ask just about anyone what a bicycle handlebar looks like and they’ll likely describe the ramhorn bends of a drop bar. They come on many of our favorite new bikes, like Surly’s Long Haul Trucker, Disc Trucker, Cross-Check and Straggler. It isn’t tradition alone that keeps these gracefully curved tubes on the front of so many different bikes. Drop bars offer an effective and comfortable range of hand and body positions that are excellent for a great variety of riding styles and terrain. There are hundreds of subtle variations in shape available, each with differing reach, drop, width and bend to provide a rider with the perfect fit. In short, drop bars are awesome.
However, there are situations where a drop bar leaves much to be desired. Take a look at mountain bikes or off-road motorcycles and you’ll see what I mean. In order to maneuver his machine through difficult terrain, the off-road rider needs a neutral or slightly rear-biased body position and plenty of leverage. A wide, flat, slightly backswept handlebar does just that. What that flat handlebar doesn’t do is provide a multitude of hand and body positions. For the singletrack rider who is constantly moving and shifting her weight over the bike this is not a big drawback. Her riding position changes independent of her grip on the handlebars. For the touring or bikepacking rider who may cover long stretches of flat and smooth terrain in between steep and rough sections, the limited hand positions offered by a flat bar can lead to soreness, stiffness and accelerated fatigue. This is why we see so many bikepacking bikes with aerobars clamped onto flat bars. The rider needs alternative hand and body positions to ride comfortably for hours at a time.
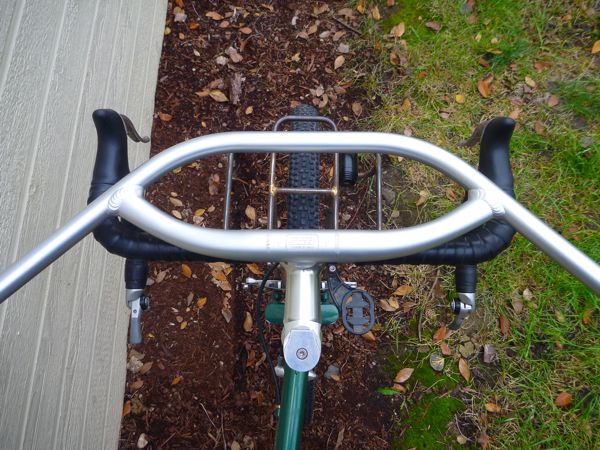
So – as in most things – a middle ground must be sought and the unconventional thinker often arrives at the ideal solution. When it comes to handlebars for off-road touring and a variety of other applications, Jeff Jones’ Loop H-Bar may just be that solution. A great deal has already been written about the H-Bar’s merits – much of it by Jeff Jones himself – so I won’t waste time adding to the mountain of praise already heaped on these bars. In many ways, the H-bar neatly splits the difference between a drop bar and a flat bar, retaining the best characteristics of each. It offers the width and leverage of the flat bar, the forward reach and hand positions of the drop bar and much more room to shift weight rearward. In addition, the Loop-H bar’s forward extension offers a perfect location for strapping a handlebar roll. Revelate even offers a special 4-point attachment kit to neatly secure their Sweetroll to the Loop-H bars.
The astute reader may recall that I have been considering a different handlebar for my dirt touring bike ever since my experience on the Smoke ‘n’ Fire 400. Given the large number of other touring riders who may be pushing the limits of their drop bar setups and looking for alternatives, I thought I’d share some thoughts and experiences from the process and try to provide a setup guide for H-Bars on a touring or bikepacking bike.
Assuming you’ve settled on the H-Bar as the right handlebar for your application, there are a few other components you’ll need to effect the conversion. Since my bike and most of the touring bikes we sell are spec’ed with drop bars and bar-end shifters, I’ll walk you through that process. If your bike has integrated shifters or downtube levers, your process and the parts needed will be different.
So, let’s get down to the details. What do you need to make the conversion from drop bars to H-Bars on your bike? Every bike is different and there is no one perfect setup. Many of these questions you’ll have to answer for yourself – especially when it comes to fit. I do not claim to be a fit expert and have arrived at positions that work for me through a combination of self-education and trial-and-error. If in doubt, consult a trained bicycle fitting professional in your area before making any dramatic changes to your riding position.
First: Pick Your Handlebars
Jeff Jones offers three different handlebars that provide the same basic positioning but in slightly different shapes and widths. They are the Loop-H, Cut-H and Bend-H. They are all available in 660 or 710mm widths and a variety of materials. If you’re planning on using a handlebar roll (especially the Revelate Sweetroll), you’ll be happiest with the Loop-H. If you won’t be strapping much gear to the bars, don’t need as much forward extension but want the width and backsweep in an elegant shape, get the Bend-H. Other than aesthetic preference, I don’t think there is much to recommend the Cut-H over the Loop. Also, there isn’t really much reason to choose the 660mm width as the handlebars are clearly marked for cutting, if desired. I would encourage anyone other than the smallest riders to try the wide bars first. You just might like them and you can always trim them later. For my purposes, I went with a silver, aluminum Loop-H Bar in a 710mm width.
Second: Pick Your Stem
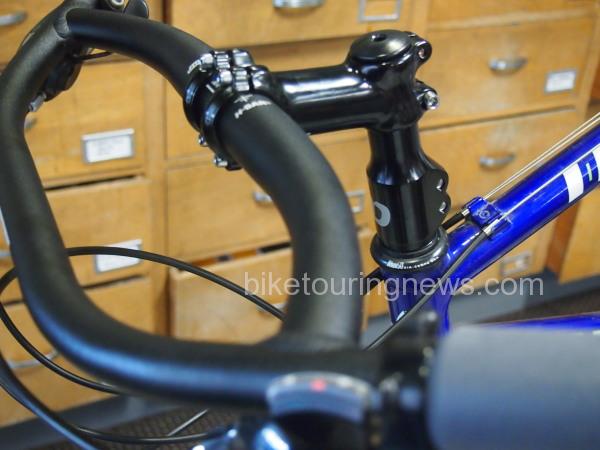
Now things get complicated. Bicycle fitting is a highly complex topic with very little good research to draw on outside the racing world. The makeup of a comfortable and efficient riding position is different for everyone, so I’ll do my best to offer helpful guidelines you can use to find your own sweet spot. Jeff Jones wrote a useful blog post on choosing a stem to pair with your H-Bar but it is geared toward riders moving from flat bars to H-bars. Since we’re talking about drop bars here, I’ll take you through some of the questions you’ll be faced with.
There are two important variable to consider when choosing your stem: reach and stack. Reach describes the horizontal position of the bars, or how far out they are. Stack (or drop) describes the vertical position of the bars, or how far above or below the saddle they sit. Reach and stack can be measured in a variety of ways but since we’re talking about converting an existing cockpit assumed to be comfortable, I’ll talk about them in more relative terms.
First, let’s talk reach. Most people find that their favorite hand position on drop bars is on the brake hoods or the “ramps” of the bars just behind the hoods. Assuming you are reasonably comfortable on your drop bars, I recommend setting up your H-Bars so that the forward extension gives the same reach as the farthest forward position you can reach on the brake hoods. This will give you roughly the same amount of room to stretch out forward but with much more space to shift your weight back. In this position I found that the junction of the grip section and crossbar landed right on the ramps, providing an ideal perch to simulate the sweet spot on my drop bars. It is worth pointing out that the total front-to-back reach of the Loop H-Bar is significantly longer than a typical drop bar. Compared to roughly 5.5 inches of reach on an average drop bar from the front of the brake hoods to handlebar center, the 710mm Loop H-Bars measure a full 9 inches from the center of the forward extension to the center of the rearmost portion of the grip area. Most of this additional real estate comes in the widest, rearmost grip position. Avoid the temptation to set your bars farther forward to favor this grip position as it will render the forward extensions unusable and prevent you from shifting your weight farther back for descents.
With the H-Bars positioned in the manner pictured above, I estimated that I would need to shorten my stem by 1cm to secure them in place, so I settled on a 90mm long stem.
Now let’s talk stack, or drop. For most riders, positioning the H-Bars so they are roughly level with the saddle yields a comfortable, neutral riding position with good weight distribution between handlebar, pedals and saddle. Depending on your current setup, you’ll likely need a stem with more rise or up-angle to achieve this. By changing my stem from a -10 degree to a 0 degree, I raised the handlebars by roughly 1.5cm, putting them just a hair lower than my saddle.
If you need to raise the bars more than a couple centimeters this stem extension is available which clamps onto the fork steerer tube in place of the stem. The stem in turn clamps onto the extension affording up to 8cm additional stem height.
All of the Jones bars have a 31.8mm clamping surface, so be sure that any stem you purchase will fit the handlebar and your bike’s steerer tube to avoid disappointment. Thomson’s X4 mountain bike stem is an excellent choice but we offer several less expensive options as well.
Third: Choosing Brake Levers and Shifters
After the complexity of the stem question, the remaining decisions will be fairly straightforward. When choosing brake levers, you’ll want a flat-bar, MTB-style lever that pulls the proper amount of cable for your brakes. Cantilevers, centerpull, sidepull and road disc brakes use a short pull. V-brakes and mountain disc brakes use a long pull. Also, I highly recommend levers with a good reach-adjustment mechanism for the H-Bars. You will need to replace the brake cables and housing so if the new brake levers don’t include cables and housing you will need to purchase those separately.
If you have bar-end shifters, Paul Components’ Thumbies provide a clean and elegant way to mount your shifters on top the Jones Bars and use them as thumb shifters. The bar end shifters will work in the ends of the Jones bars but, given the width and the sweep of the bars, this might be a little functionally awkward.
Hope this guide offers some help and direction to those considering a swap to the Jones Bars.