Categories
Idaho Our Trips Planning Resources Surly Bikes Touring Bike Tires

Testing the Pack Rat and Road Plus Tires on an April Fool’s Errand

Back in December 2017, Surly announced the release of a new front-loading light touring bike – the Pack Rat.  I was excited about the possibilities from the moment I learned of this bike’s existence and Bike Touring News was one of the first shops to stock them.  In the intervening 4 months, Surly has released no fewer than three more new models – the “Allroad” Midnight Special, a redesign of the Pugsley expedition fatbike and the entry-level dirt touring Bridge Club.

What with all this newness in such a short period, I was a little afraid that the humble Pack Rat might be forgotten.  I had already had favorable impressions from brief rides around town, so I set out to test this bike’s capabilities on a weekend ride.  I wanted to know if the Pack Rat was capable of loaded touring over the mix of terrain we commonly encounter here in Idaho and if this was a platform I could recommend for two-wheeled exploration past the end of the pavement.
In order for this road test to be meaningful, I’m going to need you to hang with me in the Land of Make-Believe for just a little while.  Got your Imagination Cap on?  Good.

I’m going to make a statement that should be treated as fact for the duration of this post.  Ready?

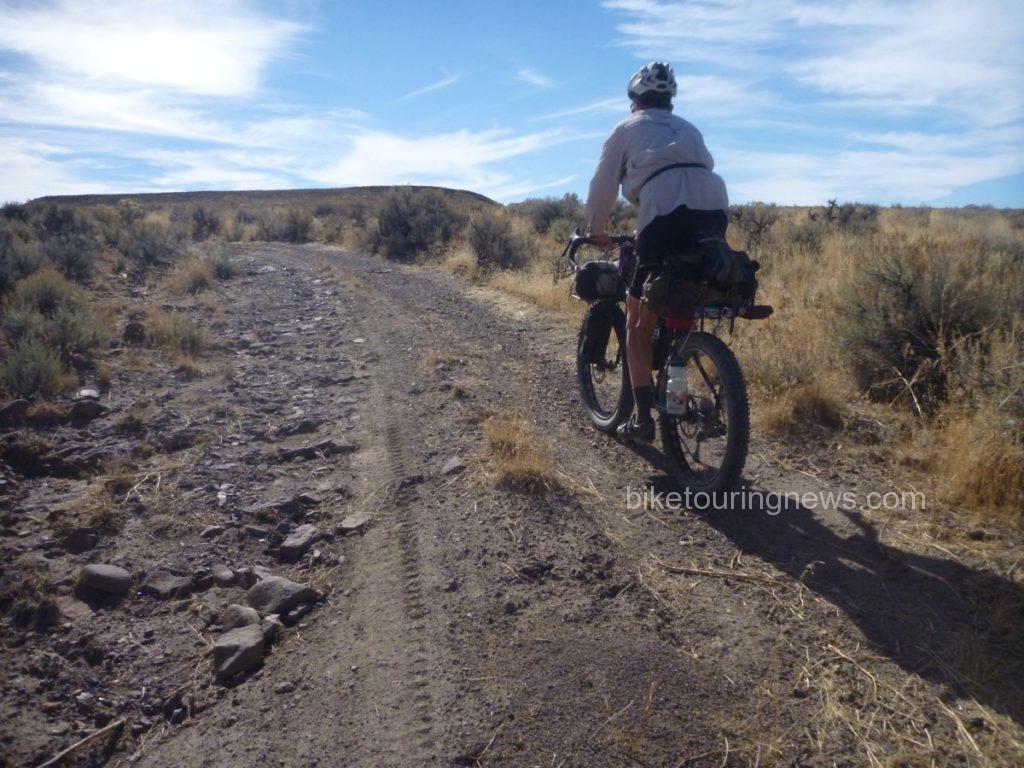
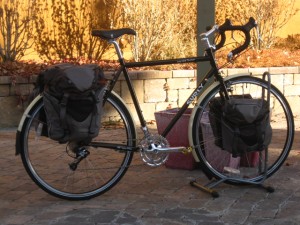
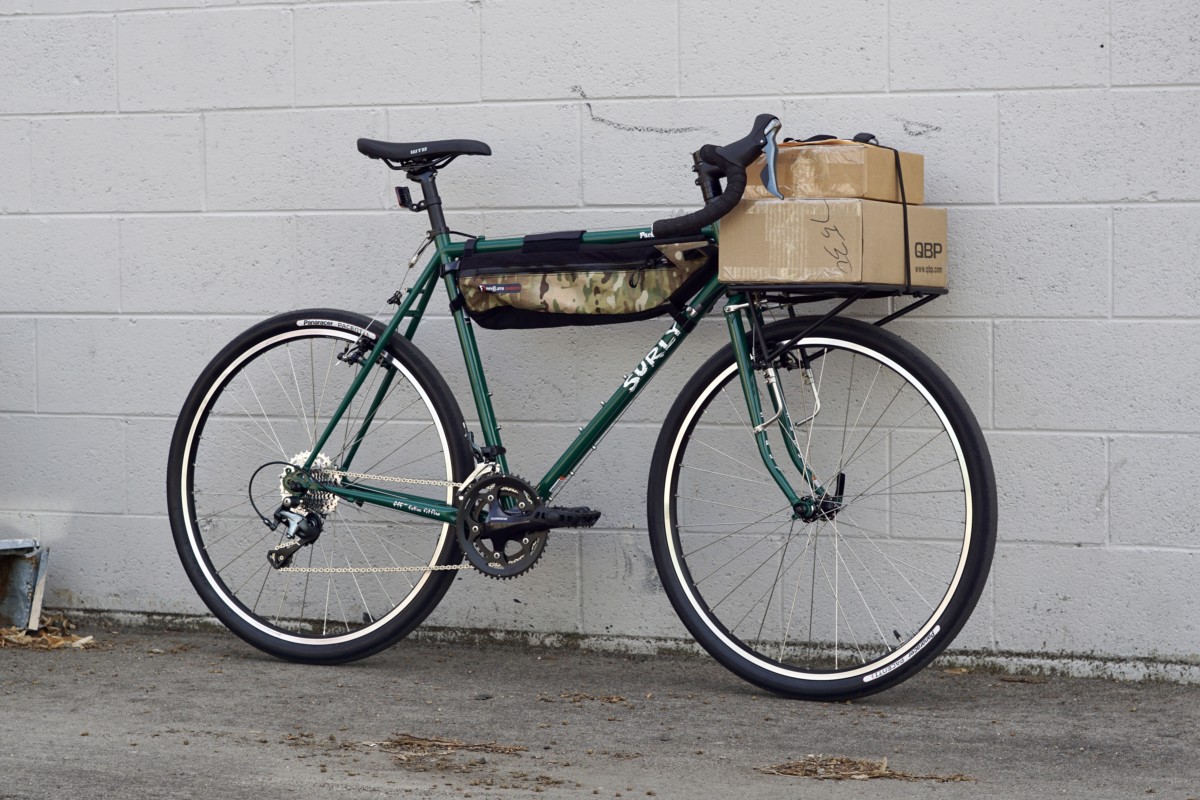
The bike pictured below is a Pack Rat.  Got it?
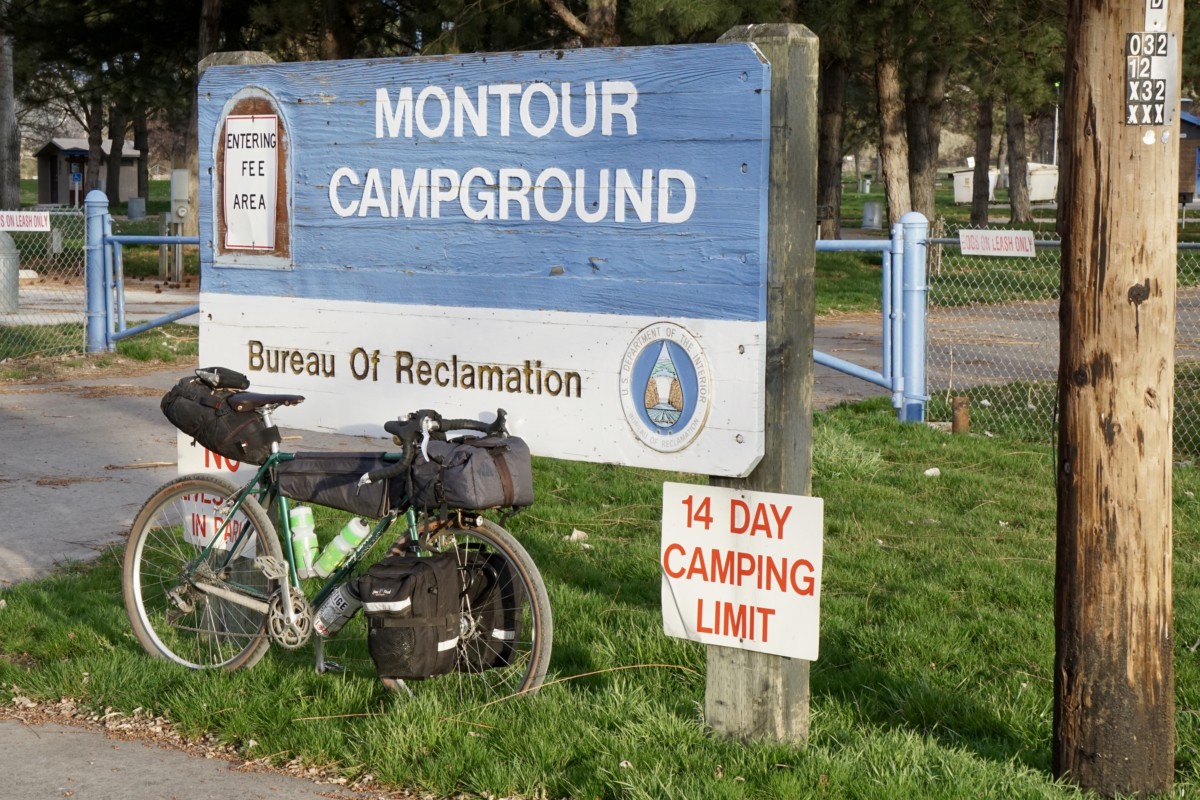
My old war horse of a touring bike – affectionately known as the Rando-Gnar – is nearly identical to the Pack Rat in every way that matters.  Both bikes are designed around 650b wheels with clearance for 47mm “Road Plus” tires.  Both feature geometry optimized for a front load.  Steel frames, drop bars, cantilever brakes, plenty of braze-ons for racks and cages.  Heck, they’re even (almost) the same color.  Nearly every component on the Rando-Gnar would move right over onto a Pack Rat frame.

In order to transform a stock Pack Rat into the bike you see above, all you need to do is mount a set of WTB Byway tires, drop the gearing down a bit and attach whatever racks and bags you deem necessary.  Boom, pow!  You’re ready to pack your gear and hit the road.

For this exploration of the Pack Rat’s touring capabilities, I mapped out a route that would cover around 160 miles of paved and dirt roads that would vary widely in condition.  I knew of one stretch of unmaintained road that would likely be in very poor condition.  The roads that climbed into the foothills of the Boise and Payette National Forests were more of an unknown quantity as I had not ridden them before.  I had some idea of what to expect and had been assured by a Forest Service Ranger that the roads were free of snow – though I had my doubts.  Most of the remainder consisted of varying qualities of pavement and maintained dirt roads.
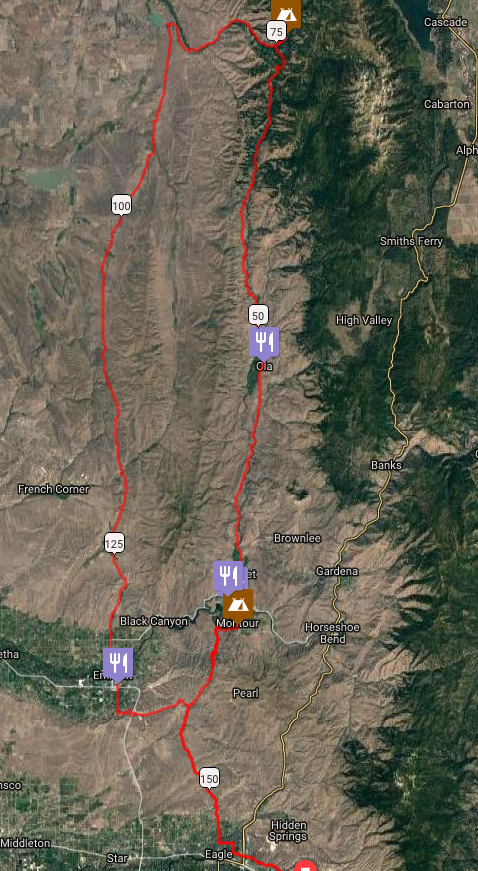
I set out from Boise on smooth pavement and re-adjusted to the ride of a loaded bike.  My haphazard packing strategy resulted in a heavier bike than I would have liked but I felt confident that I was well prepared for the unpredictable springtime weather and road conditions.  Rolling tubeless at 42psi, the Byways cruised down the pavement nearly as fast as a good racing tire.  I felt the weight of my load when the road turned uphill but the ride was speedy and efficient overall.

When the road turned to dirt in the rolling foothills north of Eagle, the Pack Rat pressed ahead with aplomb.  Traction was adequate for out-of-the-saddle riding over some of the steeper pitches, though I had to be conscious of my weight distribution to prevent the rear tire from slipping on looser ground.
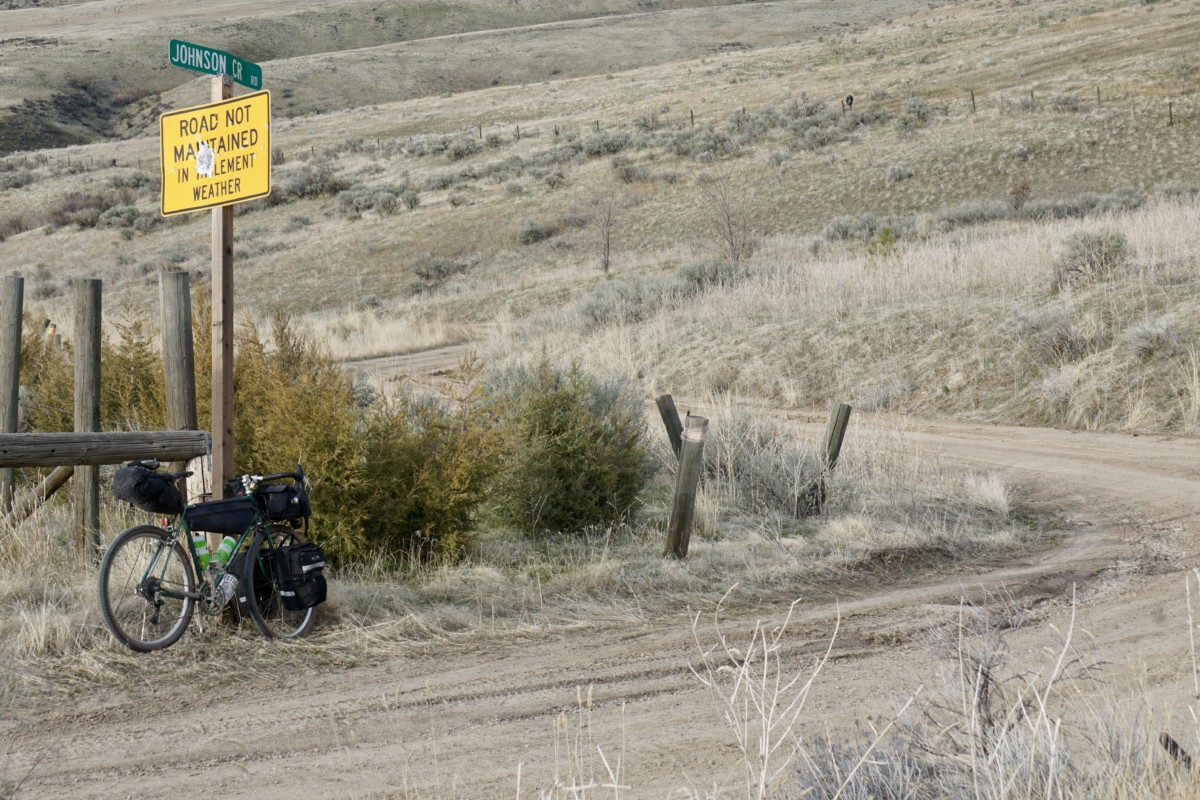
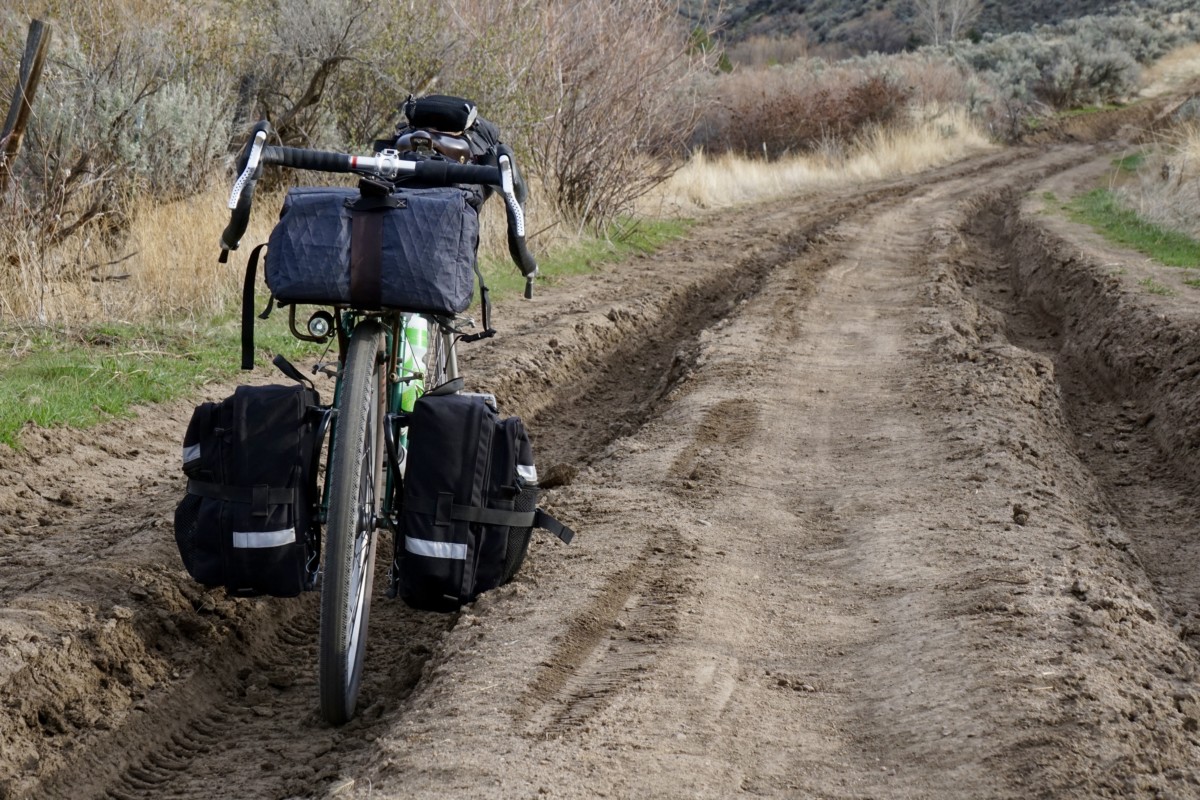
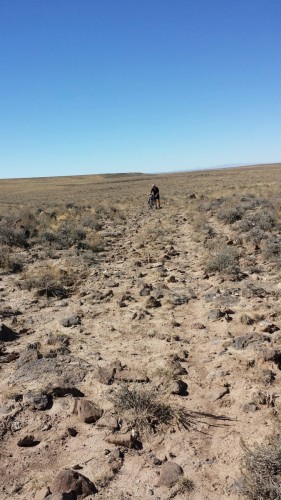
From the saddle at the top of Sand Hollow Road, our route descended the unmaintained Johnson Creek Road to the Payette River.  This road bears deep, rutted scars from heavy truck use in wet conditions and is very eroded in spots.  We rolled in, enjoying the views while keeping to the high ground between the ruts.
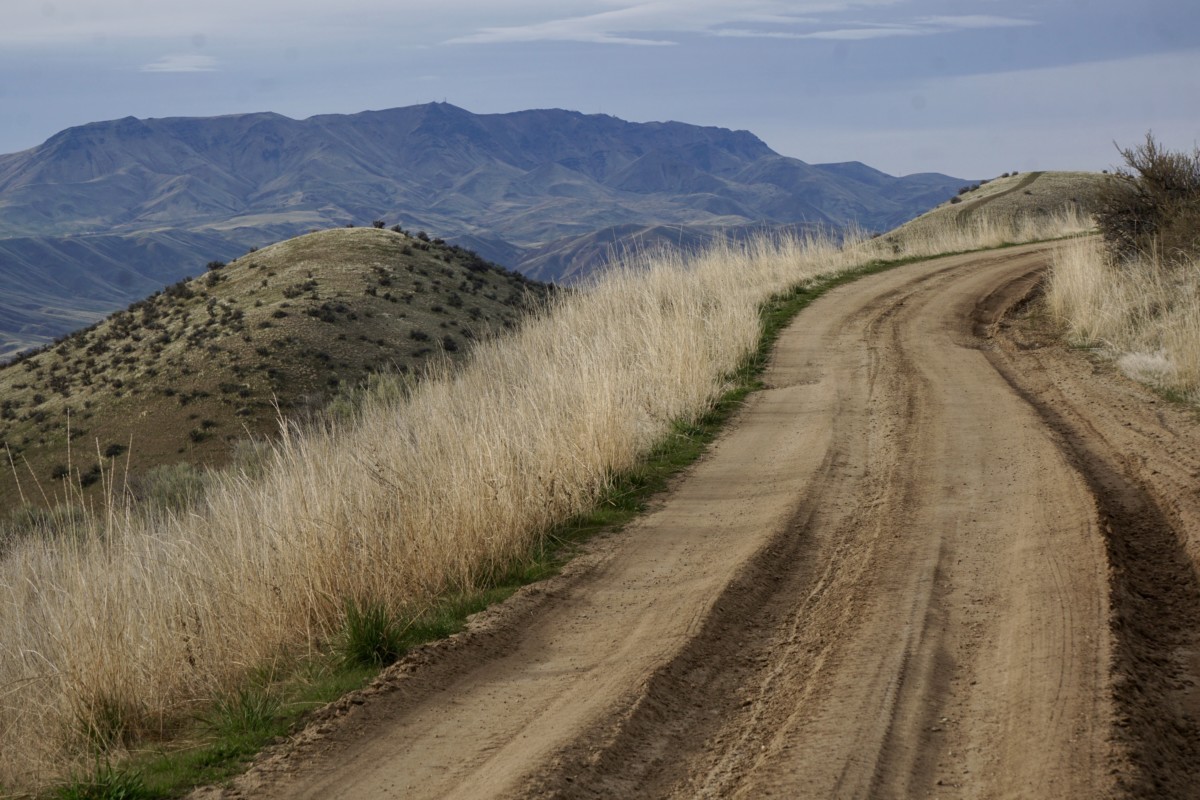
The ruts were nearly three feet deep in spots but the clay was hard and firmly packed, making for predictable traction even at off-camber angles.
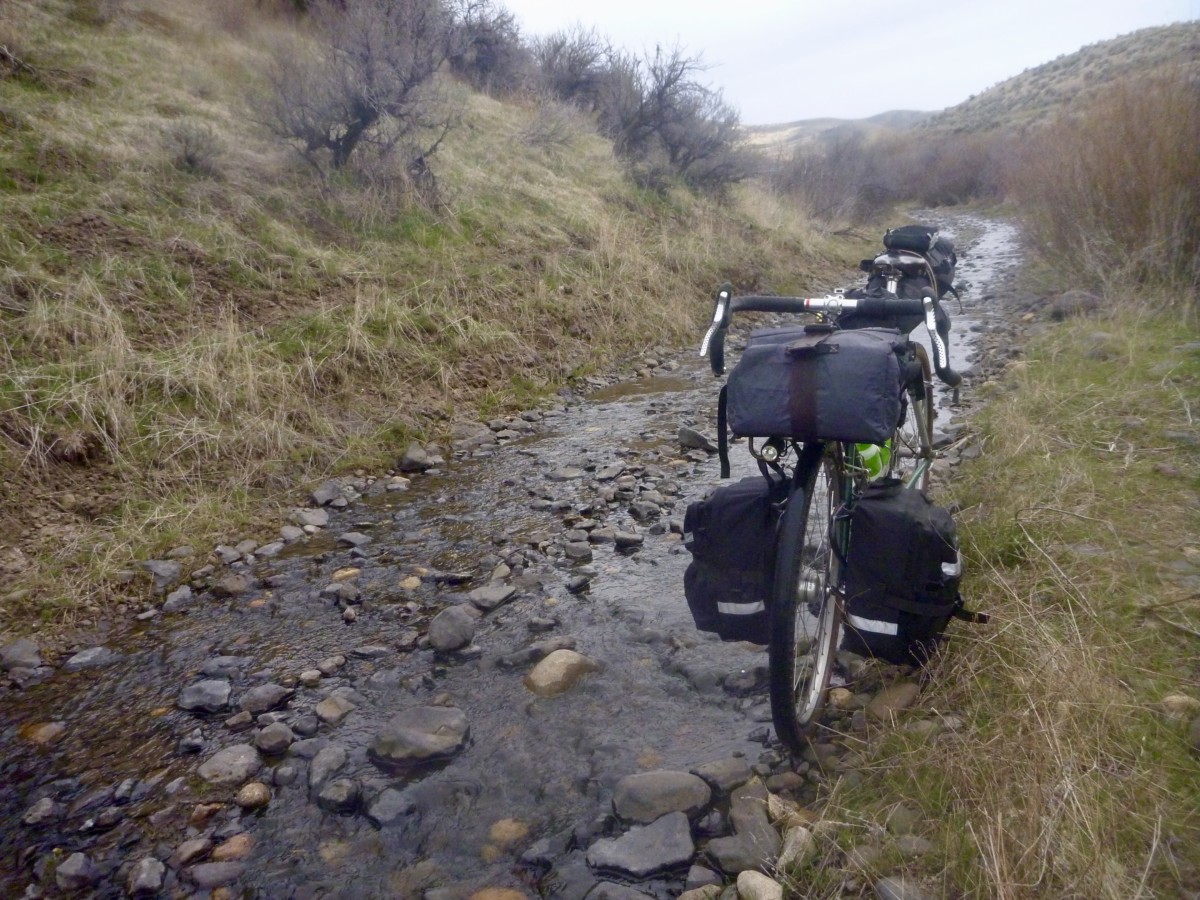
One section of the road has been completely taken over by the creek and presents about a quarter-mile of bumpy riding over loose, slippery river rocks.  I rode cautiously but never felt in danger of bottoming out my tires.
Johnson Creek Road drops into Shalerock Road, a wide and well-maintained dirt road that descends into the Montour Valley.  We basked in the dusky light on the descent to the Montour Campground for the first night’s camp.

After a hearty breakfast at the Triangle Cafe we struck out to the north the next morning, gradually gaining elevation on the paved Sweet/Ola highway.  The snowy mountaintops in the distance made me wonder about the elevation of the snow line.
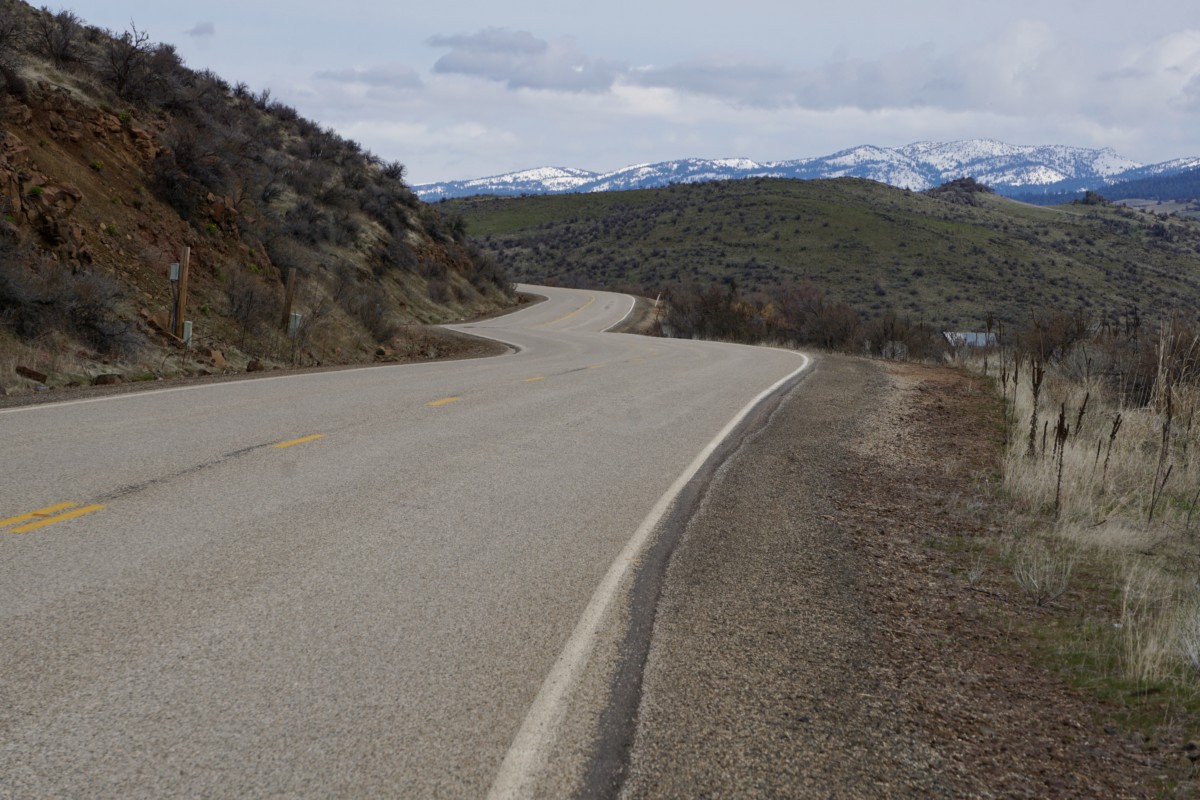
The road turns to dirt a couple of miles past the little town of Ola.  Conditions were excellent – nicely packed clay with a scattering of loose pea to marble-sized gravel.  The Pack Rat carried speed well and cornered confidently.
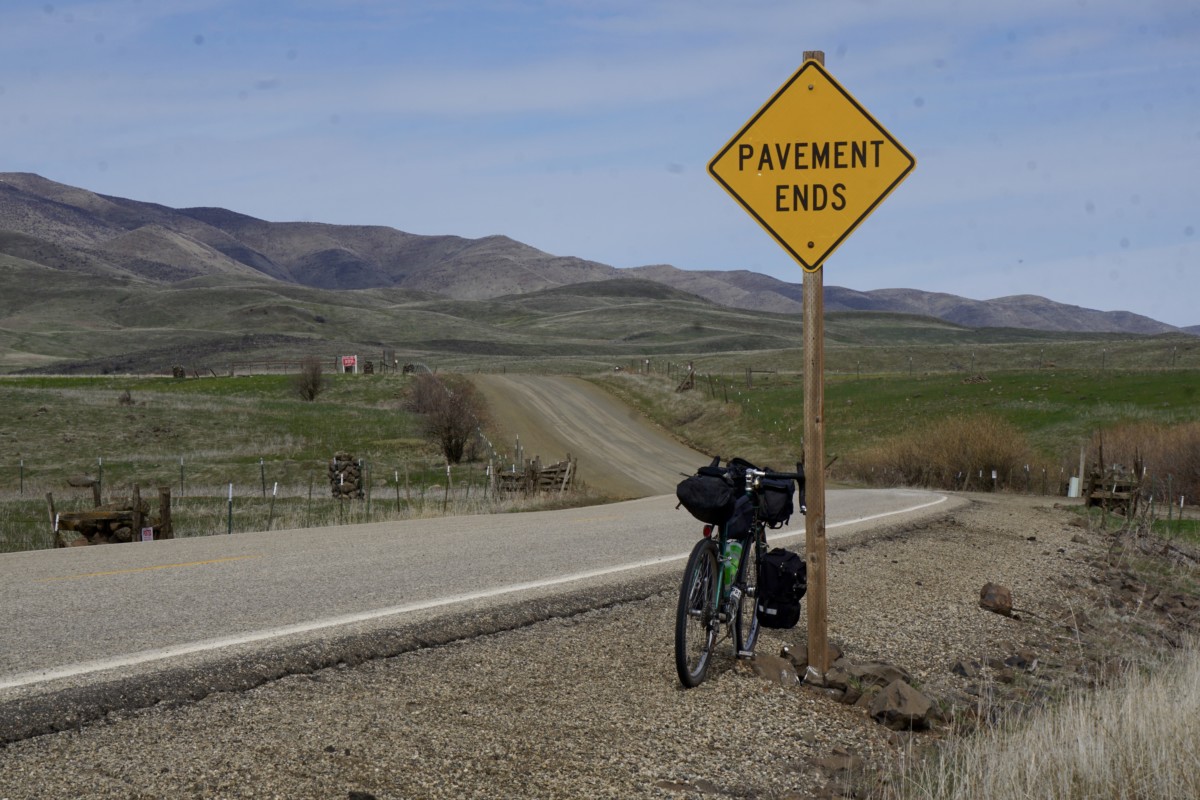
I was forced to adapt my pedaling rhythm to the lumpy terrain and the Pack Rat responded well – forging forward to crest each roller as I rose out of the saddle.
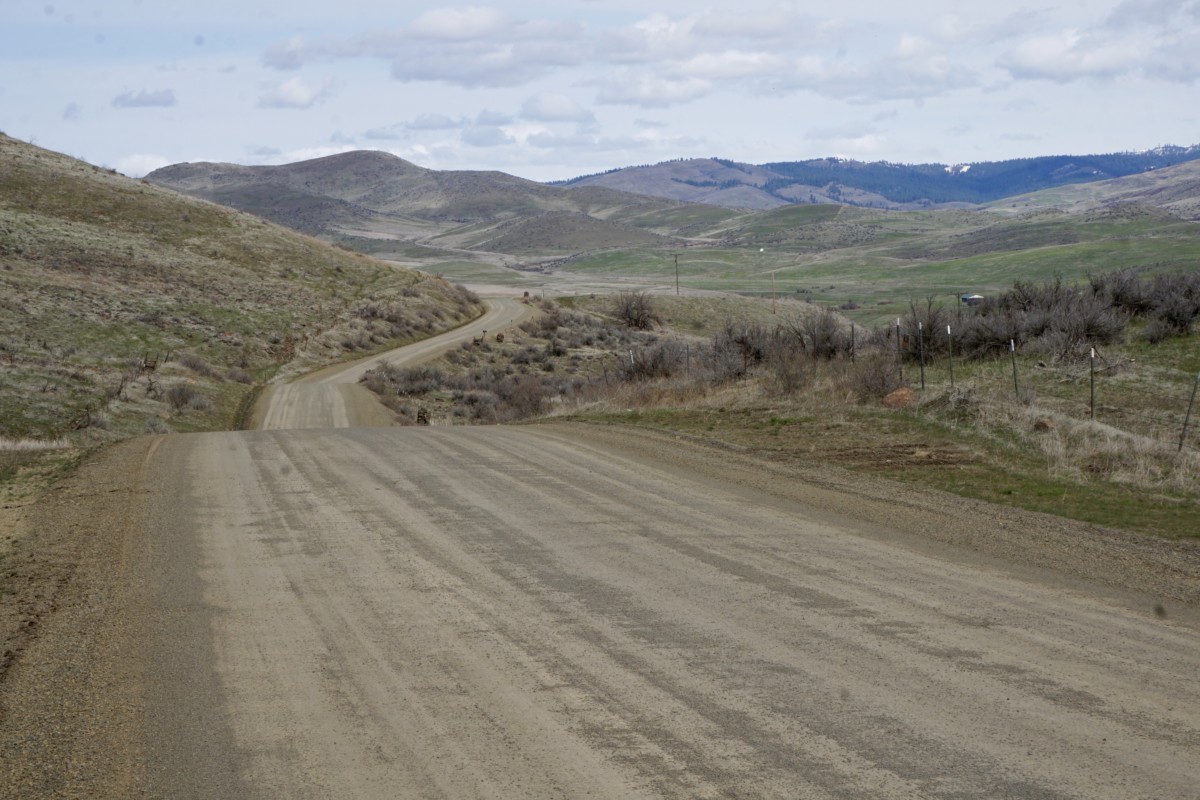
The Byway tires provided a sufficiently large contact patch and plenty of cushioning to keep the bike composed on the quick descents.  Momentum is everything when pedaling a loaded bike, so it was nice to have the confidence to let the bike run on the short downhills and carry good speed into the next climb.
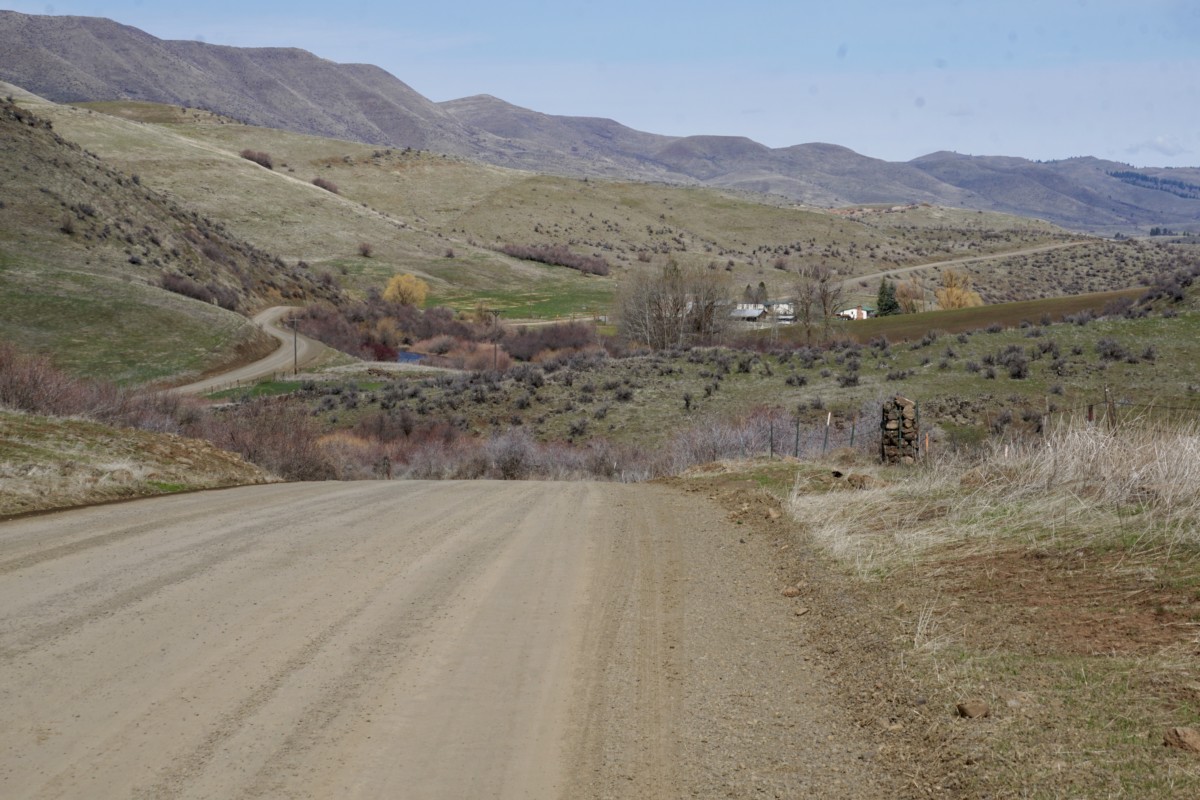
The road continued to wind its way north, following Squaw Creek toward its headwaters in the Payette National Forest.  We were getting close to 4,000 feet above sea level and entering the pine forest, so we began to encounter wet conditions and sections of slushy snow on the road.
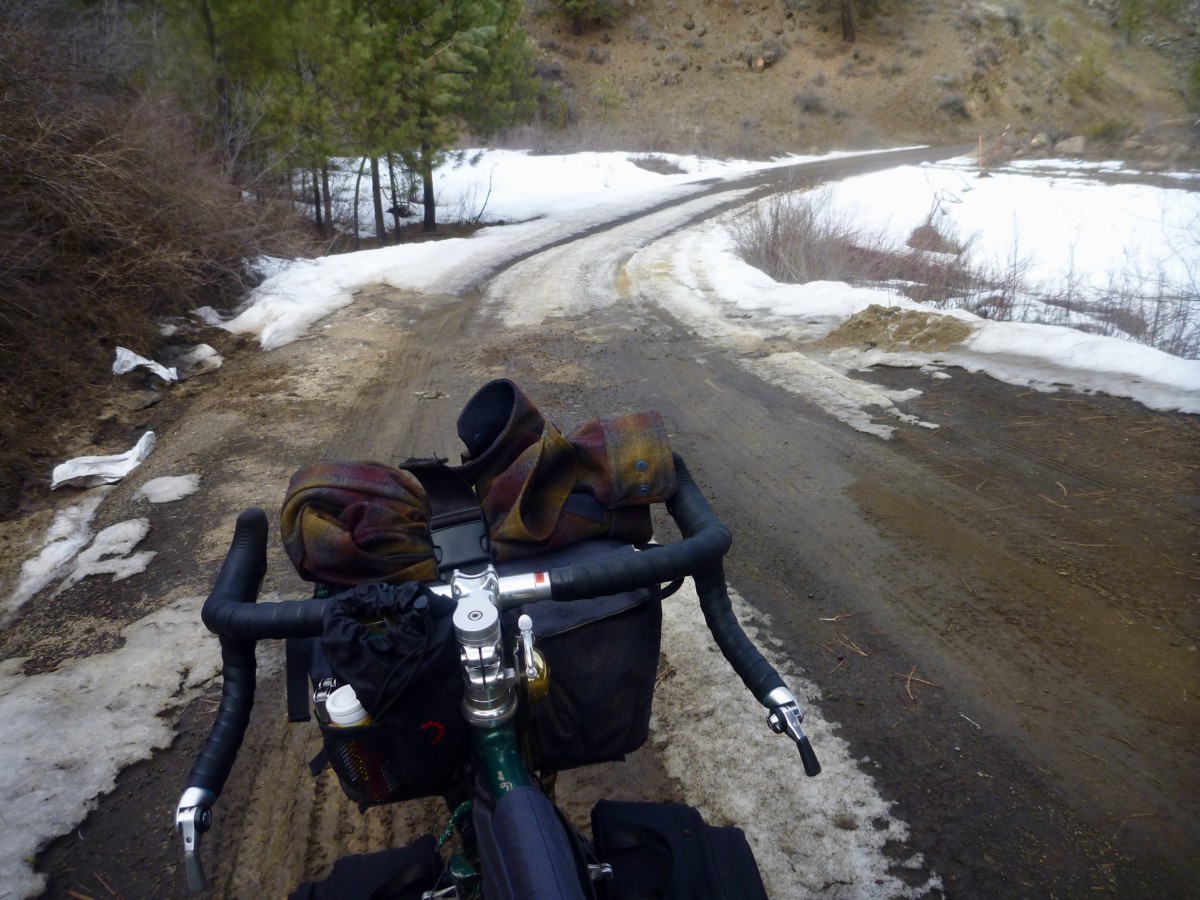
The 47mm tires sank somewhat into the softened road surface, slowing their roll and forcing me to work harder for the same speed.  However, they certainly provided more traction and flotation than narrower tires would have.
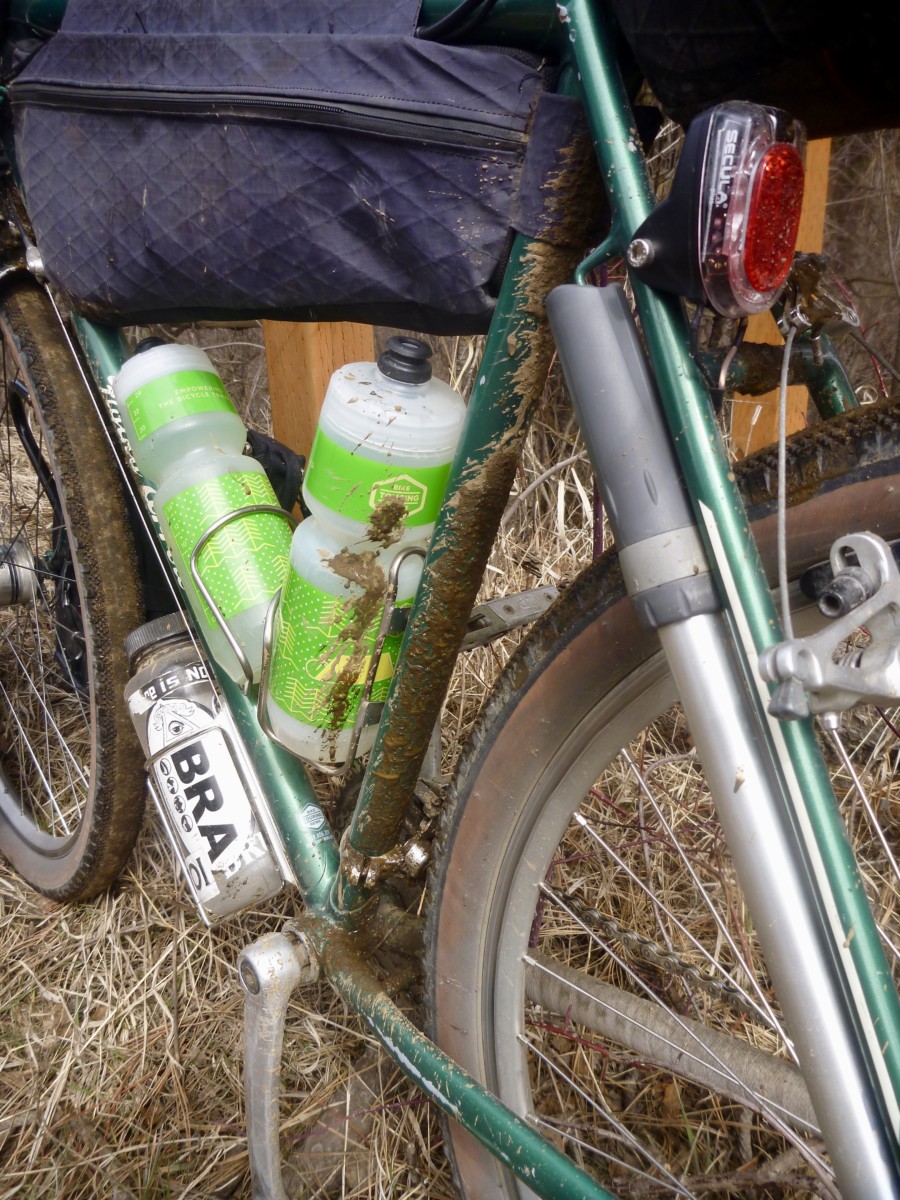
The road began to climb more steeply and the snowy stretches became longer until they became practically uninterrupted.
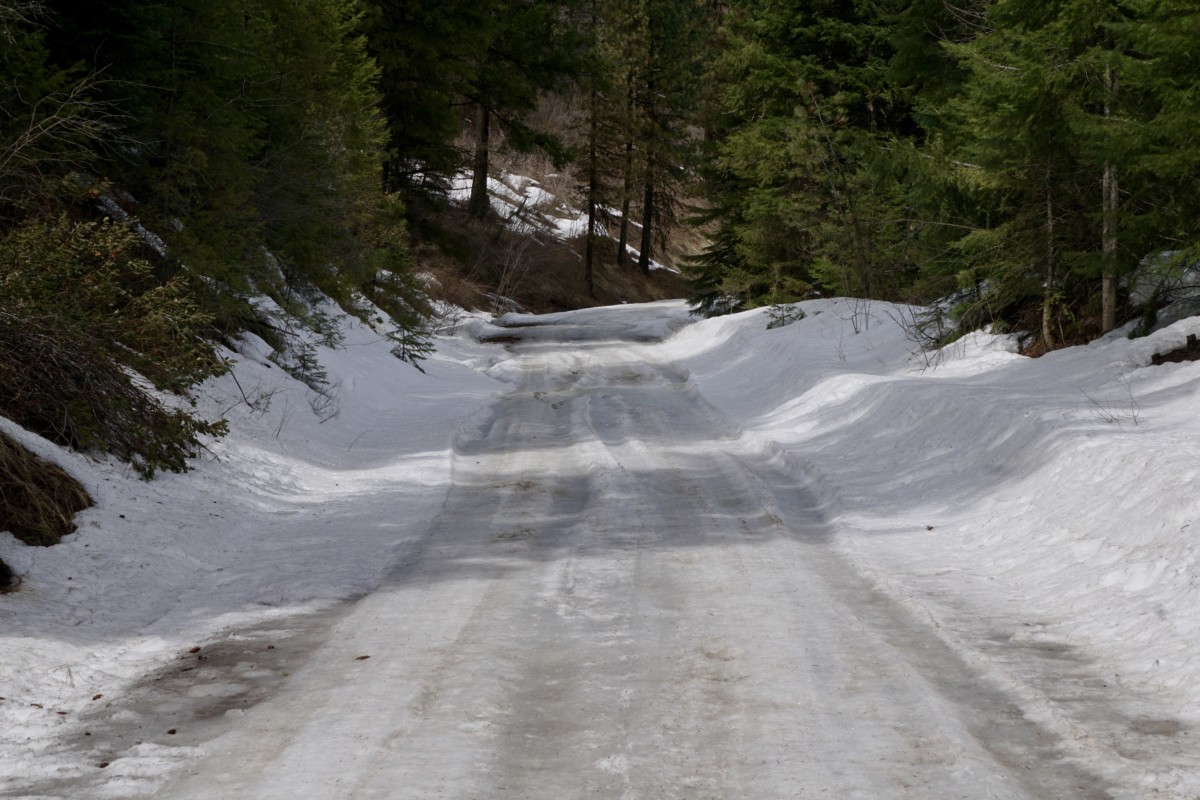
While the snow was not very deep, the Byway’s diamond tread didn’t provide enough bite for steering or pedaling through the slippery slush.  Likewise, the 47mm width was not sufficient to say on top of the crust layer.  I could ride brief stretches when the road leveled out but climbing was not possible.
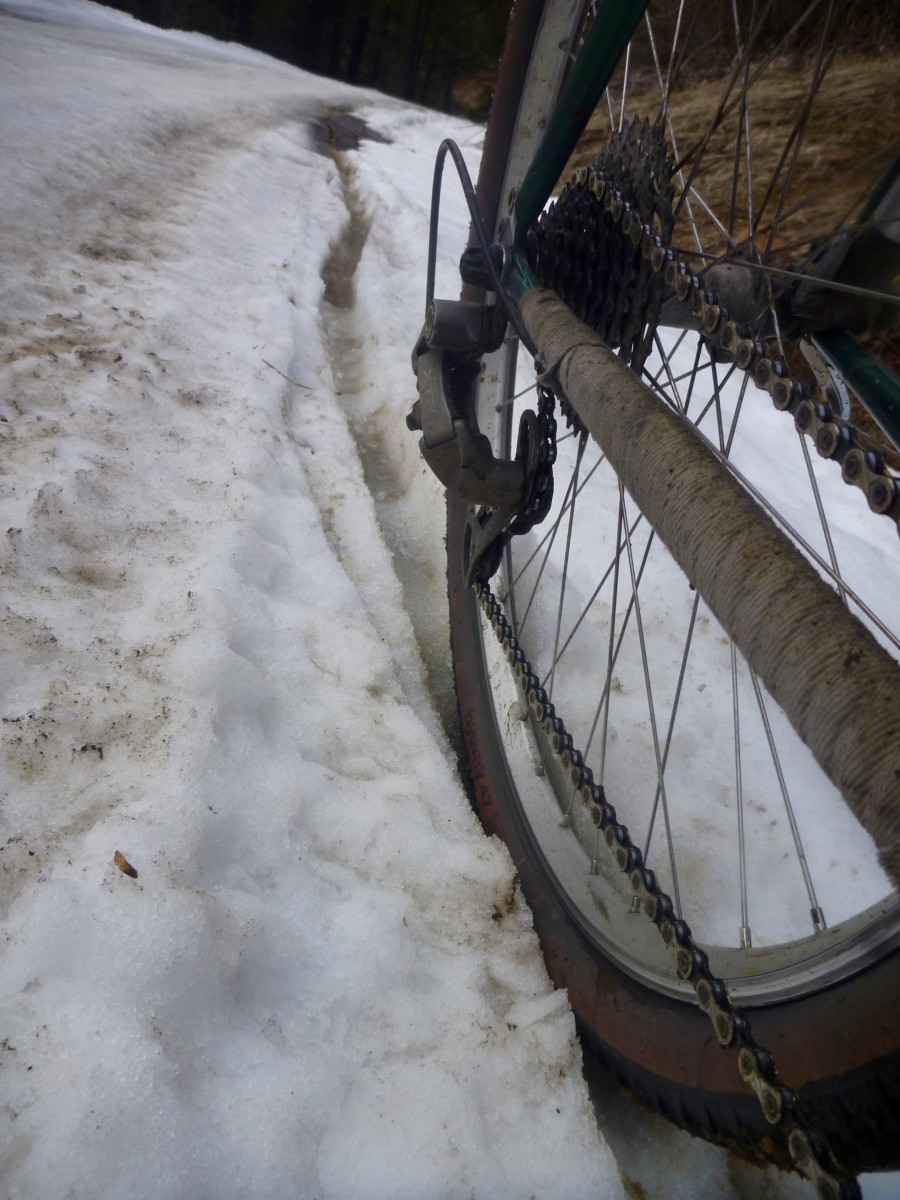
When I was able to ride, I was constantly attempting to correct my line and keep the bike from sliding out from under me.  A mountain bike with 2-3″ tires would have handled these conditions much better than the Pack Rat but would have also been sluggish on the pavement and smooth dirt roads.
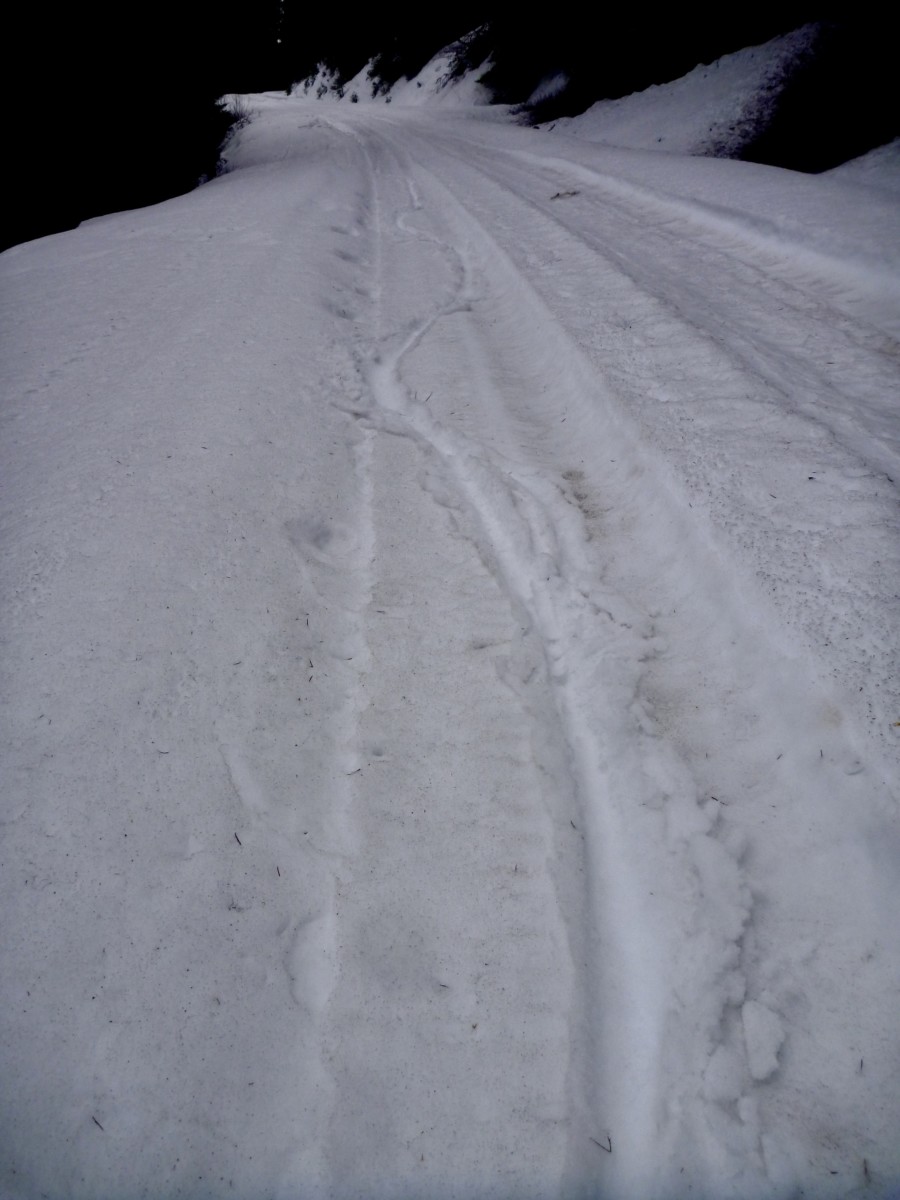
We pressed on despite the snow-covered road.  Traction was sufficient for walking and I didn’t think the pass was all that distant.  In hindsight, I probably should have paid attention to the omens and turned back.
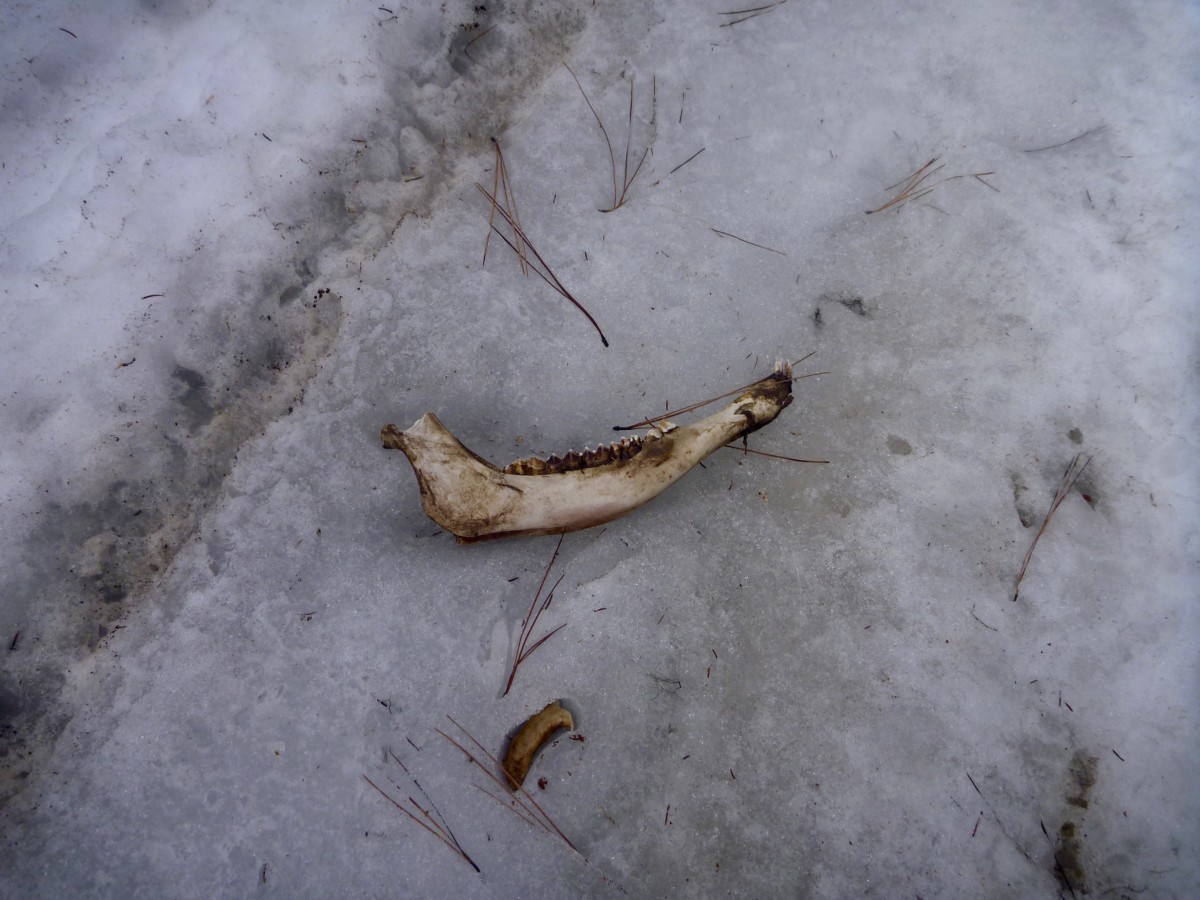
The snow continued to get deeper until it dragged at the bottom of my panniers.  The north-facing section of road just over the summit held drifts at least 3 feet deep.  I’m sure this road will be spectacular in a couple of months when all the snow is gone!  I don’t know how long it took to cover the 8 or 9 snowy miles but the time would definitely be measured in hours.
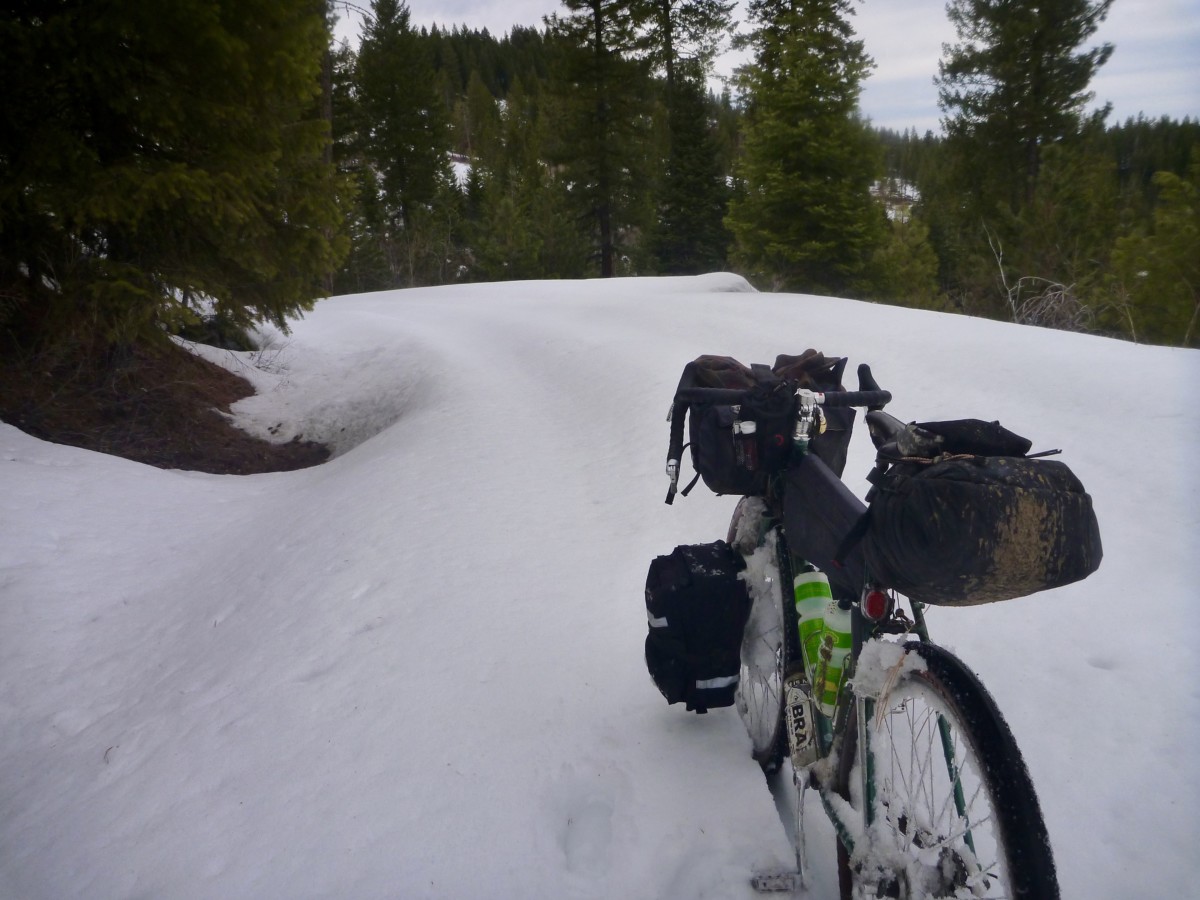
Clearly, these conditions were well outside the Pack Rat’s intended use.  Even a fatbike with 5″ tires would have been useless in snow that deep and wet.  I could have certainly saved myself some pain and suffering by turning back but I had made good time earlier in the day and knew I had sufficient daylight to get through.   I pushed, dragged, slipped and postholed over and down the pass, hoping that my planned campsite wouldn’t be under snow.
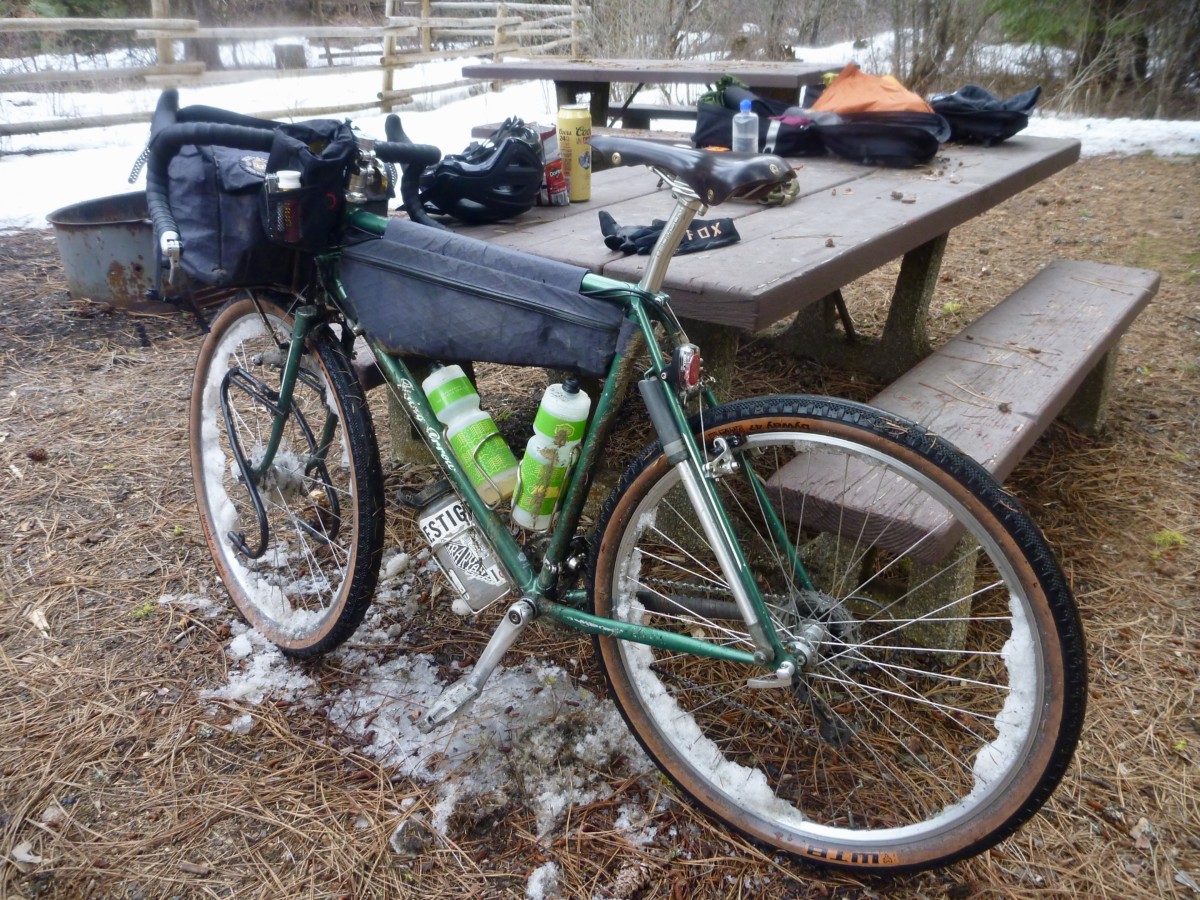
The campground still held some snow but there was plenty of dry ground.  I breathed a sigh of relief to have arrived and then set about drying my shoes and feet, eating food and doing my best to recover for tomorrow’s 90+ mile burn back to Boise.
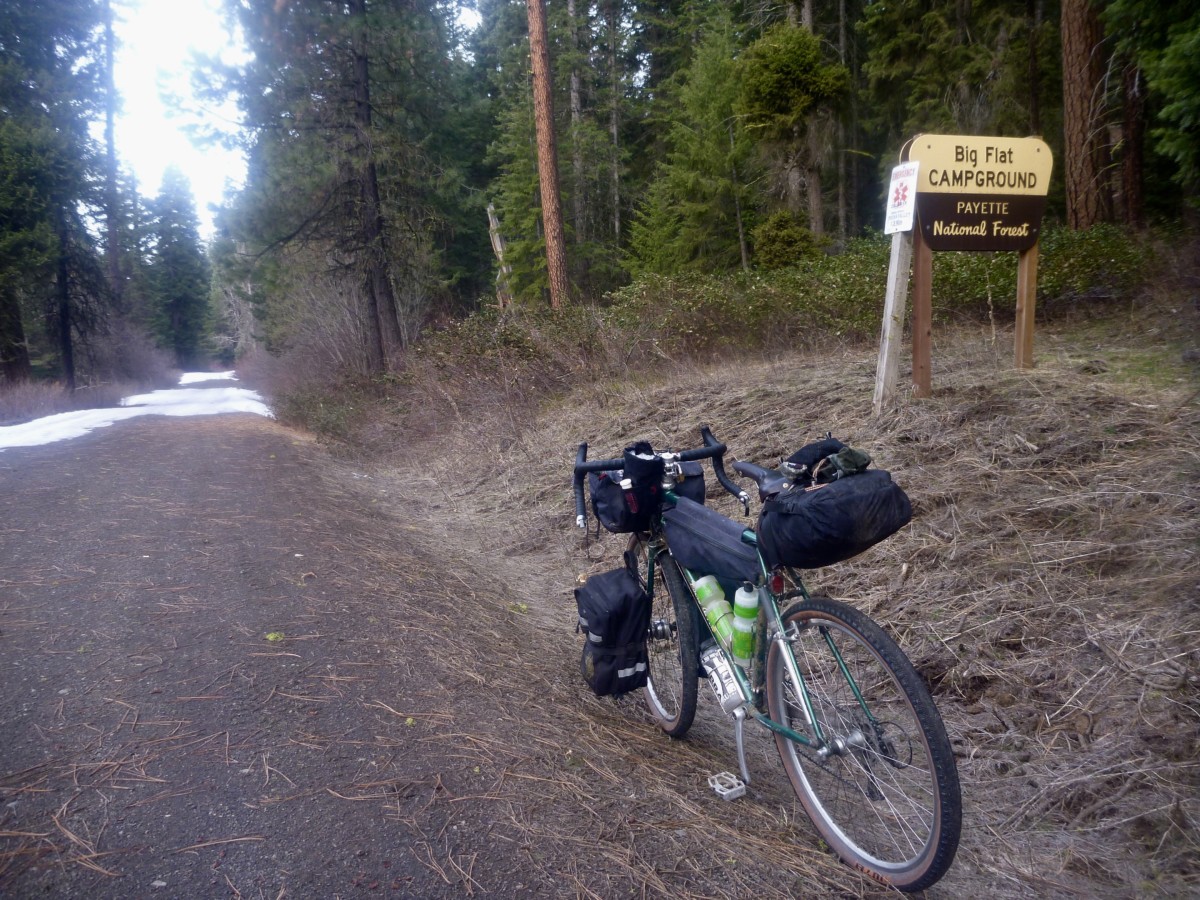
I slept deeply and woke feeling surprisingly fresh after the previous day’s exertions.  I made breakfast, pulled on my frozen shoes and hit the road just as the sun began to peek over the eastern ridge.  The forest service road had yet to shake off the night’s chill.  Yesterday’s soft, wet mud and slippery slush had hardened into frozen dirt and roughly textured ice.  The Pack Rat excelled in these conditions, though I rode the icy sections cautiously and did walk a couple of slicker stretches.
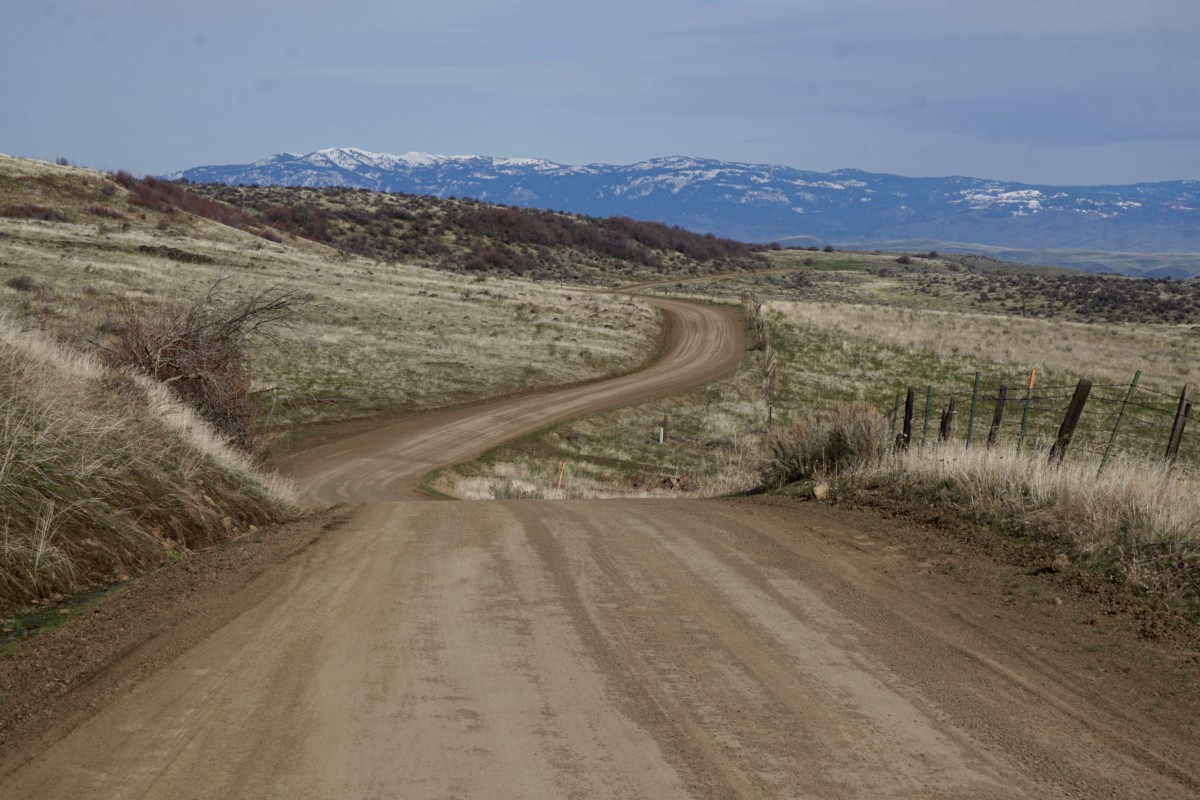
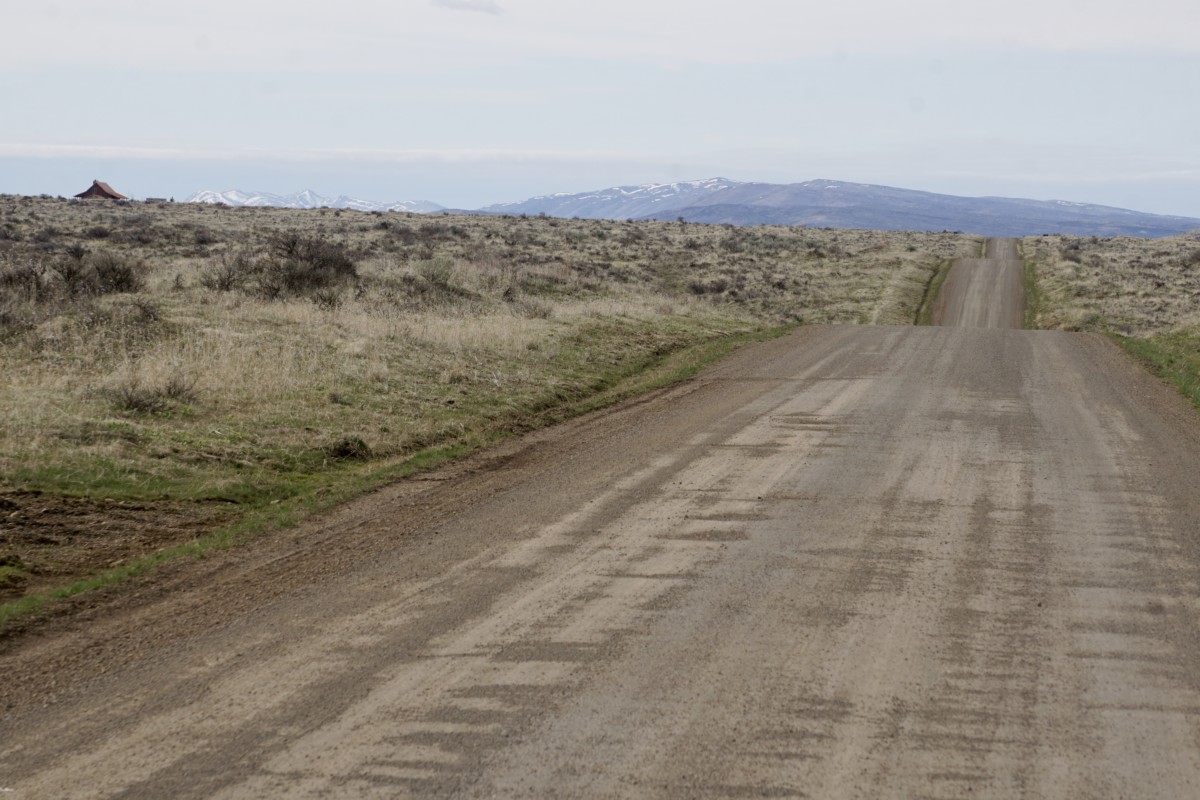
Before long, the road reemerged from the trees and dried completely.  Conditions on the southbound leg started off similar to the northbound side. The cloud-filtered sun warmed the air and I enjoyed the (mostly) downhill grades and undulating terrain.  The Pack Rat hummed along, carrying speed through the troughs and over the top of the endless rollers.
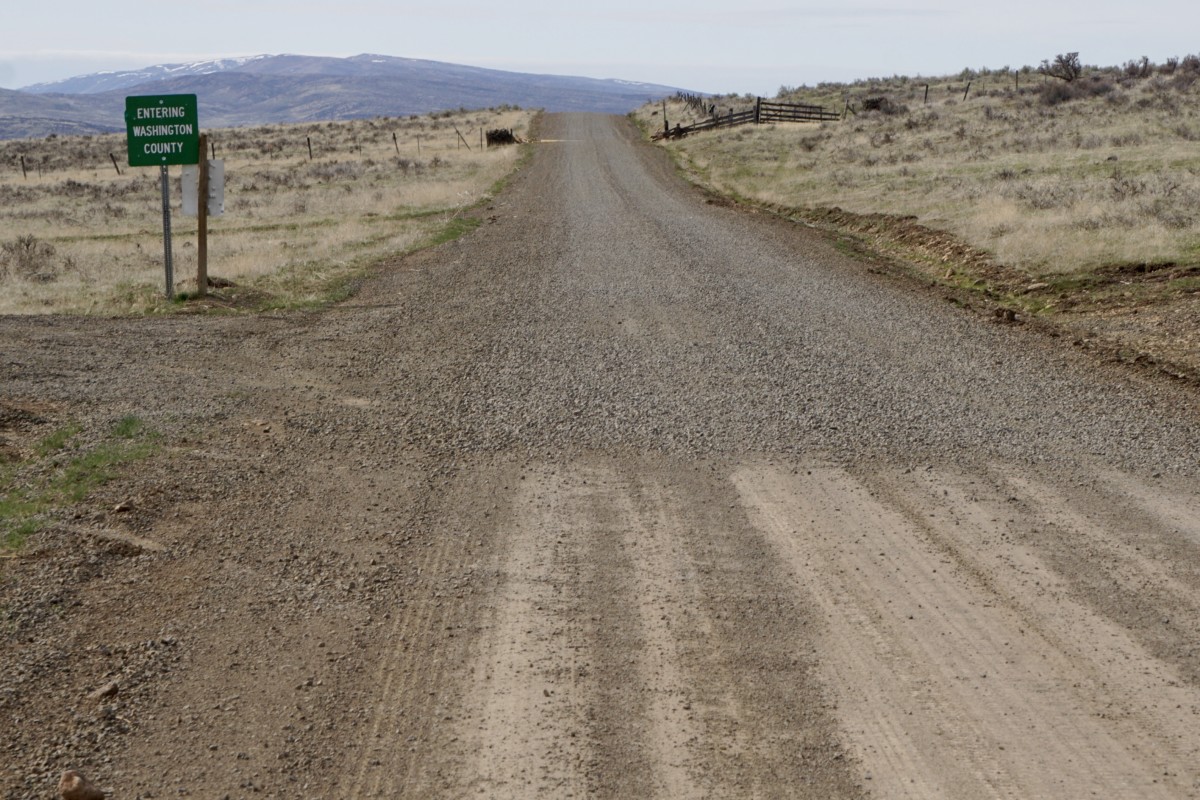
When we hit the Washington County line road conditions changed drastically.  The road had recently been graded and was evenly surfaced with 1-2″ size gravel.  I’d estimate the gravel had been laid no more than a week prior.  There were decent tracks laid down by auto traffic through most stretches but the rock lay in piles several inches deep in some spots.  Line choice was key, but the Pack Rat handled these challenging conditions admirably.  I’ve often felt that slimmer tires perform well in these kinds of conditions as they are narrow enough to push the loose rocks aside and grip on the hardpack beneath where a wider tire would float and roll on the top layer.
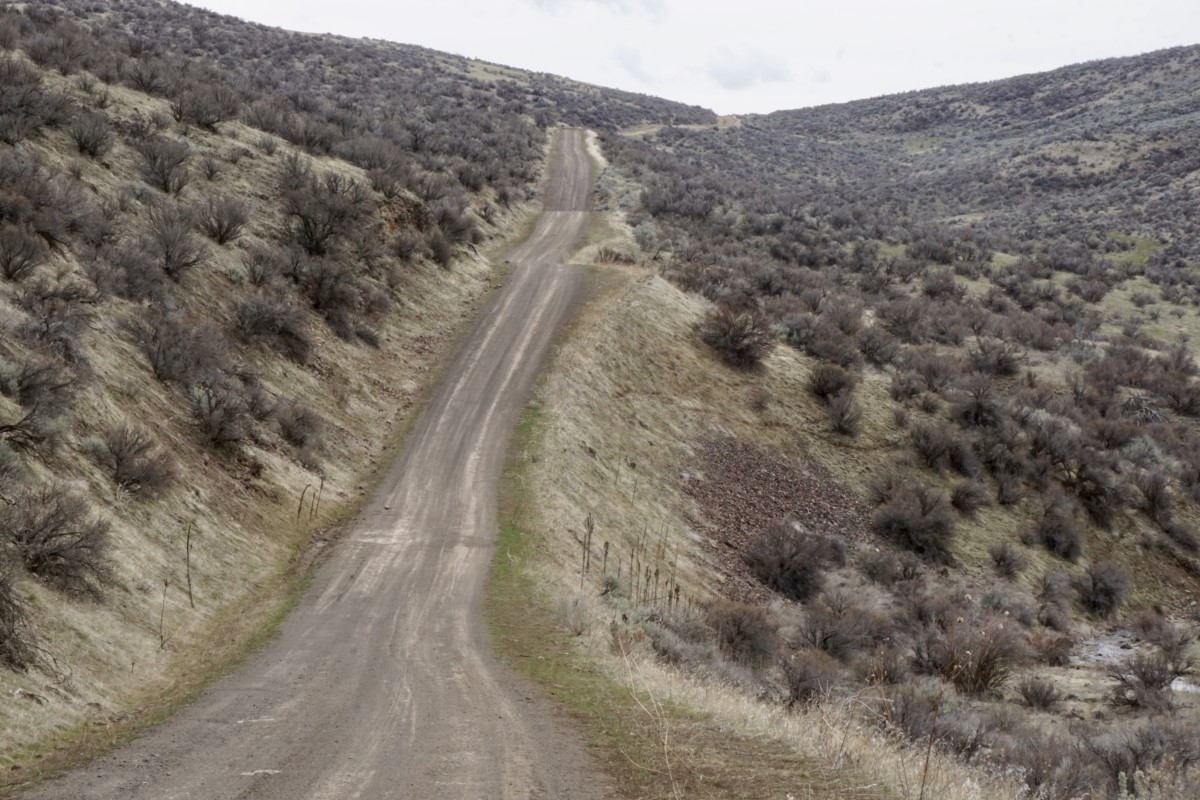
After turning off the recently-graded stretch of road conditions improved.  There were some seriously steep climbs on this leg of the ride that I would have wished away but the Pack Rat never held me back.  My legs had begun to tire and struggled to supply the necessary power.
Approaching the town of Emmett, it began to look like the highway would be a better option than returning via yet more nasty rollers in the Eagle foothills.  My body was tired and shadows were getting long.  We spun our way down the paved highway shoulder into the valley, turned to the east and finished the final few miles back to Boise.  My pedal strokes were weak and I was happy to be on a bike that rolled efficiently and didn’t ask for much leg strength to maintain forward progress on the asphalt and chipseal.

Overall, I came away from this ride even more excited for the Pack Rat’s potential.  It may not be your go-anywhere touring bike.  There are plenty of roads, tracks and trails over seriously rugged terrain in Idaho where a little more bike (Ogre, Troll, ECR, Bridge Club, etc.) would be a better fit.  It also won’t carry a transcontinental load as well as the Long Haul or Disc Trucker.  However, if you want a bike to travel a mix of dirt and pavement with a light-to-medium load on the weekend, pull double-duty on the weekday commute and have a good time doing it, the Pack Rat is worth your attention.  If nothing else, it’ll get you out of town and into the fun stuff in a hurry!

Categories
Bike Touring Equipment Handlebar Bag Other Touring Bike Pedals Touring Bike Tires

New Partnerships, New Products!

While the Bike Hermit and Sky King are gallavanting around Mexico drinking beer and camping under the stars, there has been a lot going on around Bike Touring News HQ!   We’re constantly on the lookout for components and accessories to enhance your experience, help you ride more and have more fun doing it.  To that end, we’ve brought in some new products that you’re going to want to check out.

Saddles, Tires, Rims from WTB

We’re super excited to announce our partnership with Wilderness Trail Bikes!  WTB has been at the cutting edge of mountain bike equipment since 1982 and that depth of experience shows through in their products.  Most recently, they’ve done a great job creating components that are ideal for bikepacking and dirt touring.  Bike Touring News will be stocking a hand-picked range of their tires, saddles, rims and other gear for adventures that take you to the end of the pavement and beyond.

“What?  Bike Touring News is selling plastic saddles?”  I know, this is kind of a big deal as we have always been known for our devotion to leather saddles.  We’ll continue to stock top-quality leather saddles from Gilles Berthoud, Rivet, Brooks and others but there are certain applications where a high-quality plastic saddle just makes sense. WTB’s saddle designs have been refined over many years to provide a comfortable, supportive perch for all-day comfort on any bike.  Most of their saddles are also available in a range of widths, allowing you to choose a shape and level of padding that suits your riding style and a width that fits your anatomy.

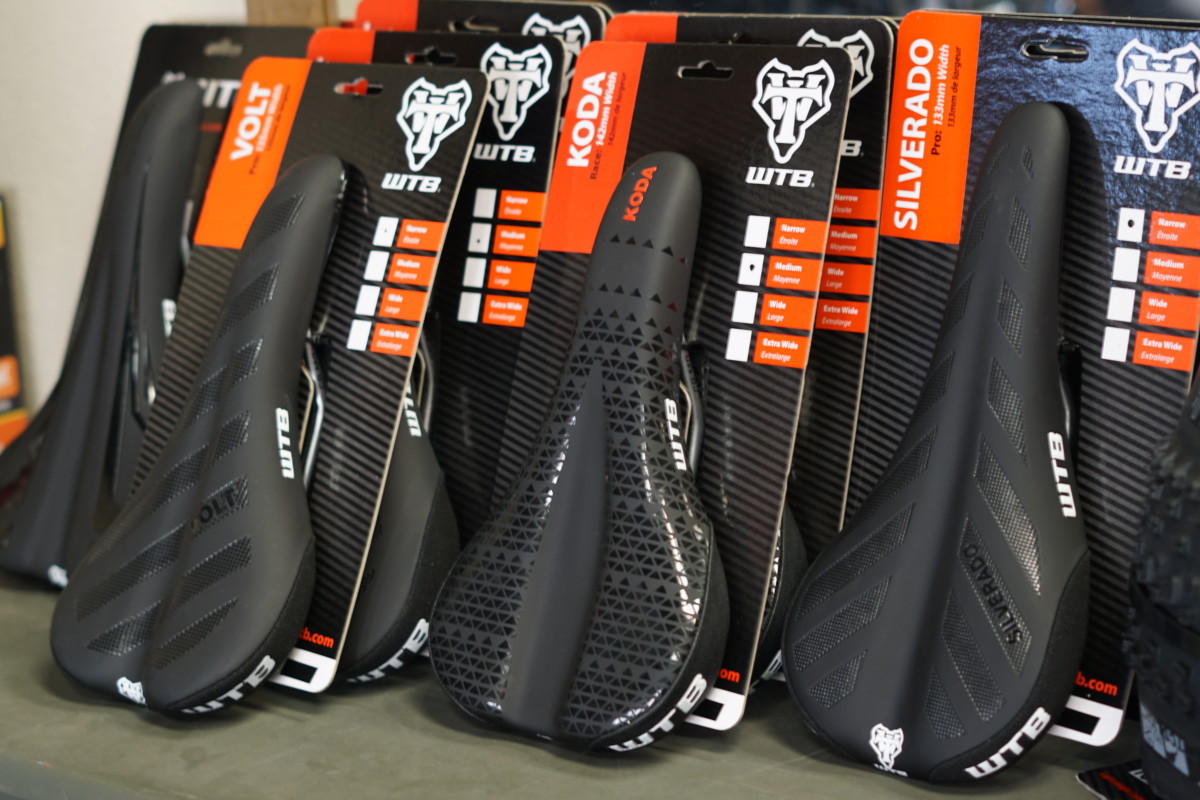
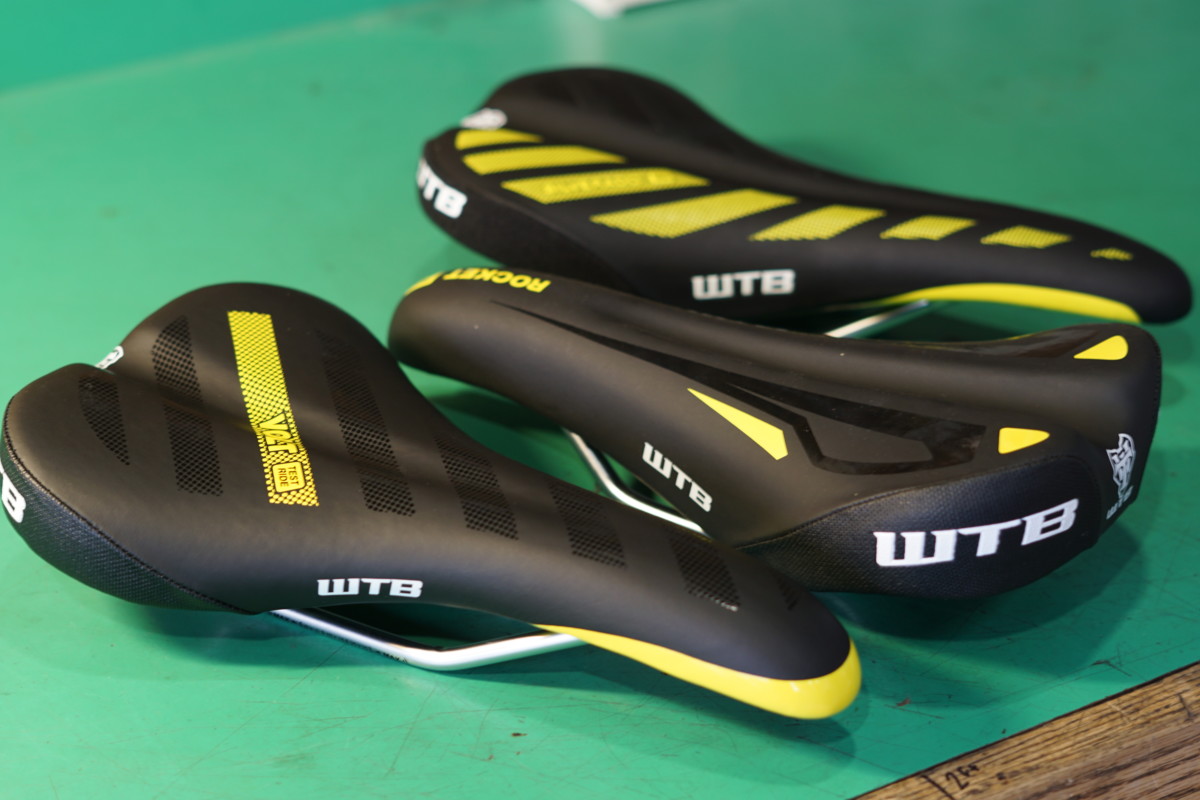
We’re particularly excited about the WTB Koda – a saddle WTB describes as being “female focused, rather than women’s specific” and designed with input from a multitude of female riders including Idaho resident and legendary endurance rider, Rebecca Rusch.  Check out the video on the product page for Rebecca’s take on the saddle.  In addition to the Koda, we’re stocking the Volt, Rocket and Silverado.  We also have the complete Test Ride Kit, making it even easier to try a saddle before you buy.  Like all the saddles we sell, we back these with our 90-day Saddle Comfort Guarantee.

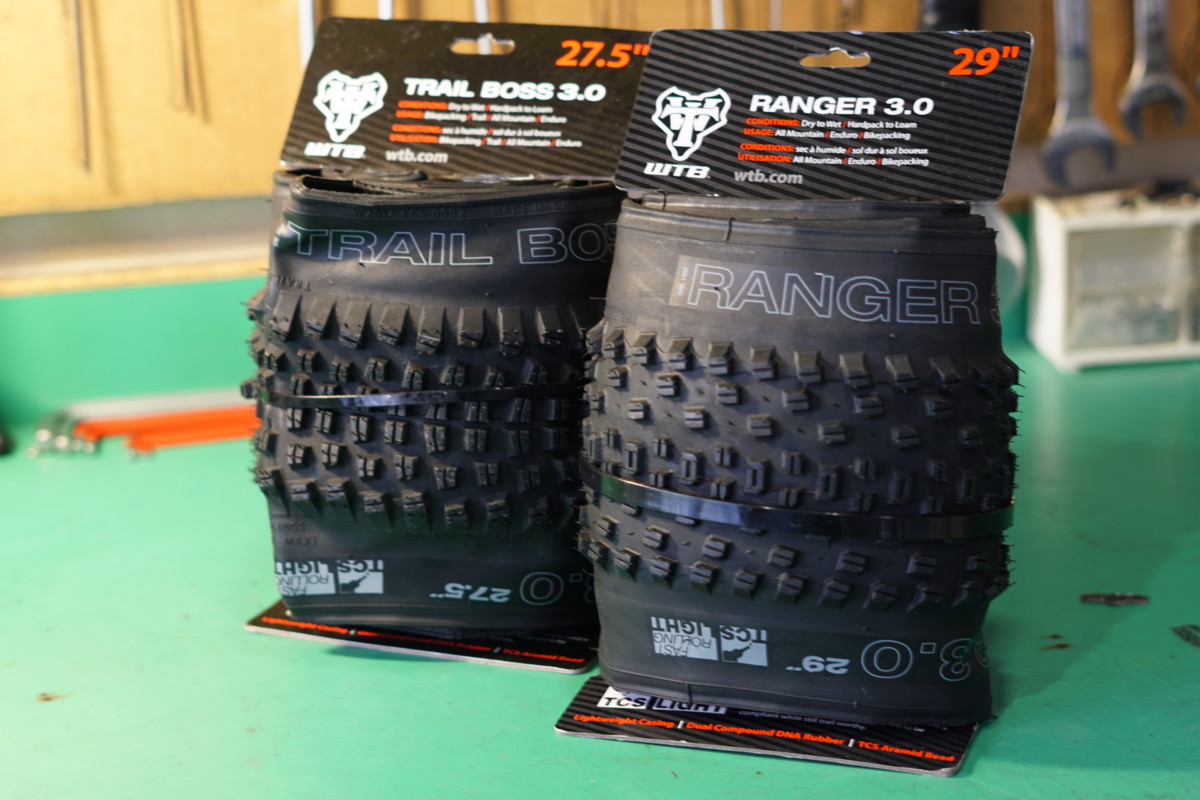
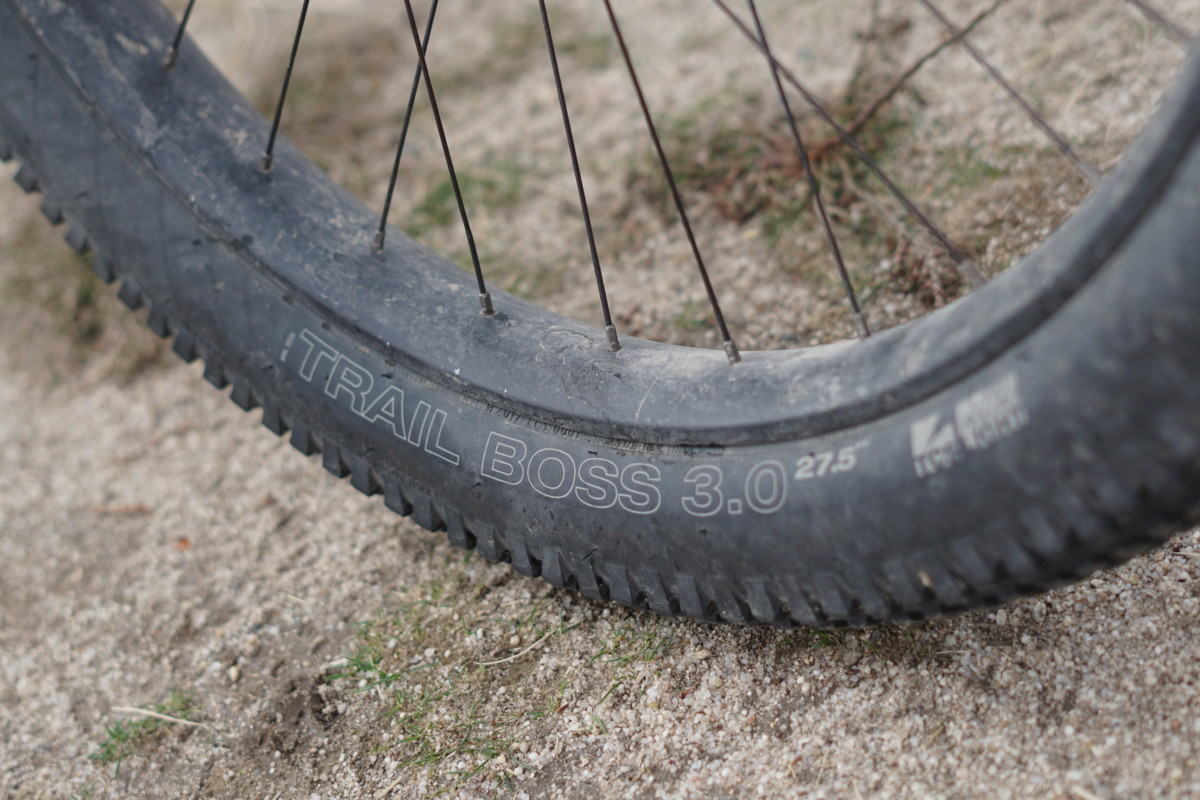
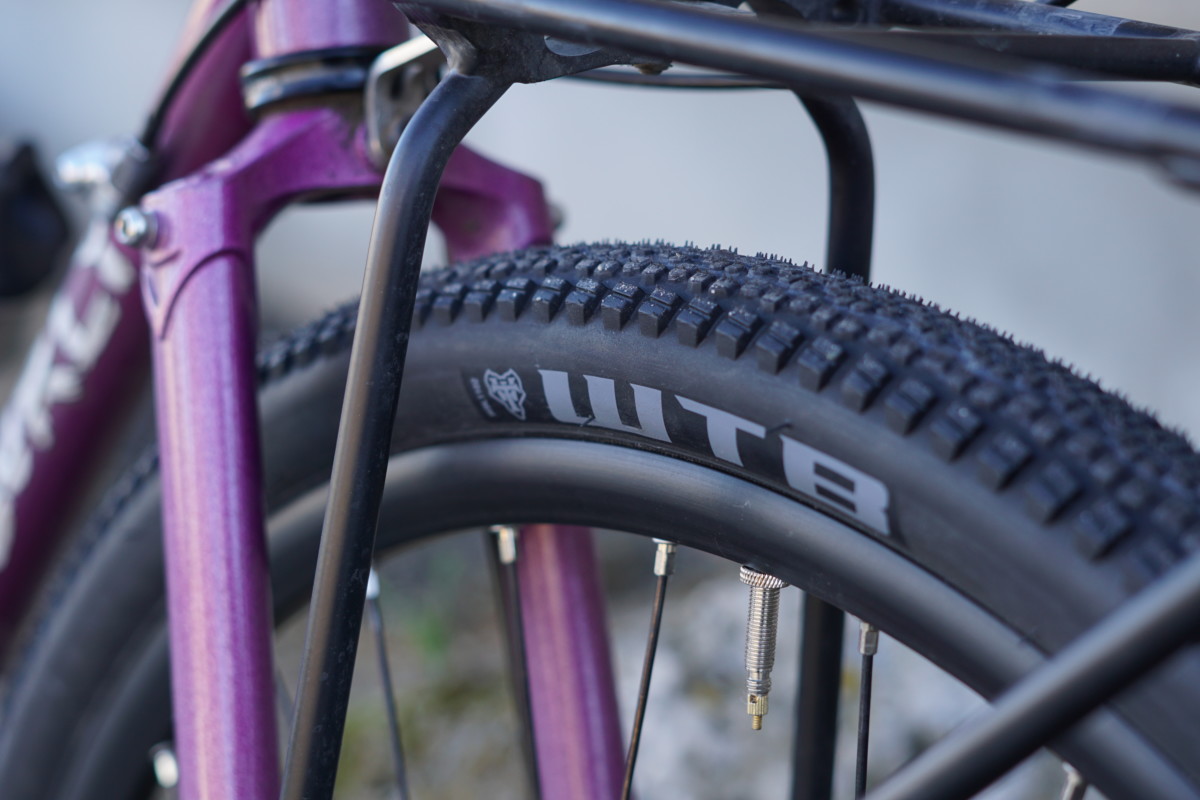
WTB’s focus on bikepacking, dirt touring and other more adventurous riding is especially evident in their tire lineup.  They have fully embraced the full 3-inch “plus-size” tire platform and offer a handful of tread and casing options for any plus bike, such as Surly’s Karate Monkey, Krampus or ECR.  The Trail Boss and Ranger are both solid, do-it-all tires for a broad range of conditions.  I (Ryan) rode a set of Trail Boss 27.5 x 3.0 tires on the Colorado Trail Race this past summer, in addition to all the preparatory rides before and plenty of miles since.  They’re showing some tread wear but have been completely trouble free.  Excellent tubeless setup and no flats, just smiles for miles!

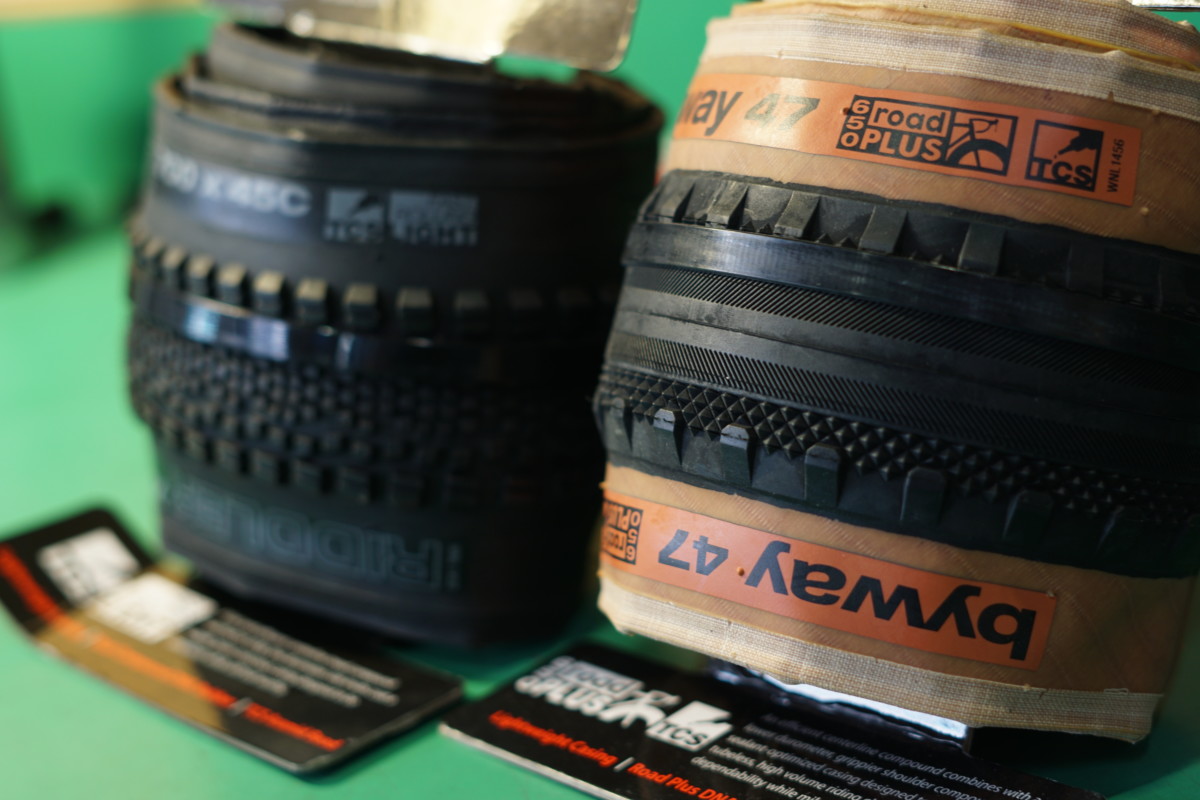
In addition, WTB offers a range of highly versatile, genre-bending tires for your cyclocross, gravel or dirt touring bike.  In widths up to 45mm for 700c and 47mm in 650b, these casings will provide a smooth, comfortable ride and plenty of traction.  For example, the 700×45 Riddler is a perfect fit for your Cross-Check, Straggler or Trucker and will show you what those bikes are capable of in the dirt without sacrificing pace on the pavement.  Many of these tires are also available with a classic tan sidewall, as shown on the 650×47 Byway below.

New Chainrings, Cold-Weather Clothing and Beverage Accessories from Surly

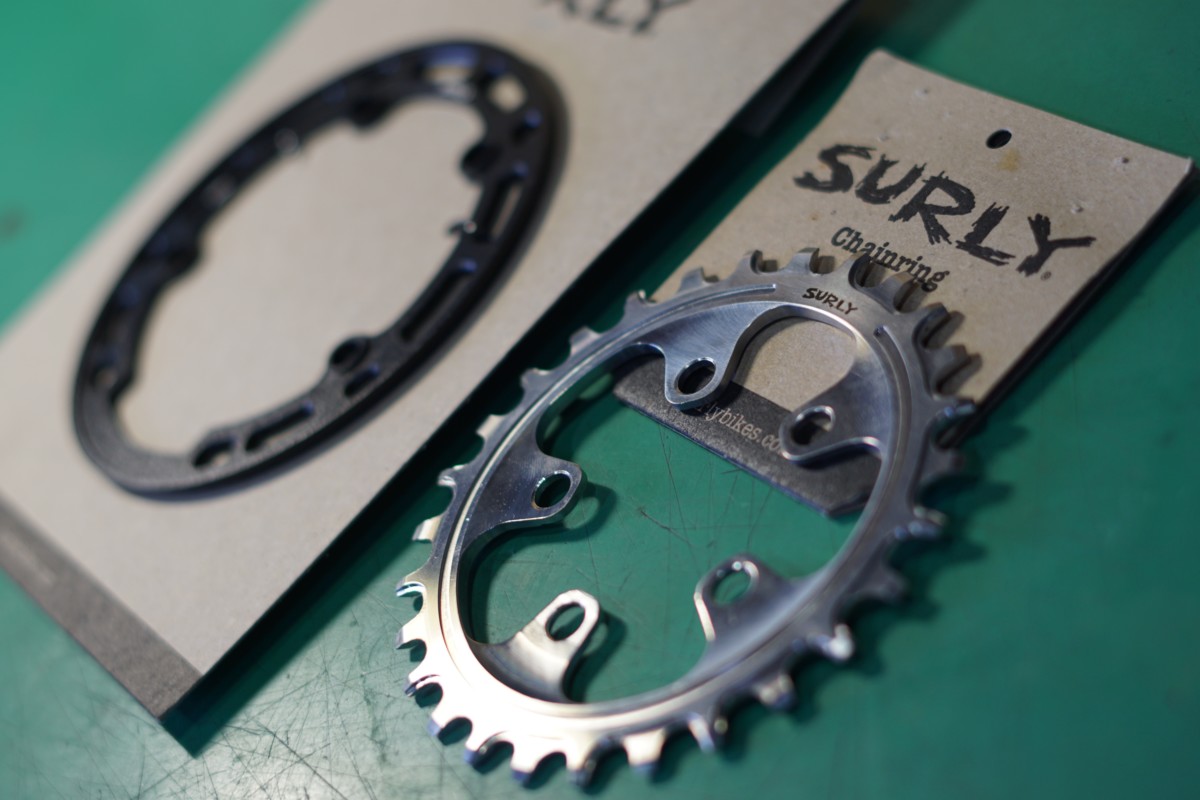
Ready to ditch the front derailleur on your ECR, Ice Cream Truck or any other bike with a Surly Offset Double crankset?  Here ya go, sweet cheeks!  The 28t chainring bolts on the inner chainring position and features SRAM’s X-Sync narrow-wide tooth profiles for rock-solid chain retention.  This thing is machined from durable and oh-so-shiny stainless steel for long life and corrosion resistance.  The matching alloy chainring guard fits the four spider arms (skips the threaded hole in back of the crank arm) on your crankset.  It protects your chain and chainring from trauma and gives those lonely spider arms a purpose in life.

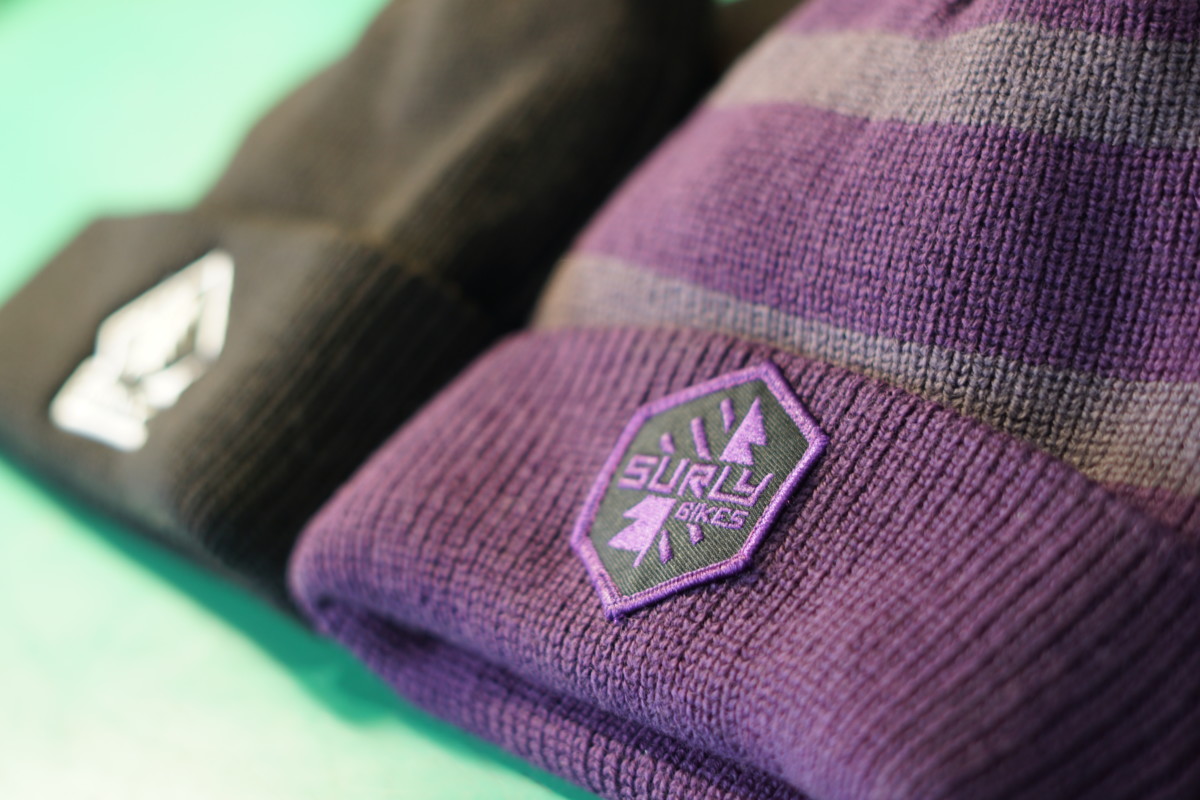
Surly has been quietly expanding their range of clothing recently.  Merino wool is the material of choice for much of the lineup, including the new wool beanies and neck gaiters.  The beanies are soft, snug and warm – perfect dome coverings on or off the bike – and come in basic black or a purple/gray stripe.  Get yours unadorned with only a small Surly label or with the “Omniterra” or “Split-Season” embroidered patch for extra style.

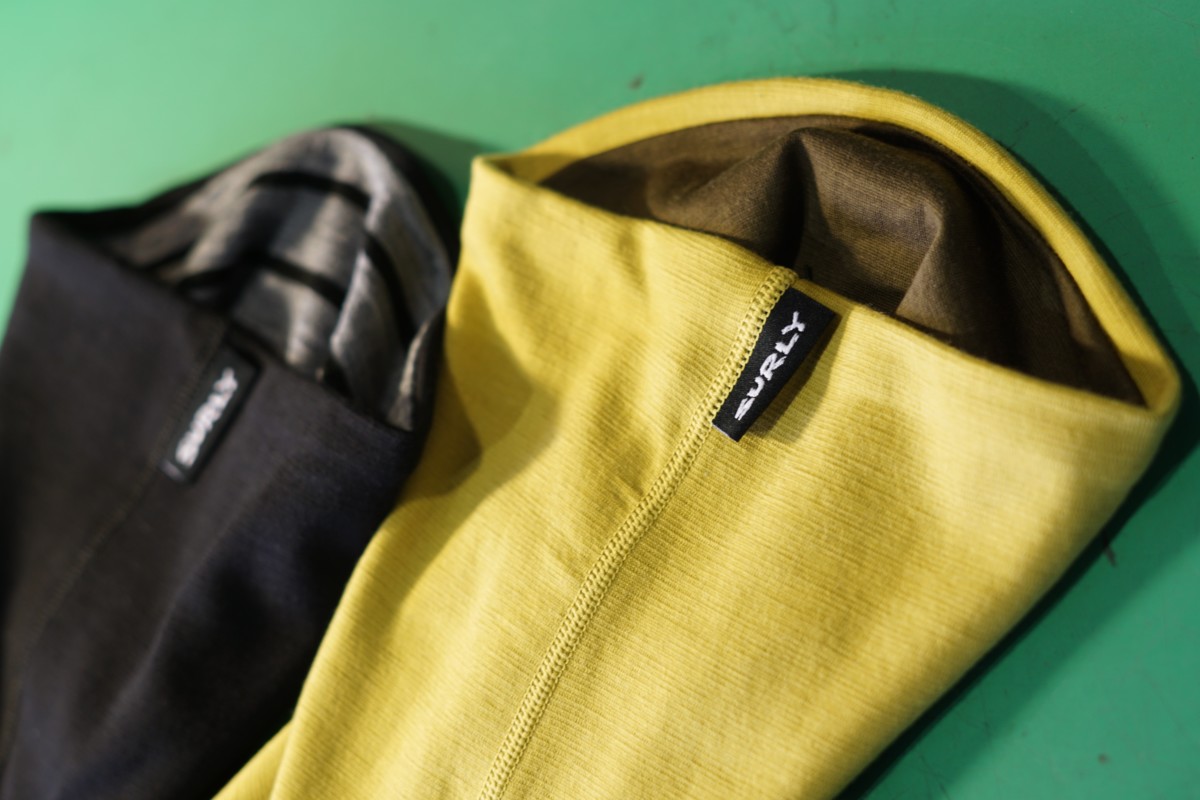
The neck gaiter is a multifunctional cold-weather essential and a perfect lightweight, packable layer to help fight the chill.  Surly’s are double-layered with finer, softer merino on the inside and thicker, coarser material on the outside to balance comfort, breathability and windproofing.  They’re quite nice, actually.  Choose black with a black/grey striped inside or the earthy yellow/brown combo.  Either one will make you warmer and more attractive than you were before.

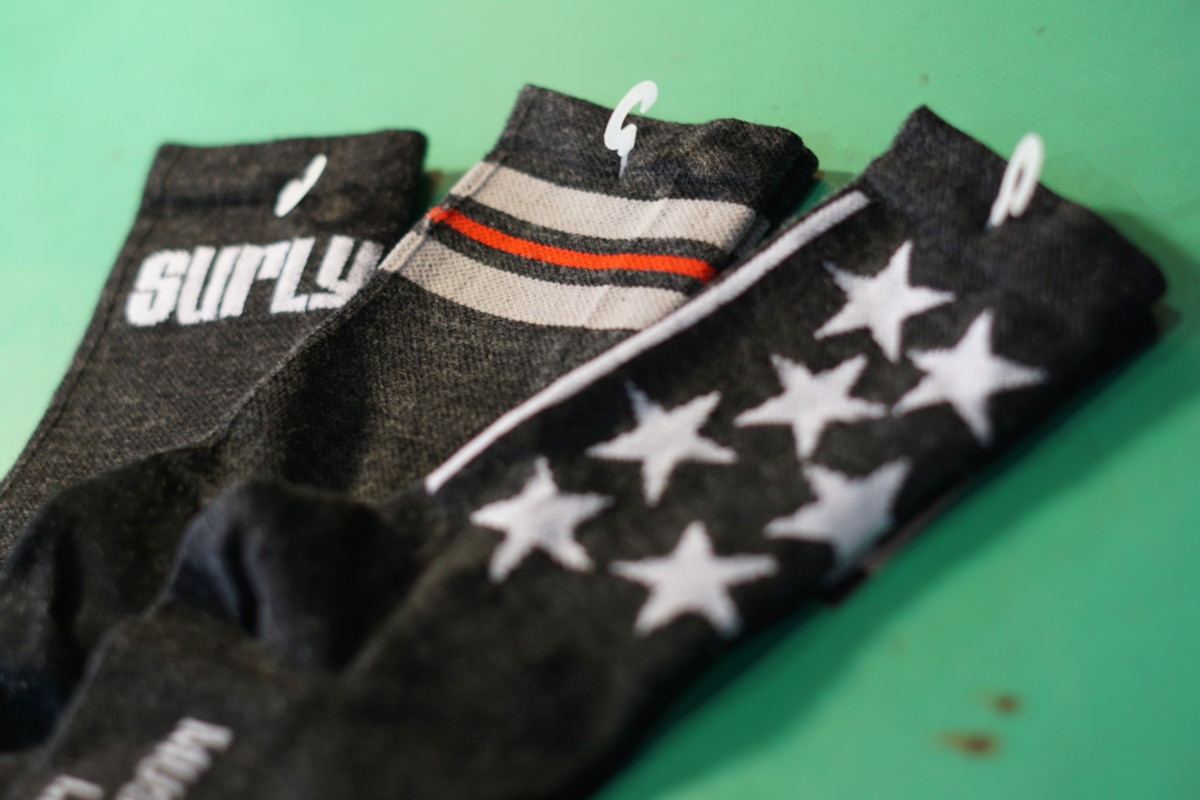
Surly’s wool blend socks are a perennial favorite.  They’re made in the USA by DeFeet with a proprietary wool blend for warmth, stink resistance and durability with just the right amount of stretch.  We have a couple of new patterns in addition to the old standbys.  Stars, Stripes, Surly.  Grab a pair for you and a pair for someone you like.

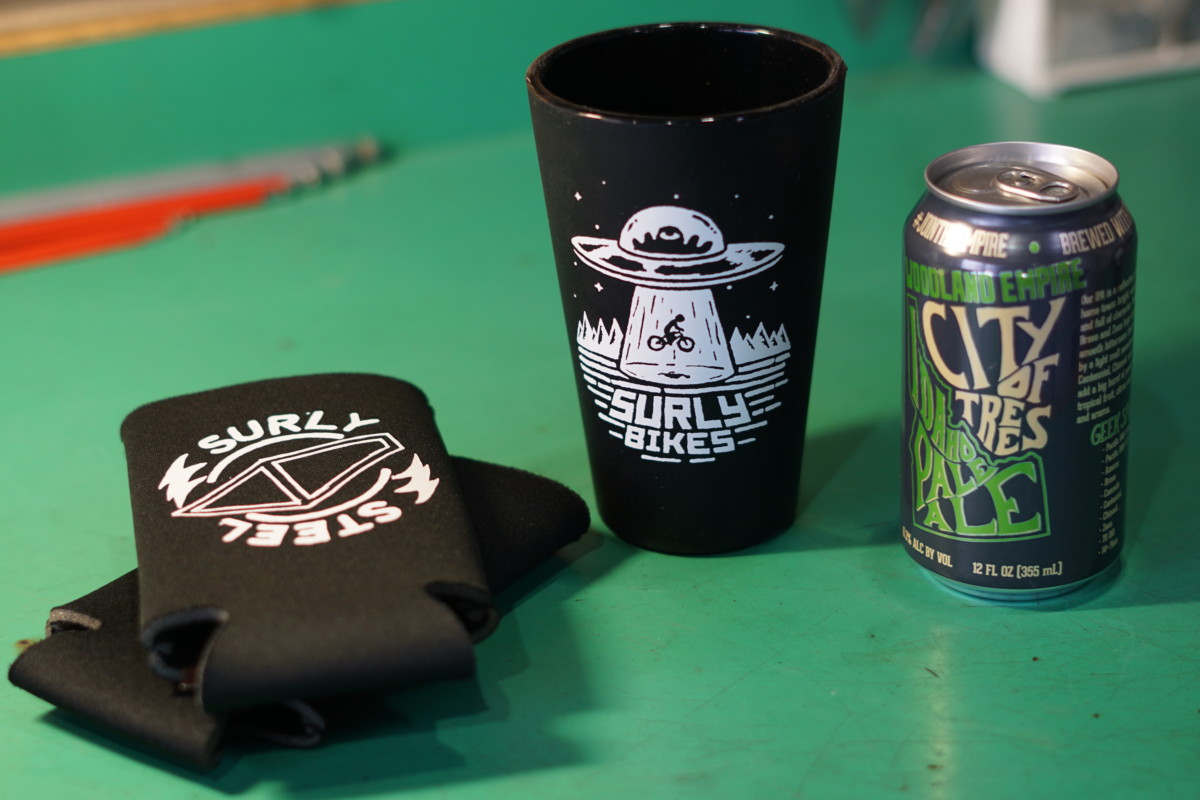
For the traveling imbiber of beverages, we offer Surly’s Silicone Pint Glasses.  We still call it a “glass” even though it is made of food grade silicone. They’re virtually indestructible, thick enough to provide some insulation for cold or hot liquids and dishwasher safe.  Ride your bike and transport yourself.  If you can’t be bothered to pour your beverage in a glass, pick up a handy Insulating Sheath.  They’re a perfect fit for tall cans but work with short cans or bottles also.  They’re also quite useful as packing aids, providing lightweight, stretchy, rattle-free padding for anything you stuff inside.  Use them for your tools and spares, camera lenses, camp stove, pieces of fruit or even cans of beer!

Ostrich F-516 Handlebar Bag

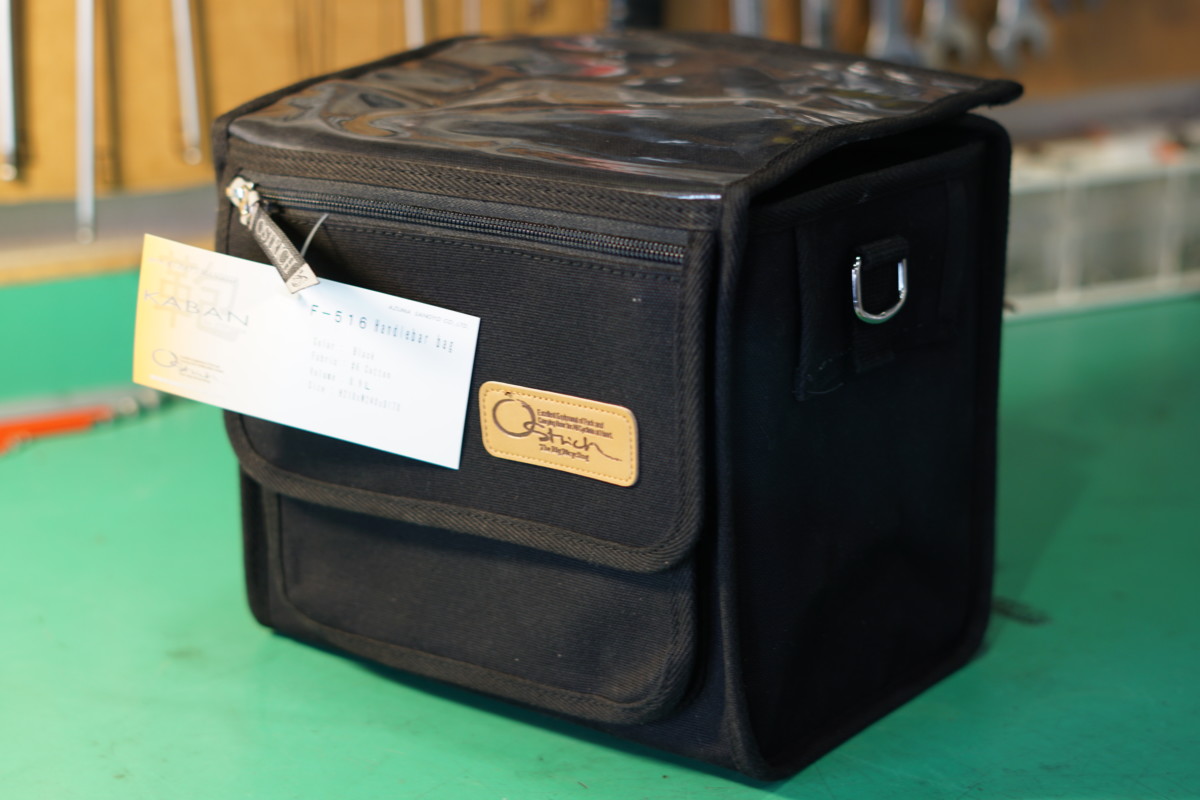
This fine handlebar bag incorporates a feature we’ve wanted to see from Ostrich for some time: a rider facing lid opening!  This simple difference makes accessing the bag’s contents while on the bike or in motion much easier and safer.  The lid flap is secured by velcro tape for easy, one-handed opening and closing.  The clear, integrated map case is also secured by a small velcro flap to prevent contents from escaping.  There is a flat front pocket with a velcro flap closure that is perfect for phone, wallet, compact camera or other flattish items.  There is also a zippered pocket in the flap for small items like keys.  Overall, this is a clean, minimal handlebar bag perfect for long day rides on its own or for easy-access items on your fully-loaded touring rig.

Chromag Pedals

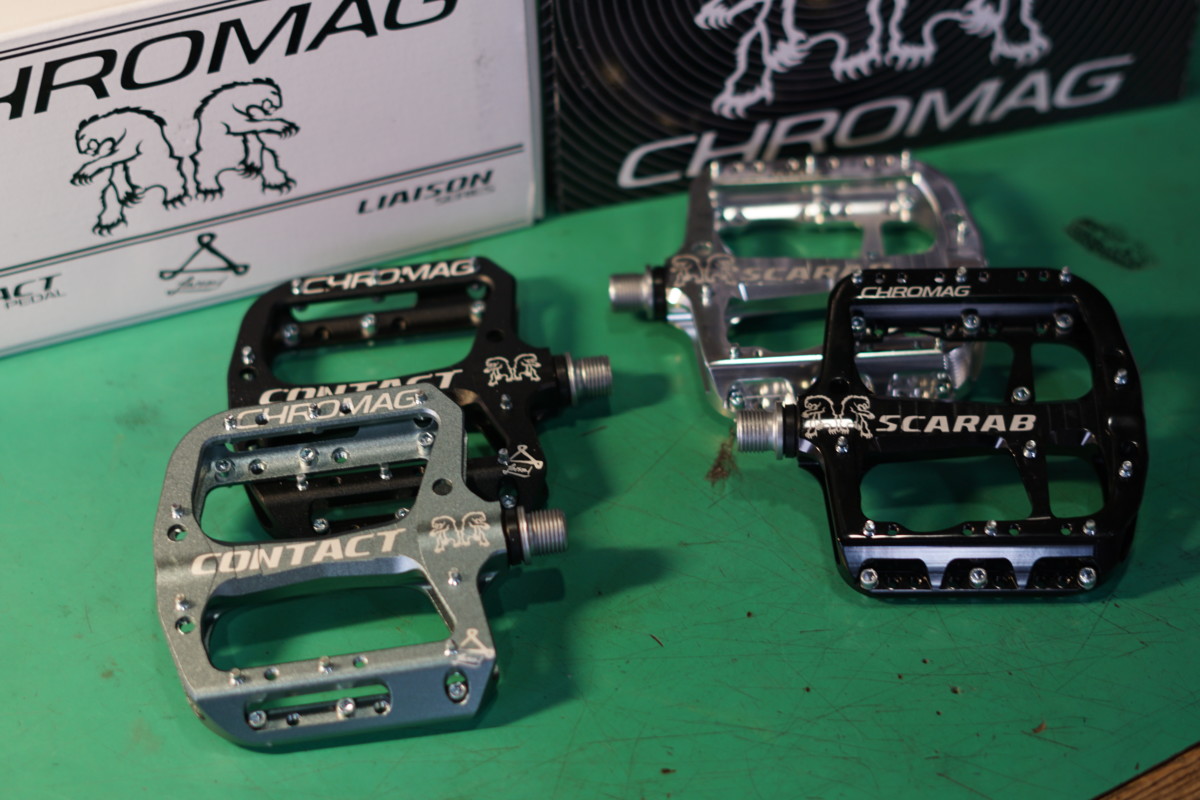
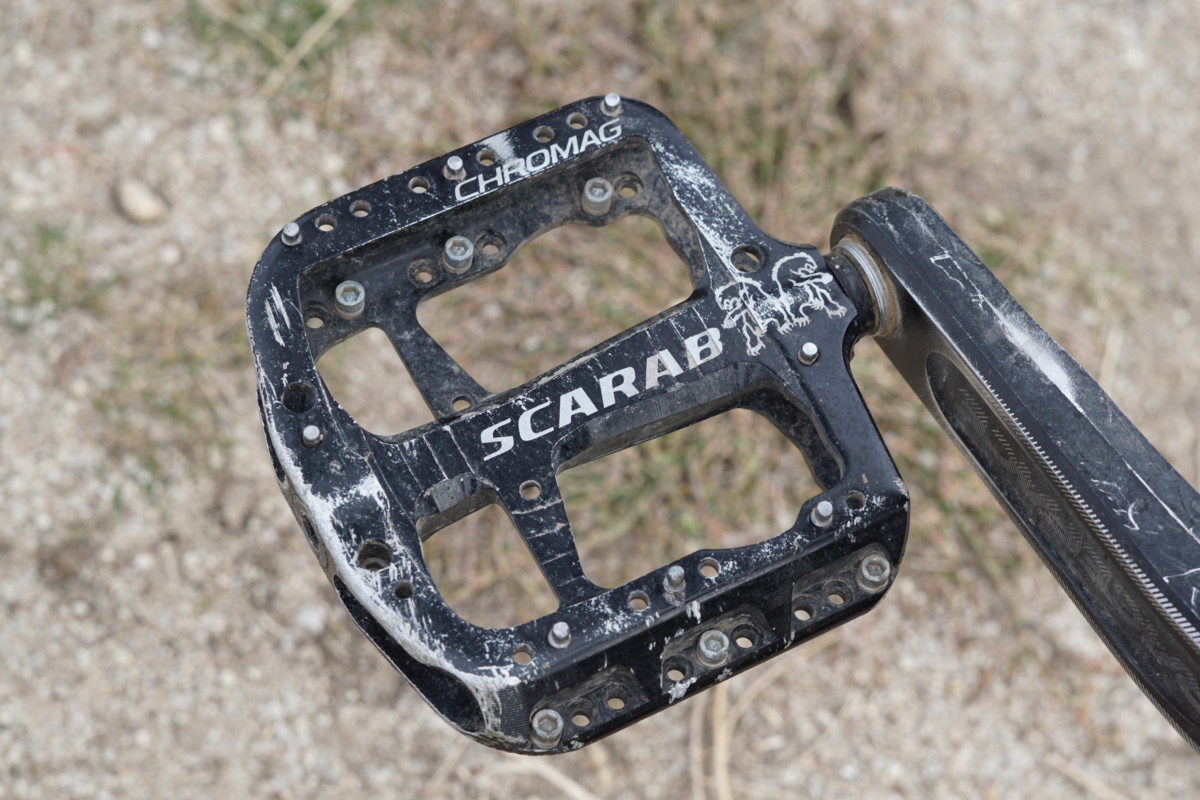
Flat pedals are a natural choice for bike travel over any terrain and the benefits are numerous.  I could fill an entire blog post extolling their virtues (come to think of it, maybe I will…) but let’s focus on these particular pedals.  Chromag’s Scarab and Contact pedals provide the best combination of comfort, tuneable traction, durability and serviceability we’ve found.  Both models have thin, wide, concave platforms with adjustable-height pins, multiple pin placement options and durable, ultra-smooth bearings.  The Scarab offers a few more pin placement options, more finely machined contours and a finely polished finish to justify the extra cost.  Either one is available in a variety of colors to complement any bike.

Wow, that’s a ton of cool stuff!  Get some for yourself, or someone else, or you and someone else!  What other products should Bike Touring News carry?  Sound off in the comments below and let us know what we’re missing!

Categories
Bike Touring Equipment Bikepacking The Touring Bicycle Wheel Touring Bicycles Touring Bike Components

The Best Bikepacking Bike Pt. III: Wheels

The stakes are high when traveling far into the backcountry by bicycle.  The potential success or failure of your trip is (literally) riding on your wheels.  A mechanical malfunction at the wrong time can leave you in a very serious situation.  Like teeth, taxes or electricity, your bicycle wheels are easy to ignore when they aren’t causing problems, but can leave you in a world of pain and trouble when things go bad.  Fortunately, most of these kinds of problems can be prevented by choosing appropriate equipment and ensuring it is well-maintained before heading out for a trip.  This is especially true when talking about wheels.

In this post, we’ll discuss what makes a good bikepacking wheel, how to evaluate your current wheels and some points to consider when shopping for new wheels.  Hopefully we’ll be able to help you enjoy your bikepacking adventures with no wheel-related malfunctions!

Reliable wheels are essential when traveling though rough, remote areas.

In general, we think good bikepacking wheels should be durable and reliable above all else.  Gram-saving components will make precious little difference in the ride of your bike when loaded down with 35 pounds of gear and failures are much more than a minor inconvenience when you’re two days from the nearest town.  Fortunately, most truly trail-worthy mountain bike wheels are built to handle pretty rough treatment and won’t suffer greatly under the added stress applied by a loaded bike.  However, many lower-end wheelsets are not built with long-term durability in mind.

Are your wheels ready for bikepacking?  Many stock wheelsets are not.  Bike manufacturers often cut cost on wheels when spec’ing bikes for middle-of-the-curve riders.  Even many high-end bikes are shipped with inferior wheels that don’t hold up to hard riding.  However, it isn’t always easy to tell a high-quality wheel from a cheap look-alike.  In addition, even top-flight wheels can be a liability if they’re nearing the end of their useful life.

There are a few ways to evaluate your wheels for quality and condition, so let’s get into those:

Consider their Service Record

Assuming you’ve put some hard miles on your wheels, perhaps the simplest measure of quality is their service record on the trail.  So, how have your wheels performed so far?  Have they needed regular re-truing?  Have you broken any spokes?  Do the hubs make any funny noises or need repeated bearing adjustments?  If so, you’d be wise to consider repairing or upgrading your wheels before taking off into the woods.  If they’ve taken some abuse with no ill-effects you’re likely to be in good shape.  If you’re unsure about any of these points, a trusted mechanic can help assess your wheels.

However, just because you haven’t had issues yet doesn’t mean they won’t crop up in the future.  The key here is preventative maintenance.  We’ll talk more about that in a bit.  For now, let’s take a closer look at your wheels and see if we can evaluate them for quality and condition.

Check Those Spokes 

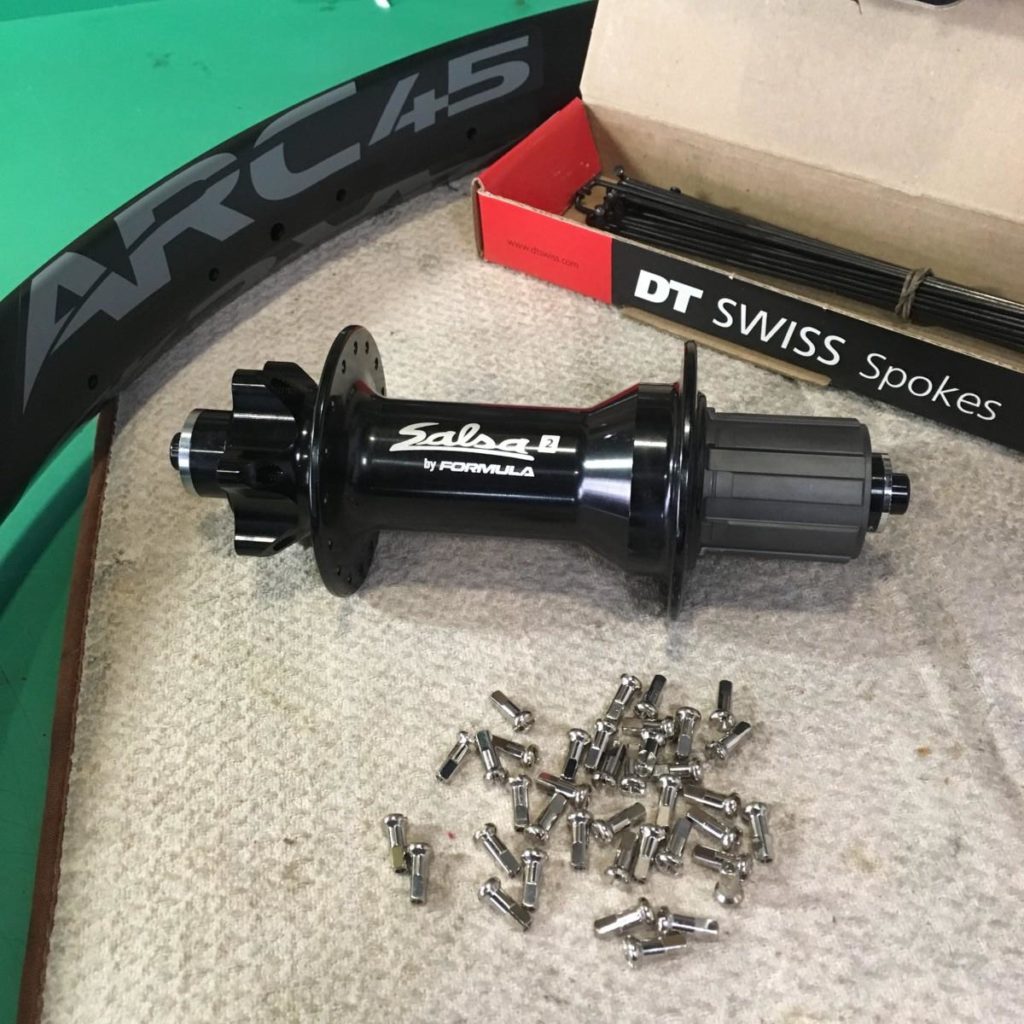
A spoke is a spoke is a spoke, right?  How big of a difference do spokes really make?  Well, imagine if the Golden Gate Bridge was built with suspension cables made from cheap steel to cut cost.  Bicycle wheels and suspension bridges have a lot in common.  Spokes made from poor-quality steel will have a much shorter lifespan and will be prone to breakage.  Quality brands like DT Swiss, Wheelsmith and Sapim mark their spokes, either on the head (DT, Wheelsmith) or just below the j-bend (Sapim).  Cheap spokes will have no mark at all or one of a handful of markings such as a star or uppercase “S” or “N”.  If you’re curious, you can investigate the mark on your spokes using this extra-nerdy Spoke Head Identification website.

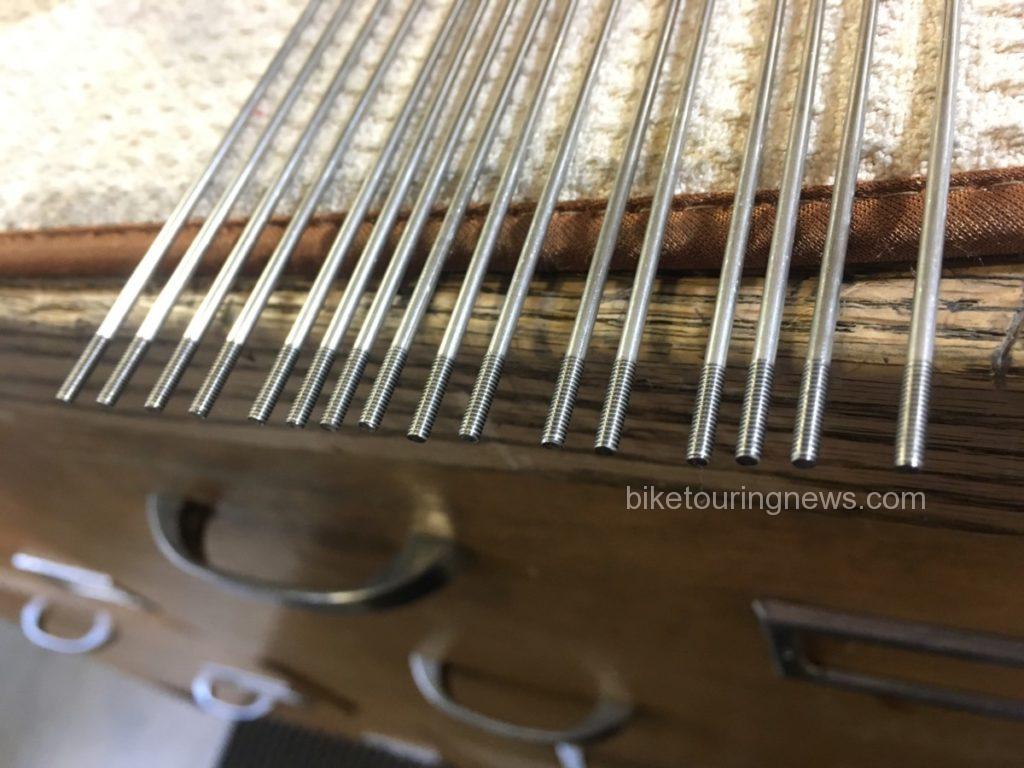
Quality spokes from DT Swiss. Their butts are visible if you look closely.

A butted spoke is also a definite indicator of quality.  Butted spokes are tapered in the center and thicker at the ends.  Sometimes the butts will be clearly visible.  If not, you can feel for the taper by grasping the spoke near the nipple with your thumb and forefinger.  Slide your fingers up the spoke and you’ll feel the diameter decrease if your spoke is butted.  A butted spoke distributes stress along that slender center section rather than focusing it at the j-bend or threads, improving durability.  As a happy side effect, they are also lighter.

Regardless of quality, any bent or gouged spokes can cause problems or break prematurely.  Bends typically happen when an object lodges in the wheel as it turns or through impact.  Gouging most often occurs on the drive-side spokes due to the chain shifting over the largest cassette cog.  Cassette removal may be necessary for this inspection.

Inspect Your Rims

Rim failure can be sneaky!
As we discussed in a previous post, single-wall rims are wholly inadequate for bikepacking.  Fortunately, even entry-level mountain bikes typically feature a double-wall rim.  Much like spokes, the quality of a rim can be difficult to assess.  Rim makers such as DT Swiss and Stan’s are at the top of the original equipment game.  WTB and AlexRims are common in the middle of the range.  Fortunately, even many inexpensive rims can hold up to hard riding if kept true and properly tensioned.

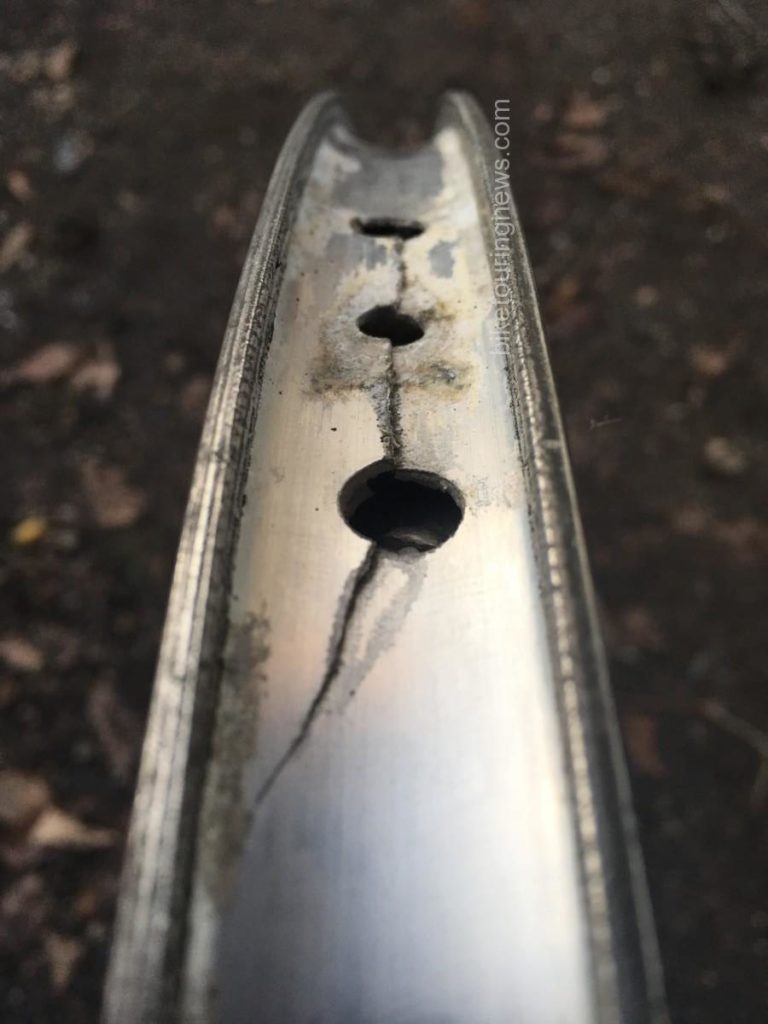
Of course, even the best rims will suffer the ill effects of high mileage, hard riding or abuse.  If your rims have any major dents or bends you’d be wise to replace them before a big trip.  Also, check the nipple seat for cracks.  This is a common failure mode on quality wheels that have reached the end of their life.  On a bike with rim brakes, you should also inspect the brake track for excess wear.

Evaluate Your Hubs

Formula hubs are typically affordable and reliable. They’re common on quality stock wheels and hand-built options.

Even inexpensive hubs rarely fail but you’d still be wise to evaluate their condition before heading out.  Is there play in the bearings?  Try to push the wheel side-to-side while clamped in your frame or fork.  Do you feel any knocking or play?  Remove the wheel and turn the axle end by hand.  Do the bearings feel rough when you turn the axles?  Does your freehub make odd noises when coasting or fail to engage when you start pedaling?  If your hubs exhibit any of these signs you’d be wise to service them before hitting the trail.

Steer Clear of “Wheel Systems”

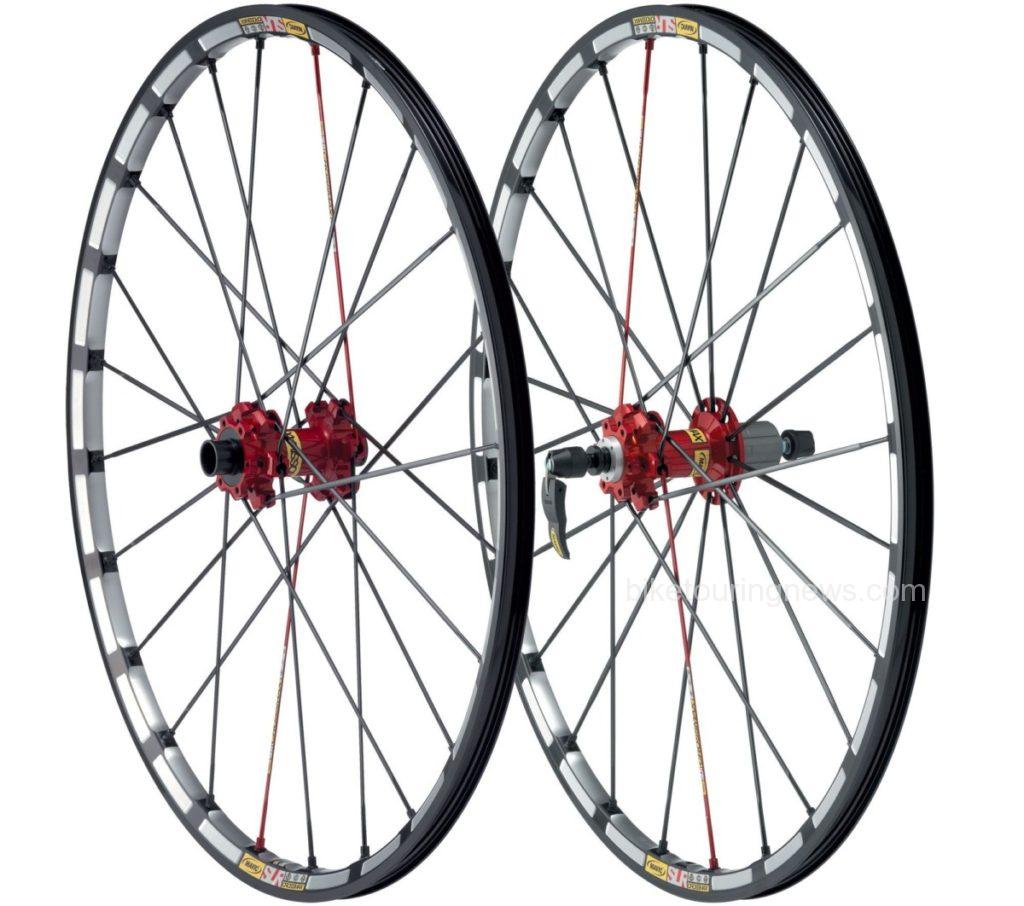
Wheel Systems may look fast and flashy but sacrifice reliability and serviceability.

We have seen a nearly infinite number of departures from the traditionally-spoked design as manufacturers continue to reinvent the bicycle wheel.  Some of these variations may offer a performance benefit for competitive cyclists.  Most simply want to stand out from the crowd and appear unique.  Regardless of the result, they accomplish this at the expense of durability and serviceability.  You may be wise to consider a replacement if your wheels have fewer than 28 spokes, nipples that aren’t square or spokes that aren’t made of stainless steel with a j-bend at the hub.  Fortunately, most bike makers are using more traditional wheels on their mountain bikes these days.

Preventative Maintenance is Key! 
Assuming your wheels pass the test above, you’ll want to make sure they’re in the best possible shape before you head out for your trip.  Wheels that are properly trued and tensioned will be much less likely to go out of true or break spokes.  Hubs that are properly adjusted and lubricated will very rarely fail, even under demanding conditions.  If you’re not a top-flight home mechanic you may want to leave this job to a professional.  A skilled mechanic will also be able to update you on the condition of your wheels and help you make preventative repairs to avoid untimely failures.

Need an Upgrade?  Go Hand Built!  

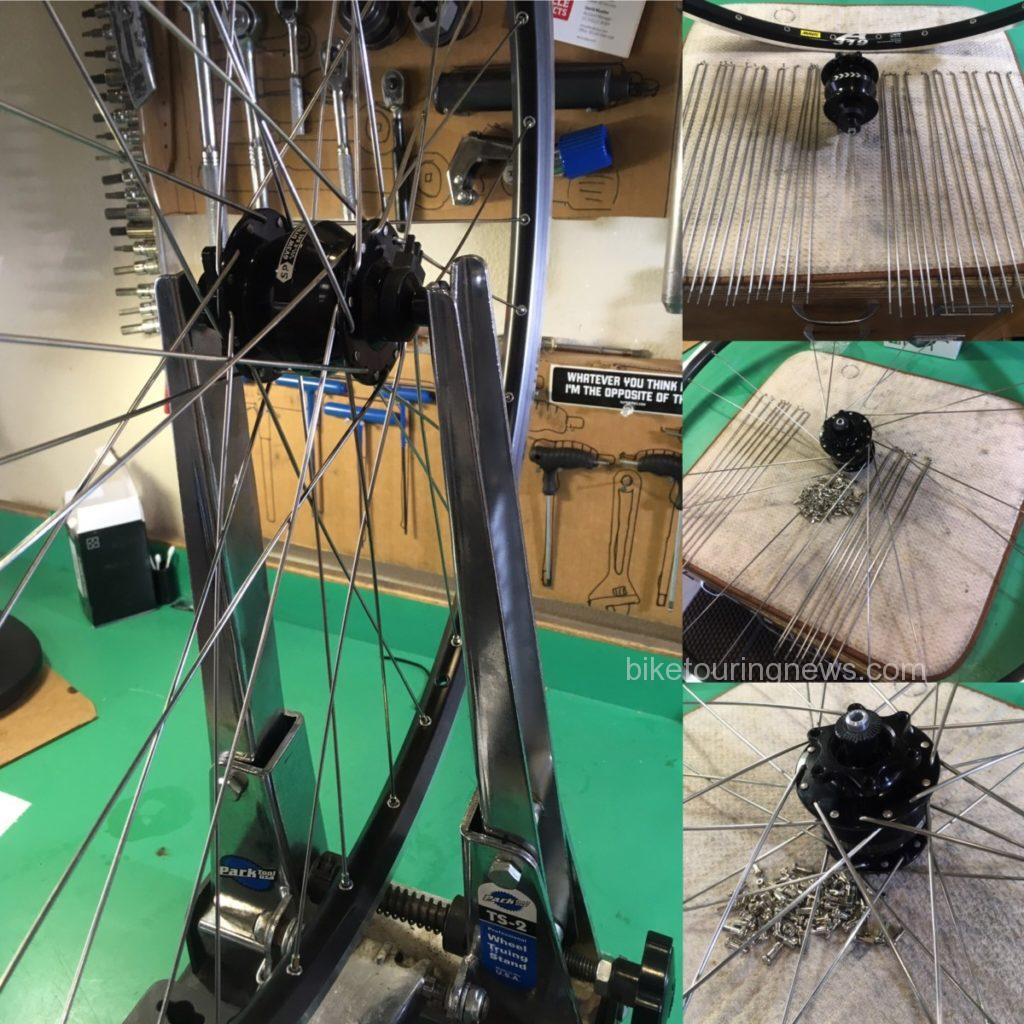
A front wheel comes together in the Bike Touring News workshop.

If your wheels aren’t up to the task or if you’re just looking for an upgrade you’d be well-advised to go hand built.  Unless finished by a skilled wheel builder, machine-built wheels are often undertensioned and tend to need repeated truing even if they are built with quality components.  A hand built wheel allows you the choice of components specific to your application and the ability to customize to your heart’s content.  A good wheel builder will also build to precise, even spoke tension and take steps to remove the stresses that cause wheels to go out of true, resulting in a very durable, reliable wheel built specifically for your riding style and intended use.  They don’t have to be expensive either.  Our prices for hand built wheelsets typically start around $300 and go up from there depending on options.  We build a large number of bikepacking wheels here at Bike Touring News and would love to talk with you about your dream hoops!

If you’re considering a new wheelset, think about incorporating a dynamo hub into the build.  The benefits of dynamo lighting and charging are massive, even if you don’t expect to do a great deal of riding after dark.  With a dynamo light you’ll never have to worry about charging or replacing batteries or leaving your light behind.  If you’re traveling off the grid and need to charge electronics, there are a also a variety of USB charging options powered by your dynamo.  That front wheel is already turning over; why not put it to work?  We offer a wide range of hubs, lights and chargers for every budget and application but that is a subject for another post!

Hand built and dynamo equipped! These 27.5+ wheels are ready for anything!

It is difficult to understate the value of solid, reliable wheels for bikepacking.  Good wheels are the best upgrade you can possibly make and are worth their weight in gold.  We hope you’re feeling better equipped to evaluate your current wheelset or consider what you may look for in an upgrade.  As always, feel free to drop us a comment to ask a question or share your experience.  Have you ever had a bike trip hijacked by wheel problems?  What qualities do you look for in a good wheel?

Thanks for reading and keep on pedaling!

Categories
Bottom Brackets and Crank Sets Drivetrain

From Three by Nine to Two by Ten on a Touring Bicycle

A Tale of Chain Suck

bicycle drivetrain
The new drivetrain

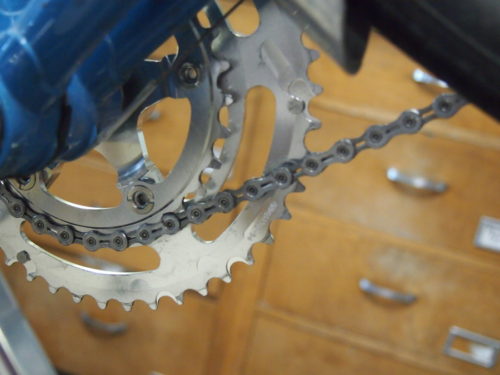
By replacing my chain and the middle ring on my triple Sugino touring crankset I thought my problems would be solved. The chain would now drop smoothly from the middle ring to the small ring without hanging up on the bottom of the middle ring, getting dragged around and over the top and getting jammed or “sucked” into the front derailleur. For the technical minded, this article about chain suck is informative. Basically, worn chain rings and/or a worn, dirty chain will contribute to chain suck. But, even with the new chain and middle ring the chain still was reluctant to disengage from the bottom of the middle ring when I wanted to shift to the smaller ring.

triple touring crankset
The old, triple Sugino crankset. 46-36-26

I have never been entirely happy with this crankset for a couple of other reasons:
1.) the arms are 175 millimeters long when I would have preferred 172.5
2.) the Q-Factor has always felt too wide to me.
3.) there are several combinations of chainring/rear cog that are either unusable or redundant.

The mountain biking world has been addressing the inefficiencies of triple cranksets and now so-called 2x and 1x systems using either two chainrings or just one with 10 or 11 speed, wide-range rear cassettes proliferate. When I saw the new “wide compact road double” crankset from Interloc Racing Design (IRD) I decided to take off the curmudgeon hat and put on the practical hat.

IRD crankset
The IRD wide compact double touring crankset. 46-30 172.5mm arms
IRD double
The new double crankset. 46-30

I had to consider a number of things in making the swap;
-First, I obviously want a decent range of gears suitable for a loaded touring bike. I used the Sheldon Gear Calculator as I describe in this blog post and see that a 10 speed cassette with a small cog of 11 teeth and a big cog with 34 teeth will give me the same high end as I have with the triple and a slightly easier low gear, which is a bit of a bonus, and will give me a few more usable gears (less cross-chaining) and fewer redundant gears.

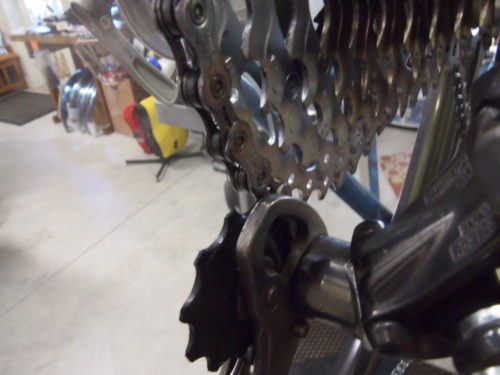
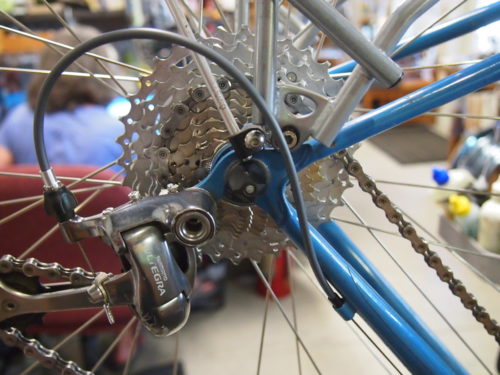
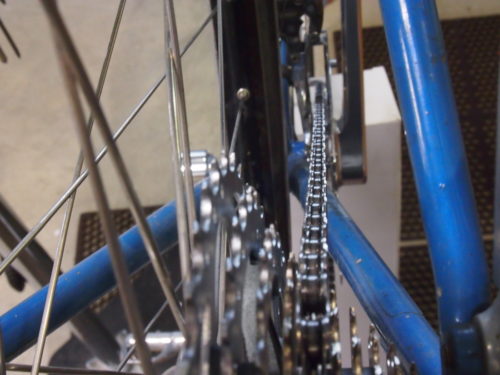
-Second, my front and rear derailleurs need to be able to deal with new rings and cogs and with a ten speed chain. The front triple derailleur, while it does not have the ideal shape for the compact rings moves the chain back and forth quite smoothly. I use a friction downtube shift lever so the 9 speed derailleur works with the narrower 10 speed chain but a 9 speed front derailleur will generally not work with an indexed shifting system made for ten speed. The rear derailleur can handle the chain wrap because there will actually be less chain to tension than with the triple setup. The medium cage Ultegra derailleur has a nominal large cog maximum of 30 teeth though, four teeth smaller than the 34 I am using. When in the big cog I am unable to adjust the derailleur to keep the upper pulley far enough away from the bottom of the cog but if that proves to be a problem, I can get a different derailleur.

rear derailleur pulley
For smooth running, there should be more space between the top of the derailleur pulley and the bottom of the largest cog.

-Third, since I still like an indexed rear shifter I need 10 speed downtube levers. And of course I will need a new, 10 speed cassette and chain.

ten speed cassette
The new rear cassette. 11-34

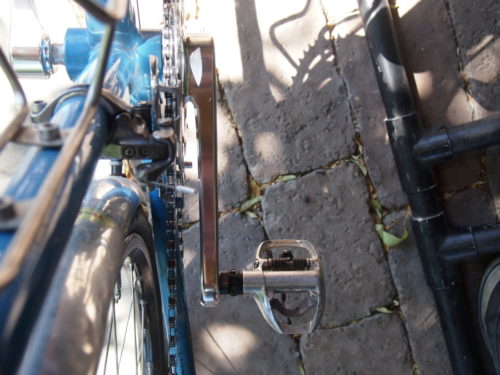
– My fourth consideration was Q-Factor. IRD recommend a JIS square taper bottom bracket with a 118mm spindle length to achieve the best chainline and, using that suggestion I ended up with an almost perfect chainline. The Q-Factor is now 1 centimeter narrower which I’m hoping will be more comfortable and efficient.

crank arms
Straight arms, Low Q-Factor

chainline
The chainline in the small ring and just left of center on the cog is pretty straight

I feel like simpler is almost always better and I like the simple, clean look of this setup. The IRD crankset has a jewellry-like finish and a muscular appearance, which might be even a little more traditional looking than the Sugino. The real test of the success of the conversion will be taking longer rides and going touring with it.

Categories
Hermit's Workshop The Touring Bicycle Wheel

When To Replace a Worn Wheel Rim

It’s early morning in Moab, Utah when the still air is violated by the sound of a small explosion and the clang of scraping metal. My friend’s rear wheel has come apart and is a twisted jumble of aluminum rim, steel spokes and rubber. For the first time, I realize that soft rubber brake pads can wear through metal. Sand and other grit in a slurry with oil and who knows what other chemicals get embedded in the pads and act like a grinding disc to wear away at the relatively soft aluminum braking surface of the rim. Once the braking surface becomes too thin to provide structure to the rim, the forces of the tire bead can blow it apart. Here is a visual example of what I am talking about.

The braking surface on a new rim is flat, if not a little concave.

A worn rim braking surface.

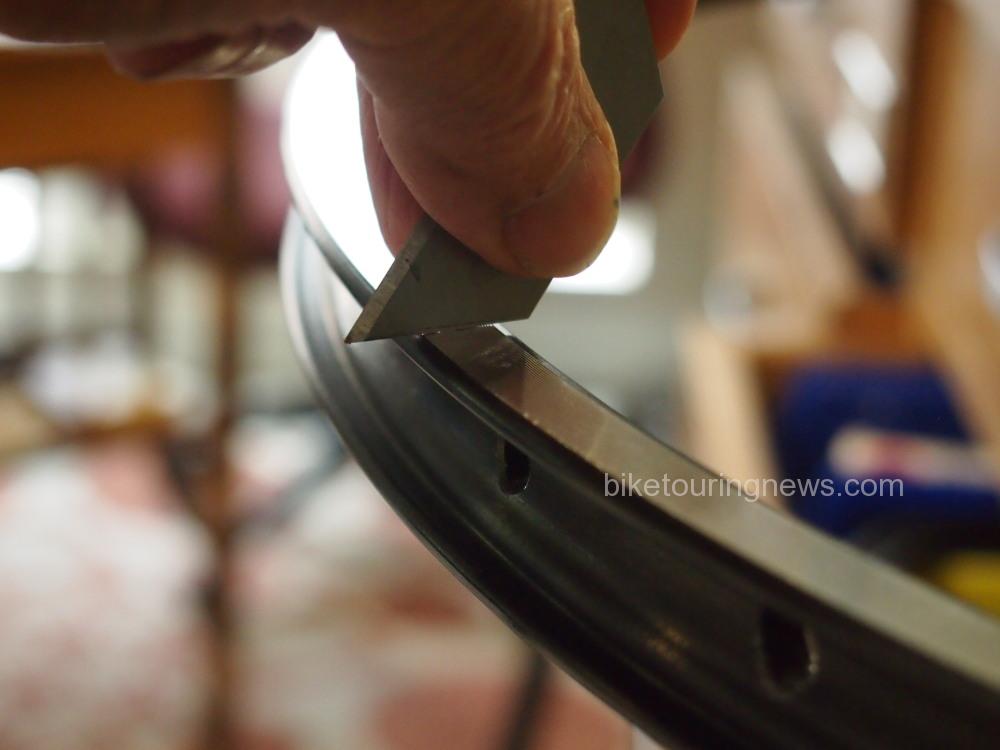
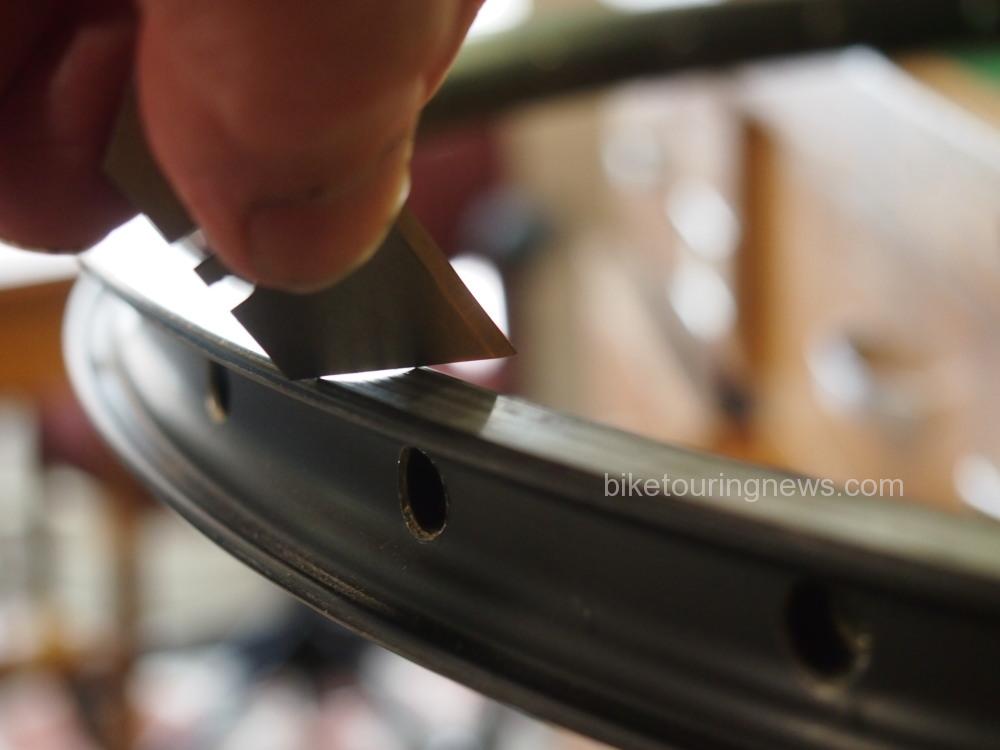
The concavity of the worn rim is visually apparent, but it can also be felt by the fingertips. Lots of times this is just a judgment call. Some rim makers machine a groove in the circumference of the rim’s braking surface and others create three or four small dots or indented holes at intervals around the rim. Once these indicators are no longer visible it is time to replace the rim.

Check your rim brake bicycle’s rims. If the braking surface feels like it has a little concavity to it, replace it before you go on the next long tour.

Categories
The Touring Bicycle Wheel Touring Bike Components Touring Bike Tires

Wide Rims

A customer needed a new front wheel for the new Straggler fork on his Cross Check. He wanted a disc brake on front for single track riding and the Straggler fork is very close to the Cross Check fork geometry-wise. I built up the wheel using a Surly Ultra New hub and the DT Swiss E512 rim which at 30mm wide is a full 11mm wider than the DT Swiss R450 rim on the wheel he was replacing.

Two rims side by side
A significant width difference!

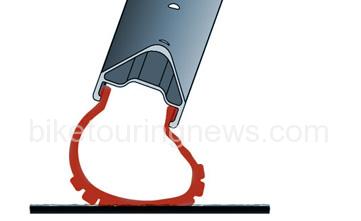
Why did I use such a wide rim? For a couple of reasons. The same tire, in this case a 700 x 35 Continental Cyclocross Speed, on a wider rim will have a wider contact patch than when mounted on a narrower rim and this means more traction. The tire will also have a cross section which will be a little more “square” and less balloon like. What this means, in theory, is that the tire will have less tendency to roll sideways when the wheel is angled into a turn and the handling should be more firm and confidence inspiring with no squirming. This idea is visually represented in the following two pictures:

 Wide rims provide optimal grip and allow a thinner carcass combined with increased traction and tracking ability. Photo: syntaceusa.com
Wide rims provide optimal grip and allow a thinner carcass combined with increased traction and tracking ability. Photo: syntaceusa.com
tire on narrow rim
Narrow rims provide little guidance for the tyre. The tyre “folds” and can even jump out of the rim.
Photo: syntaceusa.com

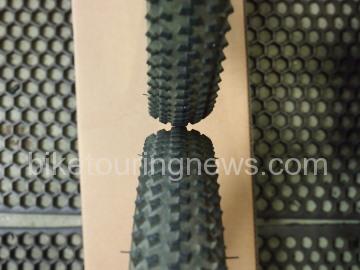
When it was done, we gained about 4mm in width to the inflated tire, a little over 1%. While that doesn’t sound like a significant increase it should stiffen up the sidewalls of this tire and contribute to better handling and cornering. The combination of a little bit of extra width in the tire and a deeper rim profile make the wheel and tire look quite a bit bigger then the original setup on this bike. Neither a Cross Check nor a Straggler now. Monster Crossler?

side by side tires
The tire on the top is on the 19mm rim and the one on the bottom is on a 30mm wide rim.
Categories
Bike Touring Equipment Bikepacking Touring Bike Tires

Summer Love – Maxxis Chronicle 29+

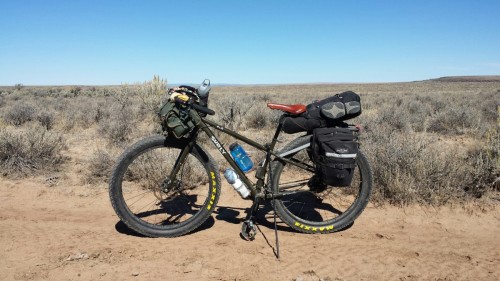
Indeed, Sky King has a new love. I happen to be quite spoiled and spend many happy hours on my ” Excellent Creative Riding” machine also known as the “Extremely Cool Ride” and for those of you who don’t know me, just call it my Surly ECR.

SUrly ECR "Extremely Cool Ride" now with Maxxis 29+
Surly ECR “Extremely Cool Ride” now with Maxxis 29+

We ventured out in August for a S24O to Crutcher Crossing. The road/trail/path is two track, dirt and rock. The first 7 miles pass through a Juniper forest. Juniper’s are invasive species in the Owyhee Mountains and this section is currently being logged. Given that, the road had impressive ruts, especially on hilly corners. We hadn’t traveled far and as I negotiated a rutted corner my tires slipped out and boom, on the ground I go. While I don’t consider myself the most technical descender – especially on a loaded bike – I should have negotiated the corner just fine. Back on the bike, half mile down the road and boom, slipped out again. After a few choice words I take a serious look at my tires – the original Surly Knard 29+3 27tpi. Yep, the side edge tread is pretty much worn to zilch – oops.

I’ve never had a big complaint with the Surly Knard tires. Some of my riding buddies have commented on the lack of a grippy edge but I never mind hopping off and walking some of the steep. The rest of the trip I certainly paid attention and took a less aggressive approach to the rest of the rutted corners.

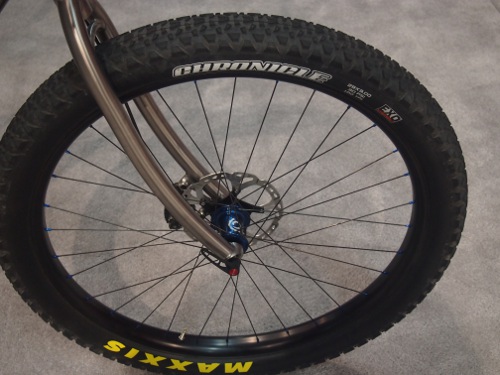
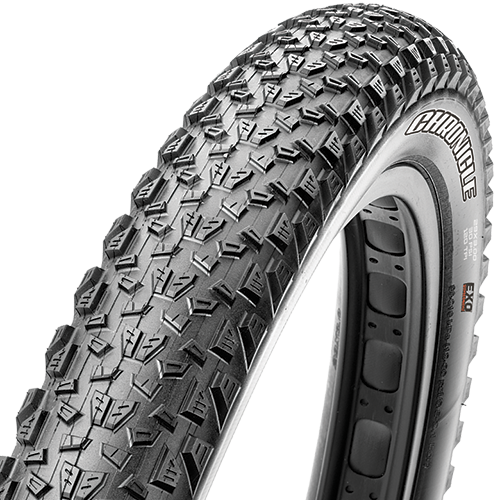
Did I mention I was spoiled, oh yeah, I did. A few days after the trip the Bike Hermit surprised me with a set of Maxxis Chronicles.Maxxis29+ This is a relatively new 29+3 so I had some trepidation. Ha, silly girl. The tread is perfect for a wide variety of terrain. I have the 120 TPI casing and the tire is lighter than my Surly Knards. The roll on pavement is excellent. On our very technical ride to Pipeline crossing, in the Owyhee desert the tires, hands down, out performed the Knards. The side grip is great. I didn’t have any slips, any spin outs or questionable traction issues. The Excellent Cool Ride bounced and jostled along happily – almost as if the person riding had advance to “pro” status. Look out Bike Hermit!

Technically a road...
Technically a road…

(Logan, over at bikepacking.com has a detailed review of the Maxxis Chronicle)

Categories
Touring Bike Components Touring Bike Tires

Touring and Trekking Tire Trends

At the 2014 Interbike trade show, it seemed to us that 27.5″ (a 650b by any other name would ride as sweet), so called “29+” and fatbike tires are gaining traction with manufacturers and with consumers. As fans of the 29+ wheel/tire combo as on the Surly ECR we were excited about the number of upcoming offerings for tires and rims.
29+
Maxxis have 29 x 3″ tires coming out.

big bicycle tire
The Maxxis Chronicle 29 x 3″ tire

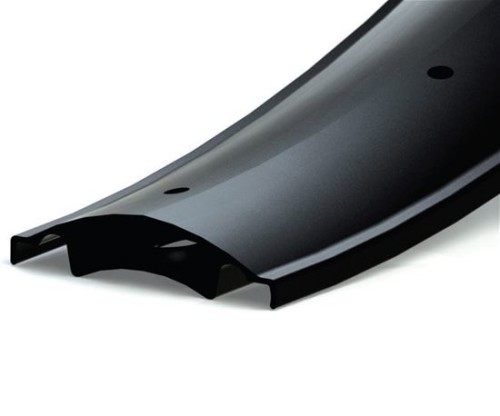
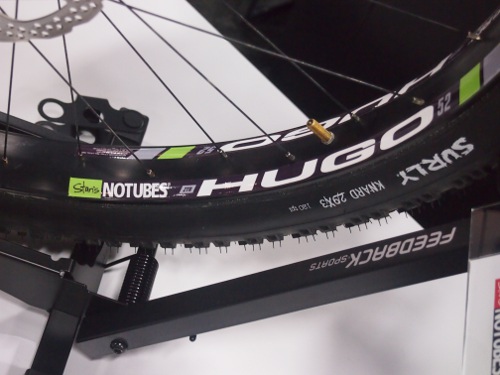
Stans NoTubes showed the Hugo 52 rim which is designed to work with tires such as the Surly Knard 29 x 3. (There will be 26″ and 27.5″ versions too) Generally, a non-tubeless-ready tire will not work well in a tubeless application even if the rim is made for tubeless. That is because the bead of a non-tubeless tire will not mate properly with the bead seat on a tubeless rim. But Stans designed the bead seat on this rim to work with non tubeless tires. They developed a sort of reverse box rim design so the profile from the outside is almost impossibly slim since the box section intrudes to the interior of the rim. In order to mount the tire, the rim needs to be basically inserted inside the tire cavity so that each tire bead is on the outside of the rim. Then each bead is worked over the rim from outside to inside.
rim cut
The Stans NoTubes Hugo 52 rim looks impossibly thin when a tire is mounted, but has the strength of a double wall section.

bicycle tire and wheel
Very thin looking section!

bicycle rims
29″ (700c), 27.5″ (650b) and 26″ (26″) Hugo 52 rims.
bicycle rim profile
Profile of the Hugo 52 rim with rim tape installed.

The Bike Hermit™ has been a curmudgeon when it comes to tubeless tires but with the lower pressures we have been running in the 29 x 3″ tires for desert touring he is pretty stoked about these tubeless rims because one of the main advantages of tubeless is the reduced chance of pinch flats when running low pressure tires (around 12 psi or so in the Knards).
FATBIKE TIRES
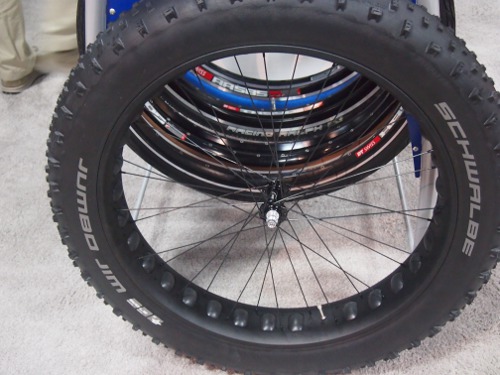
A couple monthe ago I asked my Schwalbe salesperson when he thought Schwalbe might make a fatbike tire. He said, basically- when they thought fatbikes had legs. Well, fatbikes got legs! Apparently:

big fat tire
A fatbike tire with the Schwalbe name! Behold- Jumbo Jim

Maxxis too.

fatbike tire
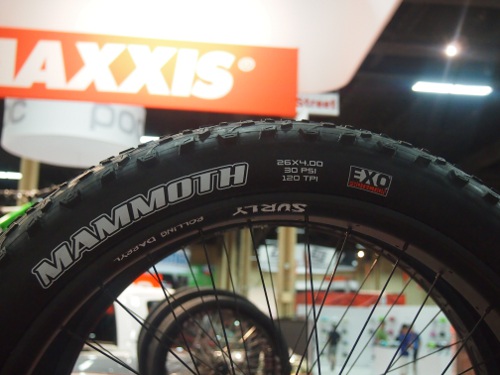
Maxxis Mammoth

Categories
Bottom Brackets and Crank Sets Drivetrain

Phil Wood Co.

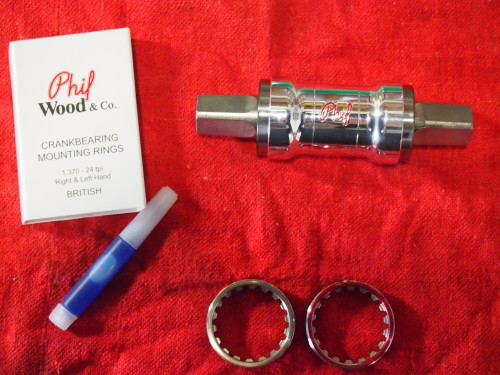
The Bike Touring News store now has Phil Wood bottom brackets for your Long Haul Trucker (or even brand x touring bikes!) builds. Phil Wood has gained a reputation over the last 40 years or so for being the standard in durable, strong and serviceable bottom brackets. Here’s a short pictorial guide:

picture of bottom bracket and cups
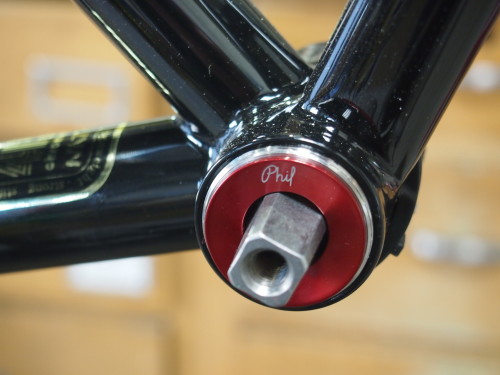
The Phil wood bottom bracket and retaining rings. The rings come with thread lock and they are required for installation.

bottom bracket shell
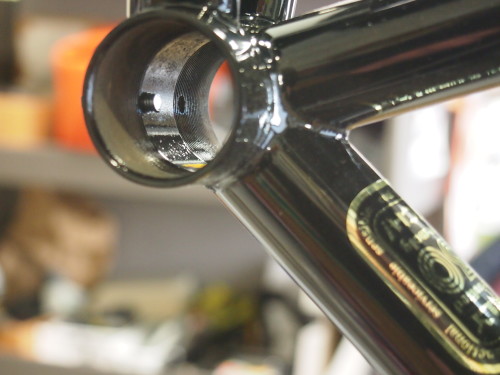
On a new frame the bottom bracket shell threads should be chased before installing the bottom bracket. Phil Wood retaining rings have no outer flange to rest against the the outer surface of the shell, so the paint does not need to be cleaned off nor does the shell need to be faced.
bottom bracket thread chasing tool
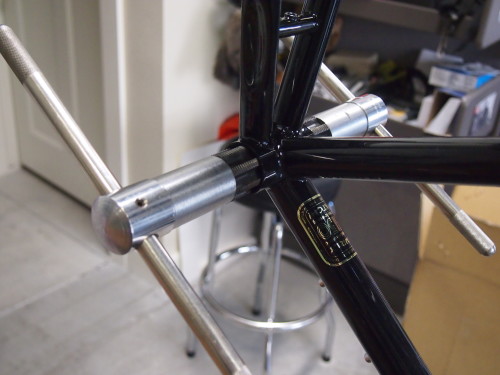
This is a thread chasing tool for bottom brackets. A person could probably get away without this step on a new frame.
Phil Wood bottom bracket ring
The drive side retaining ring threads in to the shell, just partway to start.
Phil Wood bottom bracket tool
The Phil Wood bottom bracket tool is specifically designed for the retaining rings and is required for installation.
Two Phil Wood bottom bracket tools in use
Two bottom bracket tools, one on each side makes the job much easier. The bottom bracket is slipped in from the non-drive side before the non-drive retaining cup is threaded in.
two phil wood bottom bracket tools
Here is a pair of Phil bottom bracket tools. Using two makes final adjustment much, much easier.
centered bottom bracket installed
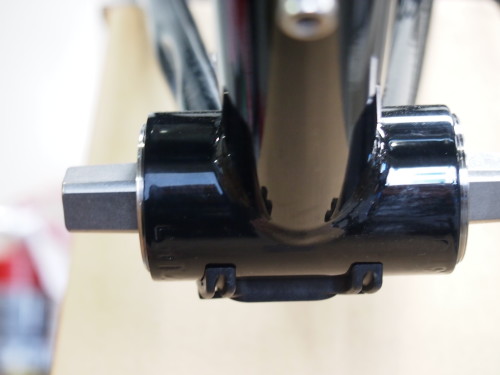
On of the unique and clever benefits of the Phil Wood bottom bracket design is the ability to move the cartridge left or right up to 5mm in order to get the chain line perfectly dialed. Here the bottom bracket is more or less centered since there is about the same amount of thread left exposed on the cups on both sides of the shell.
proper crank set clearance
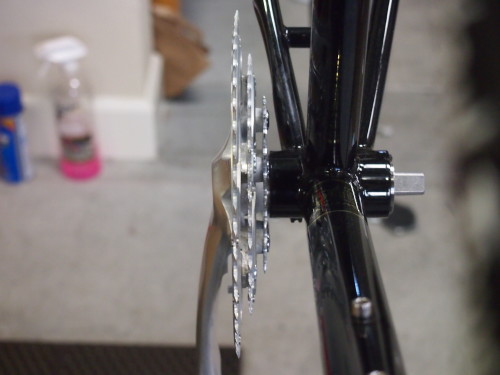
The proper length of bottom bracket spindle will be a function of the shape of the crank, mostly. Too short a spindle and the chainrings can hit the frame, too long and the chainline could be awkward and the Q-factor will be increased. This is a 68×108 bottom bracket with a Sugino XD2-500T triple crank set.
phil mud guards
New (2013 or so) to the Phil Wood product lineup is the BB Cup Mudguards designed to friction fit into the retaining cups and to keep the splines free from muck buildup. On this 108mm bottom bracket the bottom of the spindle taper doesn’t clear the mud guard and when the crank is tightened onto the spindle it binds. Clearly this idea needs some work. Phil Wood & Co. has been selling bottom brackets without mudguards for 4 decades though so they are not a requirement.
Categories
The Touring Bicycle Wheel Touring Bicycles

Wheel Size- Myth and Theory

Every size of the Long Haul Trucker bicycle, from the tiny 46cm bike to the gargantuan 64cm bike is available with 26″ wheels. 56cm and larger frames also come in 700c wheel versions while 54cm and smaller bikes only come with 26″ wheels. Why do they do that? Why can’t you buy a smaller bike with 700c wheels? And how do I choose between 26″ and 700c wheels on my 62cm Long Haul Trucker?

A Surly LHT in black with 700c wheels
700c wheel on a 56cm Long Haul Trucker. Nice proportions.


Big bike..little wheels
62cm Surly Deluxe Trucker with 26″ wheels
58cm Surly Disc Trucker w/26″ wheels

First, some bike design theory:
As a bike frame shrinks in size 700c wheels become problematic in a couple of ways. Georgina Terry from Terry Bicycles does a fantastic job of qualifying those problems in her videos about Bicycle Design
With a given wheel size- in this case 700c- there is a limit to how low the top tube can be before you run out of head tube and how short it can be before the rider’s foot starts hitting the front wheel.
Some bike manufacturers call some of their smaller bikes “women’s specific” and paint them in girly colors, which is nothing less than a marketing gimmick. Mainstream bike companies assume that the market will demand 700c wheels on their “road bikes” and so they compromise the design of the smaller bikes by changing the angle of the seat tube to make the top tube shorter and they change the angle of the headtube to mitigate toe overlap with the front wheel, which also helps make the top tube shorter.

A better way, and the way good bike designers like Terry, Rivendell and Surly do it is to change to a smaller size wheel as the frame size shrinks. Rivendell and Surly change both front and rear wheel sizes while Terry uses a smaller front wheel with a 700c rear wheel.
Terry Precision -- SOLD

A truism I hear all the time is that 700c wheels are faster than 650b or 26″ wheels. But I don’t buy it. That’s what they make gears for. A 26″ wheel will be spinning faster than a 700c wheel would be at the same velocity so the rider might be in a higher gear.  Surly makes the analogy of a tractor compared to a Formula One car….the controlling factors being gearing, suppleness and quality/type of tire and the motor.

What about handling of a bike with the smaller tires? Georgina Terry simply says that the front end is designed for the a smaller tires and so the handling isn’t twitchy. One of those design features taken from the Surly geometry charts is a slightly more slack head tube on the 26″ bikes which results in a similar trail when compared to the 700c bikes. I do think that a bike with 26″ wheels rides differently than one with larger wheels, simply because of that gyroscopic thing.

The reason Surly decided a couple years ago to offer every size LHT and Disc Trucker in 26″ wheel versions is that the 26″ wheel size is more ubiquitous around the world and replacement wheels and tires should be easier to find. So if you plan on touring in countries outside the US, 26″ wheels might be a good way to go. Come to think of it, there may more 26″ wheels and tires available here too in out of the way places. I’m reminded of the story of the couple traveling between Portland and Boise when they accepted a ride in a pickup truck and her bike fell out at 60 MPH. The rear wheel was ruined but their hosts had an old mountain bike in a shed from which she was able to salvage a serviceable wheel.

So, to summarize:
-Small bike…small wheels
-Larger bike and desire to find replacement wheels/tires wherever one may tour (or desire to run really fat tires) …26″ wheels.
-If you think 26″ wheels on bigger bikes look funny….700c wheels
-If you are convinced that 700c wheels are somehow faster…get those (assuming, of course, you think going faster is a good thing)