Categories
Bikefishing Bikepacking Idaho Idaho Hot Springs Mountain Bike Route Other Our Trips Surly Bikes

Middle Fork Sub24O


A few months back, I came across a small article about a Sub24O ride from Crouch, ID to Boiling Hot Springs. After posting said article to Facebook, I find that I have 3 general types of friends, the kind that will click that little ‘heart button’ and then comment something like “you are so badass, I wish I could do something like this”, well dude you could, and you should. Then there are the people, who you probably haven’t spoken to in years, that will like and share the post and then go do it on their own, with their own bike touring squad. The best kind, however, are the ones that text you later, with genuine interest, and over tacos you start to develop a plan. Many beers and several puns later, a weekend was chosen and the gears were put in motion (pun intended).

The thing is about drinking beer while planning a bike trip, some of the fine details get lost in translation… A bit of advice I’ll share with you, something I’ve learned in my bike touring endeavors, always have a plan B, in fact always have at least a plan B, probably a plan C, and just for good measure, keep plan D tucked away in your back pocket. The weekend I picked for this adventure just so happened to be the first weekend after the start of Boise State’s Fall Semester, and with my touring partner in the middle of earning his MBA, he had to back out at the last minute. I’ve toured alone before, see ‘Crazy girl rides across Oregon’, so I had no qualms about setting out on my own, but when the Bike Hermit and Sky King caught wind of the trip, they felt it necessary to join in on the fun. And so, after a few beers, I left the two of them to pour over maps of the route that I had planned for months, double checking all the details and making sure I hadn’t just made the whole thing up.

The next morning I pulled up to Bike Touring News at 0900, gear spread across the entirety of the garage, Revelate frame bags, Surly junk straps, Hennessy Hammocks, BTN water bottles and various bits of clothing needing to be packed and loaded into the truck. I tried to keep my cool as I stuffed my sleeping gear into my handlebar bag, a Revelate SweetRoll that was fighting back. An hour later, we were heading out, driving in circles so the Bike Hermit could find an ethanol free gas station (Horseshoe Bend does have ethanol free for future reference). As the temps rose into the high 80’s we pulled into Crouch, finding a spot suitable for overnight parking, next to the log cabin that doubles as the town hall. Thankfully the City of Crouch offers free WIFI, thus I was able to get a shot of the fully loaded Karate Monkey off to my many instagram followers (all 50 of them). At noon, I headed up Middle Fork Rd, a few minutes ahead of the Bike Hermit and Sky King.
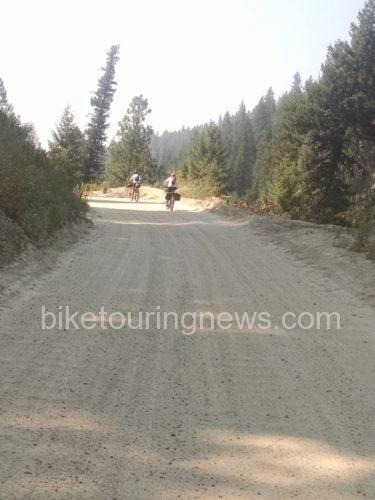
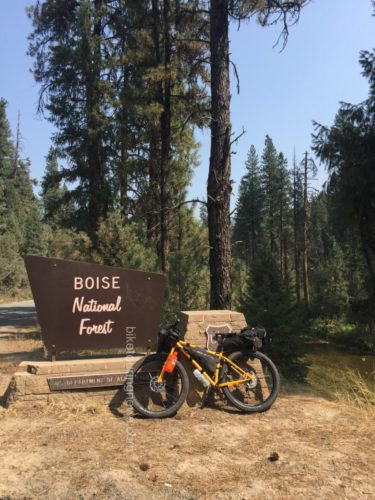
The first 8 or so miles are rolling pavement flowing past a mixture of old barns, open fields and modern homes perched along the Middle Fork of the Payette River. Once the road hits the boundary of the Boise National Forest, it turns to gravel with both designated and primitive camp spots every few miles. The steady climb takes you past several fishing and/or swimming opportunities, which despite their remote location seem to surge with popularity on weekends. Most of the motorists and ATV users were respectful to the ‘Share The Road’ signage, but without doubt, we did encounter the occasional driver who seemed to give zero shits about the lives of cyclists. I would highly recommend bringing an extra handkerchief to tie up bandit style for this exact reason, protecting yourself from the intermittent dust bowls. The 16 miles of gravel transitions from washboard, to packed dirt, to deep layers, making us thankful for the 3” tires in place on the Surly ECR, Troll and Karate Monkey.
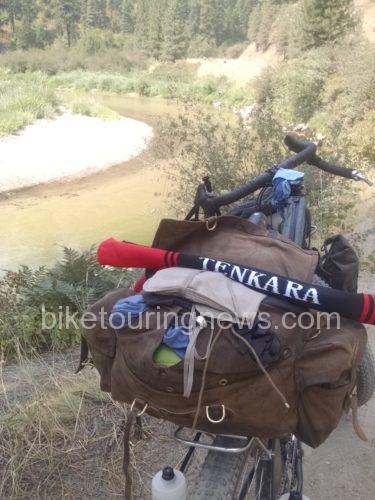
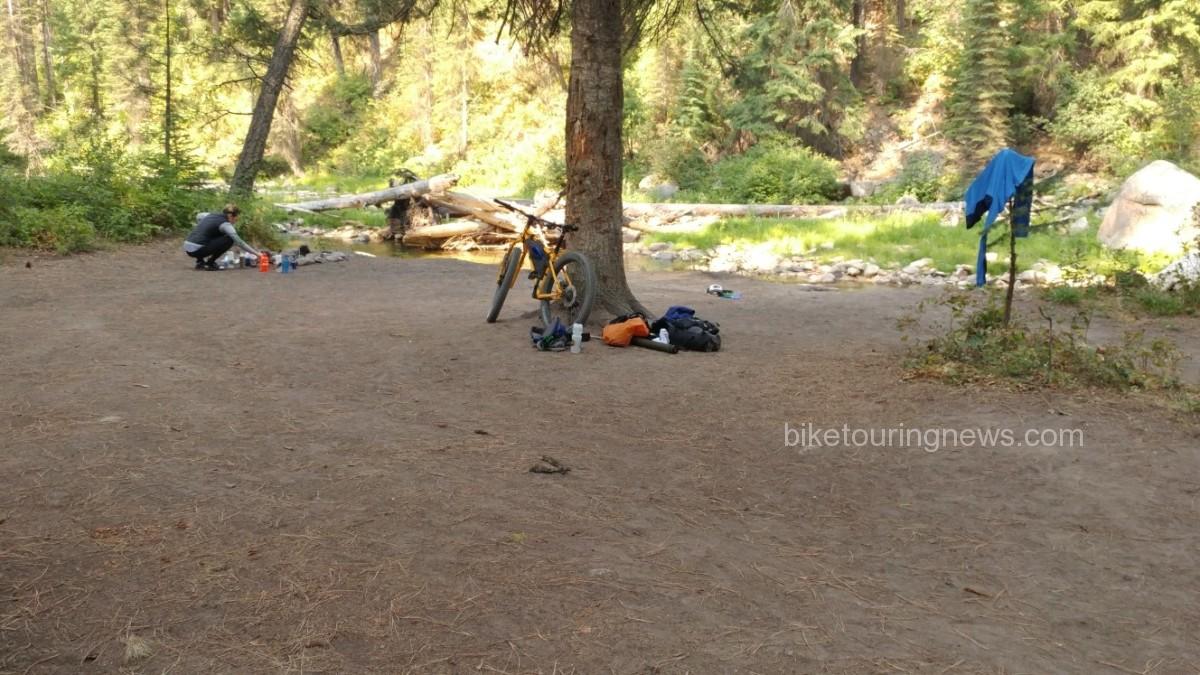
In late August, the Middle Fork runs at just above 100 CFS, making it the perfect time to access the natural hot springs requiring river crossings to access. The low flow also leaves small pockets above sections of rapids where brook trout made futile attempts to hide from the Bike Hermit’s Tenkara Rod. The short distance from Crouch to our destination allowed us for plenty of time to stop and fish with daylight left to set up camp. At mile 16, the road forks, the east taking you along the traditional main route of the Idaho Hot Springs trail, the north taking you up to Boiling Hot Springs, our intended destination. Sky King’s research showed that the designated camp spot at Boiling Springs would cost $16.00, more than the cost of gas to get from Boise to Crouch, leading us to look for a primitive spot along the river. Just below Silver Creek, along a stretch of river where several trout could be seen with the naked eye jumping in the afternoon sunlight, we set up camp for the night. IPA’s supplied by Mother Earth Brewing were cooled in the sub 60 degree water and fly rods were rigged for slaying. As the sun set below the canyon, the fishing slowed and Sky King whipped up a delicious riverside happy hour consisting of crackers, cheese and red peppers. After refueling, the Bike Hermit and I headed north in search of undiscovered trout waters, scurrying down steep embankments to the deep pockets protected by downed trees and large boulders. We fished until dark before drifting off in Hennessy Hammocks to the sound of the river bubbling close by. 
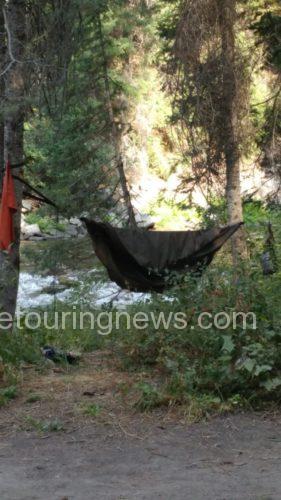
The quiet of the remote location and the lack of sun in the canyon allowed us to sleep in well past 0900 and we took our time packing up in the cool morning air. The Bike Hermit revealed his ninja fast packing skills, training from coffee drinking, jogger pants wearing, sunday breakfast type guy into the Bike Hermit in less than 10 minutes, a real Clark Kent to Superman type moment.
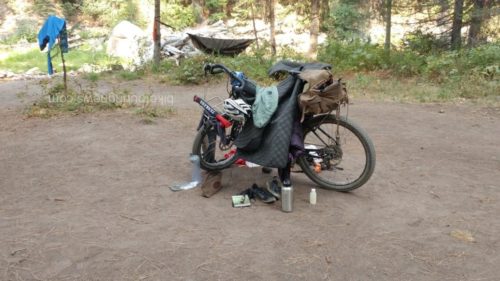
It wasn’t until we had gone a few miles before we realized how much of a steady climb we had undertaken the day before, making it a true Sunday Funday. The extra time allowed us to stopped at Fire Crew Hot Springs, the Bike Hermit fished while Sky King and I explored the warm pools on the west side of the river. We came out of the canyon in the late Sunday afternoon heat, making the last few miles a bit harsh. Thankfully The Dirty Shame serves up a good burger and the squad was once again smiling while reliving tales from the past 24 hours.

Bike Touring News endorses this ride for numerous reasons

  • quick overnighter not far from home with options to go further.
  • road surface is doable – could ride w/ 32 mm tires (mildly rough – washboards, sand and gravel)
  • gradual climbing
  • great shake down trip for new gear, new bike packers, new bikes etc.
  • plenty of water at various campgrounds along the way (or take a filter)
  • hot springs (is on the Adventure Cycling Idaho Hot Springs Route)
  • successful fishing


Categories
Bike Touring Equipment Bike Touring Tips Bikepacking Other Planning Resources

Colorado Trail Race 2017 Gear Roundup

The epically wet and stormy 2017 running of the Colorado Trial Race pushed riders and their gear to the absolute limits.  The technical singletrack and massive elevation gain of the CT also reward a light-and-fast approach to packing.  There is no room for excess gear in the alpine.  However, improper or inadequate gear can have serious consequences on self-supported rides and definitely contributed to the large number of riders unable to finish the CTR this year.

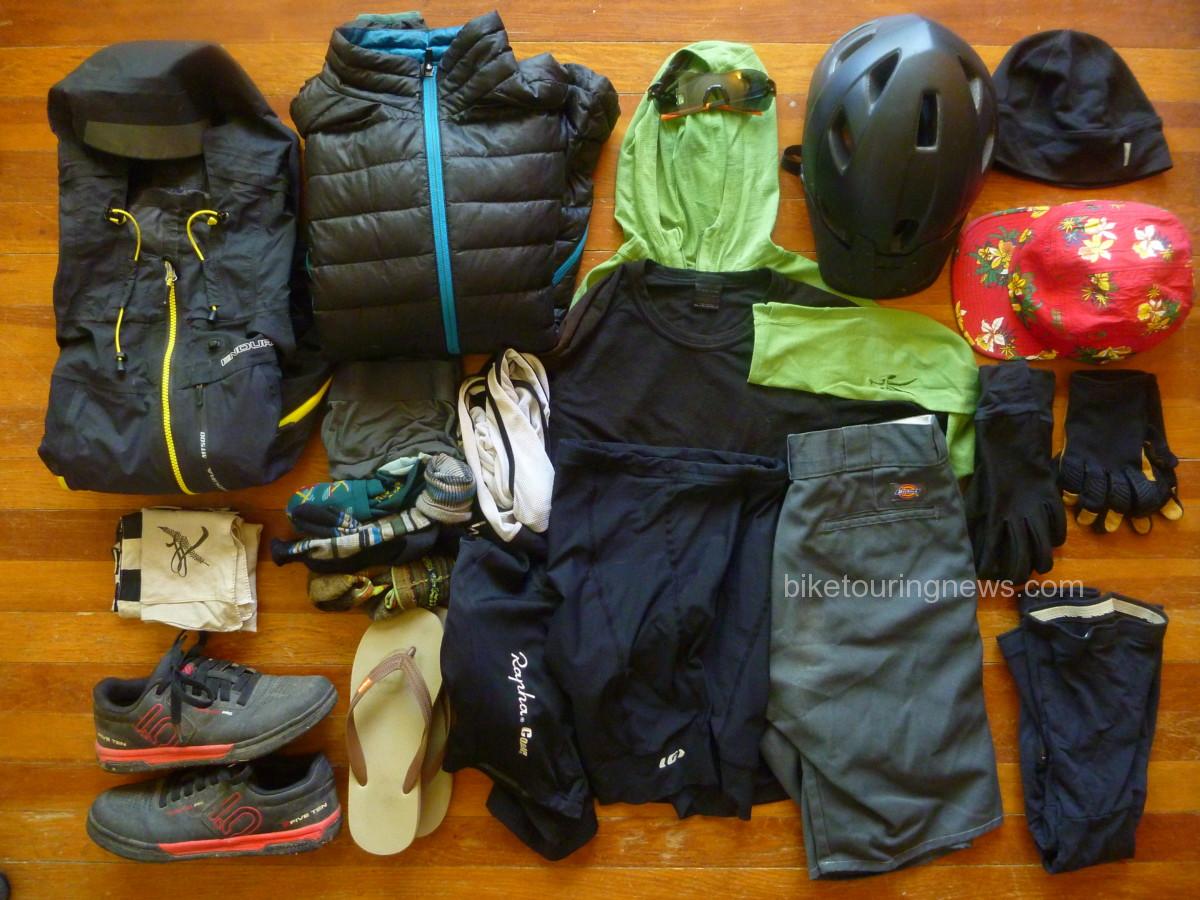
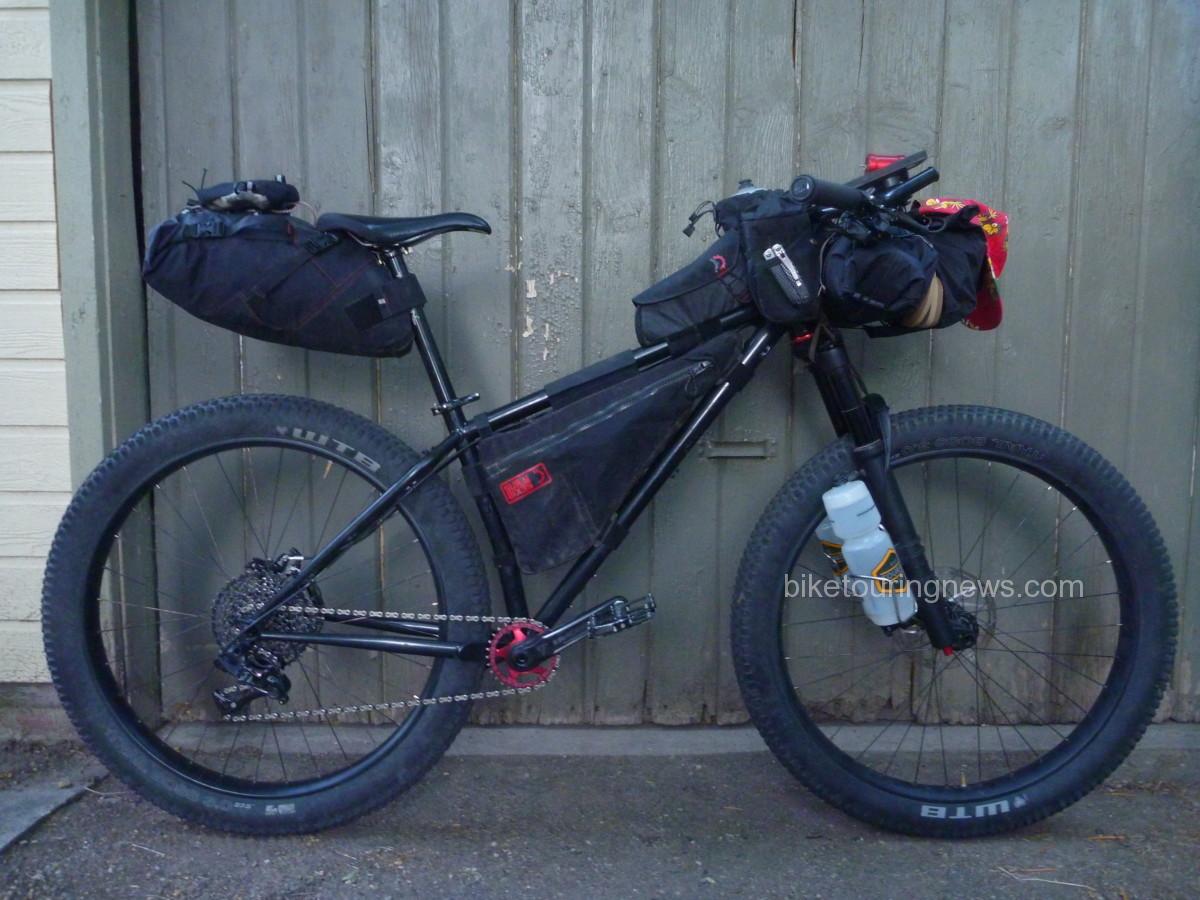
In this post, I’ll go over the gear I took on the trail, what worked and what didn’t.  The photos below were taken before departing for Colorado.  I’ve noted a handful of minor adjustments made on the final pack in Durango.

Clothing and Accessories

  • Icebreaker Wool T-Shirt, SS
  • Ibex Wool Pullover, LS w/hood
  • Dickies Cutoff Shorts
  • Rapha Bibshorts
  • Louis Garneau Tri Shorts (aka “Touring Undershorts”)
  • Rapha Wool Skullcap
  • Hike-a-Bike Cap (lost on the trail)
  • Handkerchief x2
  • Five10 Freerider Pro Shoes
  • Synthetic Boxer Briefs
  • Point6 Wool Socks, 1 light, 1 midweight
  • Wicking Synthetic Socks
  • Leg Warmers (swapped for knee warmers before the start)
  • Softshell Gloves
  • Trail Gloves (lost on the trail)
  • Sierra Designs Down Jacket
  • Endura MT500 Rain Jacket
  • Smith Sunglasses w/smoke, amber & clear lenses.
  • Giro Helmet
  • Grocery Store Sandals

Overall, my clothing selections were solid.  Many riders also brought rain pants, shoe covers and additional wet weather protection.  I definitely had wet legs and feet for much of the ride but don’t think additional rain gear would have helped with that situation.  The Endura MT-500 jacket was a standout performer.  While it isn’t the most packable, it breathes better than any rain gear I’ve ever owned and incorporates well-designed ventilation to keep it comfortable in warm temperatures.  The helmet-sized hood helped seal out rain and hail while conserving additional body heat.

While the rain jacket didn’t garner much attention from fellow riders, my shoe and pedal combination certainly did.  While flat pedals have made big inroads in other mountain bike disciplines, the vast majority of CTR riders ran clipless pedals.  Nearly every day of the ride I had at least one other rider make an envious comment about how comfortable my shoes looked as we pushed our bikes up one hellish rock pile or another.  In my opinion, flat pedals are the way to go for all but the strongest riders on loaded singletrack rides.   Five Ten’s rubber compounds provide excellent grip and the Freerider Pro’s sole delivers an optimal blend of pedaling stiffness and walking flexibility.  Despite the constantly wet conditions, I made it through at least 100 miles of hike-a-bike with no blisters or other significant foot issues.  Frequent dismounts and remounts are also much more fluid on flat pedals with no pedal binding to search for.

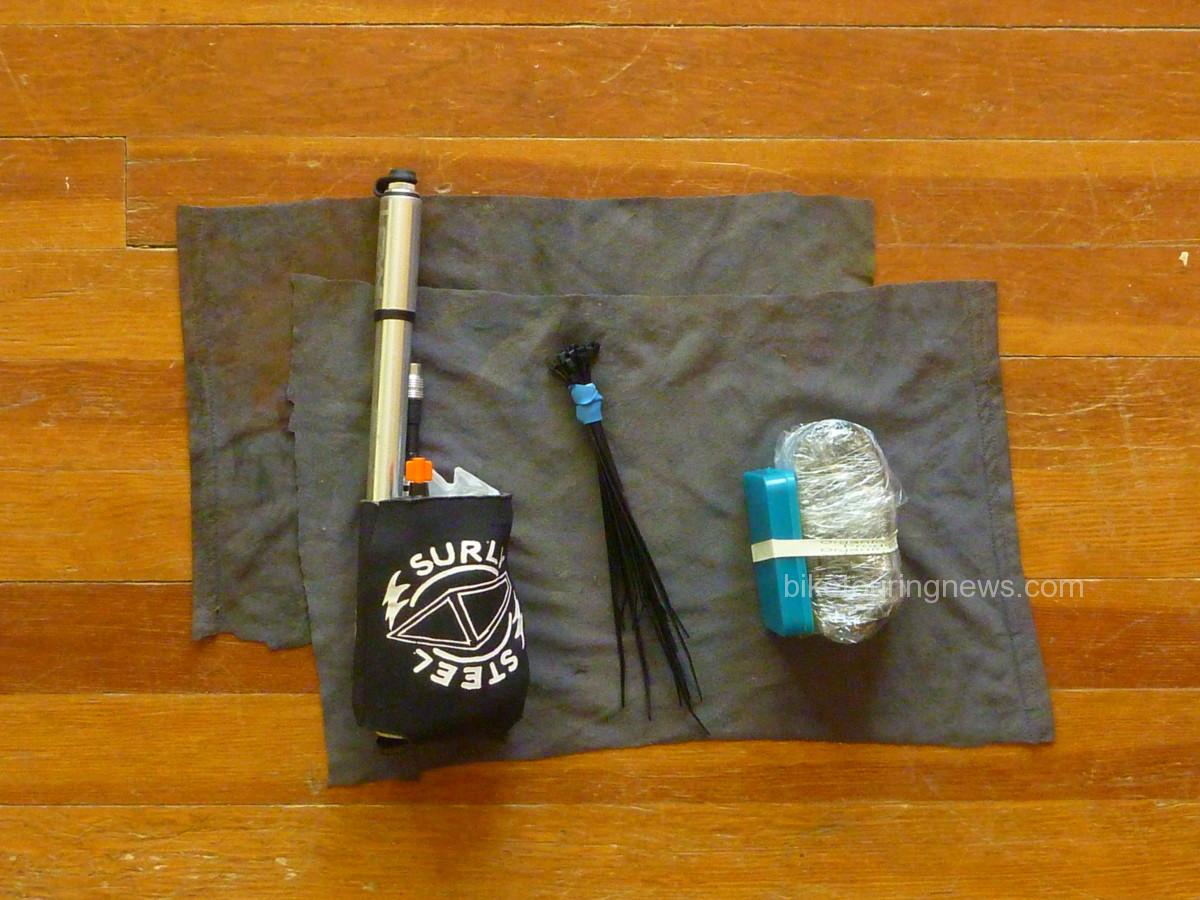
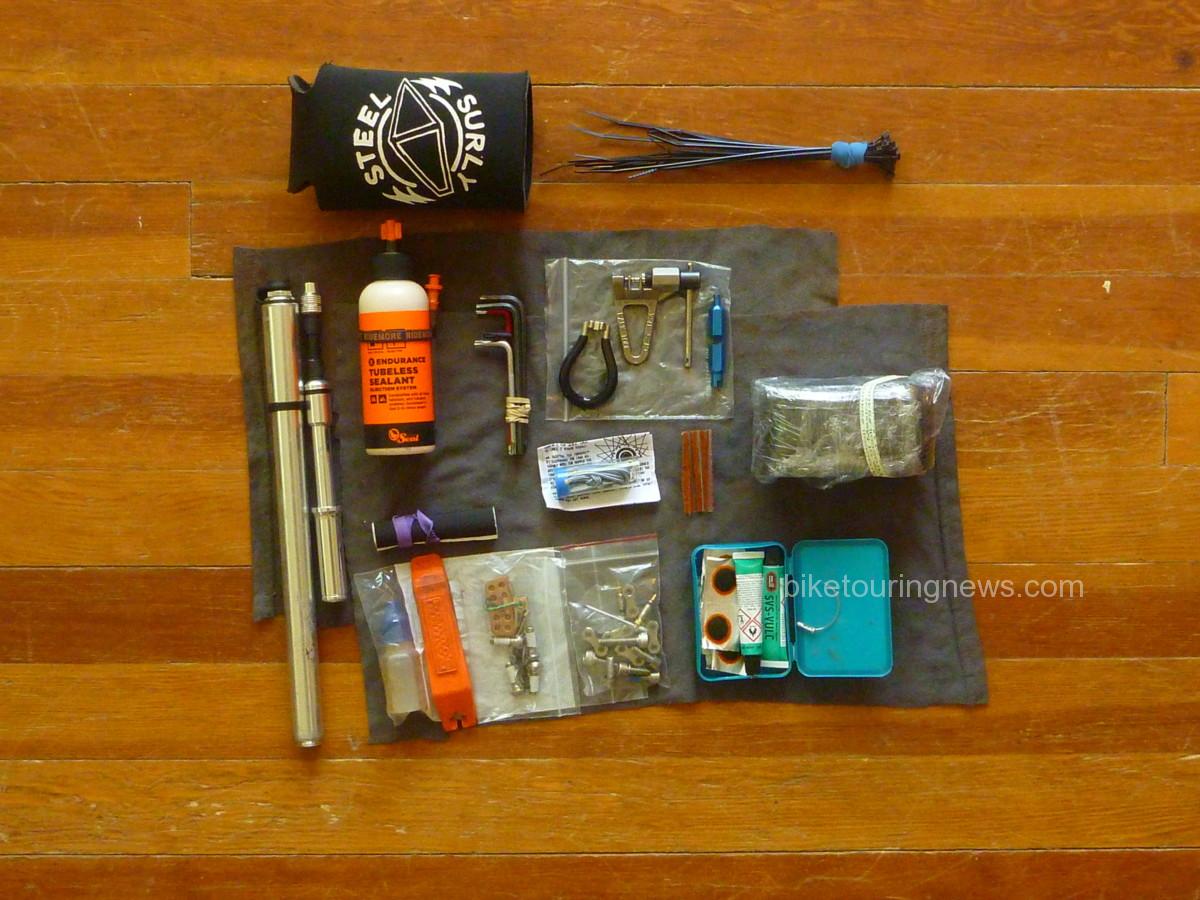
Yet another use for the Surly Insulated Sheath: stash pack for tools and spares!

Tools & Spares

  • Hex Wrenches:  5,4,3,2.5,2mm
  • Torx Wrenches:  T-25,20,10
  • Park Chain Tool
  • Fiber-Fix Spoke
  • Spoke Wrench, #0
  • Pedro’s Tire Lever
  • Valve Core Remover
  • Gear Repair Tape
  • Zip Ties
  • Chain Lube
  • Rags x2
  • 29er Tube
  • Lots o’ Patches
  • Patch Cement: 5g Tubes, x2
  • 11speed Quicklink x2
  • Spare Chain Links
  • Spare Hardware: M5, M6 bolts in assorted lengths
  • Spare Brake Pads
  • Curved Needle (business end protected with a cable crimp. Good thinking, Nic.)
  • Leatherman Wingman Multi-Plier
  • Tire Sealant, 4oz
  • Spare Valve Core x2

Thankfully, I found very little use for my tools and spares aside from the rags and chain lube.  The Ninja Gorilla was a rock-solid partner, handled everything the trail dished out with nary a squeak, creak, clunk or complaint.  Regardless, I wouldn’t have felt comfortable leaving many of these items behind on a ride this long.  I did pick up an additional set of brake pads in Leadville as I was concerned about burning through them on the long, wet descents.  I never wound up replacing the pads I started on but having 2 spare sets on board provided peace of mind.

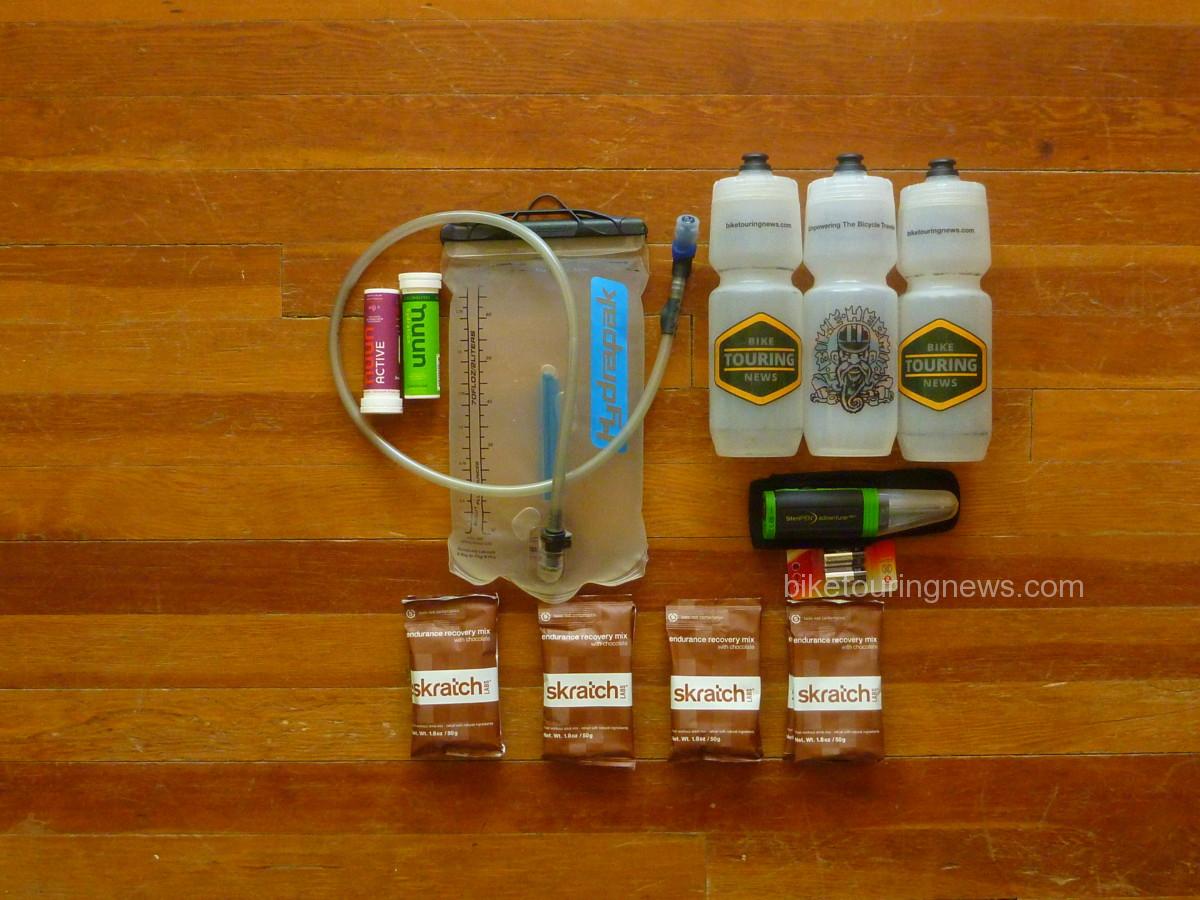
Hydration and Nutrition

Water was especially abundant on the CT this year, so my three bottles provided more than enough capacity.  The Colorado Trail Guidebook and Databook provide only basic directional information for the Wilderness detours, so it was sometimes unclear how much water would be accessible along the detour routes.  For the most part, I started looking for a water source when I got down to only one bottle and had very little difficulty staying topped up.

The Steripen worked well for me on this trip.  While it may not be as fast as some filters, it is wonderfully packable and easy to use.  I anticipate this will be my go-to purification method on future bike trips, replacing the Sawyer filter I’ve used in the past.

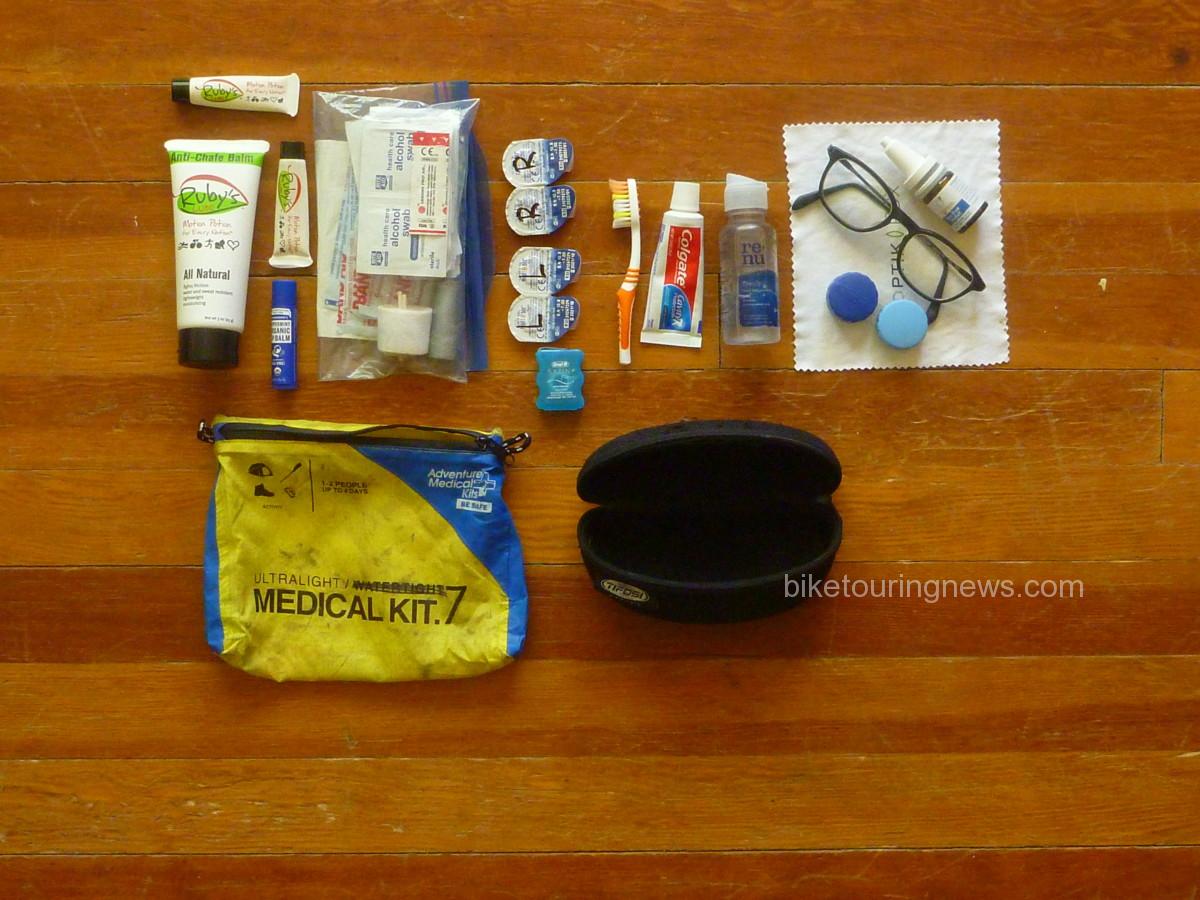
Hygiene and First Aid

  • Toothbrush
  • Toothpaste
  • Glasses
  • Spare Contacts x2
  • Contact Case
  • Contact Solution
  • Dry Eye Drops
  • Alcohol Wipes
  • Ruby’s Lube
  • Gauze Bandages
  • Athletic Tape
  • Duct Tape
  • Butterfly Bandages
  • Asst. Large Band-aids
  • Dr Bronner’s Lip Balm
  • Dental Floss

I didn’t find much use for any thing in this category other than my toothbrush, toothpaste, eye drops and a handful of alcohol wipes.  I was surprised that I never reached for the Ruby’s Lube but I spent so much time on my feet over the first 4 days that I didn’t have time to develop saddle sores or chafing.  I also experimented with extended-wear contacts on this ride.  The twice-daily ritual of sticking filthy fingers into my eyes to insert or remove contact lenses has generated infection problems in the past, so I hoped extended-wear lenses would be the solution.  I wore the same pair of lenses throughout the entire 9 days I spent on the trail with zero issues.  I used rewetting drops occasionally but found that my eyes stayed well-lubricated as long as I kept up with hydration.

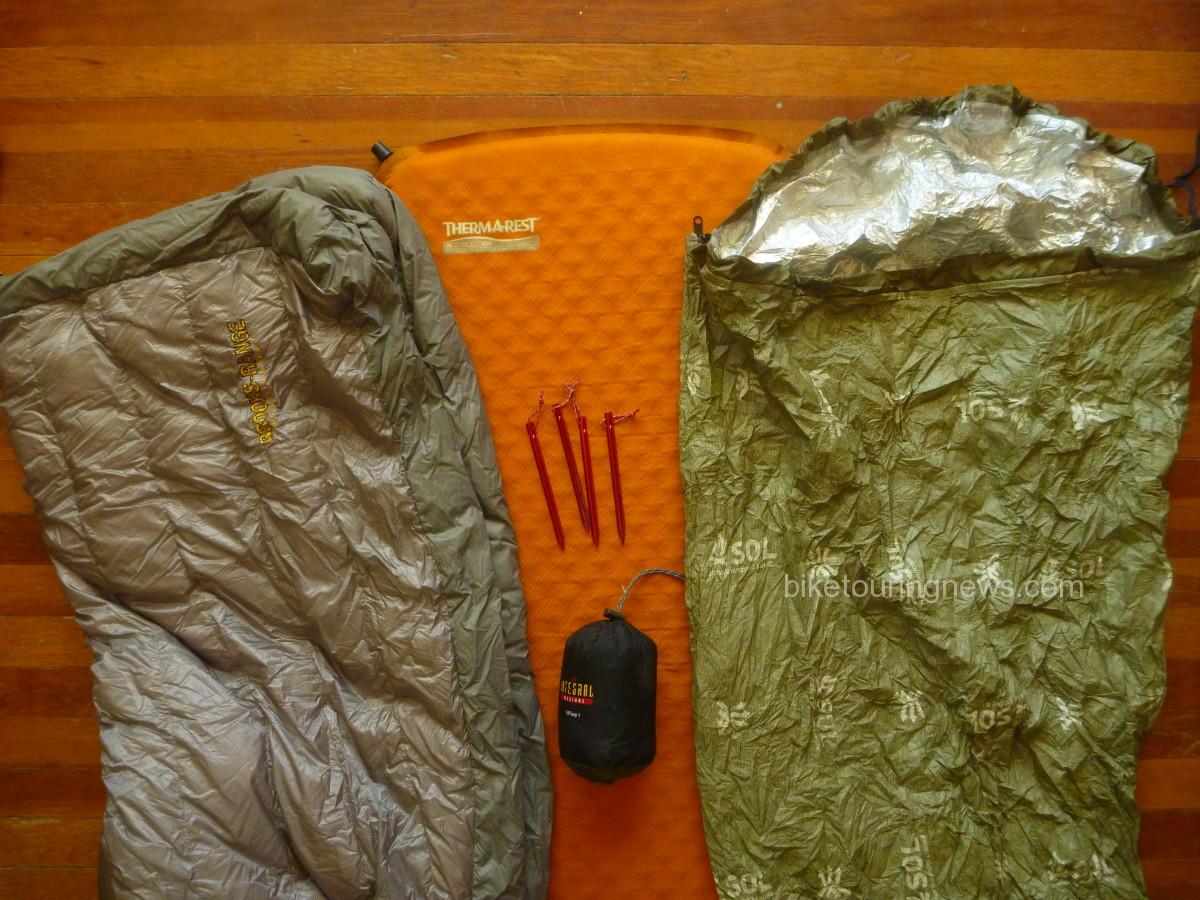
Sleep Kit

  • Brooks-Range 45-deg Down Quilt
  • Thermarest Prolite 3/4 Pad
  • Silnylon Tarp, 8x10ft
  • Stakes, 4
  • SOL Escape Bivy

This is the category that proved to be many riders’ downfall on the CTR this year.  Of the 42 riders who didn’t finish, I’d guess that a significant number were carrying inadequate shelter.  I spent a full 12 hours hunkered under my tarp just below Stony Pass waiting for the weather to clear.  Riders without proper shelter were forced to press on through the storm or retreat miles back down the road to find shelter, even all the way back into Silverton.  At least two riders who continued into the bad weather were forced to scratch after enduring miserable or even dangerous conditions.  I may have been among them if I hadn’t had that one little scrap of silicone-coated nylon.  The bivy and down quilt combination kept me comfortable across a wide range of temperatures.  I don’t think I would ever carry a more minimal sleep kit unless precipitation were completely out of the question.  Overall, I got good rest on the trail and that sleep bank allowed me to make relatively efficient progress while on the bike.

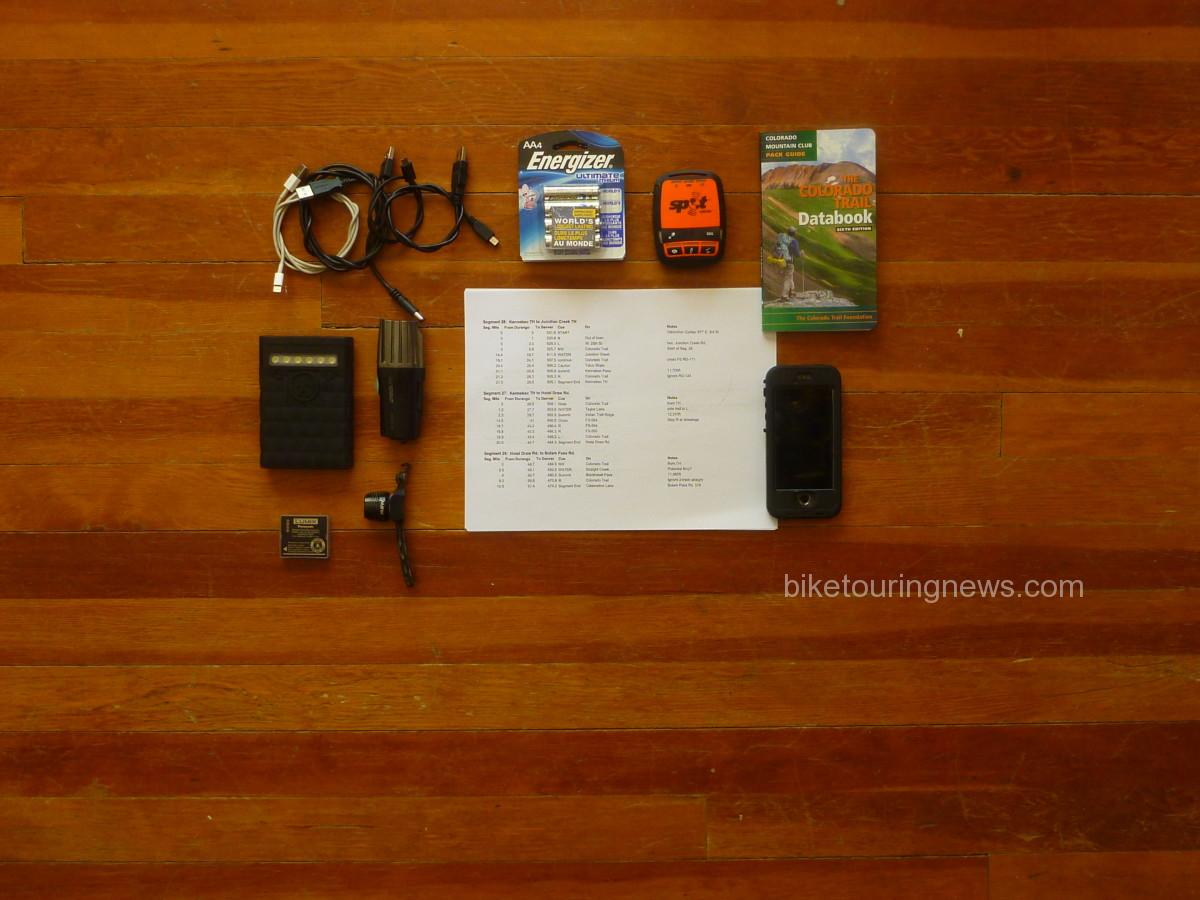
Electronics and Navigation

  • iPhone with GaiaGPS app, tracks and maps downloaded
  • Printed Cue and Resupply Notes
  • Colorado Trail Databook
  • Cache Battery
  • Helmet-Mount Light
  • Point&Shoot Camera and Spare Battery
  • Charging Cables
  • SPOT Tracker and Spare Batteries
  • Little Red Taillight

Generally speaking, navigation along the Colorado Trail is easy.  Junctions are mostly well-signed and confidence markers are frequently posted in between.  However, the bike detours can present navigational challenges.  With my iPhone mounted to the Rokform handlebar mount, I was able to double-check my routing with two presses of the home key.  This prevented many navigational miscues and kept me from making any costly mistakes.  However, wet touchscreens are difficult or impossible to navigate, so I had to take care to keep my phone from collecting water.  I used the Databook for its elevation profiles, water and campsite notes.  It wasn’t much help for navigation as this year’s CTR ran from Durango to Denver, contrary to the westbound route description in the Databook.  I created my own cue sheet as a navigational backup but used it more for distance estimation than navigation.

Another standout performer on this ride was the Sinewave Cycles Beacon headlight and USB charger.  This key piece of gear lit my way and kept my phone, helmet light and backup battery charged throughout the ride, despite the notoriously slow speeds common on most of the route.  Look for a more thorough review of the Beacon and its performance in a future post.

Luggage

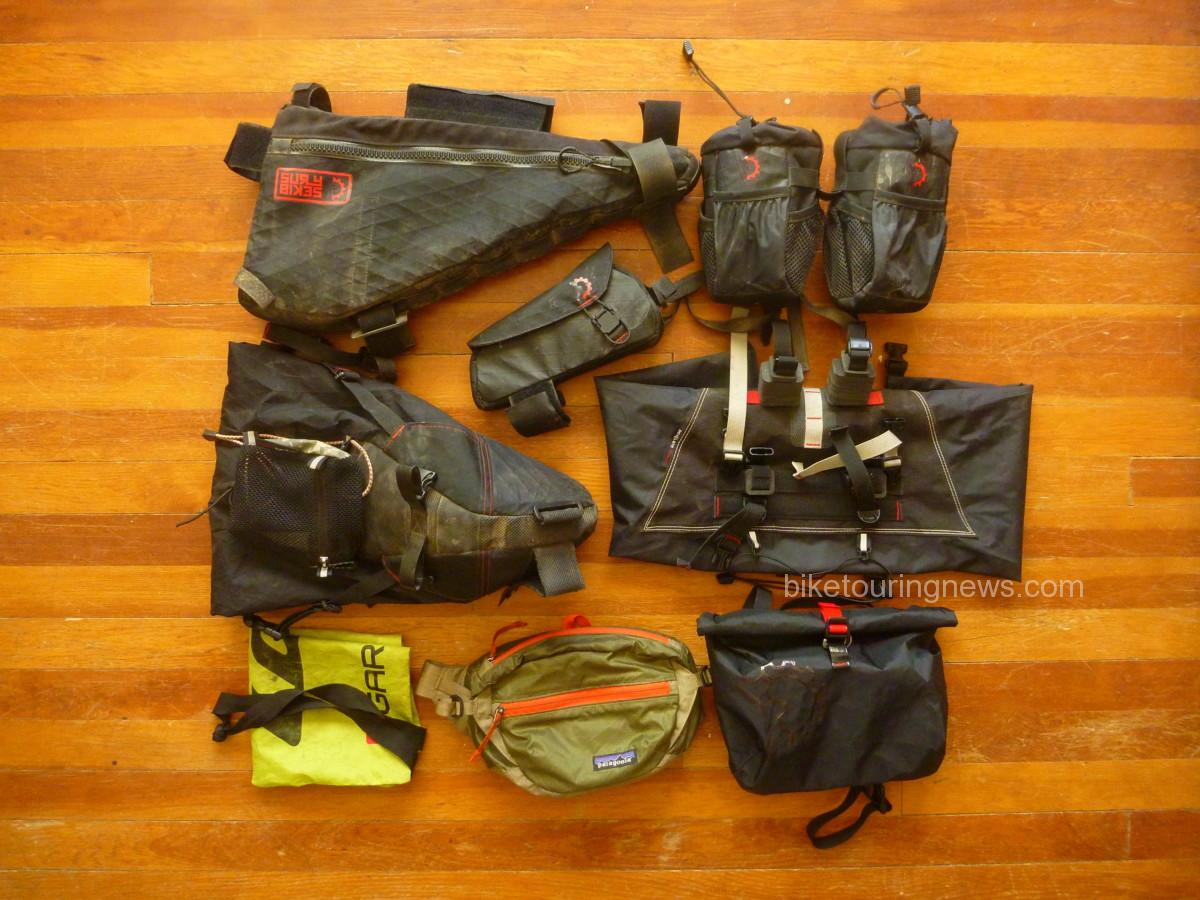
As usual, my Revelate kit was more than up to the task.  I added the Periphery Pocket at the last minute and was very happy to have a convenient spot to stuff my Databook, cues, gloves, charging cables or other quick-access items.  It also expanded my food-carrying capacity pretty significantly.  This may be my new favorite piece of Revelate gear, right up there with my Mountain Feedbags.

The hip pack was another handy addition that allowed me to further extend my food stores or carry my 70oz hydration bladder when needed.  I quickly forgot I was wearing it when it was unloaded.

Other than the synthetic socks (wore them for a few hours, were just too thin to be comfortable for long) and my hike-a-bike cap (wore on Day 1, sat in a wet heap strapped to my seat pack for 3 days, lost on the trail on day 5) I was very happy to have every piece of gear I brought on the ride.  While some riders are able to push the limits of minimalism much further, I felt like I maintained a good balance between keeping gear weight down without sacrificing safety or comfort to any great extent.  I also had just enough space left for all the calories I’d be toting for the long push from Silverton to Buena Vista.

What questions do you have about packing for singletrack bikepacking adventures?  Anything you’d like to know about the Colorado Trail experience?  What trips do you have coming up?  Sound off in the comments below and I’ll do my best to answer in a reply or future blog post.  Thanks for reading!