I want plywood cabinets. Boxes, or cases, with exposed edges, inset doors and drawers. I have never built a kitchen cabinet before, so it should be fine. I just have a few things to sort, like materials, processes, finishes.
As for door and window trim, I want something to complement the Douglas Fir doors we selected. Doug Fir and Hemlock look pretty close to the same with a natural finish which is to say, very high end.
A lumber yard in Tucson has some clear Hemlock 1×6 tongue and groove at a very good price, and a supplier in Sierra Vista is able to source clear Hemlock boards. The T&G boards would be used on one wall in the entry, and the rest could be milled for trim i.e. casing and base. The Sierra Vista supplier could make up the difference and supply the handrails, stair treads and Baltic birch plywood for the cabinets.
Update:
These may all be moot arguments now. A company in the Pacific Northwest, with a national distribution, might be able to source all my trim material.
March Update:
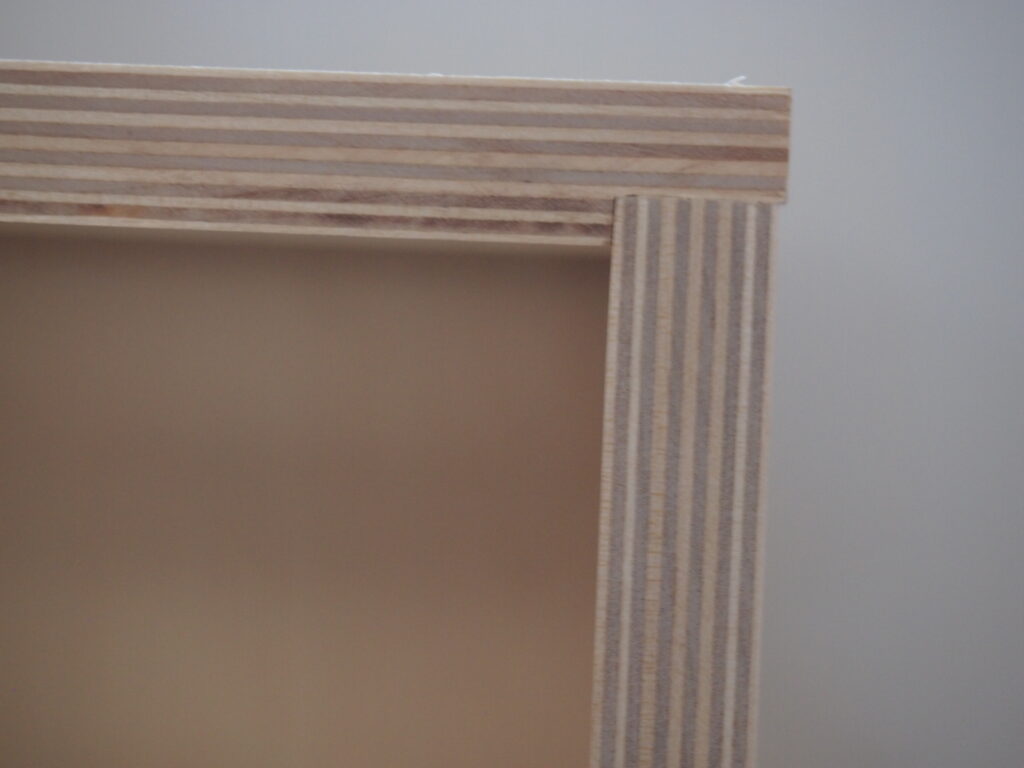
We ordered VG Fir doors with paint grade casing and base from Stan Greer Millworks, the same place we bought our windows and exterior doors. Bear Creek Lumber will be sending the Alaska Yellow Cedar for the decks. All of the Baltic Birch plywood for cabinets has been purchased from the Sierra Vista supplier.
Another online company in St. George, Utah supplied the stair treads and risers.
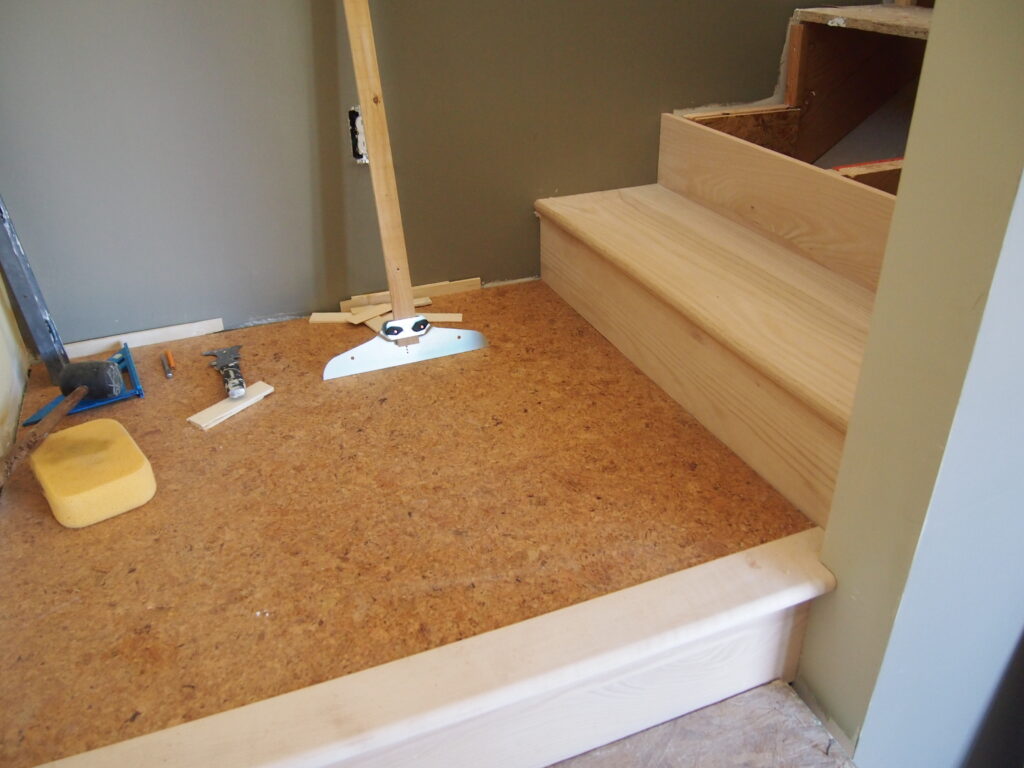
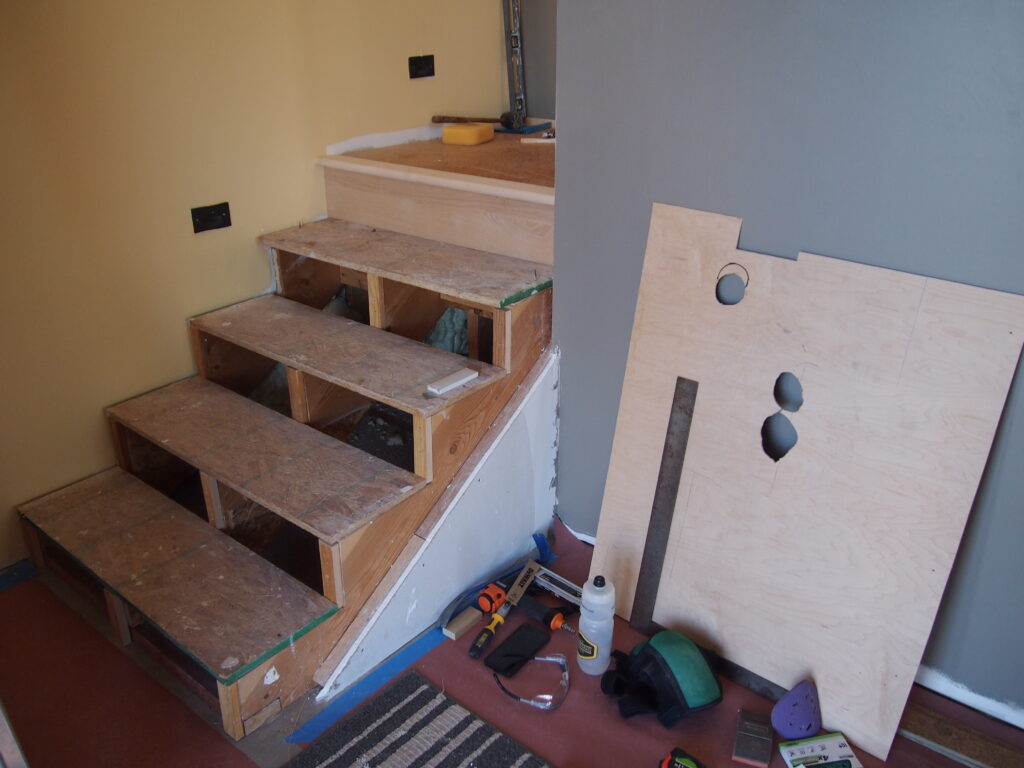
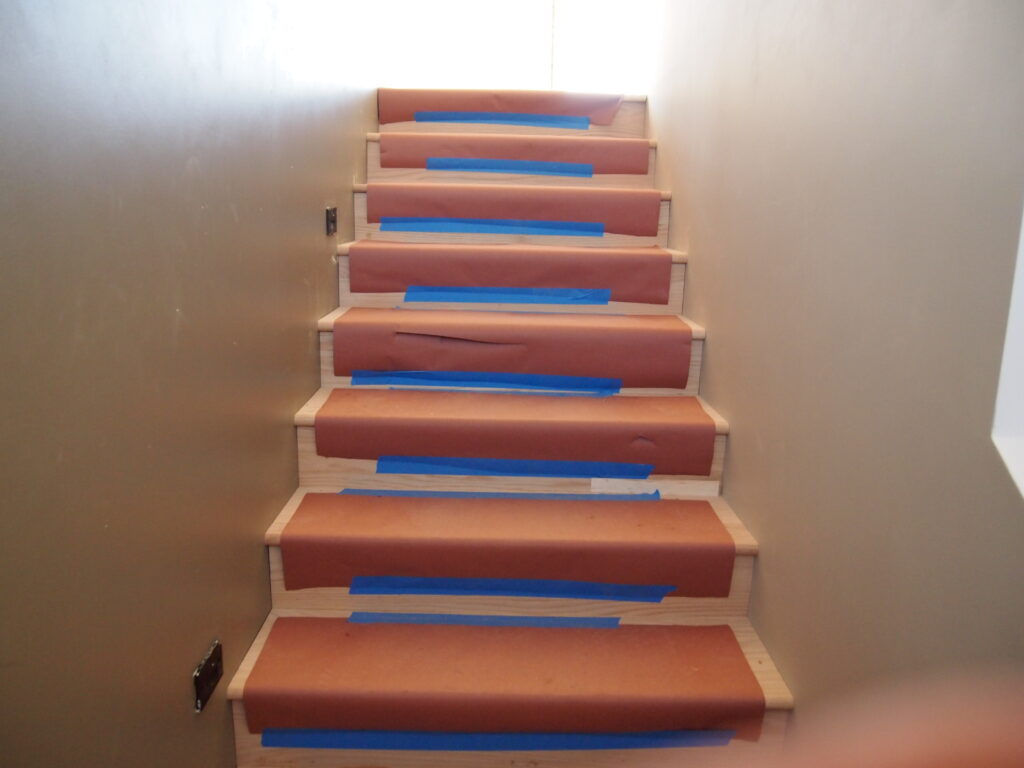
We finished the stair treads with Osmo PolyX hard wax oil. We will use the same thing on the cabinets.