
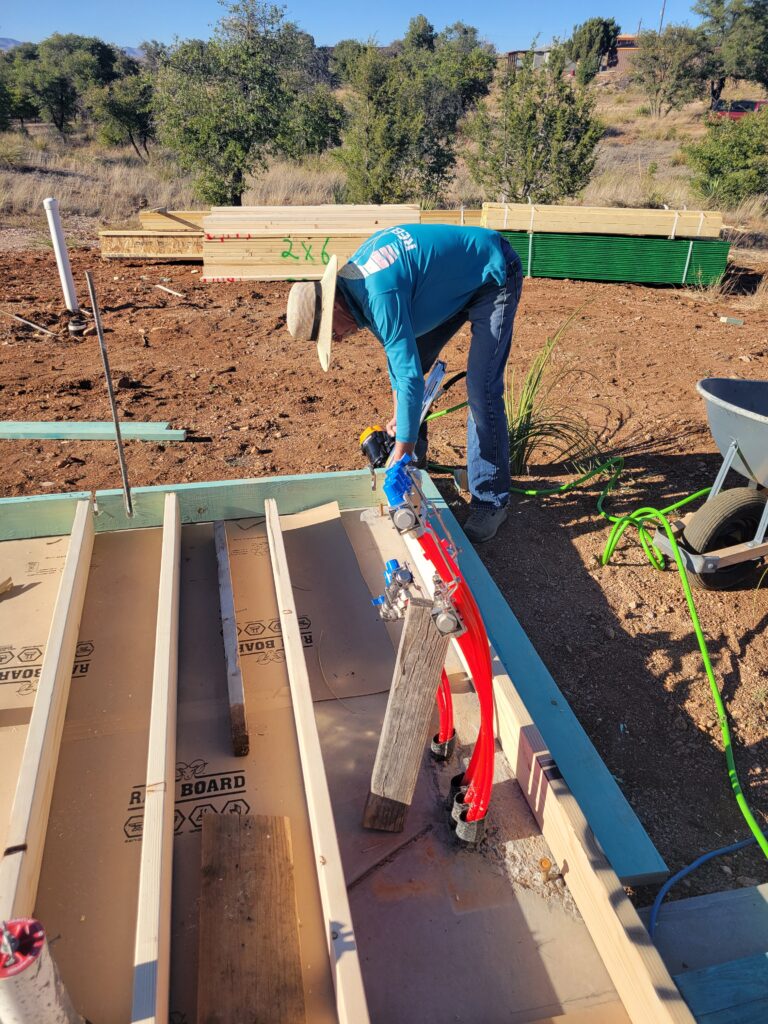
Bryan volunteered to travel from Idaho to help us frame the walls. We started out, randomly, on the north side. For the first wall we cut slots into the pressure treated bottom plate lining up with the anchor bolts in the concrete slab, thinking that this would make it easier to stand the walls. Turns out, it was just as easy to take a couple measurements and drill holes for the anchor bolts.
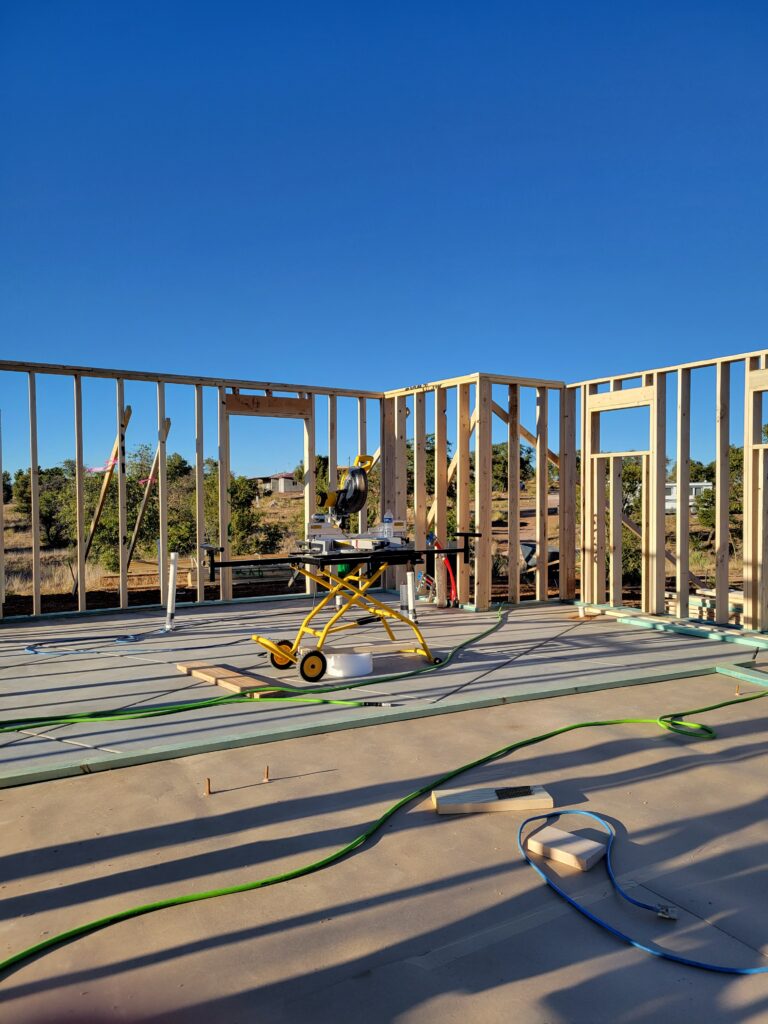
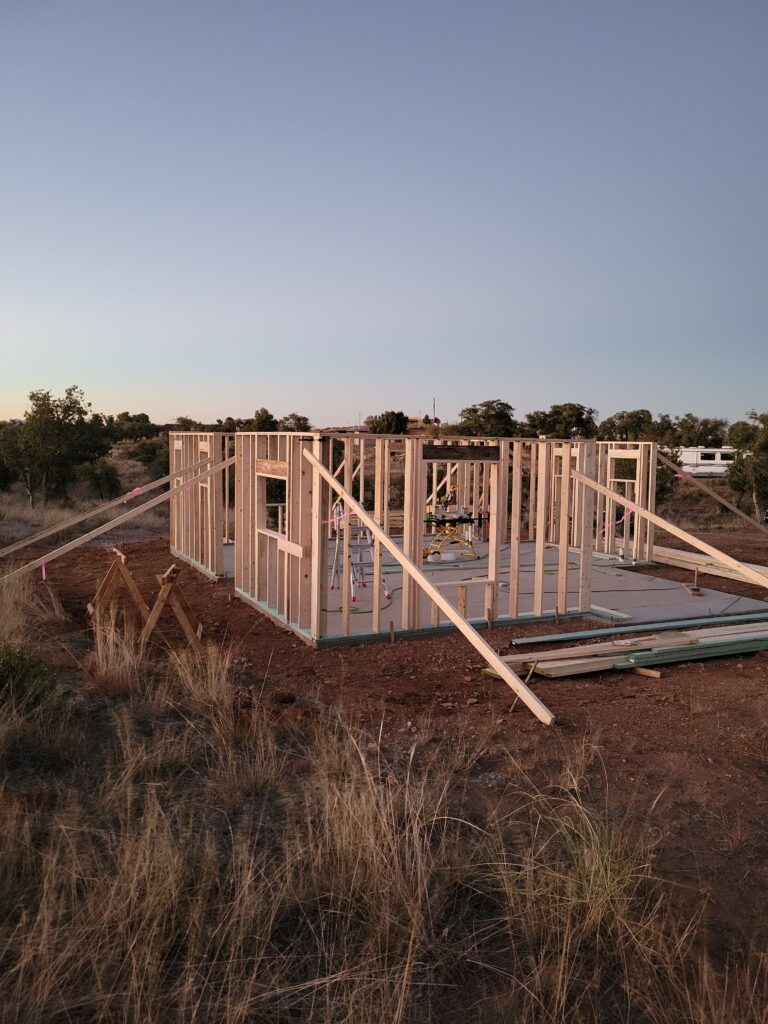
We worked our way around framing the exterior walls. Then we went back and stapled OSB sheathing on the corners to keep everything square. The next phase is laying out the second floor joists and rolling them into place. Holderness Supply in Tucson designed the I-joist floor system and sent the whole package, including beams, hangers, layout drawings and, the 3/4″ sub-floor.