Strade Bianche or Strada Bianca is a UCI World Cup professional bike race. First held in 2007 one third of the total race distance is raced on dirt roads, covering 63 km of strade bianche, or “white roads” spread over 11 sectors. A progenitor of one of the dumbest sub-classifications of bike riding ever- the “Gravel Grinder” in which poseurs and hipsters ride (really, they race with no classifications or rewards other than bragging rights on social media) gravel roads on their gravel bikes.
This is a bicycle called Strada Bianca made by Steve Hampsten, brother of Andy. If you don’t know who Andy Hampsten is, he won the 1988 Giro d’Italia and is iconic because of his ride over the Gavia Pass in a blizzard during that race. He rode at the time for the 7-11 Team. The team bikes were branded with the Huffy name but were made by Serotta. Andy bought his own bike made by John Slawta of Land Shark Bicycles and had it painted team colors.
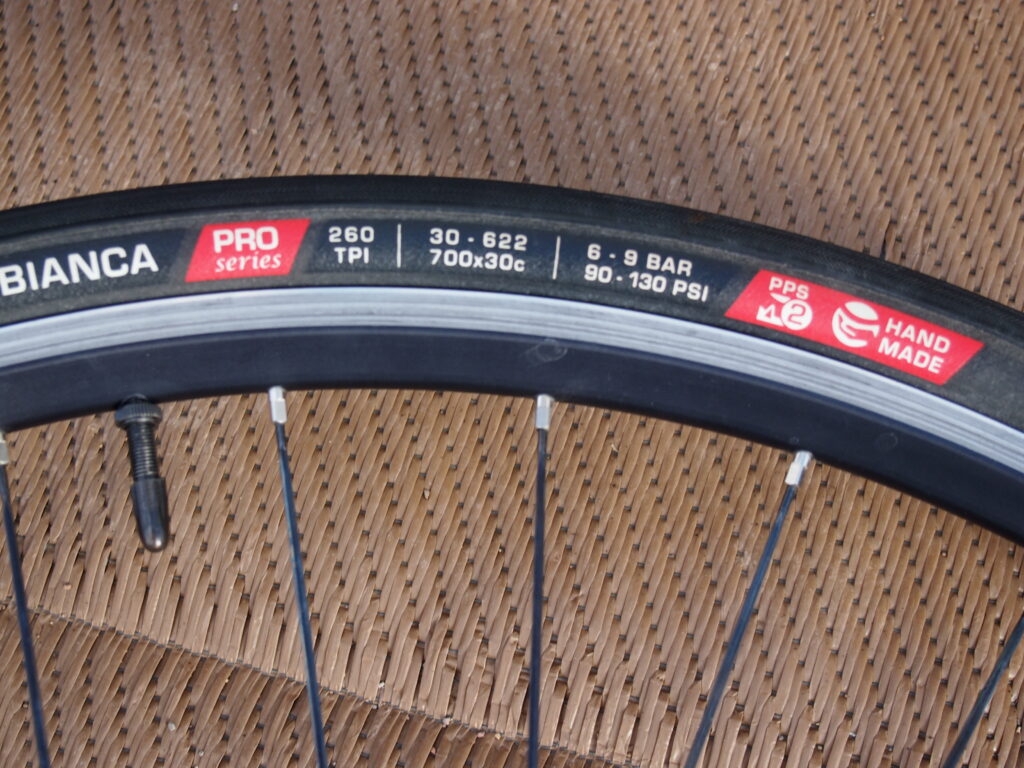
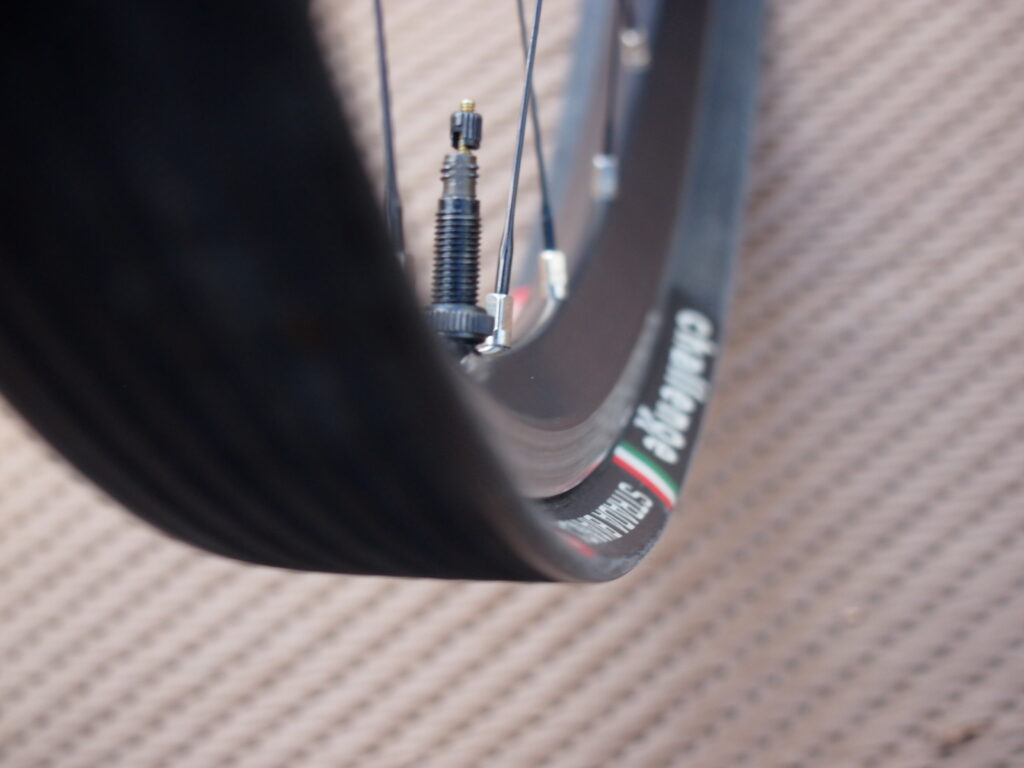
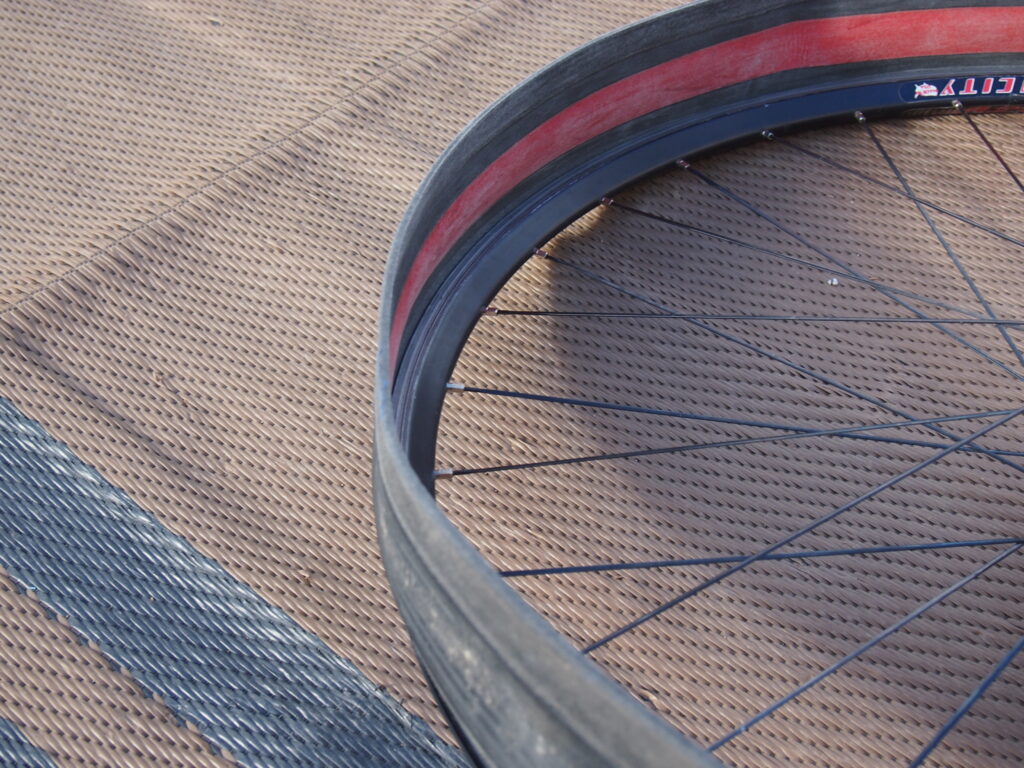
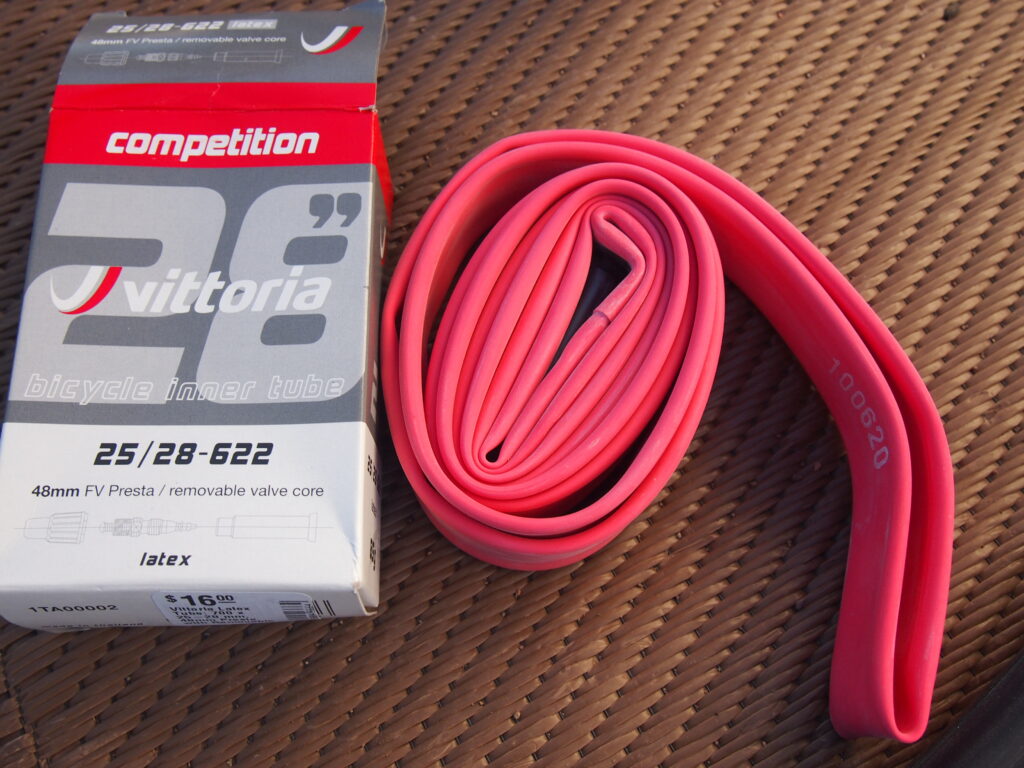
But this post is not about a bike race or bike racer or even bikes. It’s about these tires. Challenge Strada Bianca tires are handmade in Thailand, close to the rubber sources and know-how. The casings are high thread count polyester and the rubber is latex. The casings are very supple, so supple the tire lies flat rather than in a u-shape like other clinchers. Mounting these on the rim is the challenge; hence the name? Getting the first bead on is tight but inserting a tube and getting the second bead mounted without mutilating and pinching the tube is nearly impossible. I went through a couple tubes mounting two tires. I finally ended up getting some latex tubes that come dusted with talc and those went in easily.
I still think these are worth the effort though because of the ride. As with any fine tool or piece of equipment, marginal gains in performance with a fine bicycle become increasingly expensive but the nuanced improvement adds to the enjoyment of the user. And these tires are not cheap- $70.00 to $75.00 for the Pro series clincher. Challenge also makes a clincher with a silk casing for a cool $125.00. Wish I didn’t know that now.
“As in the Arsenal of the Venetians, in winter, the sticky pitch for smearing their unsound vessels is boiling, because they cannot go to sea, and, instead thereof, one builds him a new bark, and one caulks the sides of that which hath made many a voyage….”
Dante’s Inferno (The Divine Comedy) Canto XXI
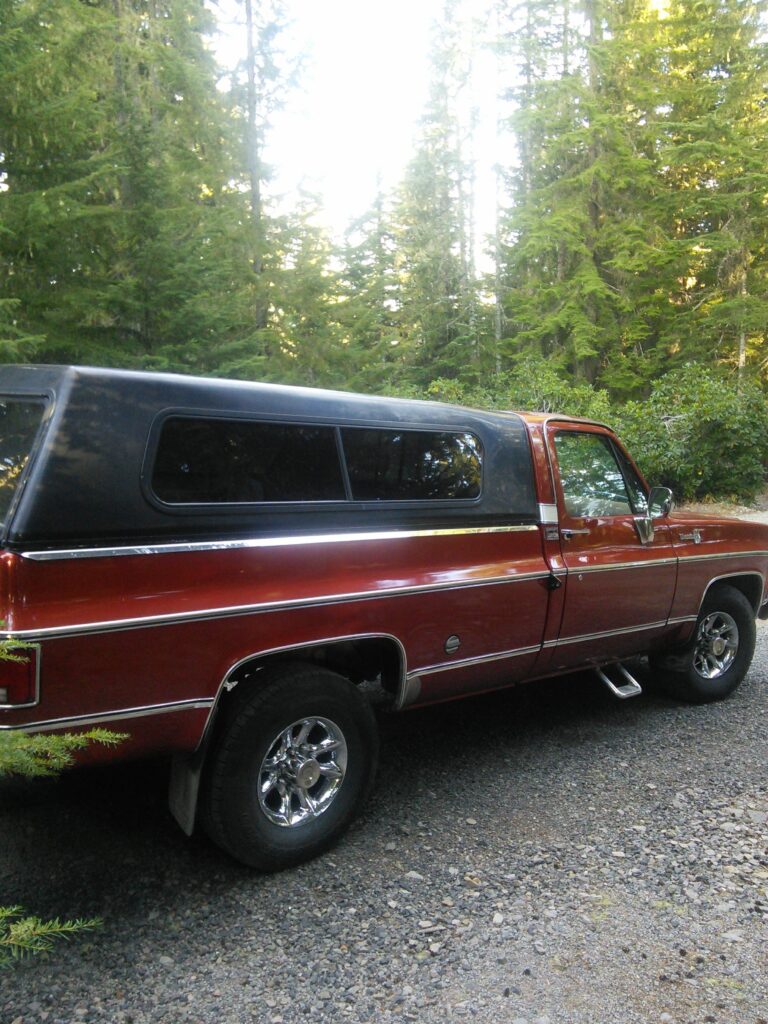
’76 “Square Body”
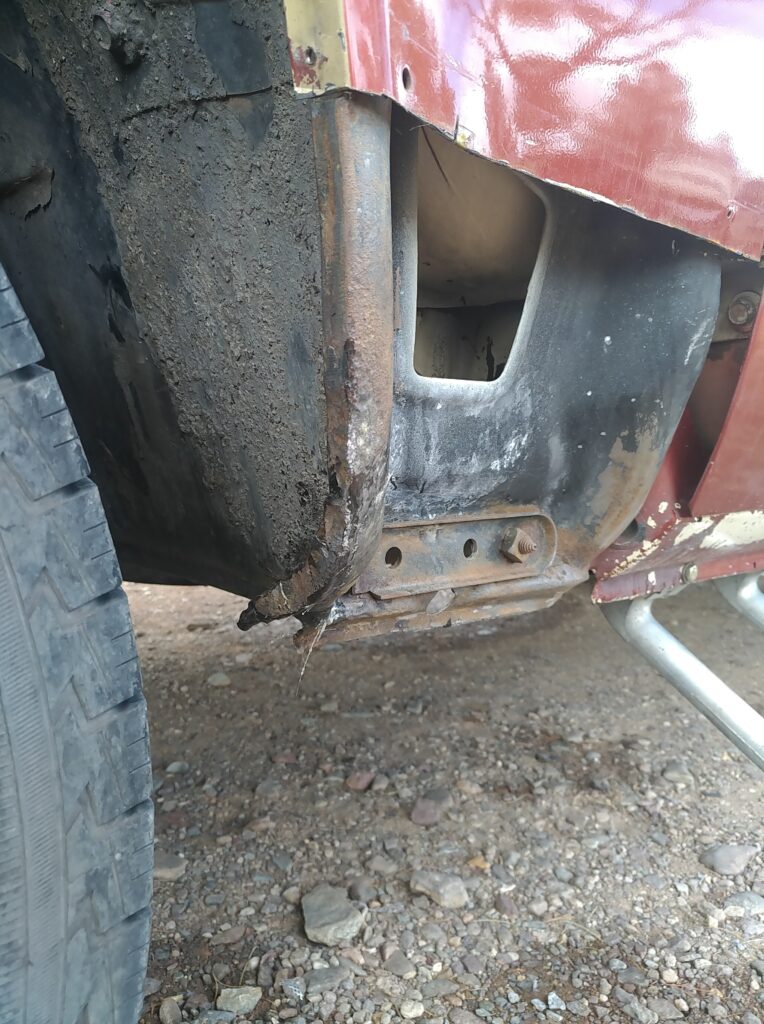
Many a voyage indeed hath this 44 year old truck made. Not recognizing the first blisters in the re-paint and the accumulation of leaves and dirt between the fender panels resulted in some seriously rusted body parts. I am not ready to go to the expense and inconvenience of leaving my truck for some unknowable amount of time at a body shop for repairs and a repaint. Instead thereof, I am repairing the rusted parts myself. Having neither the experience nor the right tools- no mig welder, no spray booth, nay, not even a garage- shan’t stop me, since I do have a thorough working knowledge of YouTube.
Caveat: I am not responsible for anybody taking this post as instructional and attempting to do the same things I do.
First item was to address keeping future rust on the rest of the truck at bay. I decided on a rust converter called OSPHO which is a water thin solution of phosphoric acid. According to the manufacturer’s website; “When applied to rusted surfaces, it resists/retards rust in chemical change on drying to a tough, hard surface ready for priming.” My understanding is that it can be applied to bare metal as well and left un-painted, even though not painting it means re-treating the metal in a year or so. I spent a day or so scuffling around on the ground coating all the exposed, rusty looking body pans and structural parts.
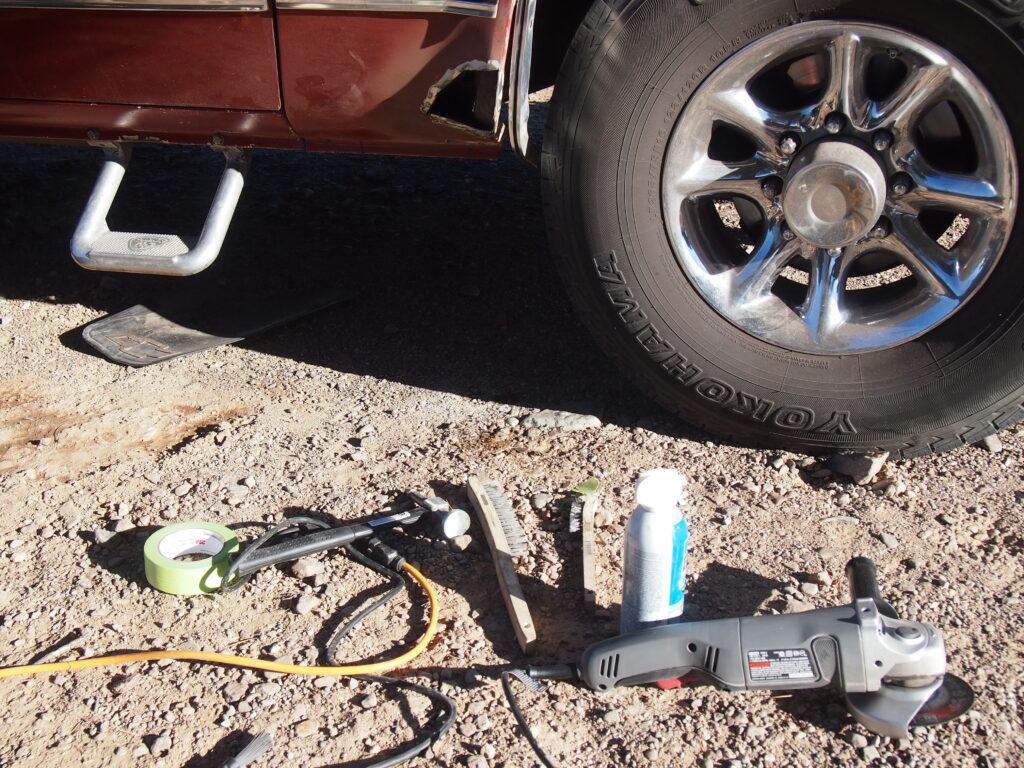
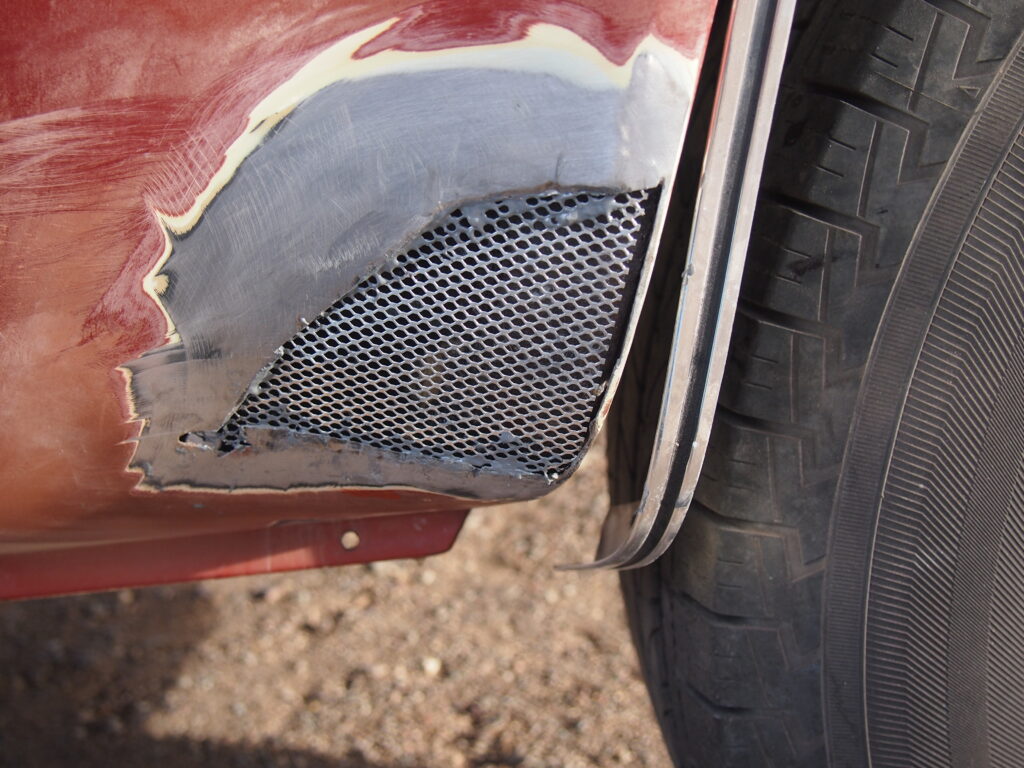
Second item was to survey the damage to the body panels. Minimum tool investment was a body hammer and an angle grinder with grinding, sanding and cutting wheels. Tapping around the suspect areas with the pointy end of the hammer exposes where the sheet metal is rusted through. Grinding and sanding with the angle grinder makes things easier to see and exposes surface rust and prior repairs. I could cut out sections of the drinker side fender and the hood where the rust was all the way through and then use some expanded metal and fiberglass and then Bondo Glass topped with regular Bondo to get a smooth, paintable surface. Since this is a repair and not a restoration I’m pretty confident that it will last and look good for a reasonable time.
Tools and ShopDetail of the drinker’s side
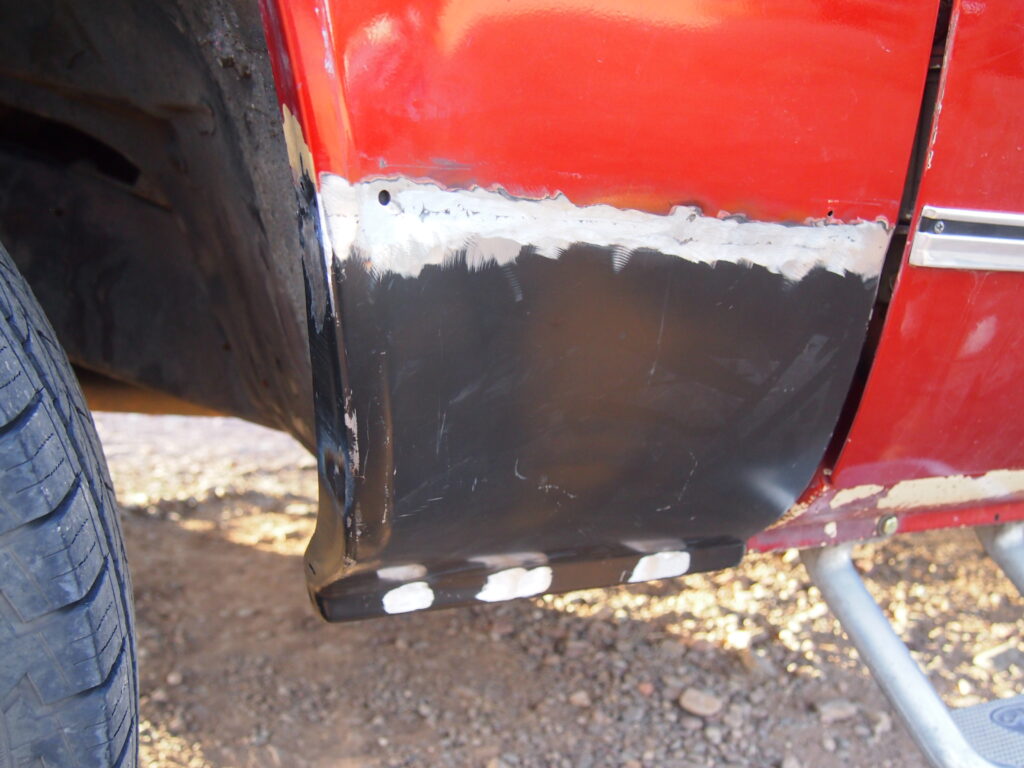
The driver side fender was pretty gone and I ended up cutting that completely off and replacing it with a patch panel purchased from LMC Truck. Based on a recommendation I found a body shop that was amenable to welding on the new piece.
I cut the fender off under the trim piece.Very happy with Remie’s Body Shop in Ft. Stockton, TX!
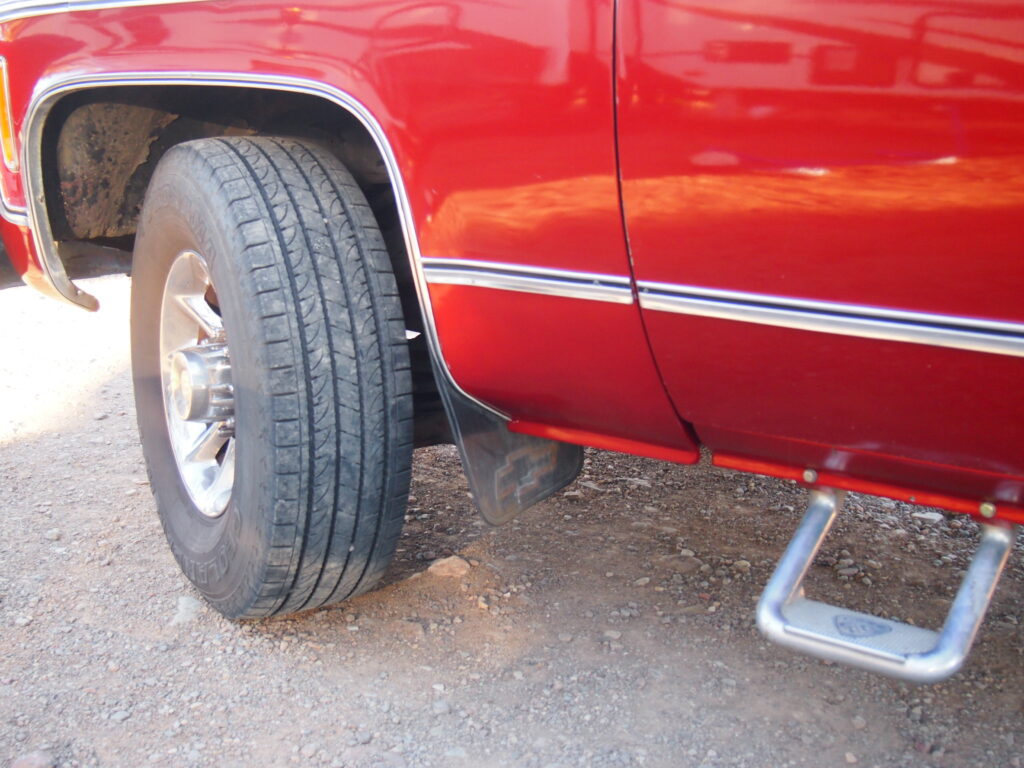
I found another company called PaintScratch which sells paint in rattle cans based on the original manufacturer’s codes. Luckily I had the code from the original repaint. It is Sunburst Orange Metallic used on the 2007 Dodge Caliber which is a rather boring looking 4 door hatchback. I think the fenders and rocker panels came out satisfactorily. The finish is not quite as shiny and deep as the rest of the truck but it is hard to notice unless one looks very close. We’ll not talk about the hood other than to say it will need to be redone when I have a large indoor area to work on it. Anyway, I think the truck will be good for a few more voyages and if I ever decide to repaint it I can replace the hood and the drinker’s side fender and it will look like new.
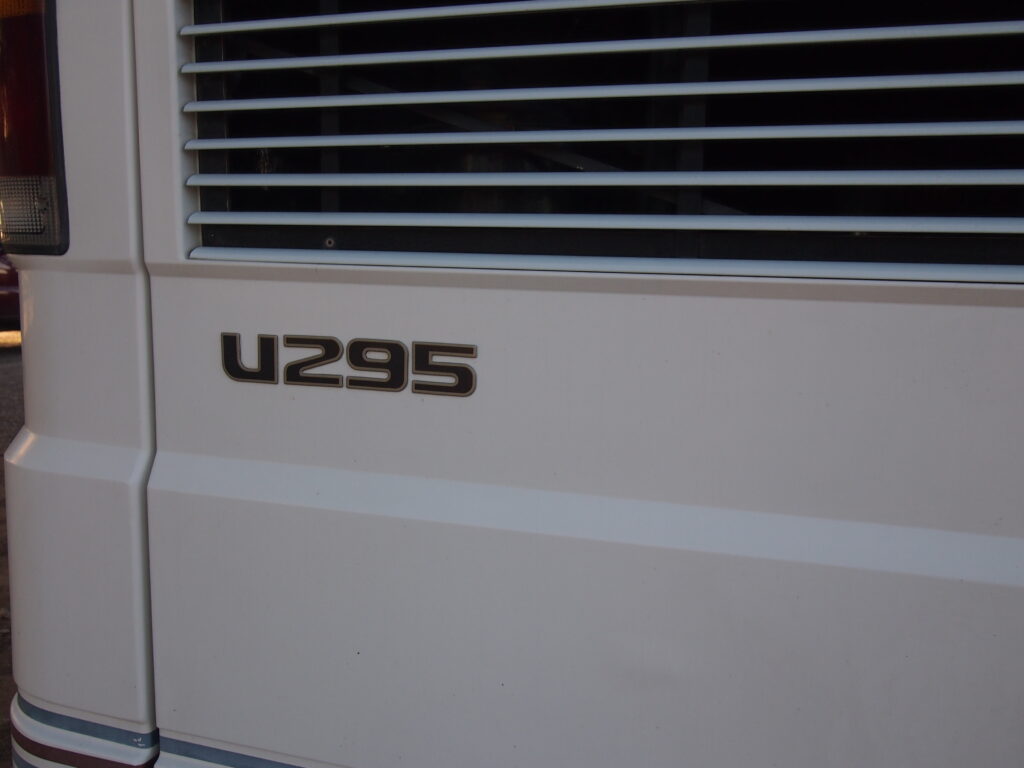
The Armadillo is a 1996 Foretravel U295 Motor Coach. Made from scratch in Nacogdoches, Texas. We bought it at Motor Homes of Texas which is about a quarter of a mile from the factory. That’s pretty neat. Just before we bought it the original owner installed a residential refrigerator which requires a relatively large amount of A.C. power. There is no option to use propane as with some RV refrigerators. Hence, we either need to be connected to 120V “shore power” or we need to run the annoying built-in generator, which defeats the purpose of parking out in the desert for any length of time.
So it is critical to have another way to charge the batteries and to run the refrigerator. The Hermit does have experience with one solar power installation on a vintage travel trailer. That project involved adding batteries, solar panels and an inverter. Inverters use magic to take 12 volts from the batteries and provide 120 volt power. This new project was more intimidating because the generator, the engine starter batteries, and the engine alternator are all interconnected. Plus, the wires are way bigger. Turns out, the solar is more or less separate from all the factory wiring of the coach. The panels send power to the charger which then sends the magic to the batteries!
Must include the standard caveat here: I know just about exactly enough to get into trouble when it comes to this type of thing so if you are looking for guidance for your own project visitHandy Bob’s BlogandKelly’s RV Solar Blog
For the trailer I bought everything from Starlight solar in Yuma, AZ but they have since closed shop. After research and calls and emails I bought material for this project from Northern Arizona Wind and Sun in Flagstaff. From their website I was able to fill out a load calculation worksheet for our coach and send it to them. A few days later I received an itemized quote. The sales rep patiently answered all my questions and I made a couple changes and additions to the quote before pulling the trigger. The quote to add solar from the dealer where we bought the Armadillo was around $8000.00 while these parts cost me about $1700.00. Can’t blame them for trying to make a living though, and I don’t think they really wanted to mess with it.
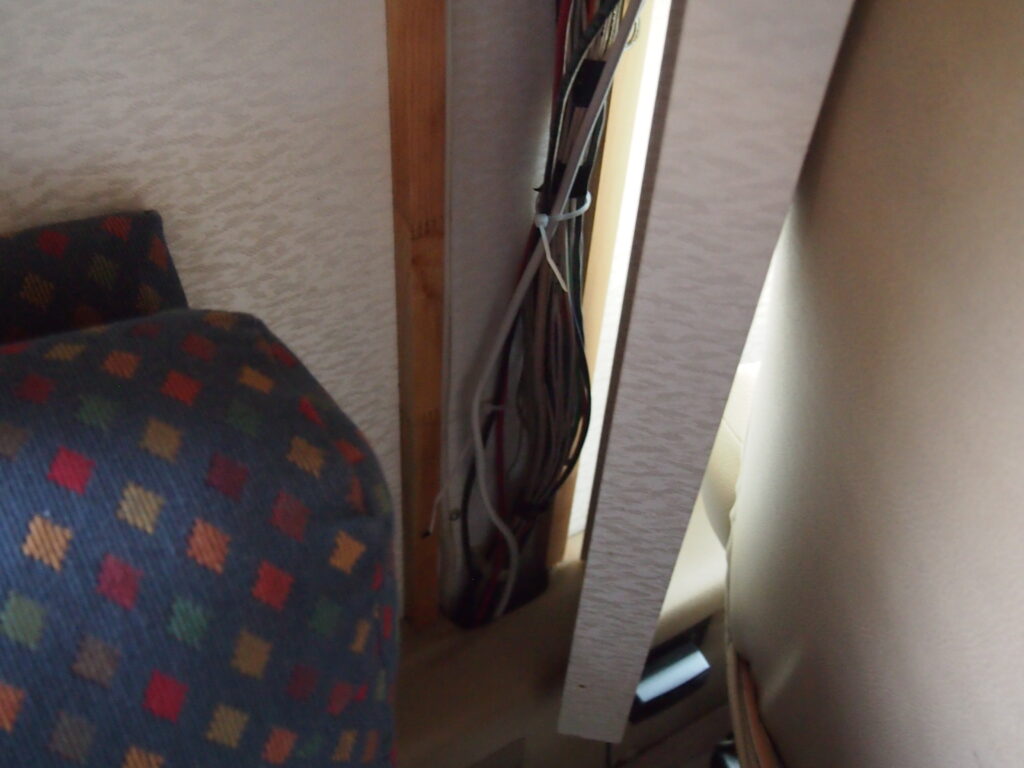
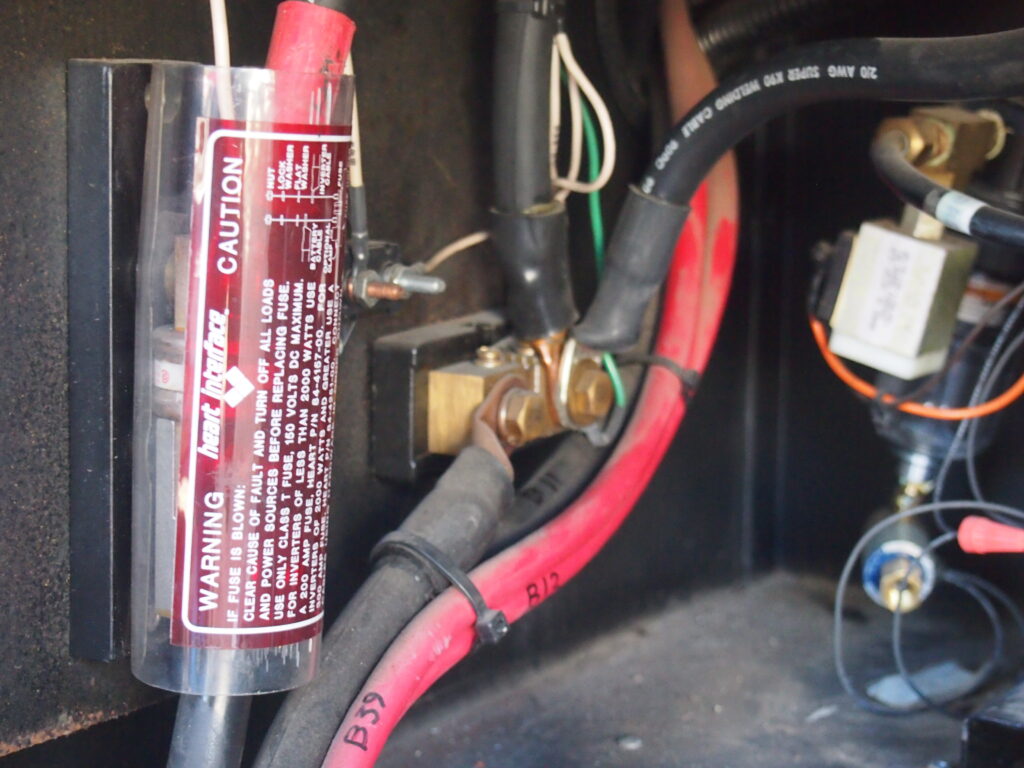
The guts of the system are two 330 watt solar panels, a MPPT charge controller and a smart shunt. The shunt is a device which measures loads and also communicates the battery status. A smart shunt does this without wires which is awesome for a retrofit because it saved hours of time tracing and rerouting wires inside the coach. The MPPT charge controller takes the 70+ volts coming from the solar panels and changes it to 12 volts before sending the current to the batteries. This is good for a couple of reasons, the best one being I can use 12 AWG wire, which is relatively small, from the panels on the roof to the charge controller which is in a bay underneath.
Existing wiring chase
The supplier sent a diagram of how everything was to be wired and I did a little sketch for myself just as a visual aid for the layout.
Visual aid for wiring controller
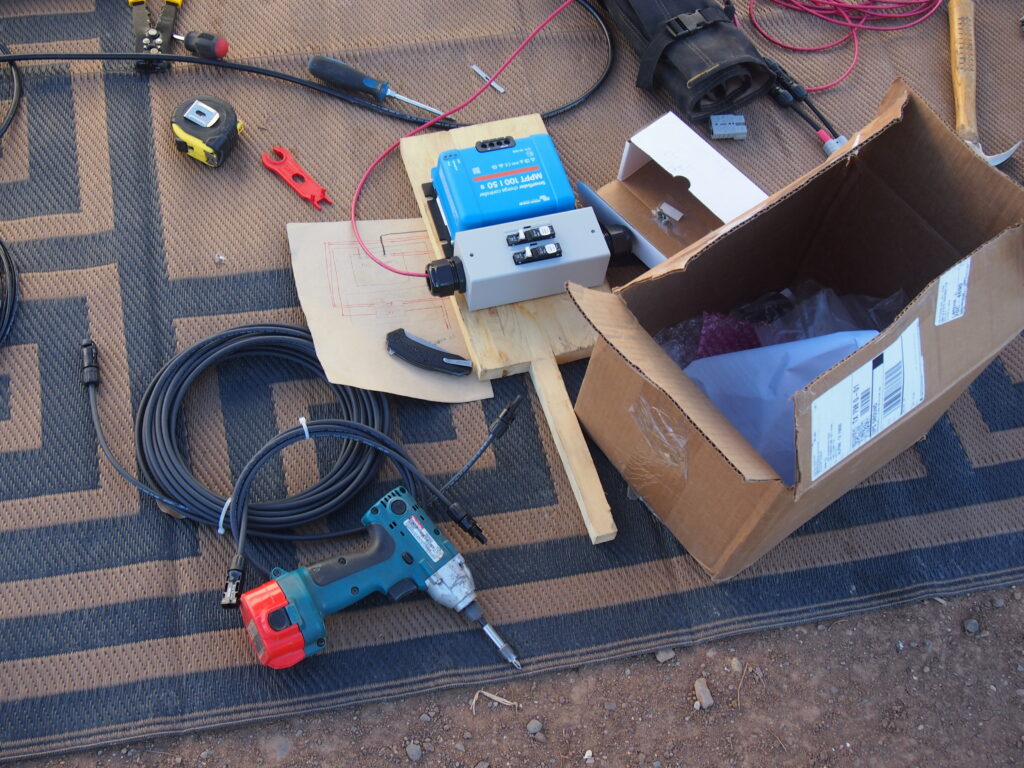
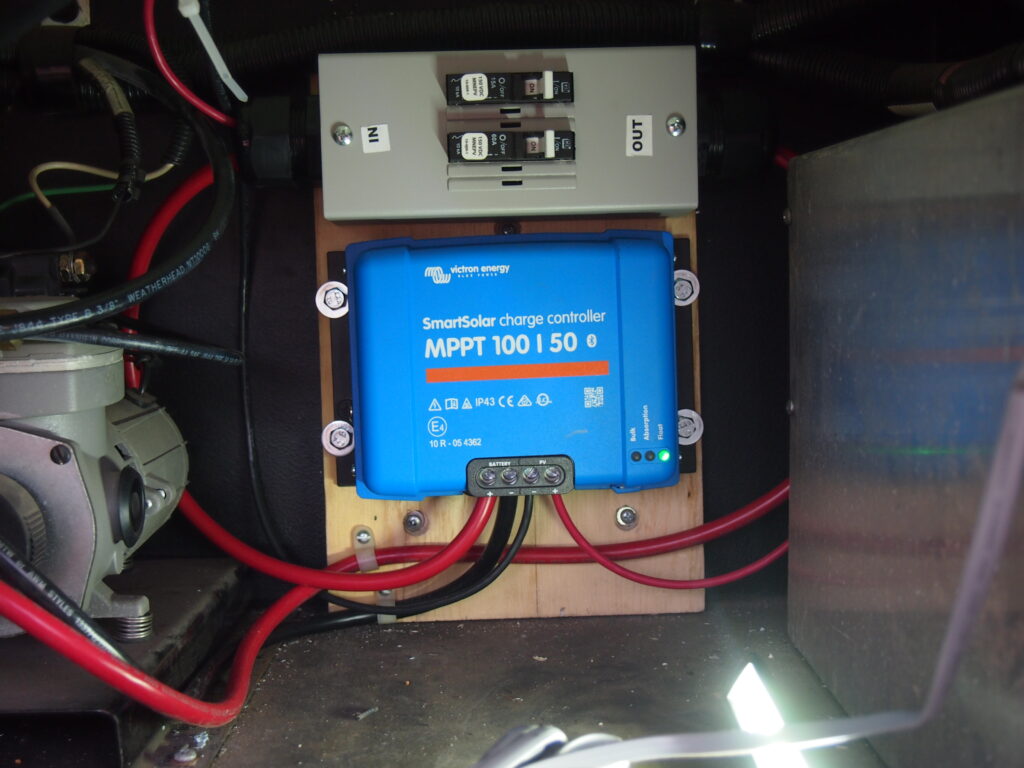
The next step is to carefully dump everything out of the box and start building. I have a spot in the bay for the controller and fuse box so I just had to make those fit on the appropriate size back board. This actually worked out quite well since all the connections were made before the board was attached in the small, hard to reach space in the bay.
LayoutThe controller and fuse box in place.
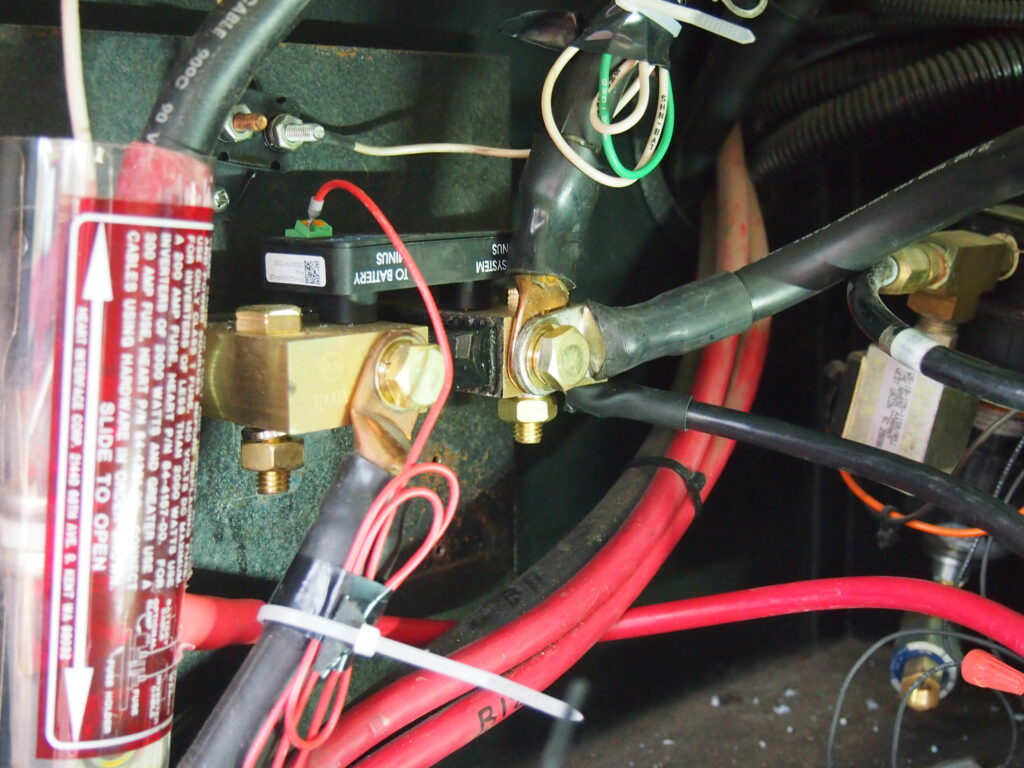
The shunt was easy, I just disconnected the old one and put the new one in its place with the additional wire from the solar charge controller.
Old shuntNew “smart” shunt
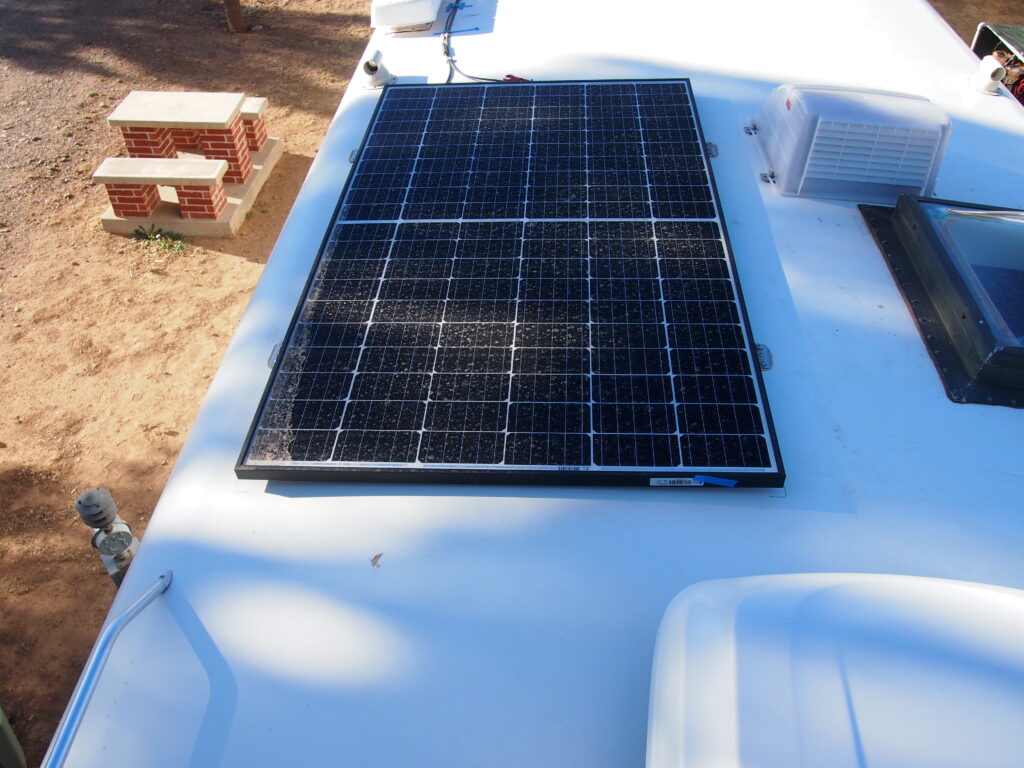
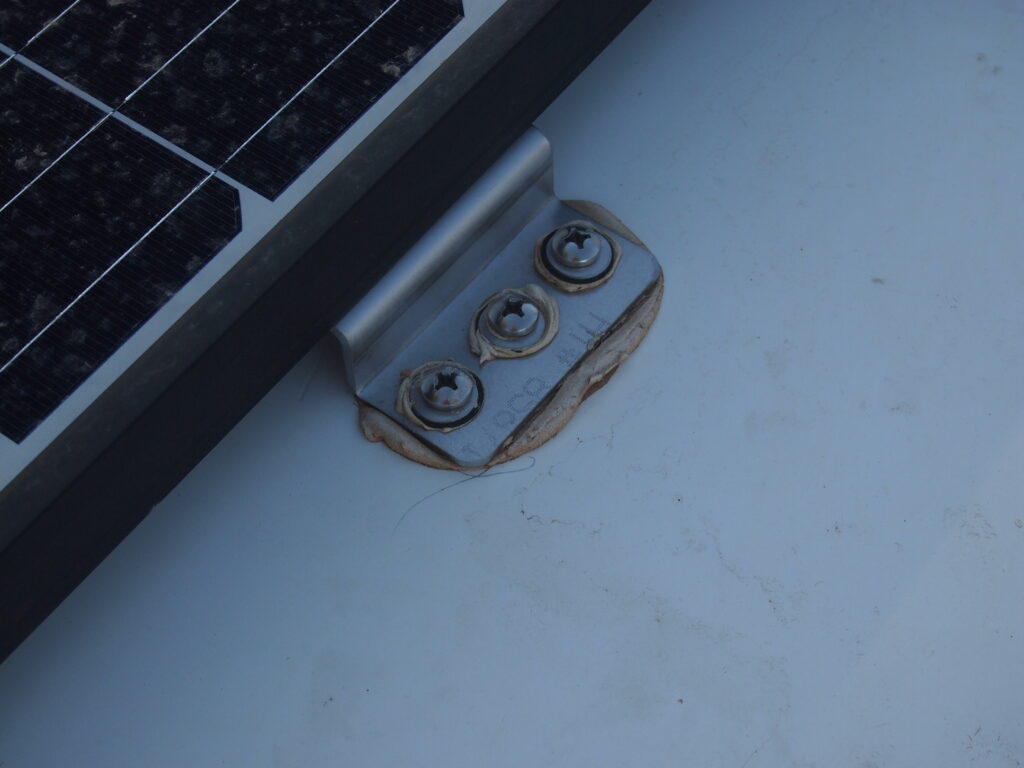
I did all of this before installing the panels. And when I did put the panels on the roof I covered them with cardboard before dealing with any wire connections because as soon as the sun hits a panel there is live voltage. I bolted the included angle mounting brackets onto the panels and then set the panels on the roof where I wanted them. I marked the brackets and the screw holes on the roof, moved the panels, drilled the holes and placed a bed of urethane sealant to set the brackets in for extra stability and for waterproofing.
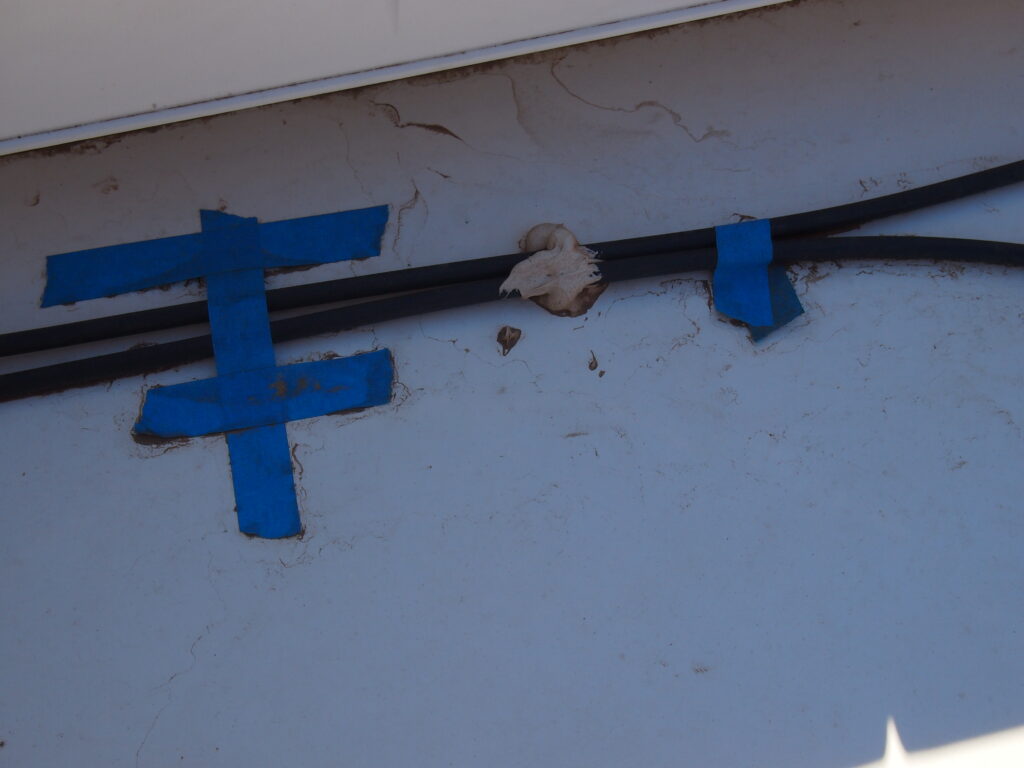
I used urethane sealant to hod the wires in place on the roof. the tape comes off and just holds the wires until the sealant cures.
I disconnected the house batteries and the starter batteries before making the final connections and flipping the breakers because I didn’t want any loud and/or fiery surprises. When I finally did though, everything worked! I can monitor the state of charge and the volts and amps from the batteries using the smart phone app. Now we can drive down the road with the inverter on keeping the fridge cold without burning up the coach alternator. And when we make a shopping trip to the Walmart in Ft. Stockton and spend the night in the parking lot we don’t need to run the generator. Pretty excited to see how this works for boondocking in the Nevada desert.