
“As in the Arsenal of the Venetians, in winter, the sticky pitch for smearing their unsound vessels is boiling, because they cannot go to sea, and, instead thereof, one builds him a new bark, and one caulks the sides of that which hath made many a voyage….”
Dante’s Inferno (The Divine Comedy) Canto XXI
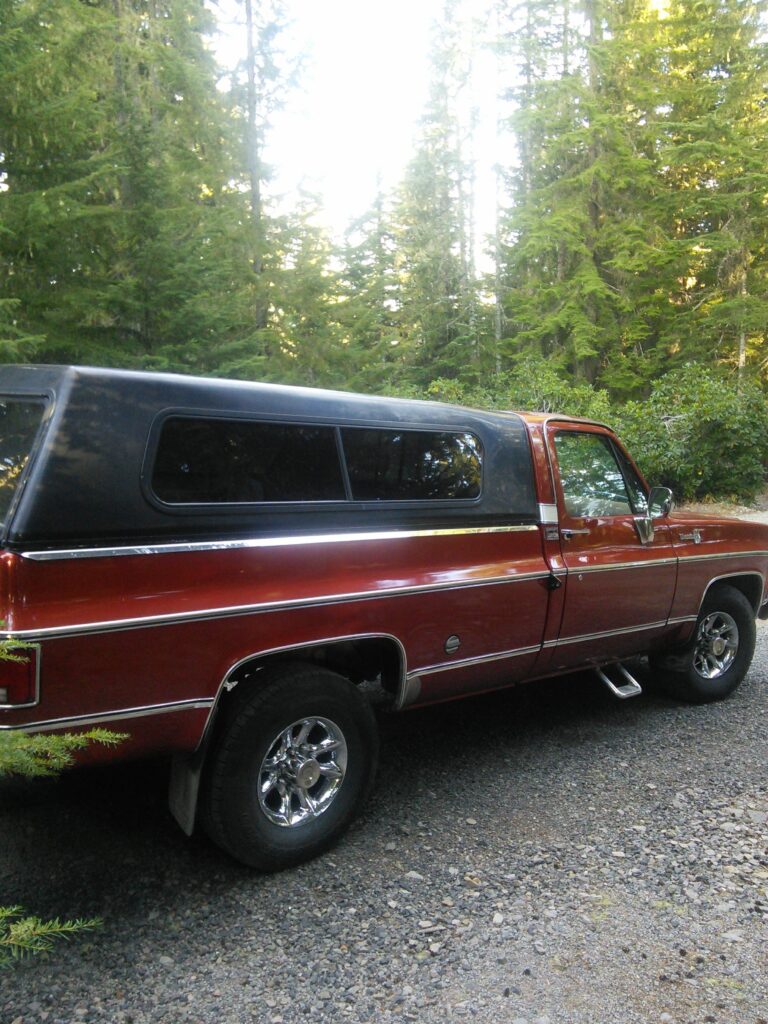
Many a voyage indeed hath this 44 year old truck made. Not recognizing the first blisters in the re-paint and the accumulation of leaves and dirt between the fender panels resulted in some seriously rusted body parts. I am not ready to go to the expense and inconvenience of leaving my truck for some unknowable amount of time at a body shop for repairs and a repaint. Instead thereof, I am repairing the rusted parts myself. Having neither the experience nor the right tools- no mig welder, no spray booth, nay, not even a garage- shan’t stop me, since I do have a thorough working knowledge of YouTube.
Caveat: I am not responsible for anybody taking this post as instructional and attempting to do the same things I do.
First item was to address keeping future rust on the rest of the truck at bay. I decided on a rust converter called OSPHO which is a water thin solution of phosphoric acid. According to the manufacturer’s website; “When applied to rusted surfaces, it resists/retards rust in chemical change on drying to a tough, hard surface ready for priming.” My understanding is that it can be applied to bare metal as well and left un-painted, even though not painting it means re-treating the metal in a year or so. I spent a day or so scuffling around on the ground coating all the exposed, rusty looking body pans and structural parts.
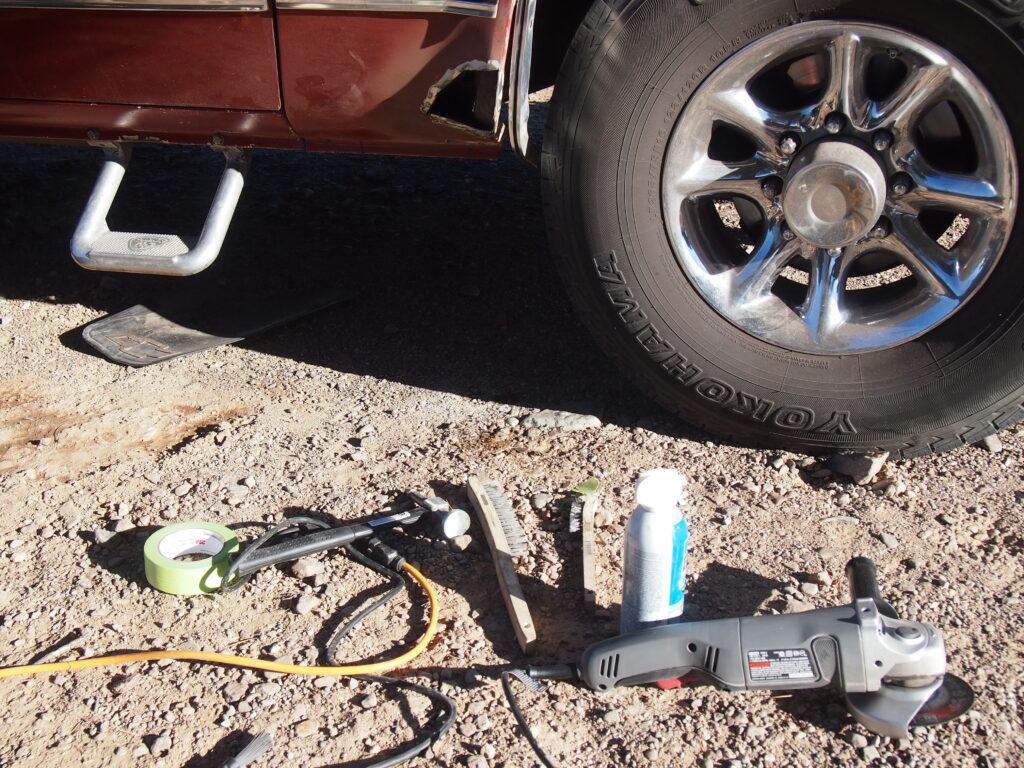
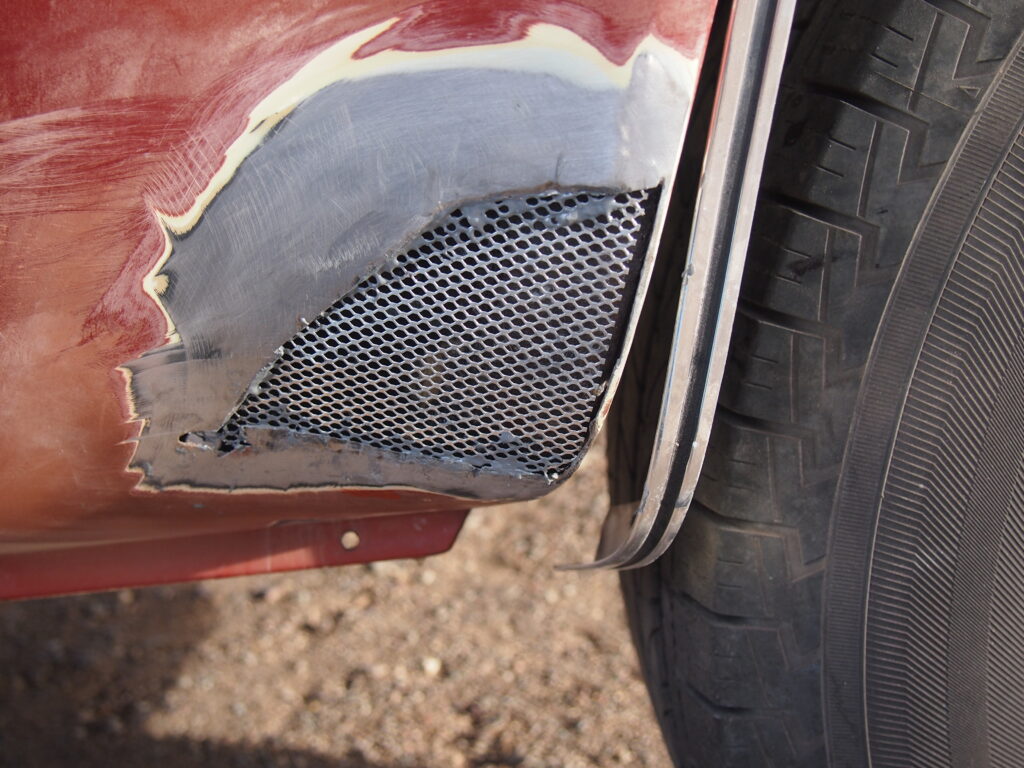
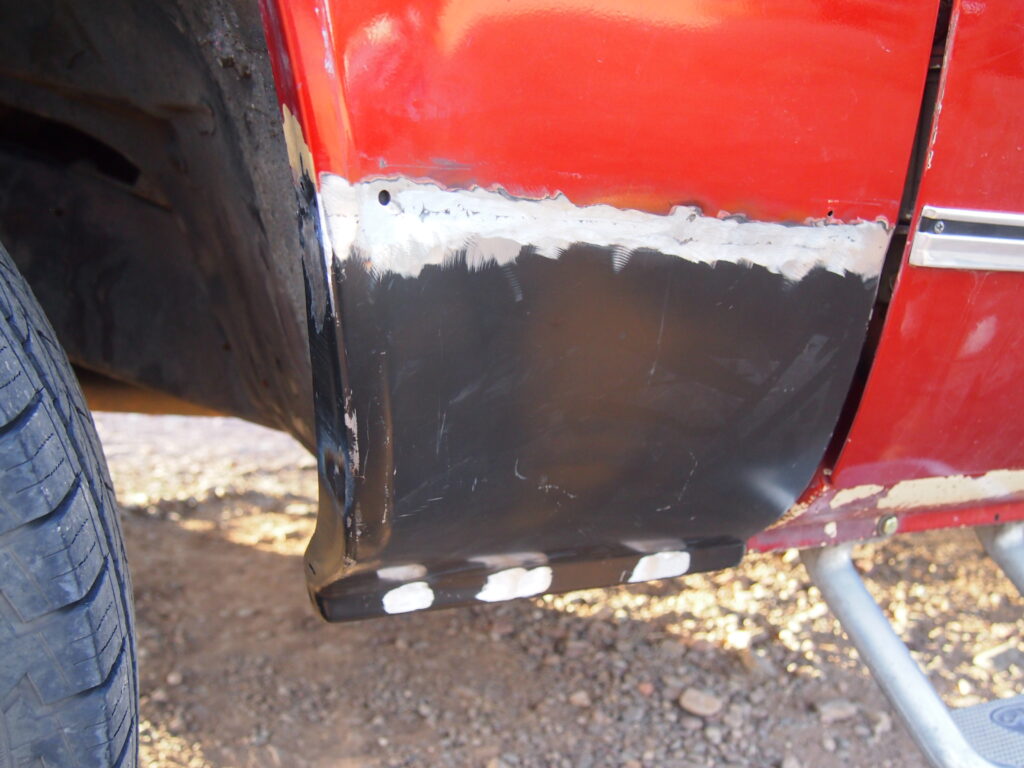
Second item was to survey the damage to the body panels. Minimum tool investment was a body hammer and an angle grinder with grinding, sanding and cutting wheels. Tapping around the suspect areas with the pointy end of the hammer exposes where the sheet metal is rusted through. Grinding and sanding with the angle grinder makes things easier to see and exposes surface rust and prior repairs. I could cut out sections of the drinker side fender and the hood where the rust was all the way through and then use some expanded metal and fiberglass and then Bondo Glass topped with regular Bondo to get a smooth, paintable surface. Since this is a repair and not a restoration I’m pretty confident that it will last and look good for a reasonable time.
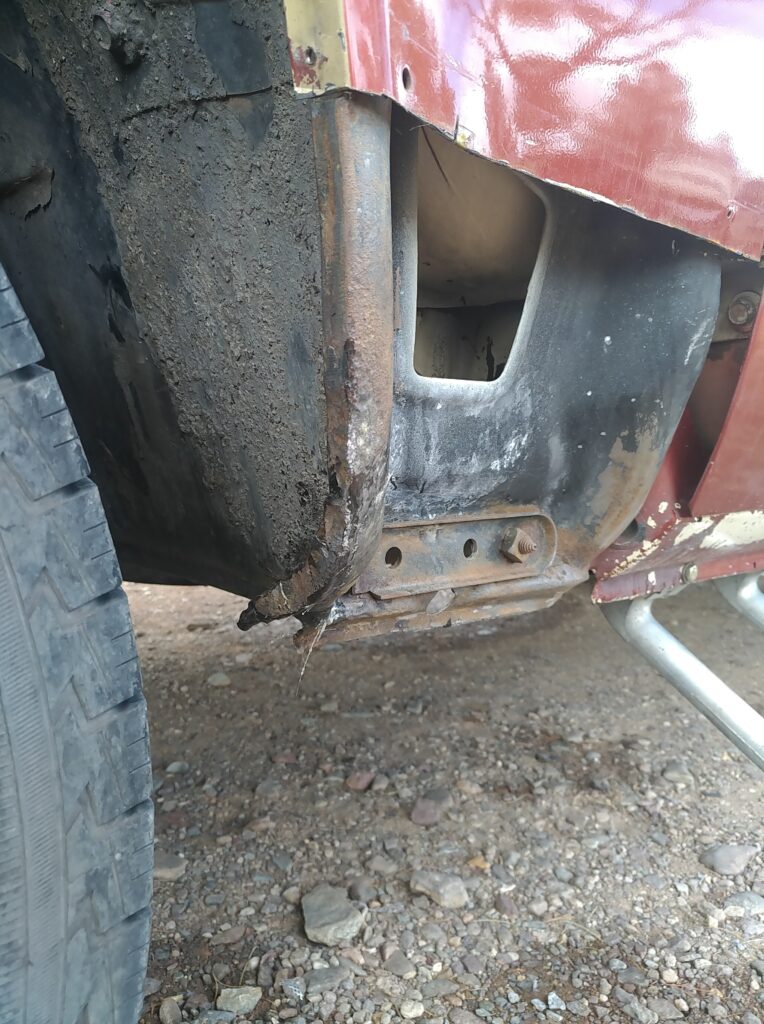
The driver side fender was pretty gone and I ended up cutting that completely off and replacing it with a patch panel purchased from LMC Truck. Based on a recommendation I found a body shop that was amenable to welding on the new piece.
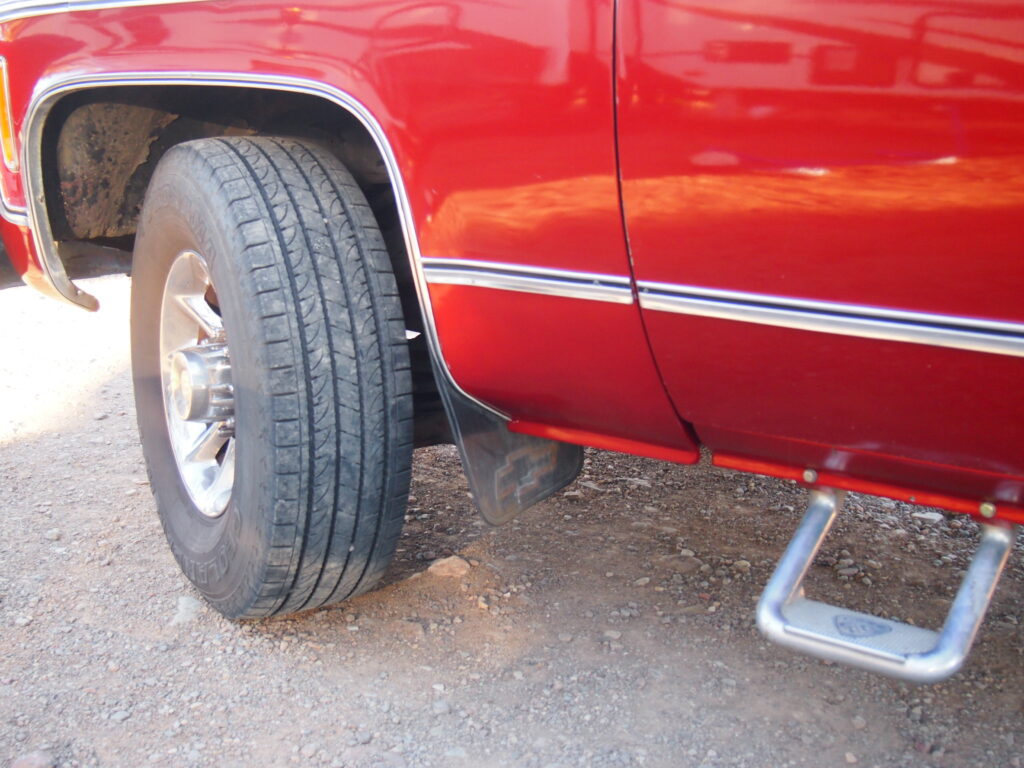
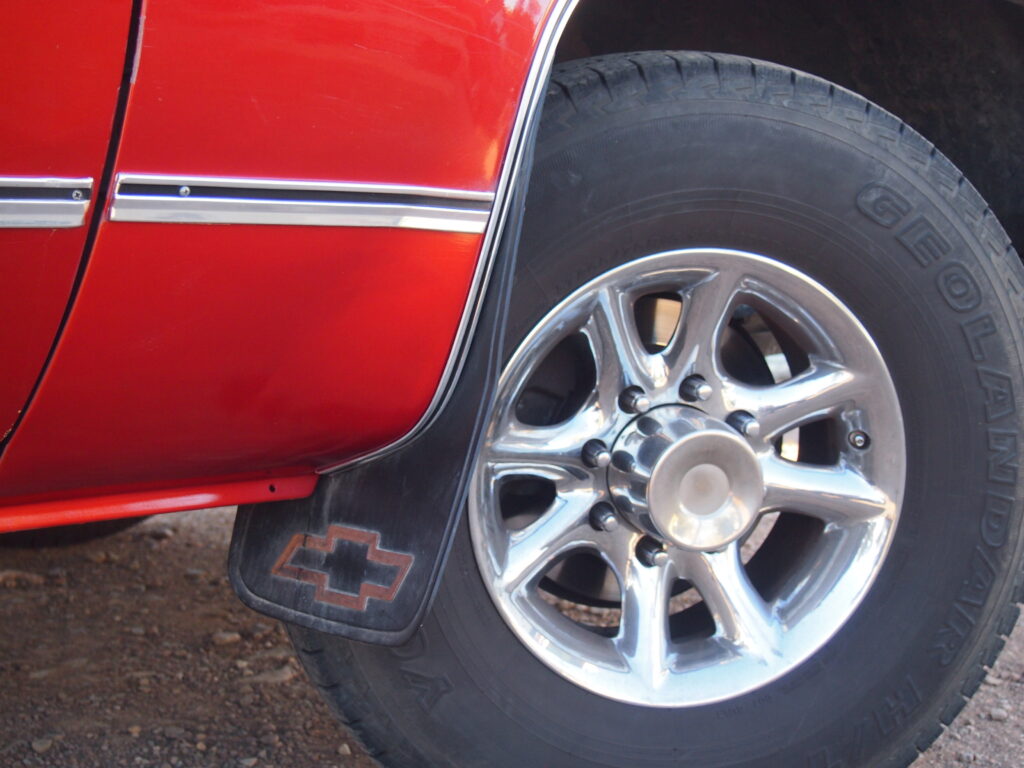
I found another company called PaintScratch which sells paint in rattle cans based on the original manufacturer’s codes. Luckily I had the code from the original repaint. It is Sunburst Orange Metallic used on the 2007 Dodge Caliber which is a rather boring looking 4 door hatchback. I think the fenders and rocker panels came out satisfactorily. The finish is not quite as shiny and deep as the rest of the truck but it is hard to notice unless one looks very close. We’ll not talk about the hood other than to say it will need to be redone when I have a large indoor area to work on it. Anyway, I think the truck will be good for a few more voyages and if I ever decide to repaint it I can replace the hood and the drinker’s side fender and it will look like new.
One reply on “Body Work”
The skills one learns and perfects. Good job Bikehermit