
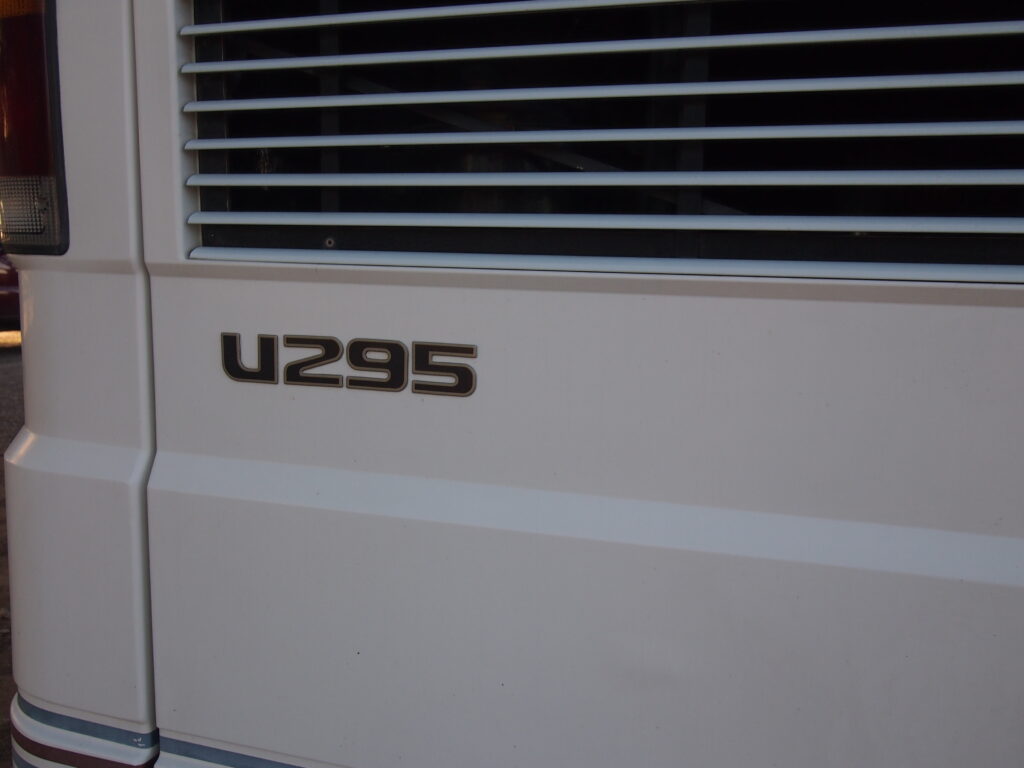
The Armadillo is a 1996 Foretravel U295 Motor Coach. Made from scratch in Nacogdoches, Texas. We bought it at Motor Homes of Texas which is about a quarter of a mile from the factory. That’s pretty neat. Just before we bought it the original owner installed a residential refrigerator which requires a relatively large amount of A.C. power. There is no option to use propane as with some RV refrigerators. Hence, we either need to be connected to 120V “shore power” or we need to run the annoying built-in generator, which defeats the purpose of parking out in the desert for any length of time.
So it is critical to have another way to charge the batteries and to run the refrigerator. The Hermit does have experience with one solar power installation on a vintage travel trailer. That project involved adding batteries, solar panels and an inverter. Inverters use magic to take 12 volts from the batteries and provide 120 volt power. This new project was more intimidating because the generator, the engine starter batteries, and the engine alternator are all interconnected. Plus, the wires are way bigger. Turns out, the solar is more or less separate from all the factory wiring of the coach. The panels send power to the charger which then sends the magic to the batteries!
Must include the standard caveat here: I know just about exactly enough to get into trouble when it comes to this type of thing so if you are looking for guidance for your own project visit Handy Bob’s Blog and Kelly’s RV Solar Blog
For the trailer I bought everything from Starlight solar in Yuma, AZ but they have since closed shop. After research and calls and emails I bought material for this project from Northern Arizona Wind and Sun in Flagstaff. From their website I was able to fill out a load calculation worksheet for our coach and send it to them. A few days later I received an itemized quote. The sales rep patiently answered all my questions and I made a couple changes and additions to the quote before pulling the trigger. The quote to add solar from the dealer where we bought the Armadillo was around $8000.00 while these parts cost me about $1700.00. Can’t blame them for trying to make a living though, and I don’t think they really wanted to mess with it.
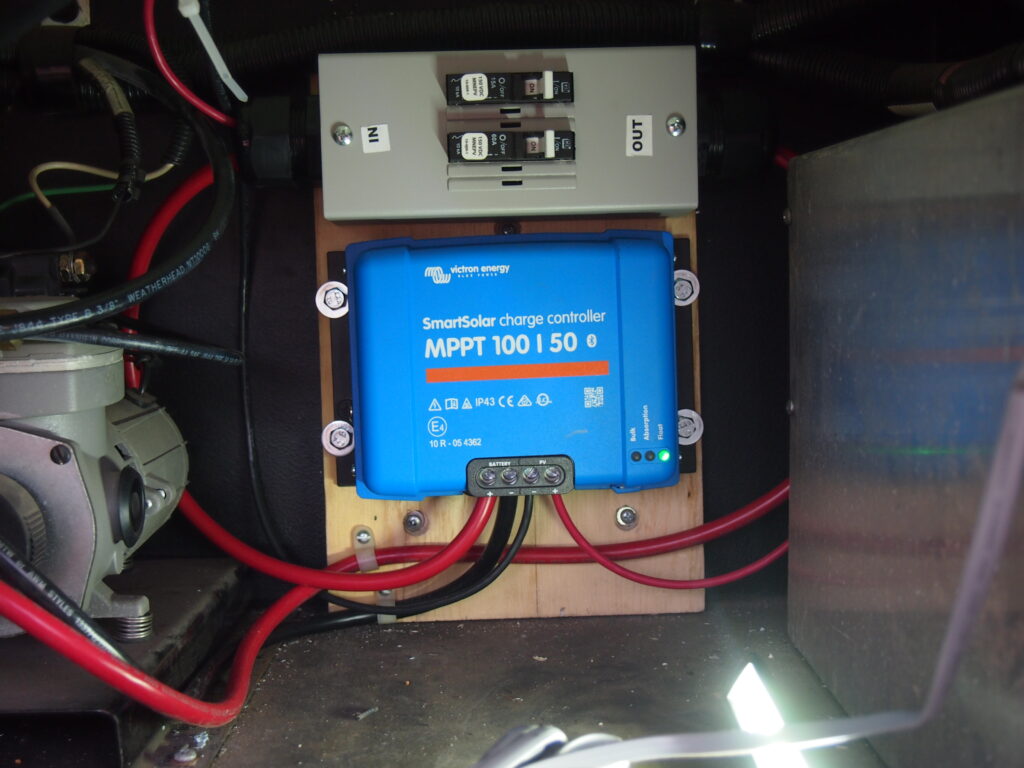
The guts of the system are two 330 watt solar panels, a MPPT charge controller and a smart shunt. The shunt is a device which measures loads and also communicates the battery status. A smart shunt does this without wires which is awesome for a retrofit because it saved hours of time tracing and rerouting wires inside the coach. The MPPT charge controller takes the 70+ volts coming from the solar panels and changes it to 12 volts before sending the current to the batteries. This is good for a couple of reasons, the best one being I can use 12 AWG wire, which is relatively small, from the panels on the roof to the charge controller which is in a bay underneath.
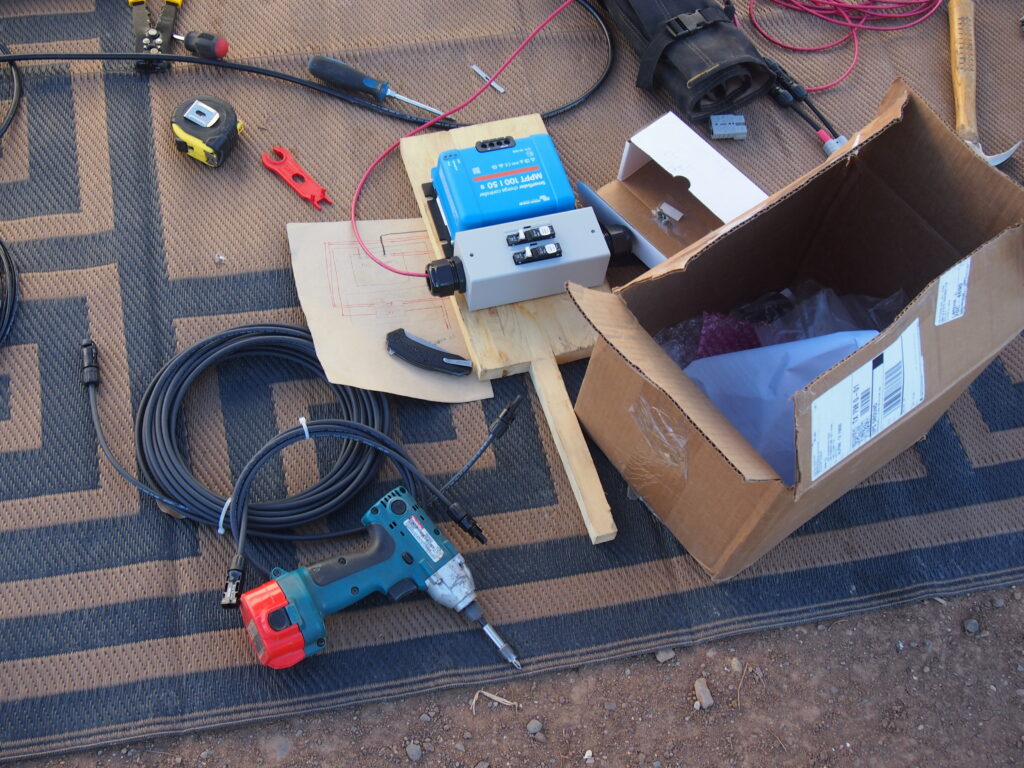
The supplier sent a diagram of how everything was to be wired and I did a little sketch for myself just as a visual aid for the layout.

The next step is to carefully dump everything out of the box and start building. I have a spot in the bay for the controller and fuse box so I just had to make those fit on the appropriate size back board. This actually worked out quite well since all the connections were made before the board was attached in the small, hard to reach space in the bay.
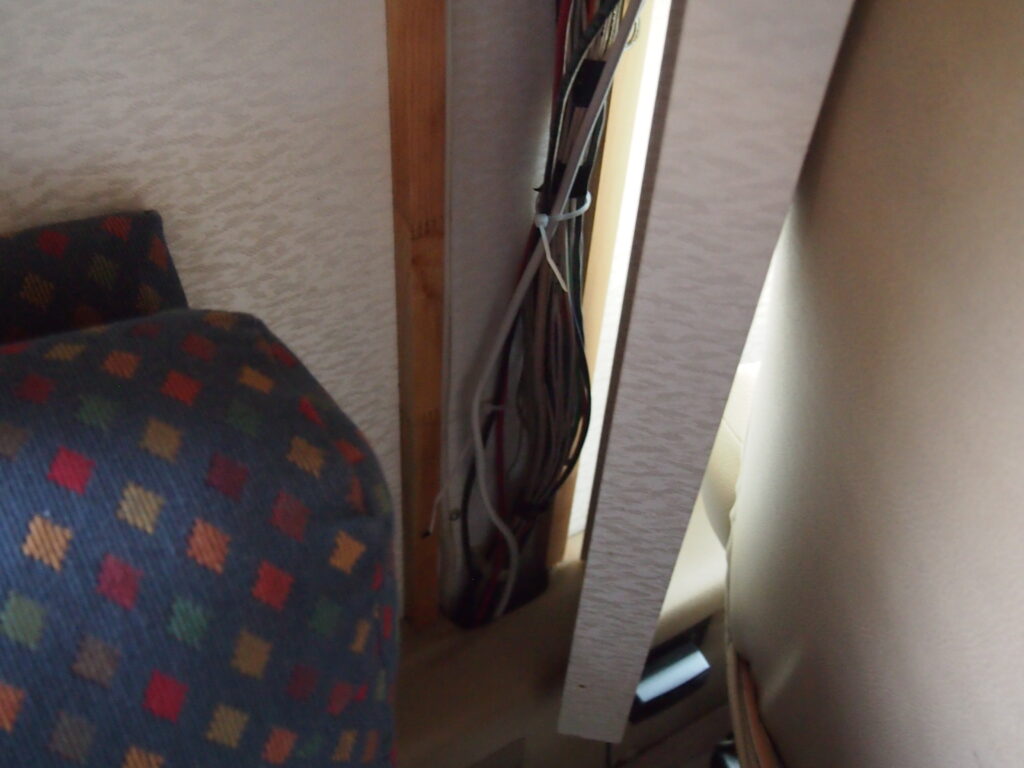
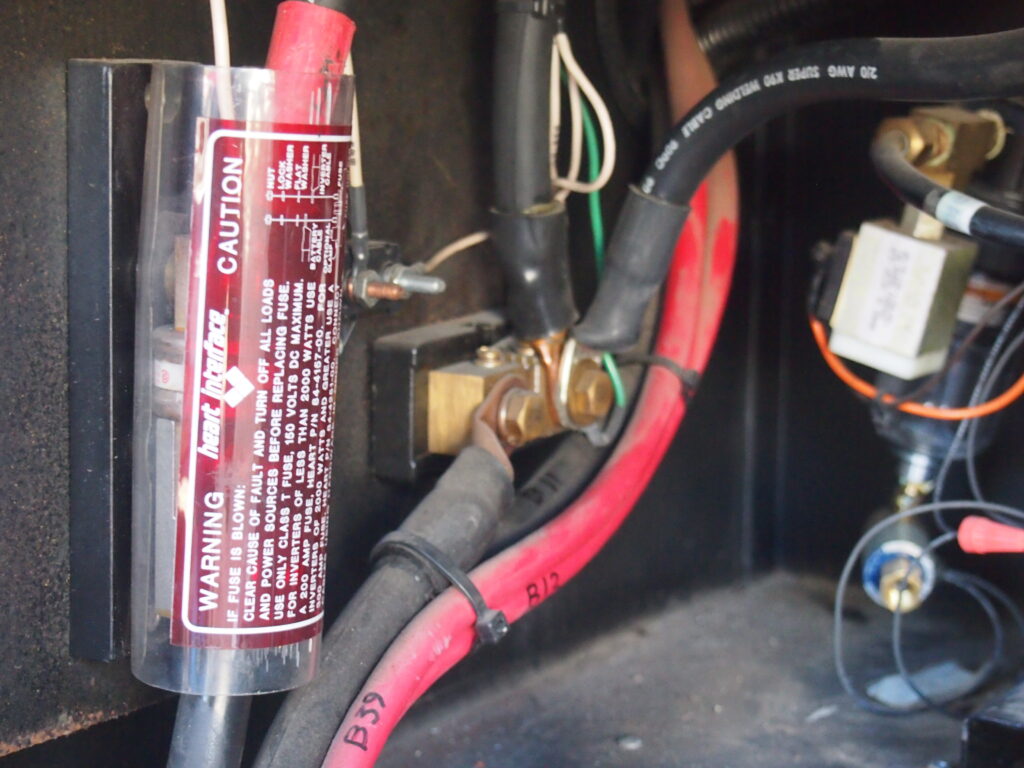
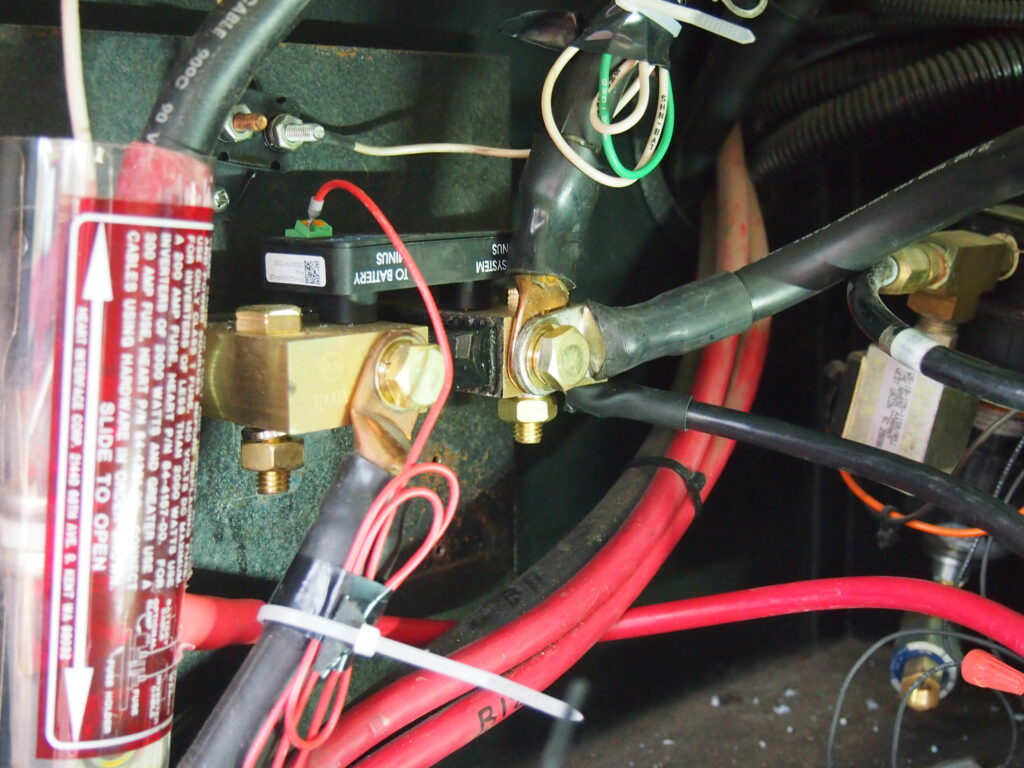
The shunt was easy, I just disconnected the old one and put the new one in its place with the additional wire from the solar charge controller.
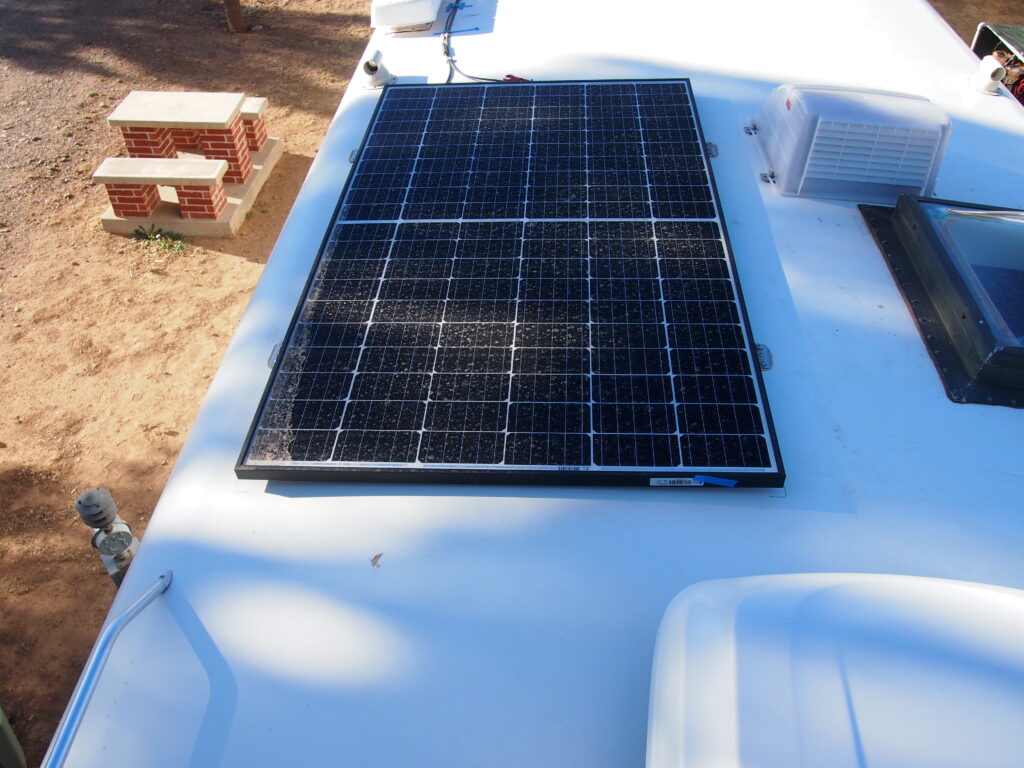
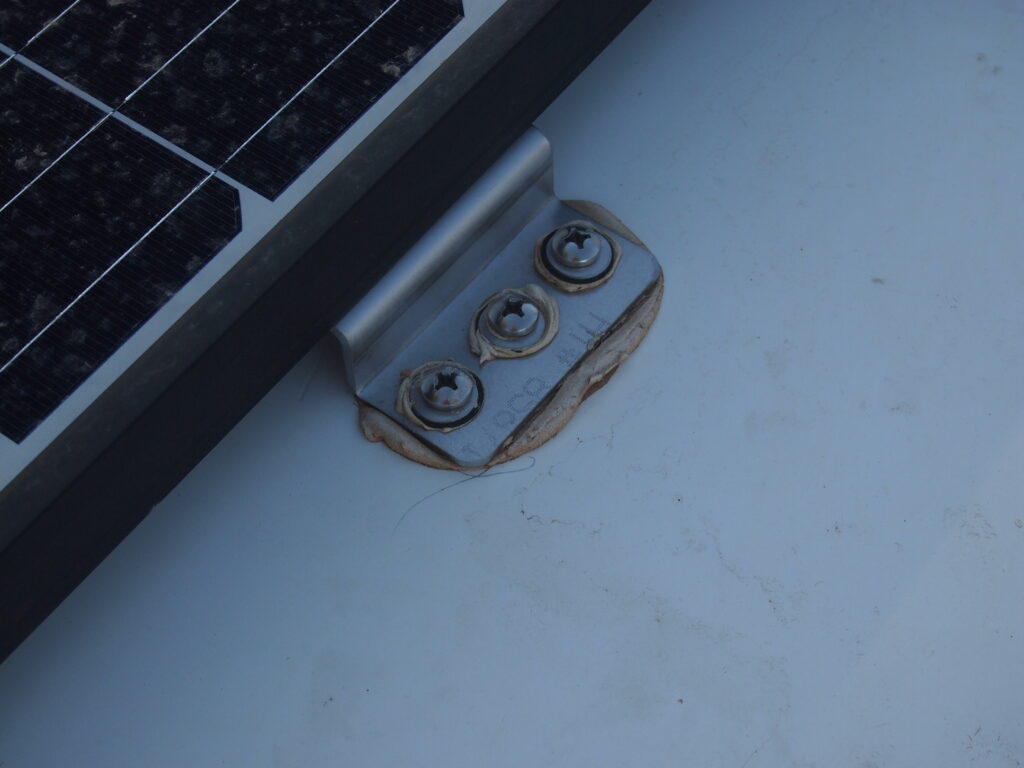
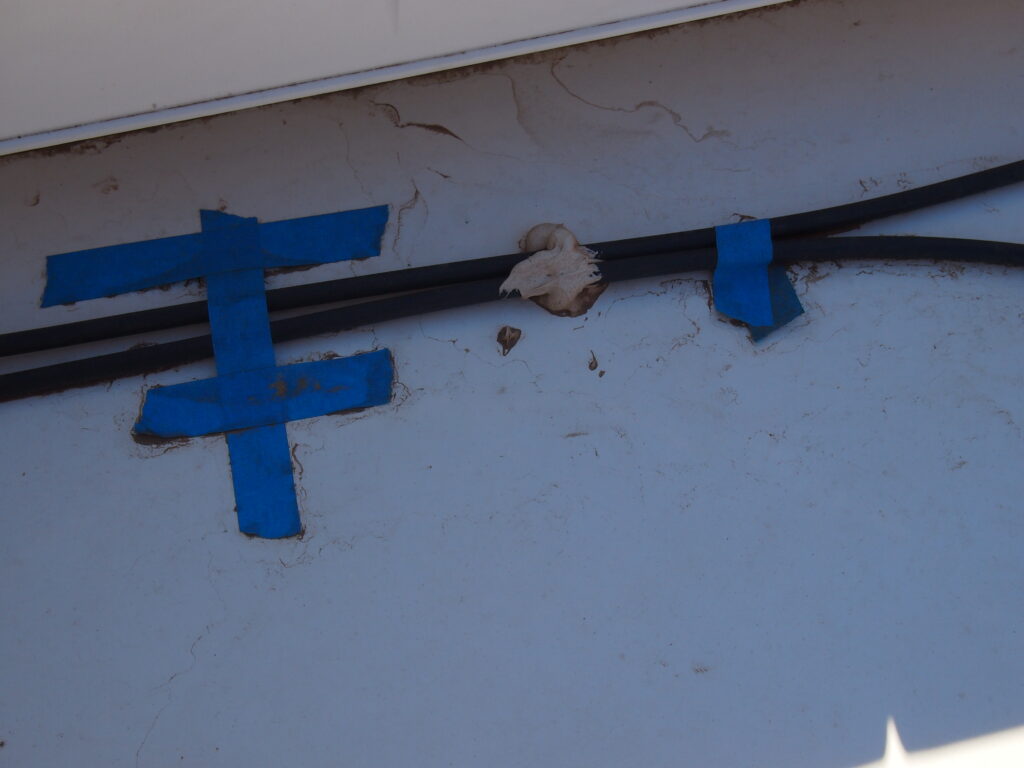
I did all of this before installing the panels. And when I did put the panels on the roof I covered them with cardboard before dealing with any wire connections because as soon as the sun hits a panel there is live voltage. I bolted the included angle mounting brackets onto the panels and then set the panels on the roof where I wanted them. I marked the brackets and the screw holes on the roof, moved the panels, drilled the holes and placed a bed of urethane sealant to set the brackets in for extra stability and for waterproofing.
I disconnected the house batteries and the starter batteries before making the final connections and flipping the breakers because I didn’t want any loud and/or fiery surprises. When I finally did though, everything worked! I can monitor the state of charge and the volts and amps from the batteries using the smart phone app. Now we can drive down the road with the inverter on keeping the fridge cold without burning up the coach alternator. And when we make a shopping trip to the Walmart in Ft. Stockton and spend the night in the parking lot we don’t need to run the generator. Pretty excited to see how this works for boondocking in the Nevada desert.